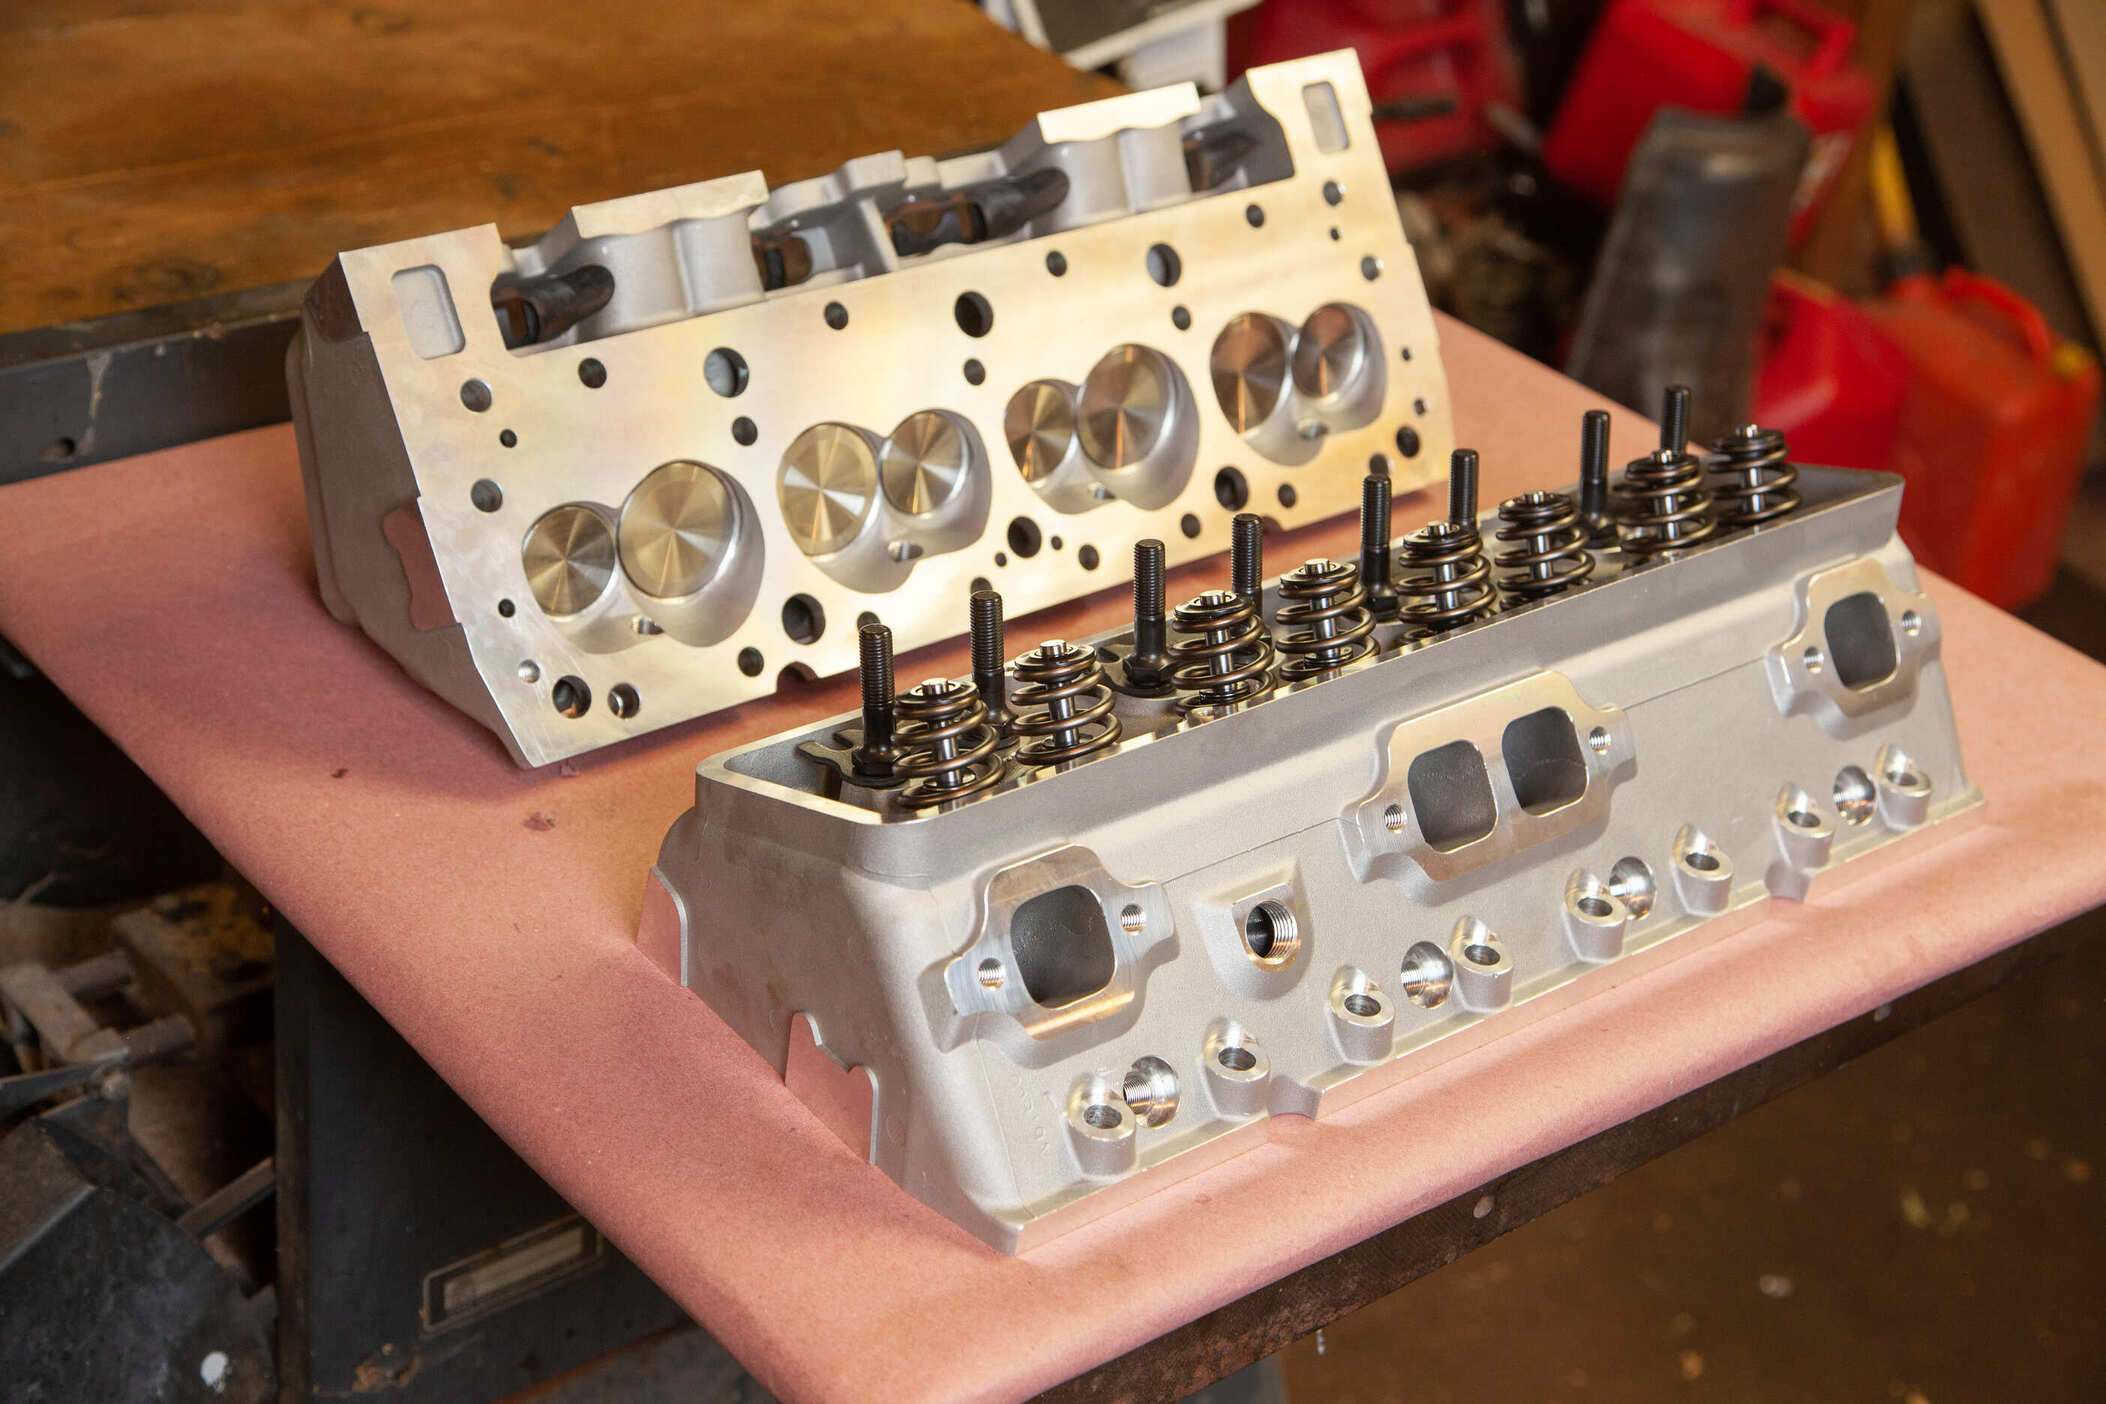
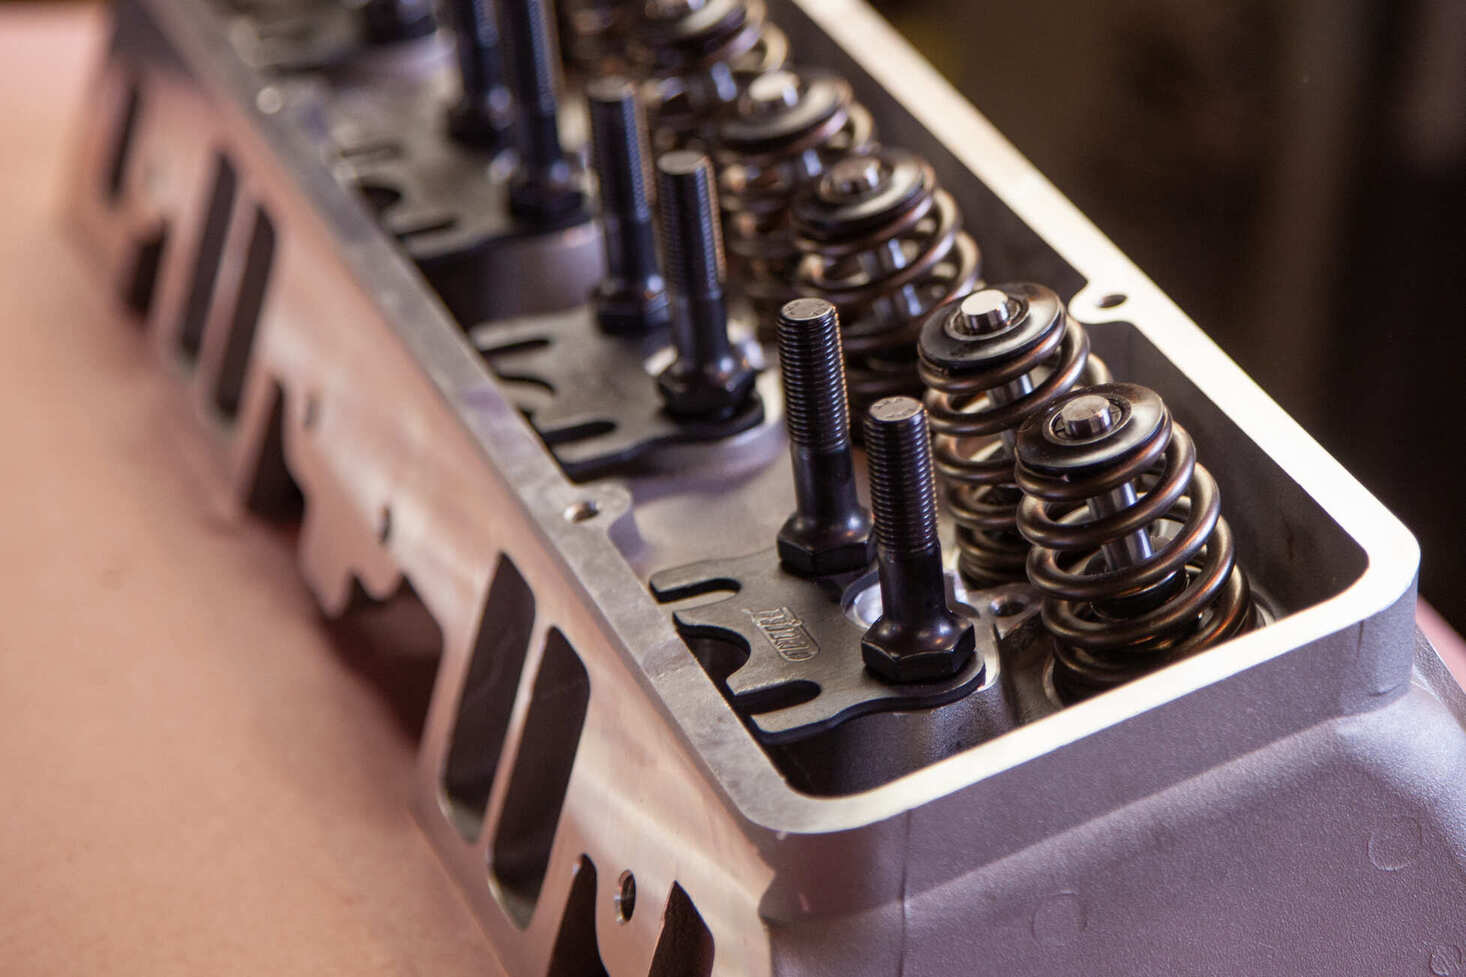
Speedway’s double-hump heads (PN 910-3782461) come packed with a ton of value. Any machine work upgrades you would have done on a factory set of heads have been taken care of already. The combustion chambers have improved port/chamber shape for high efficiency, quench, and burn. They come 20 pounds lighter than factory cast-iron 461 double-hump heads, threaded stud bosses accept 3/8- or 7/16-inch rocker arm studs, raised valve cover rails that accept factory-height valve covers, and hardened valve seats. We decided to take it a step further by adding some of our own goodies.
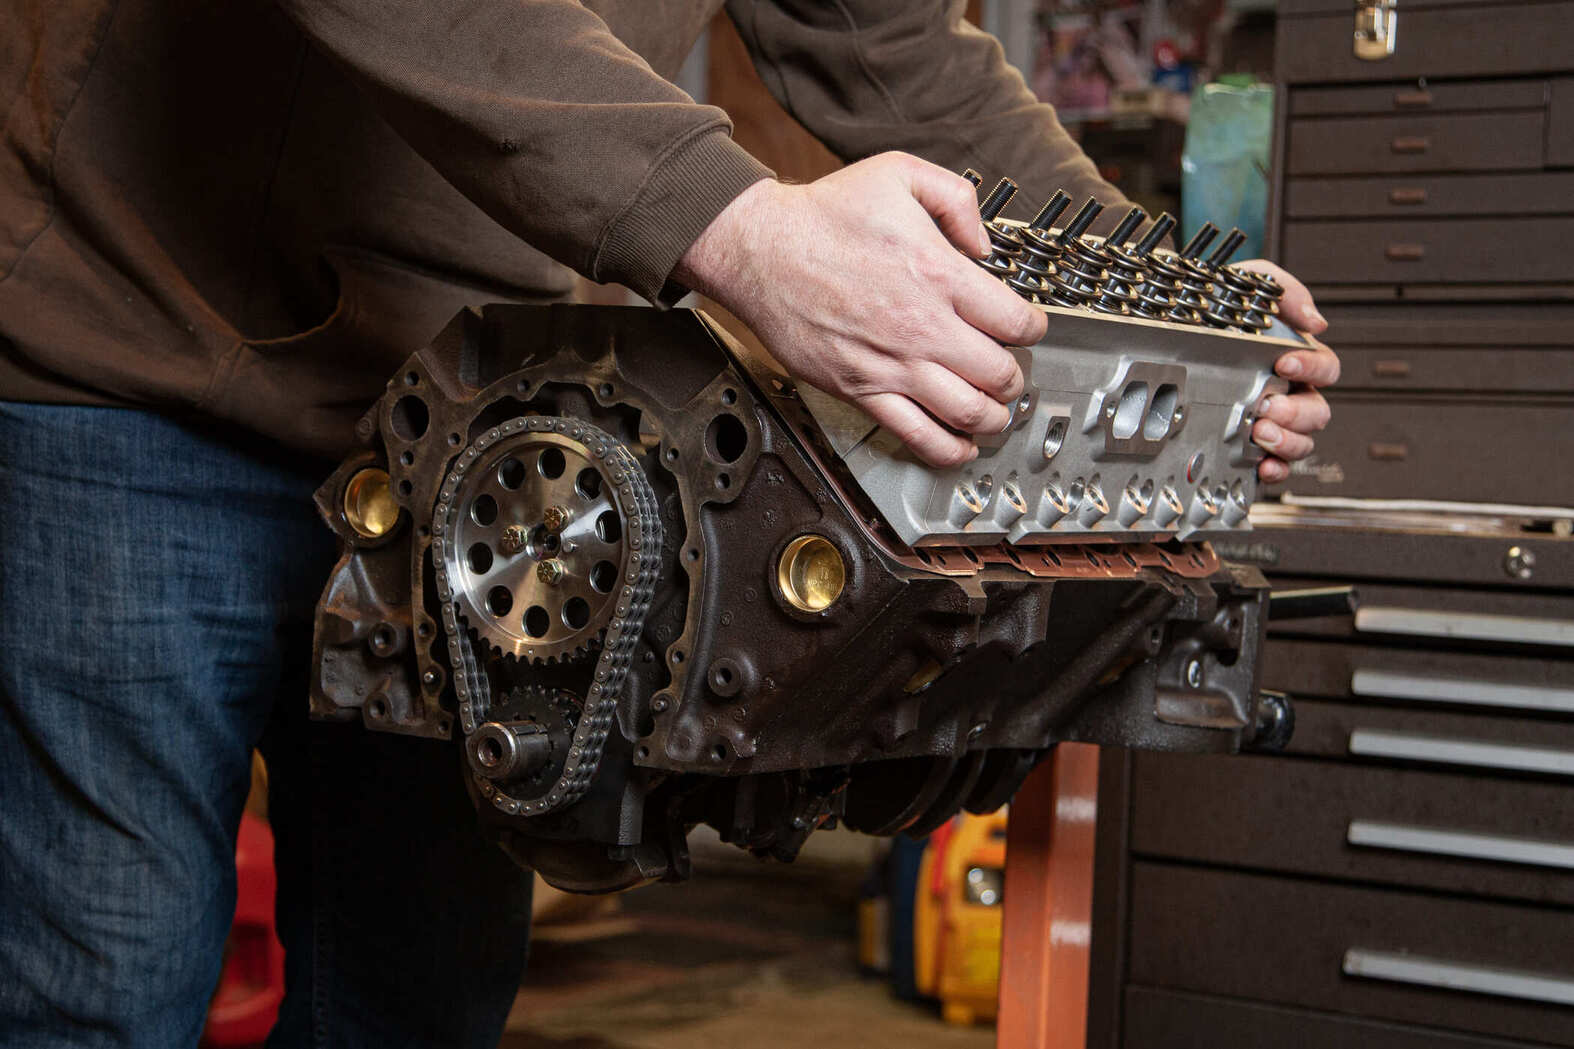
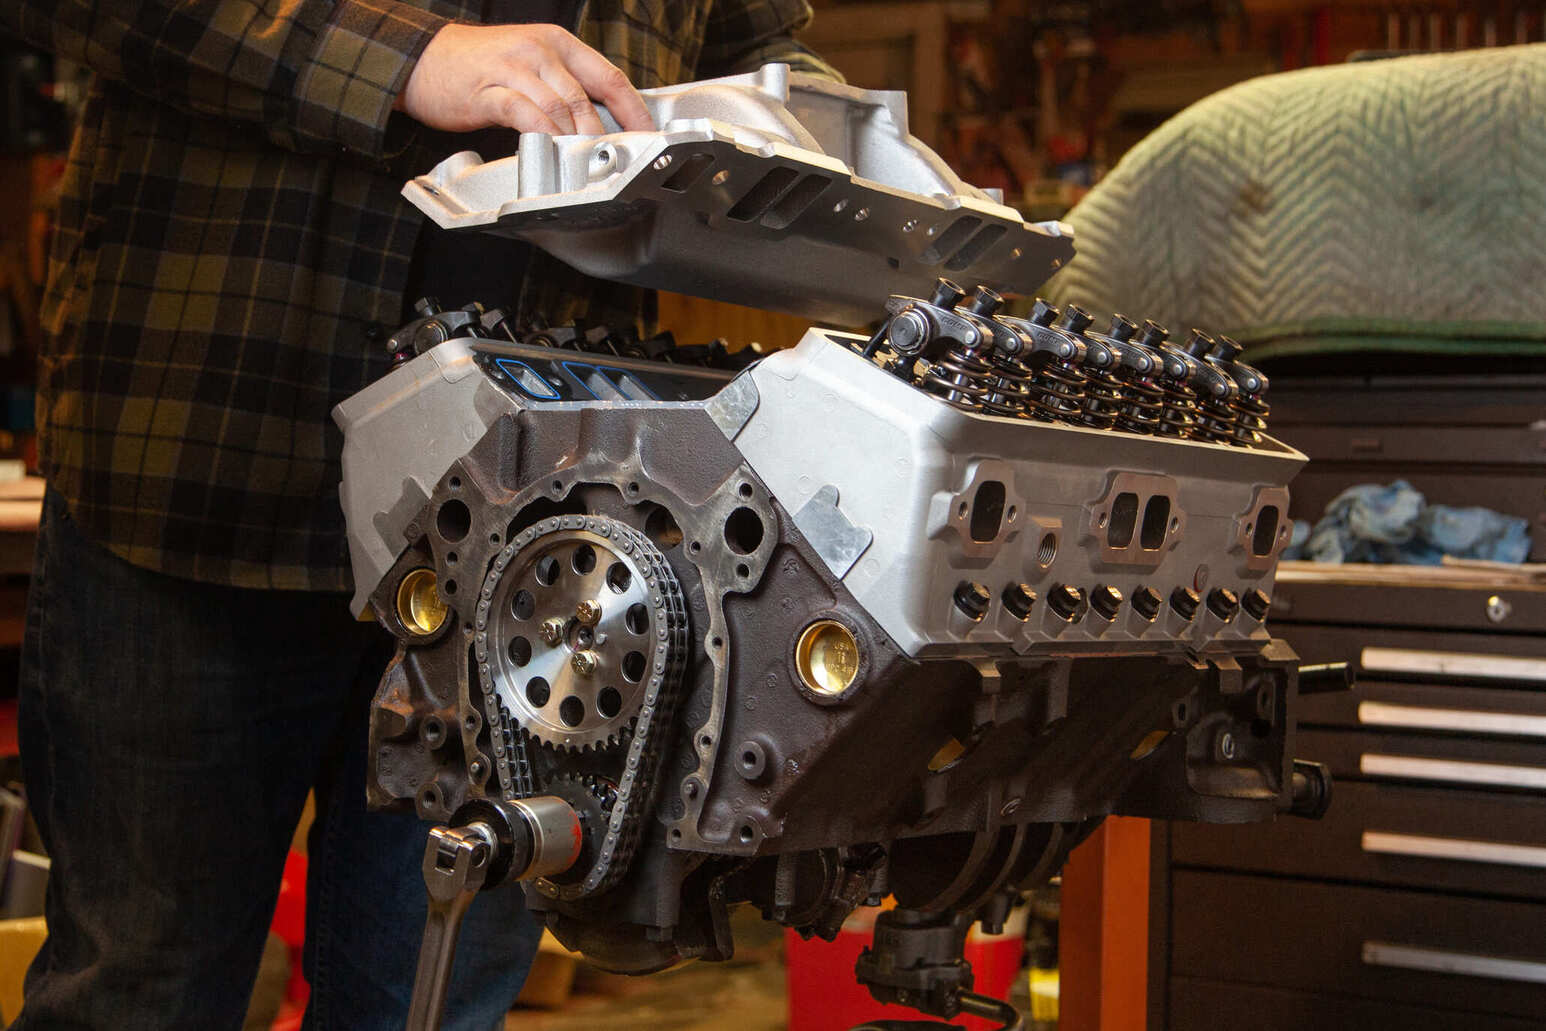
If you have been following along, in last month’s issue we gave you the rundown on how we assembled the bottom end in our little homebuilt small-block Chevy. Now comes the fun part—heads, valvetrain, and the finishing touches. Working with a basically stock rotating assembly, it’s still very feasible to squeeze out some extra power. The next big priority was bolting on a great set of heads. It’s a practice hot rodders have played with for over a century, and the concept is simple: higher compression plus better airflow equals more power. But we also wanted to be careful not to sacrifice reliability and driveability.
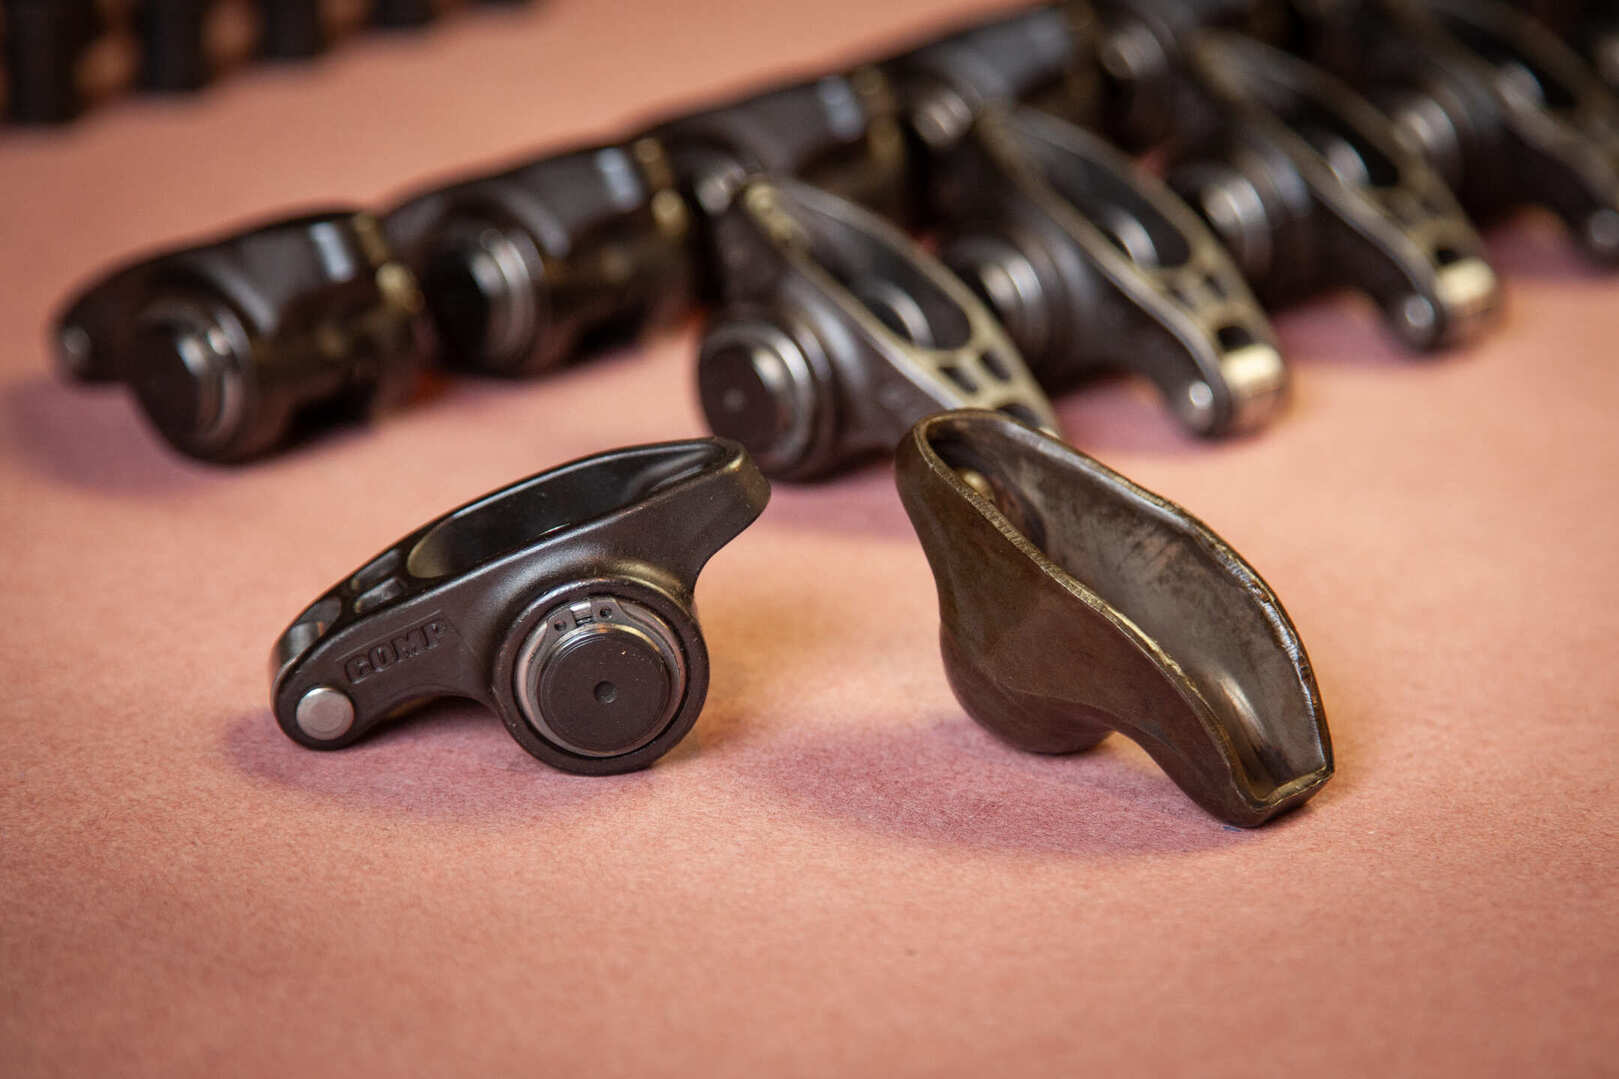
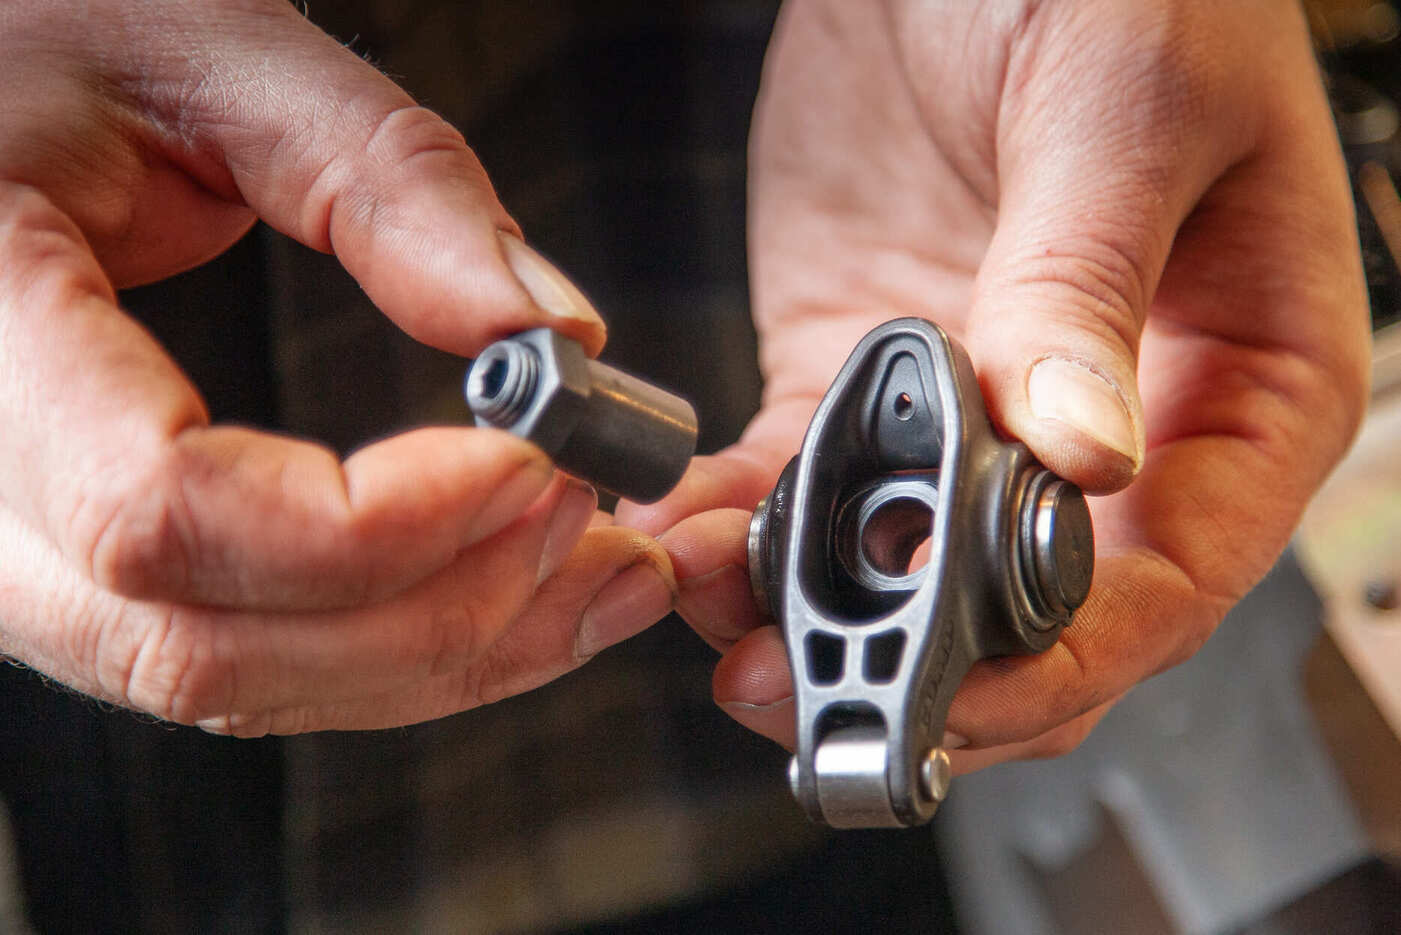
Since these heads require larger-diameter valvesprings, they cannot be used with stock stamped steel rocker arms (pictured on right). Roller tip or full roller rocker arms must be used with large-diameter springs. We chose Comp Cams Ultra Pro Magnum Roller Rocker Arms for 7/16-inch studs at a 1.6 ratio to achieve max valve lift (PN 2821605). These are stout, featuring oversized trunions, needle bearings, and hardened roller tips.
The horsepower per dollar scale is always tough when you’re on a budget. You want that best- bang-for-your-buck type of thing. Reliability and longevity are worth something, too. I was looking for the best of both worlds when it came to the engine—that perfect mix of driveability but with an old-school muscle vibe.
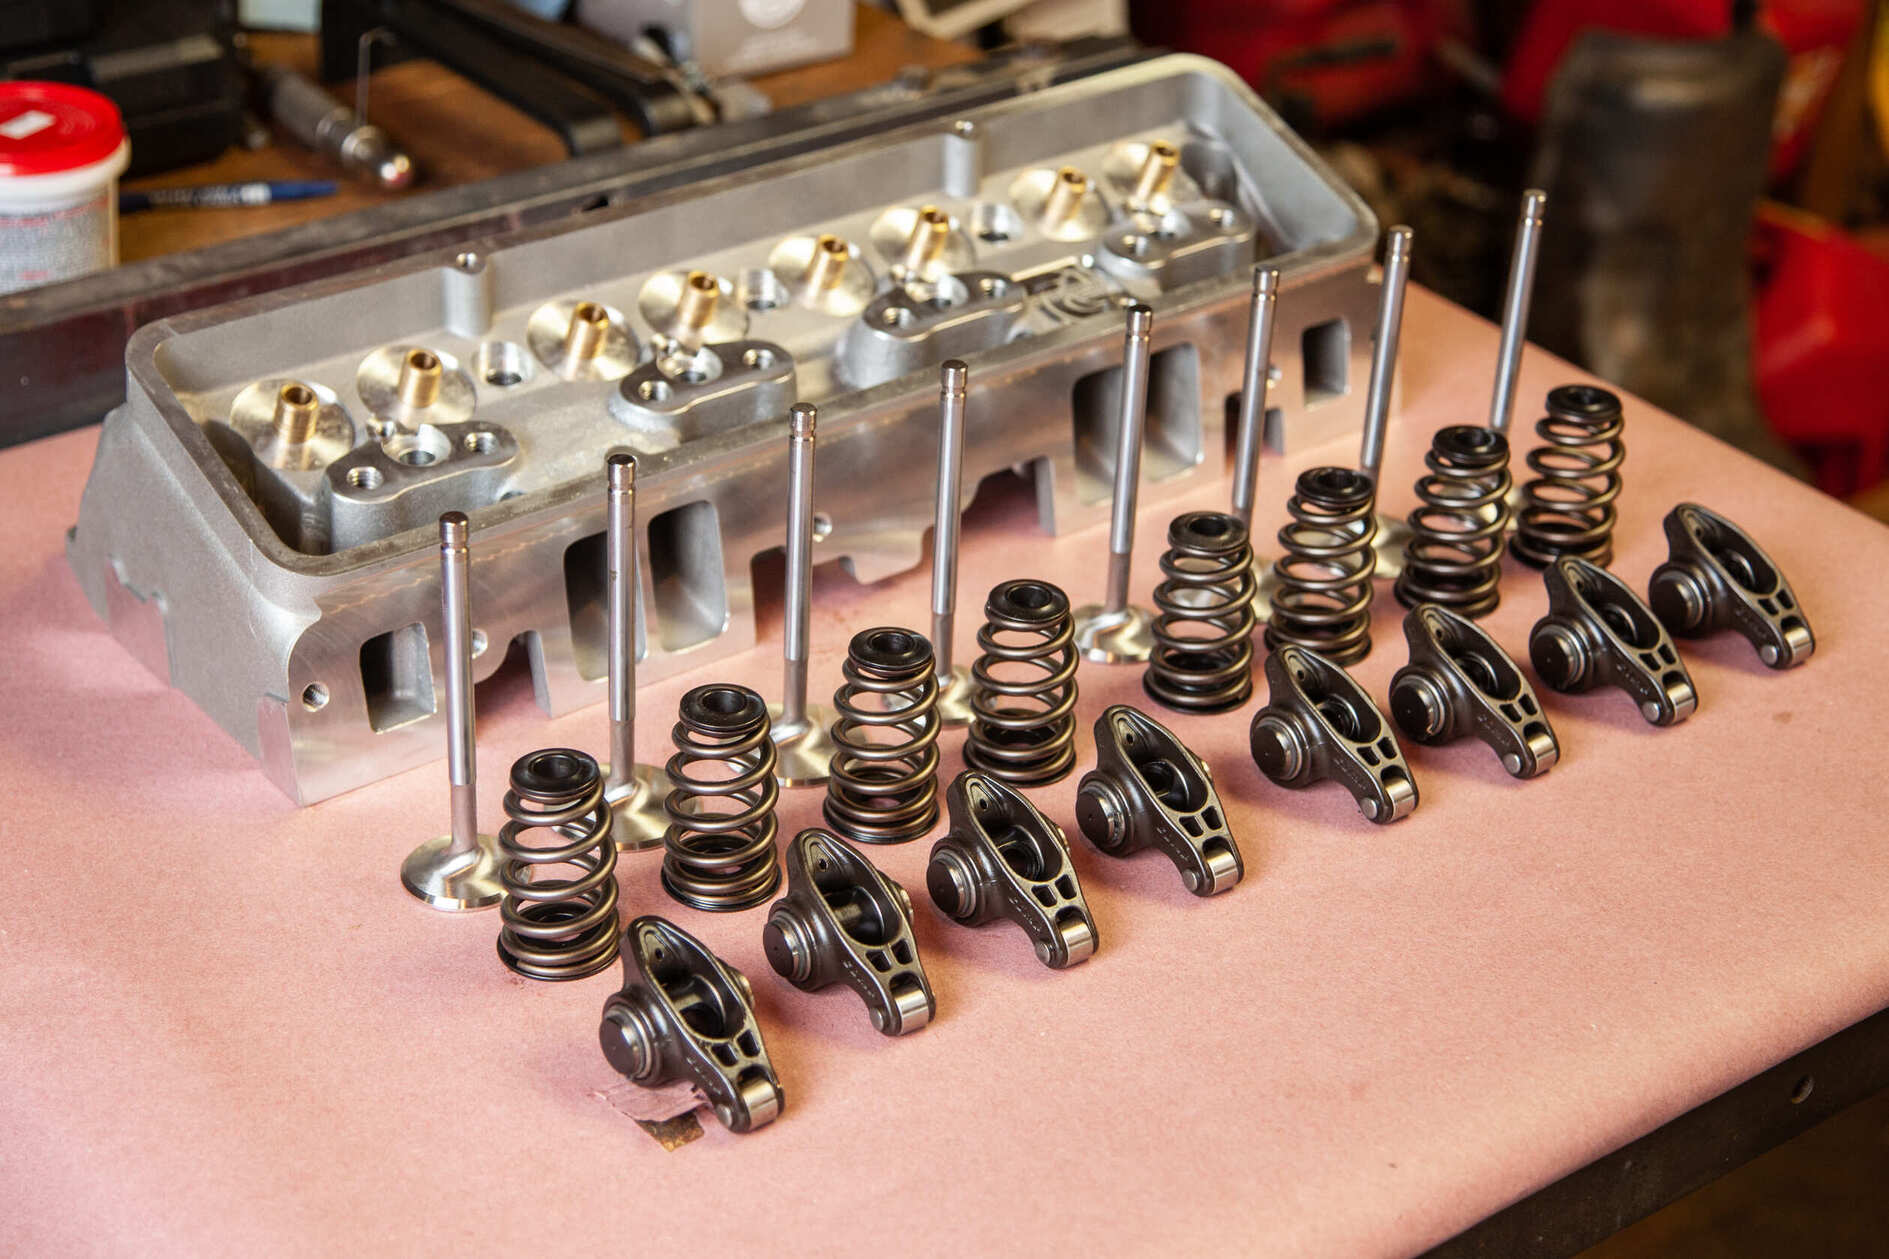
Along with roller rockers, we ordered a set of Comp Cams’ Beehive 280-pound valvesprings (PN 26986-16), Comp spring retainers (PN 787-16), locaters (PN 4696-16), locks (PN 648-16), and a set of Manley stainless 2.02/1.60-inch intake and exhaust valves (PNs 91014141-1 and 91014146-1). Always consult your cam card for the required set of valvesprings. Note: With new valves, we had a valve job done at our local machine shop prior to install, which is not necessary with assembled versions.When you dive into it, it’s not hard to find a great set aftermarket heads, or even factory options when budget is a high priority. A set of iron Vortecs (L31 ’96-’00 truck and SUV) could work for some applications, but with higher-lift cams they require additional machine work at additional expense. After some cost analysis and shopping around, I looked to Speedway Motors for help.
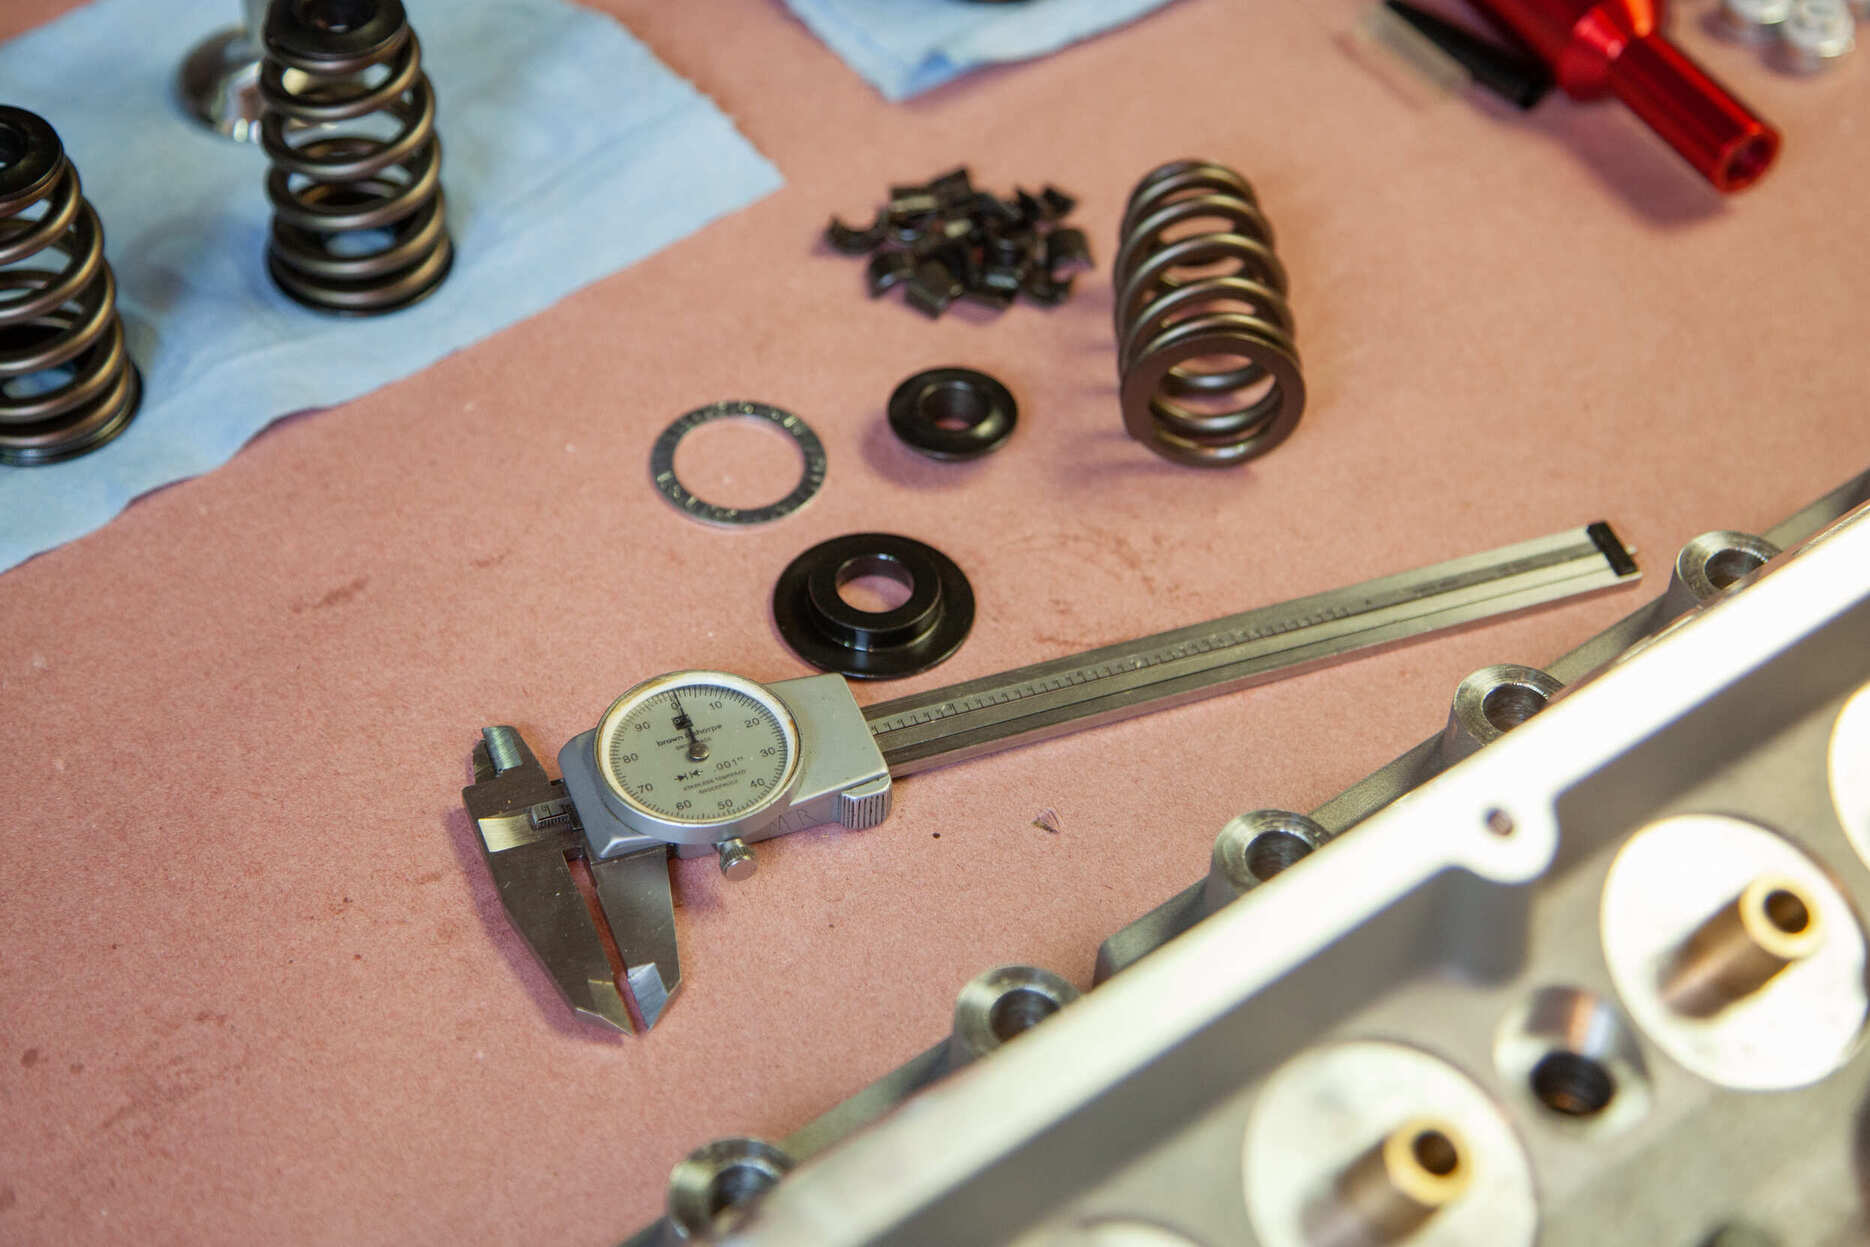
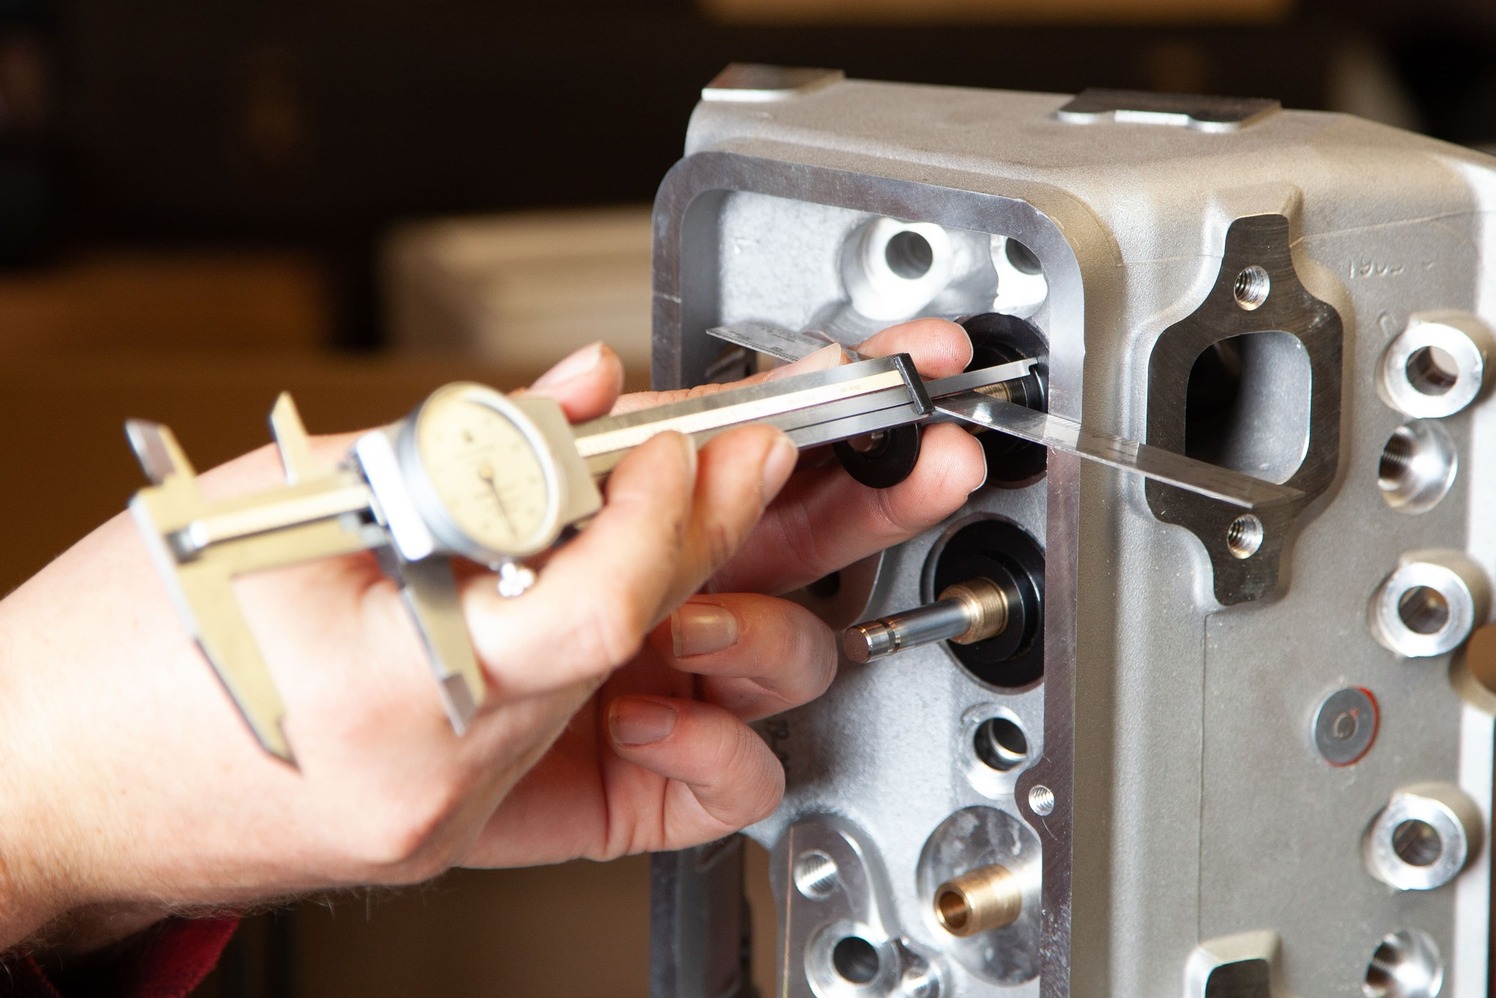
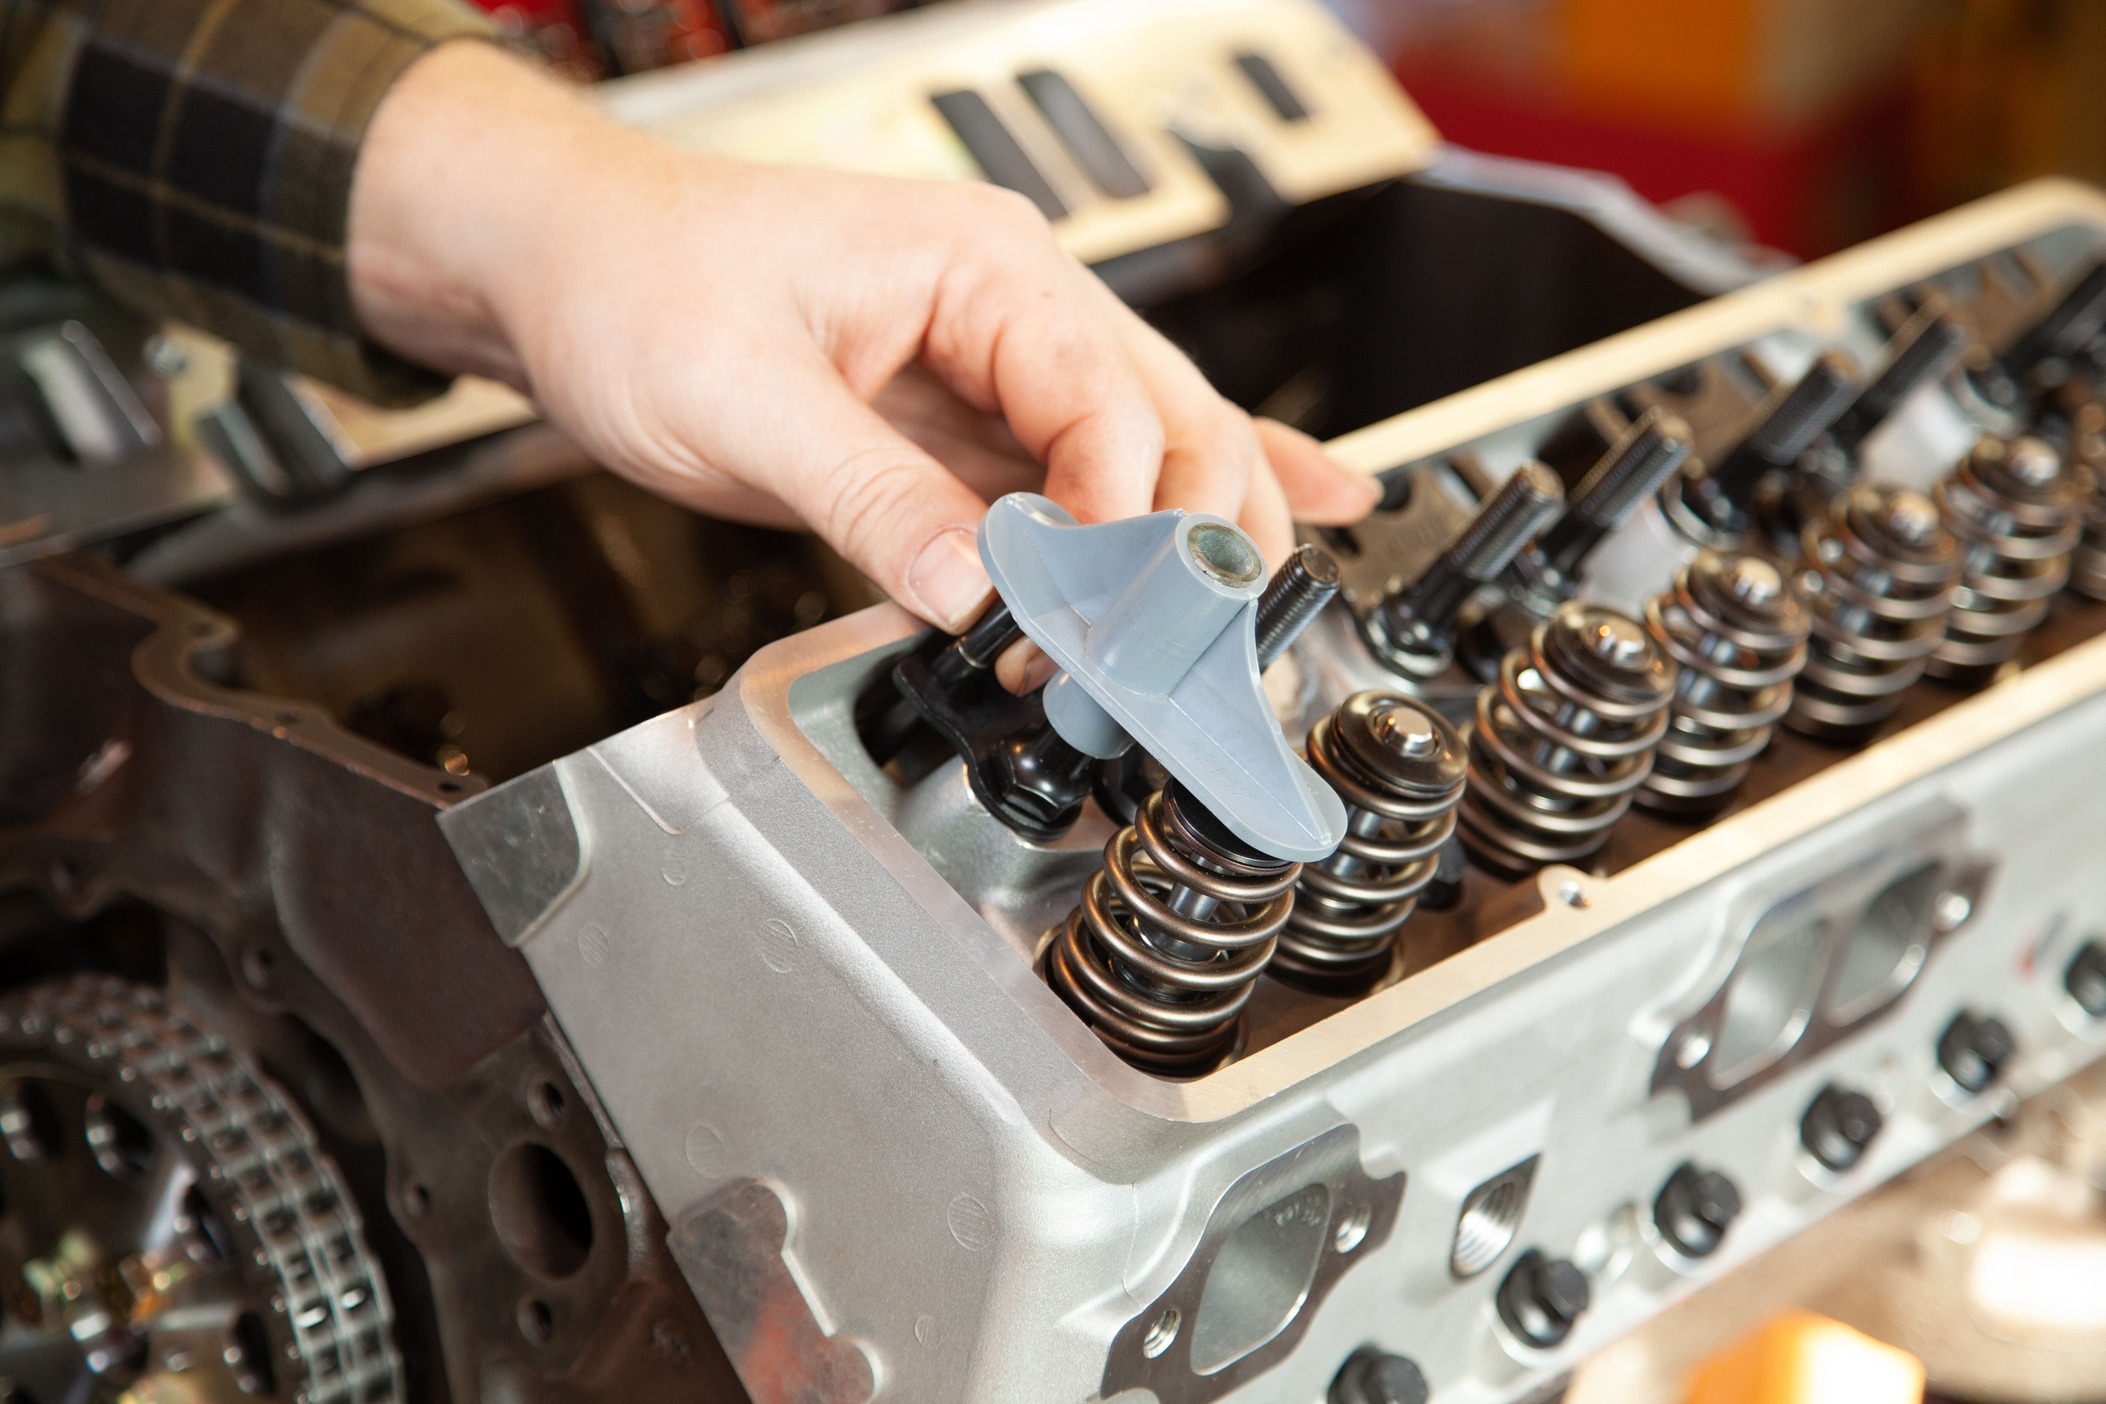
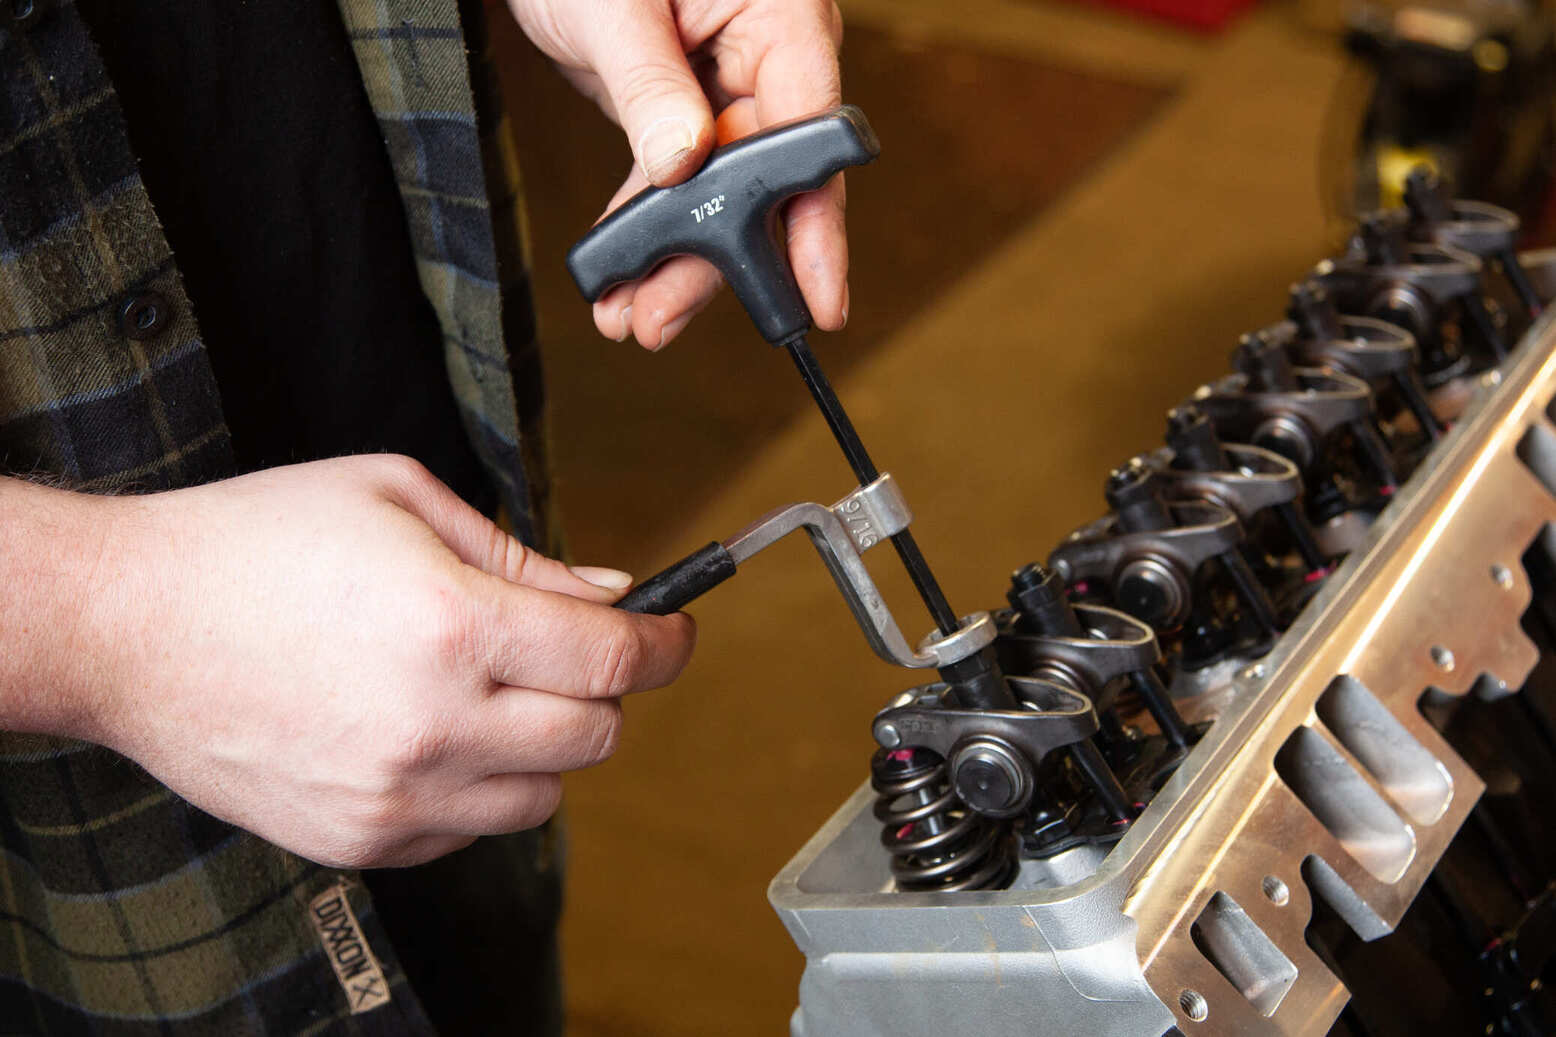
We’ll check two main measurements before we final-assemble the heads. First, with a set of calipers, we’ll verify that we have the proper valvespring installed height and shim when necessary.
After working with one of their lead techs, they pointed out the new Speedway Motors aluminum double-hump heads, which really checked all the boxes. They’re sold assembled or bare at a budget-friendly price. Performance wise, expect a little bump in compression with 64cc combustion chambers, and with 2.02- and 1.60-inch valves, better-flowing intake and exhaust runners, they should outperform many of the other aftermarket options. Best of all they’re packaged with that old-school ’60s fuelie look.
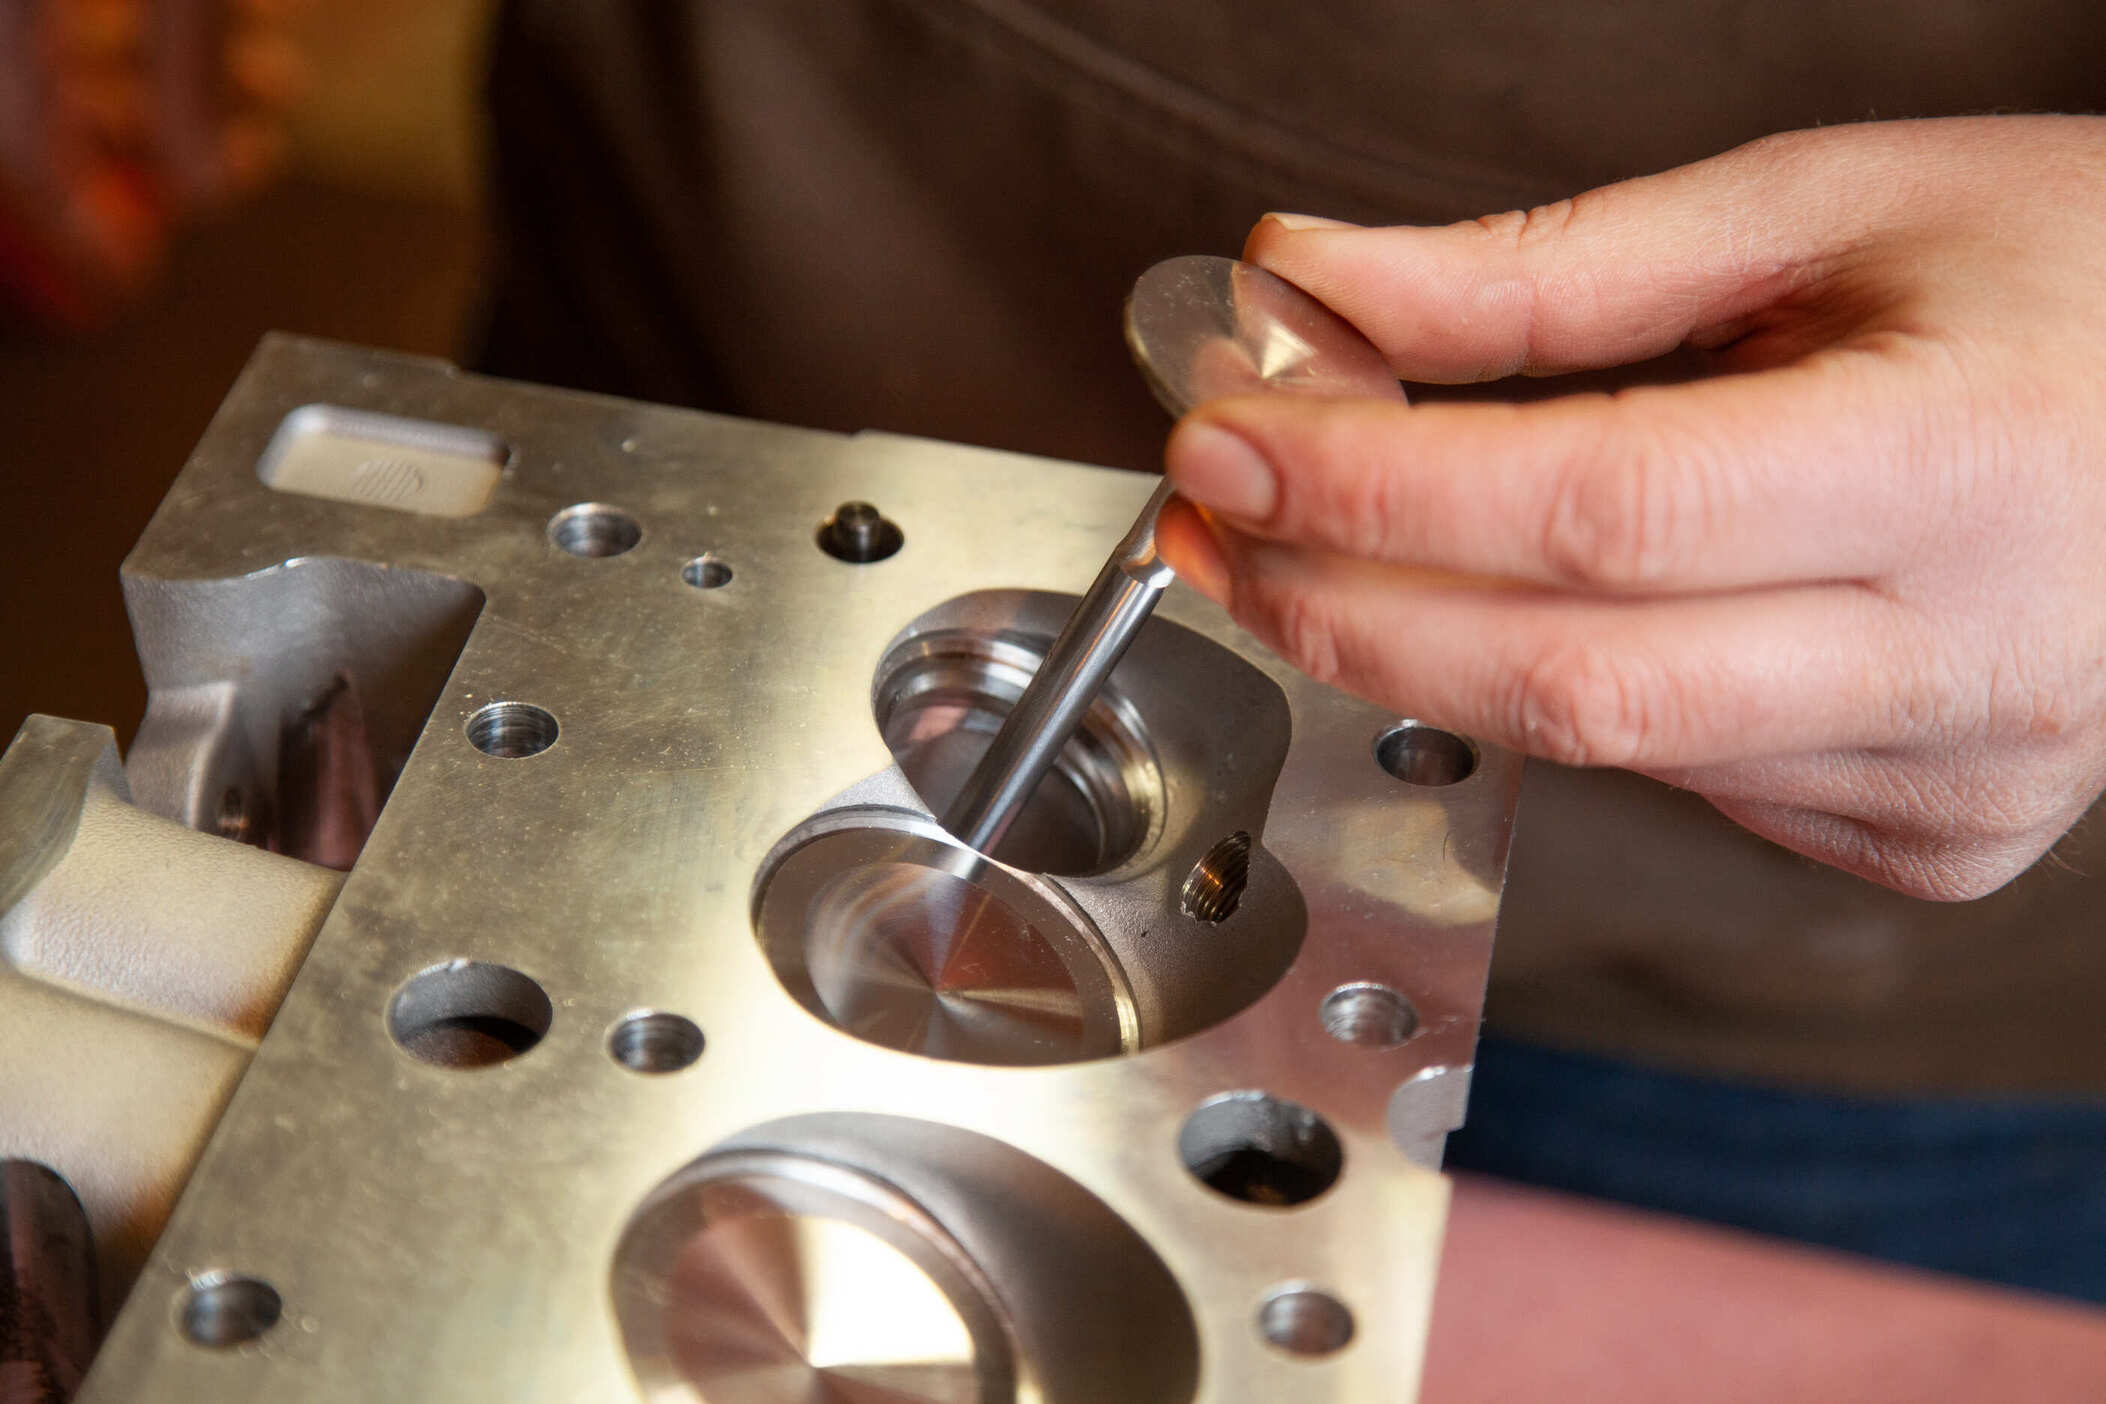
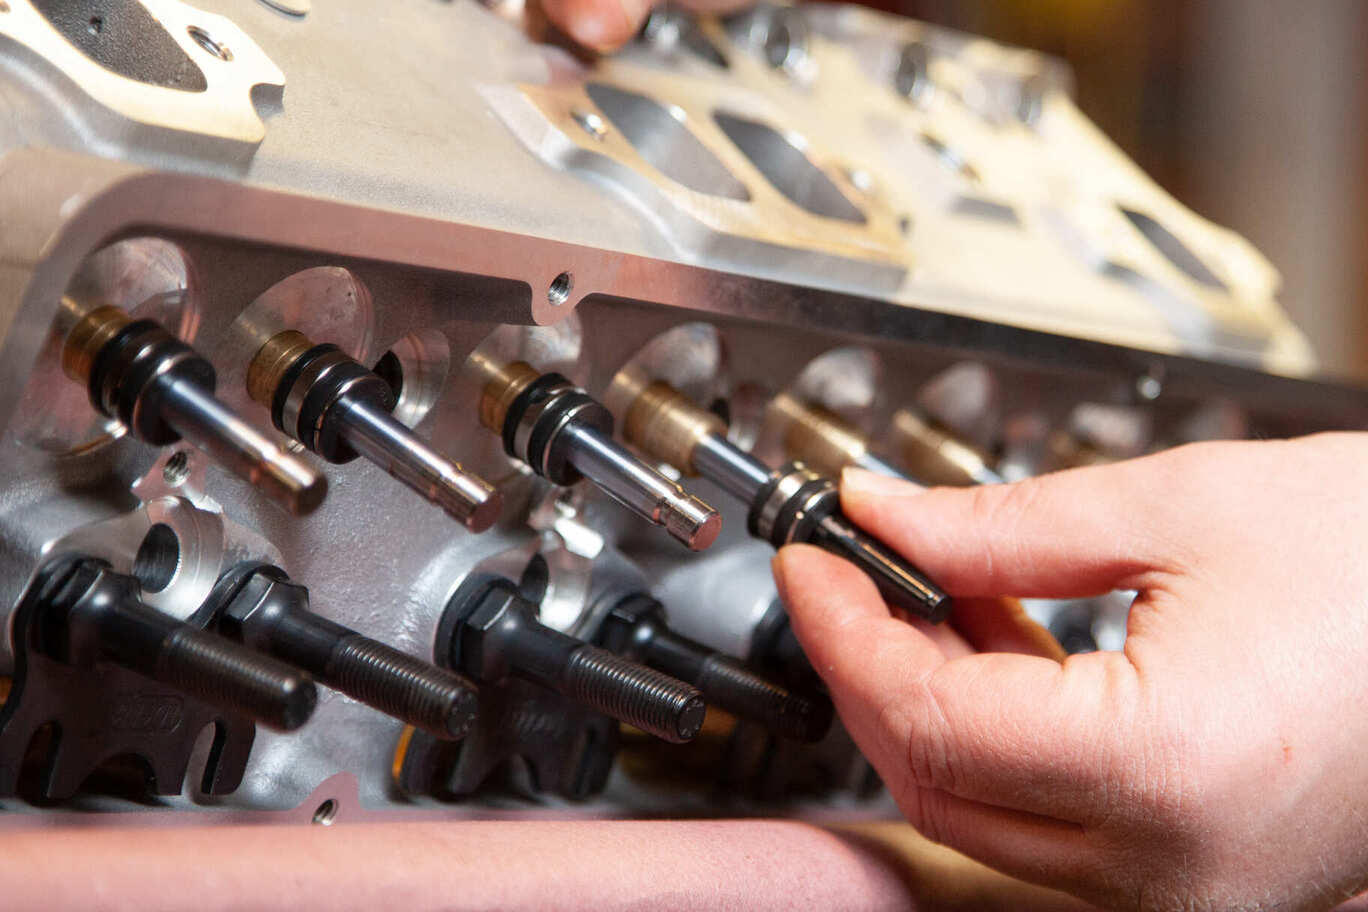
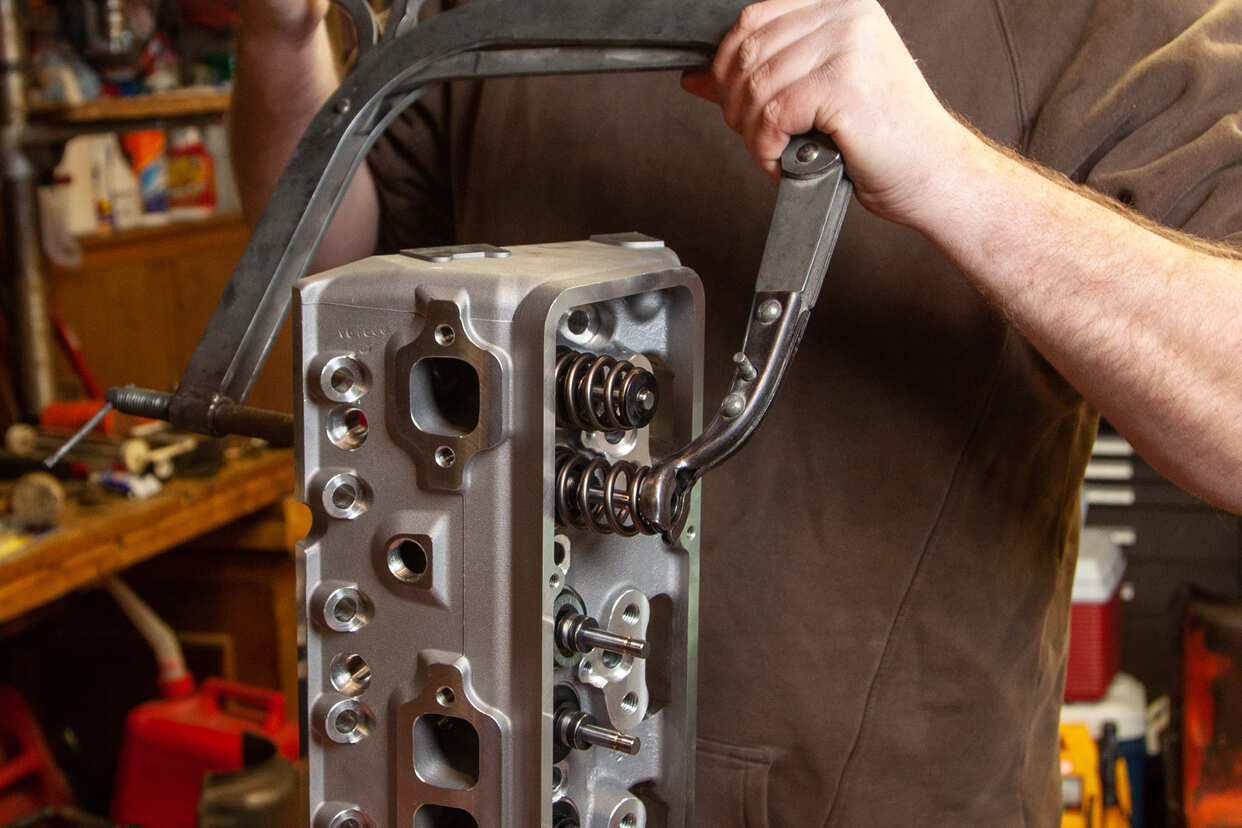
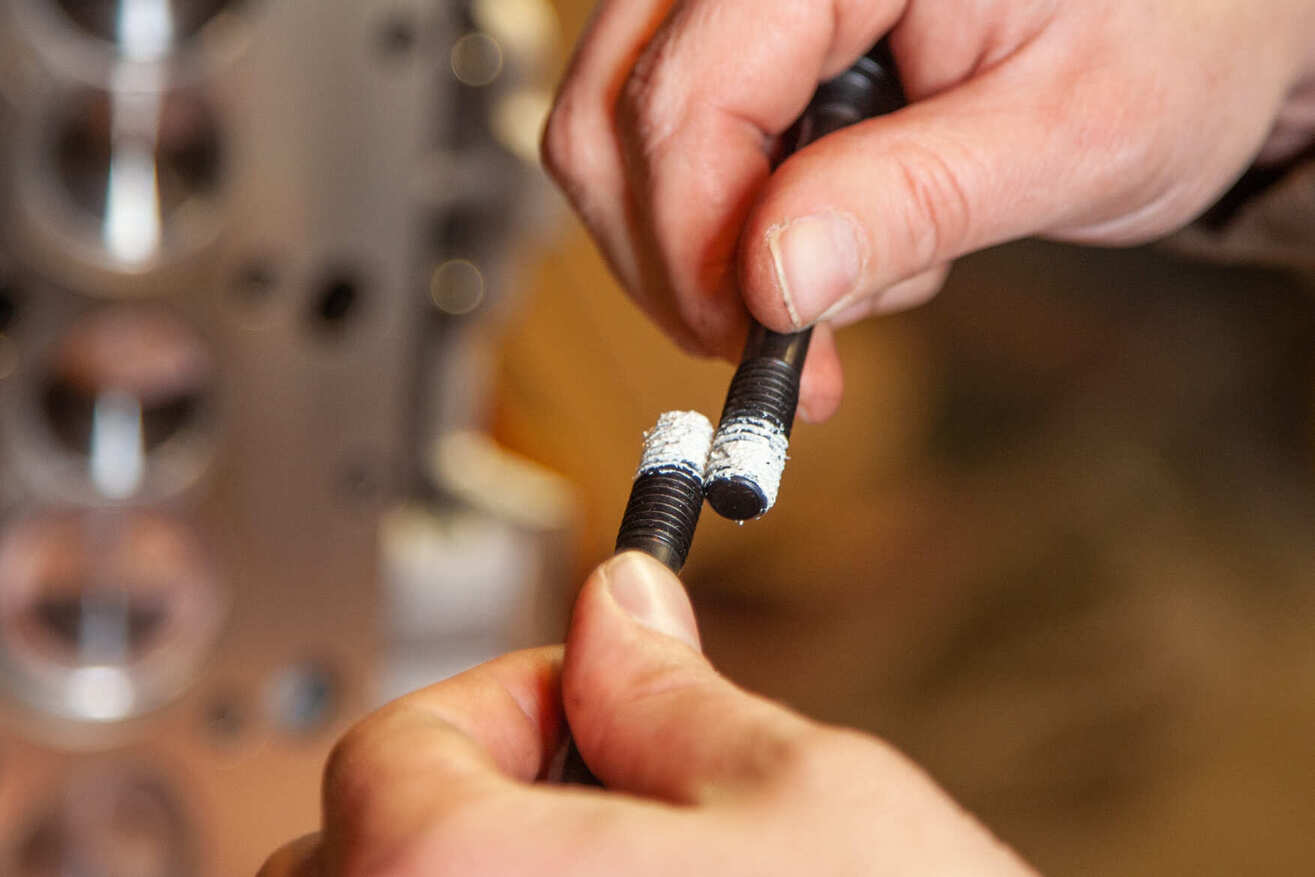
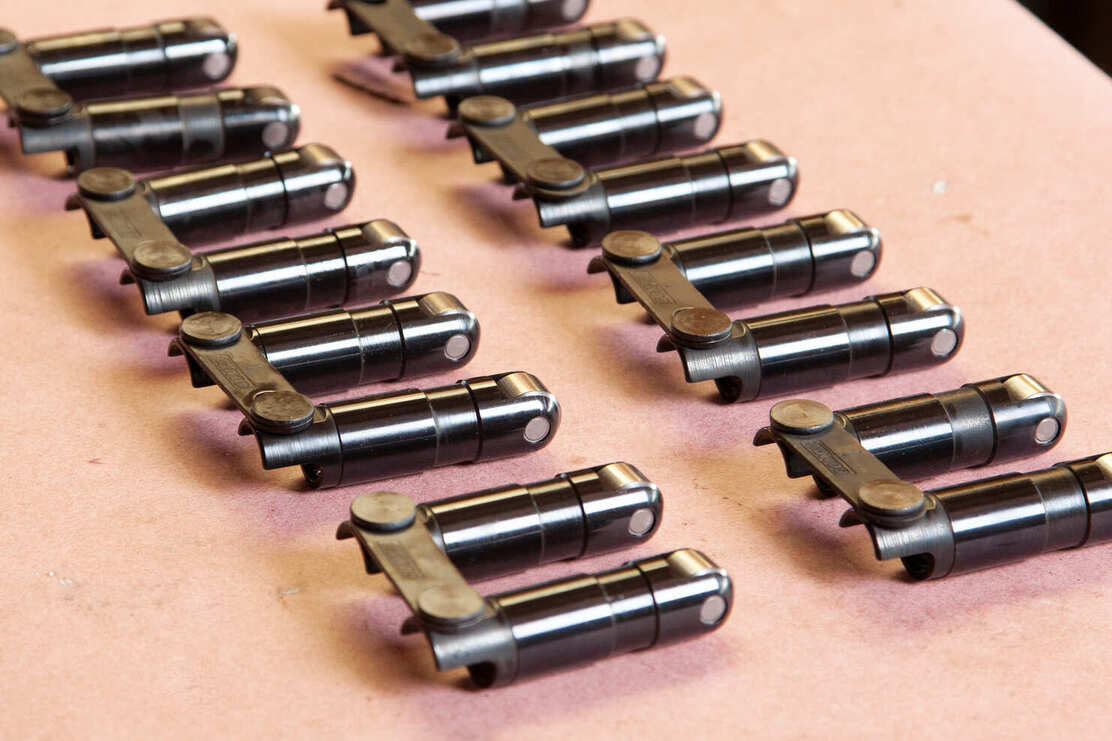
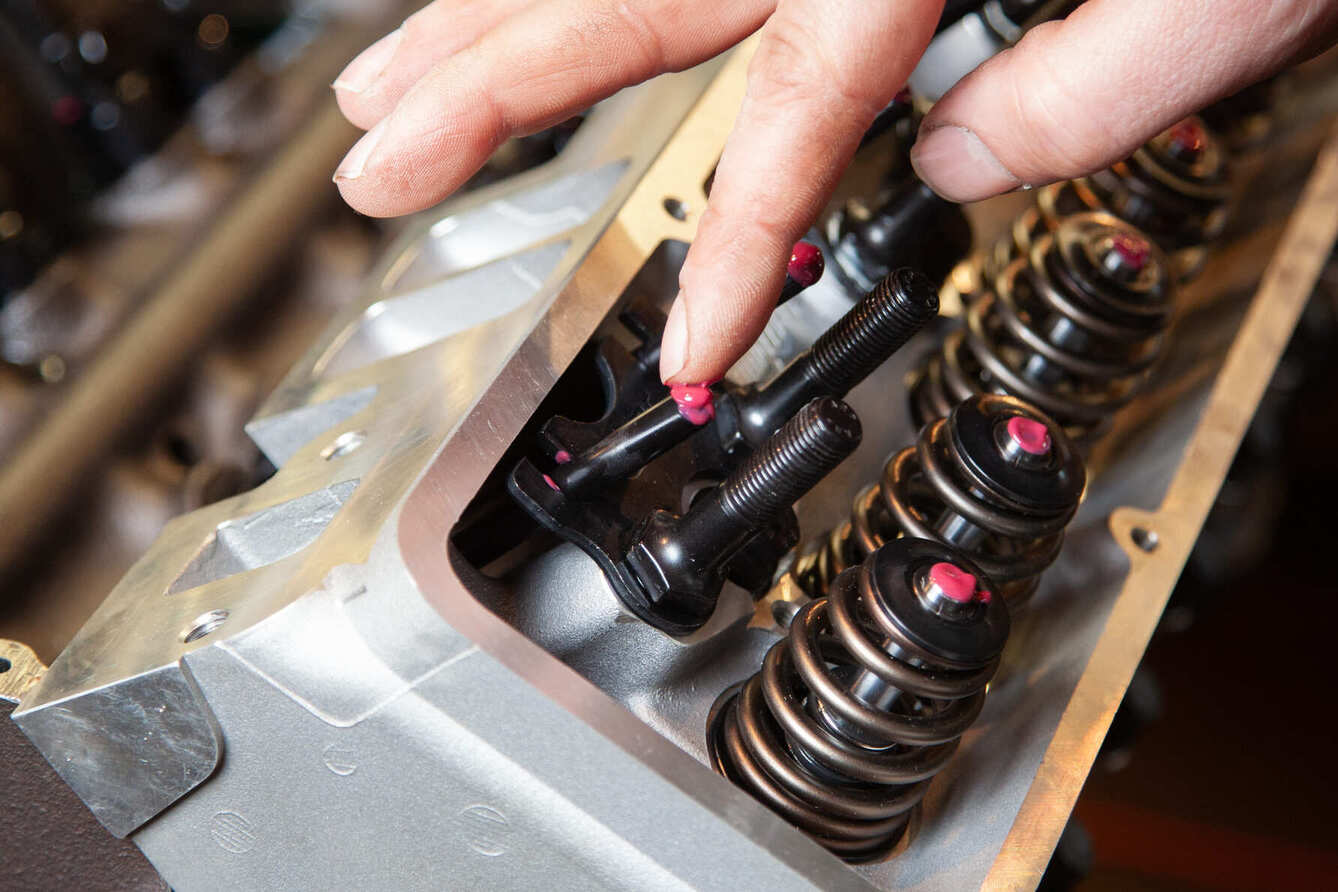
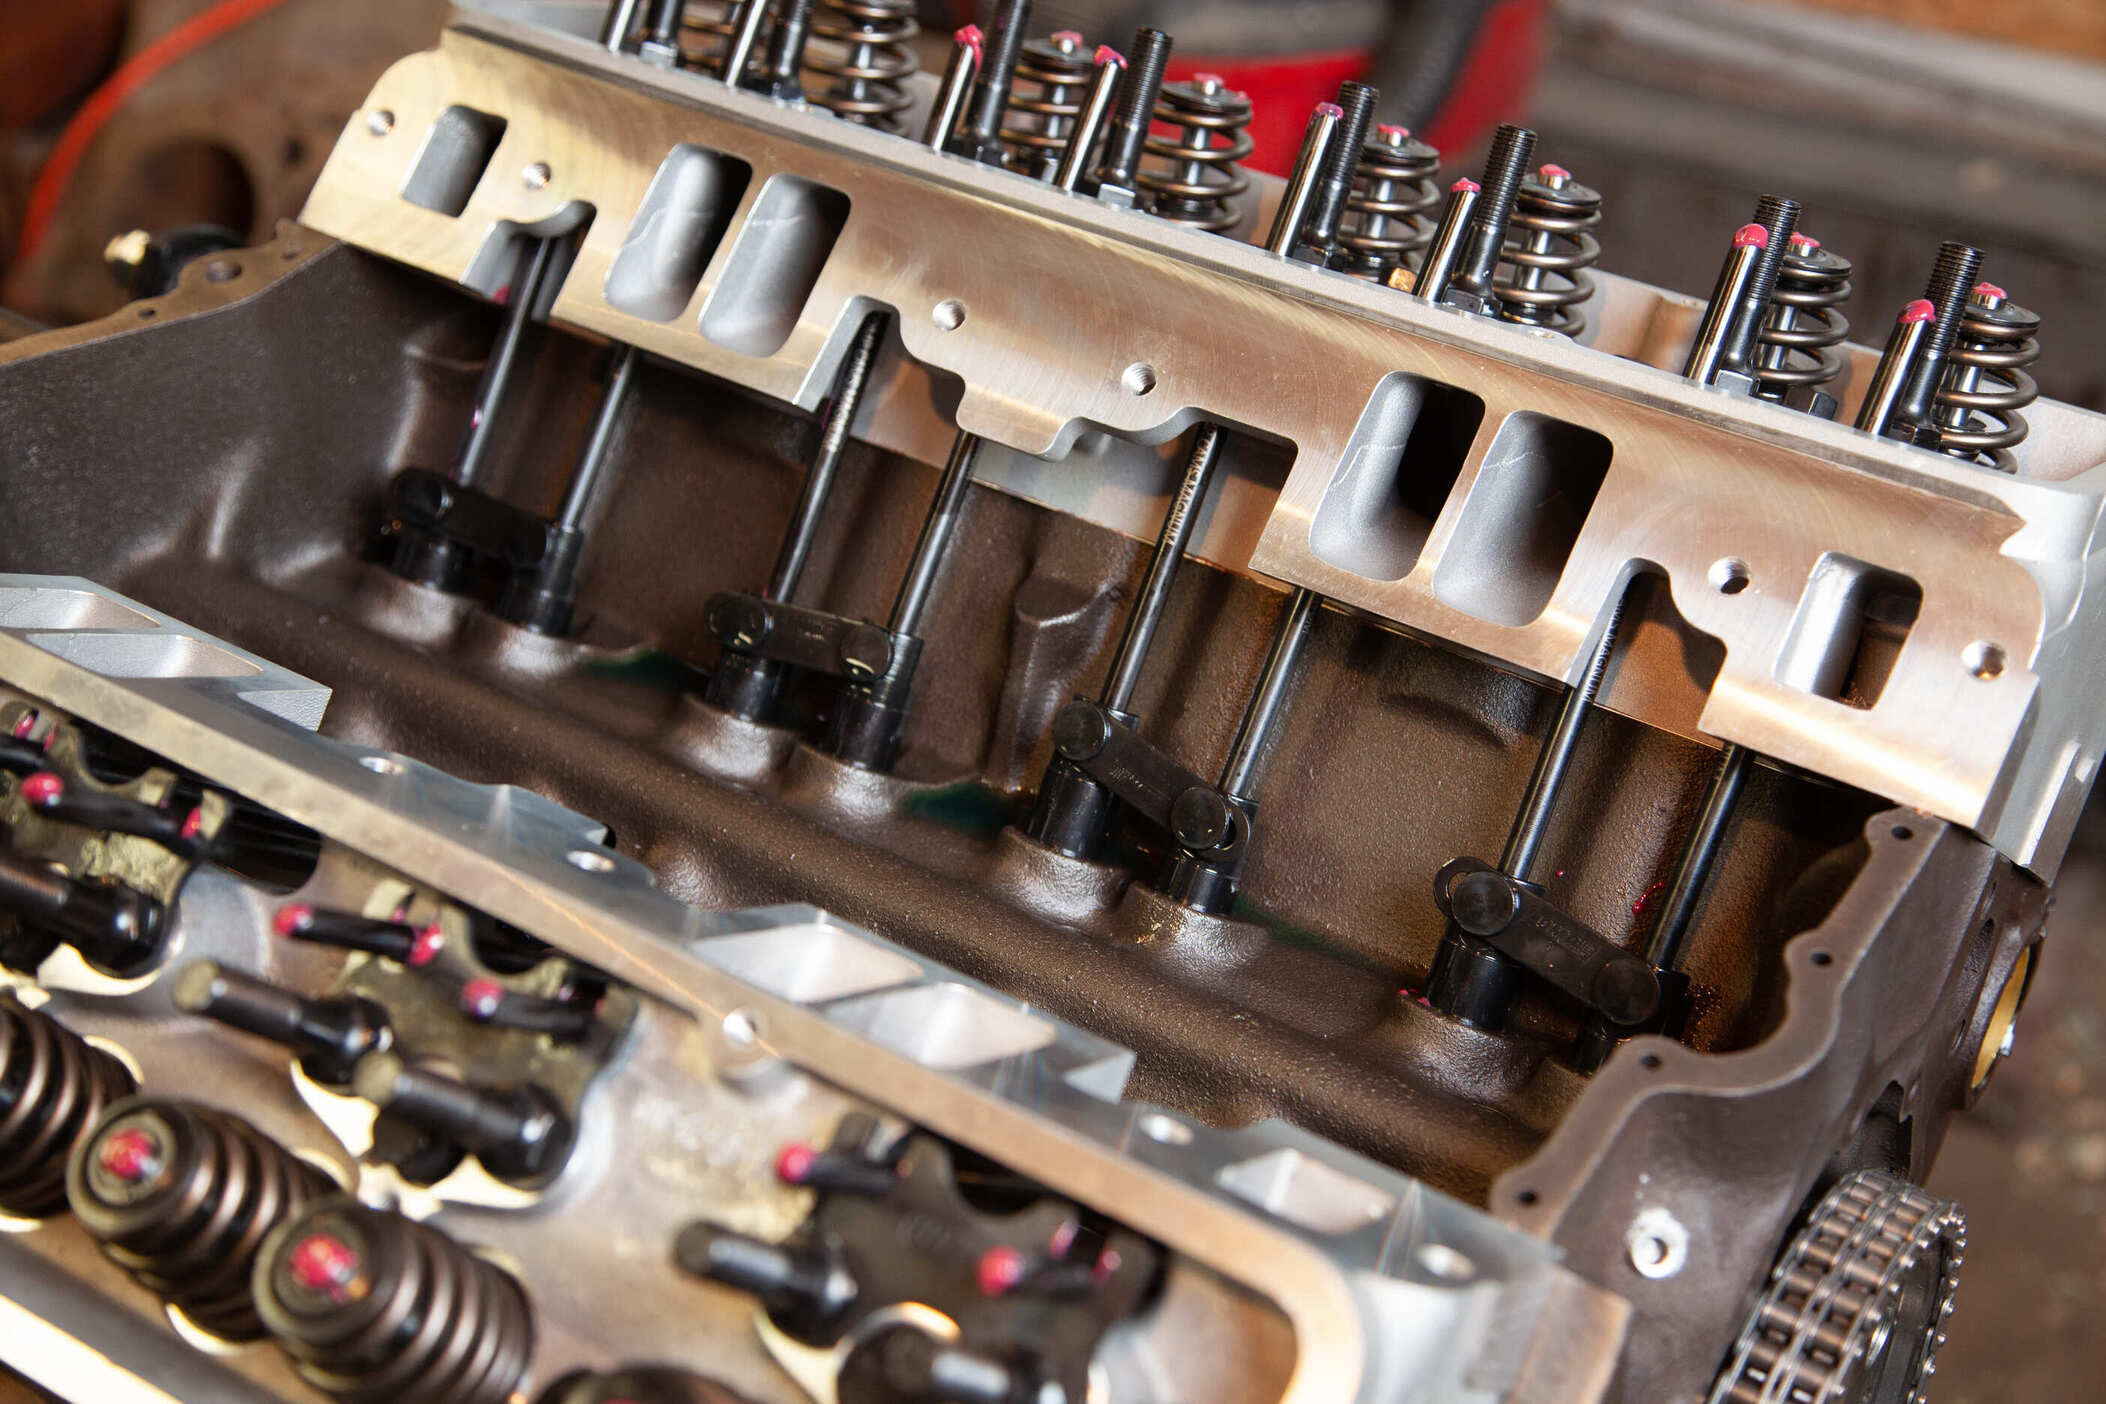
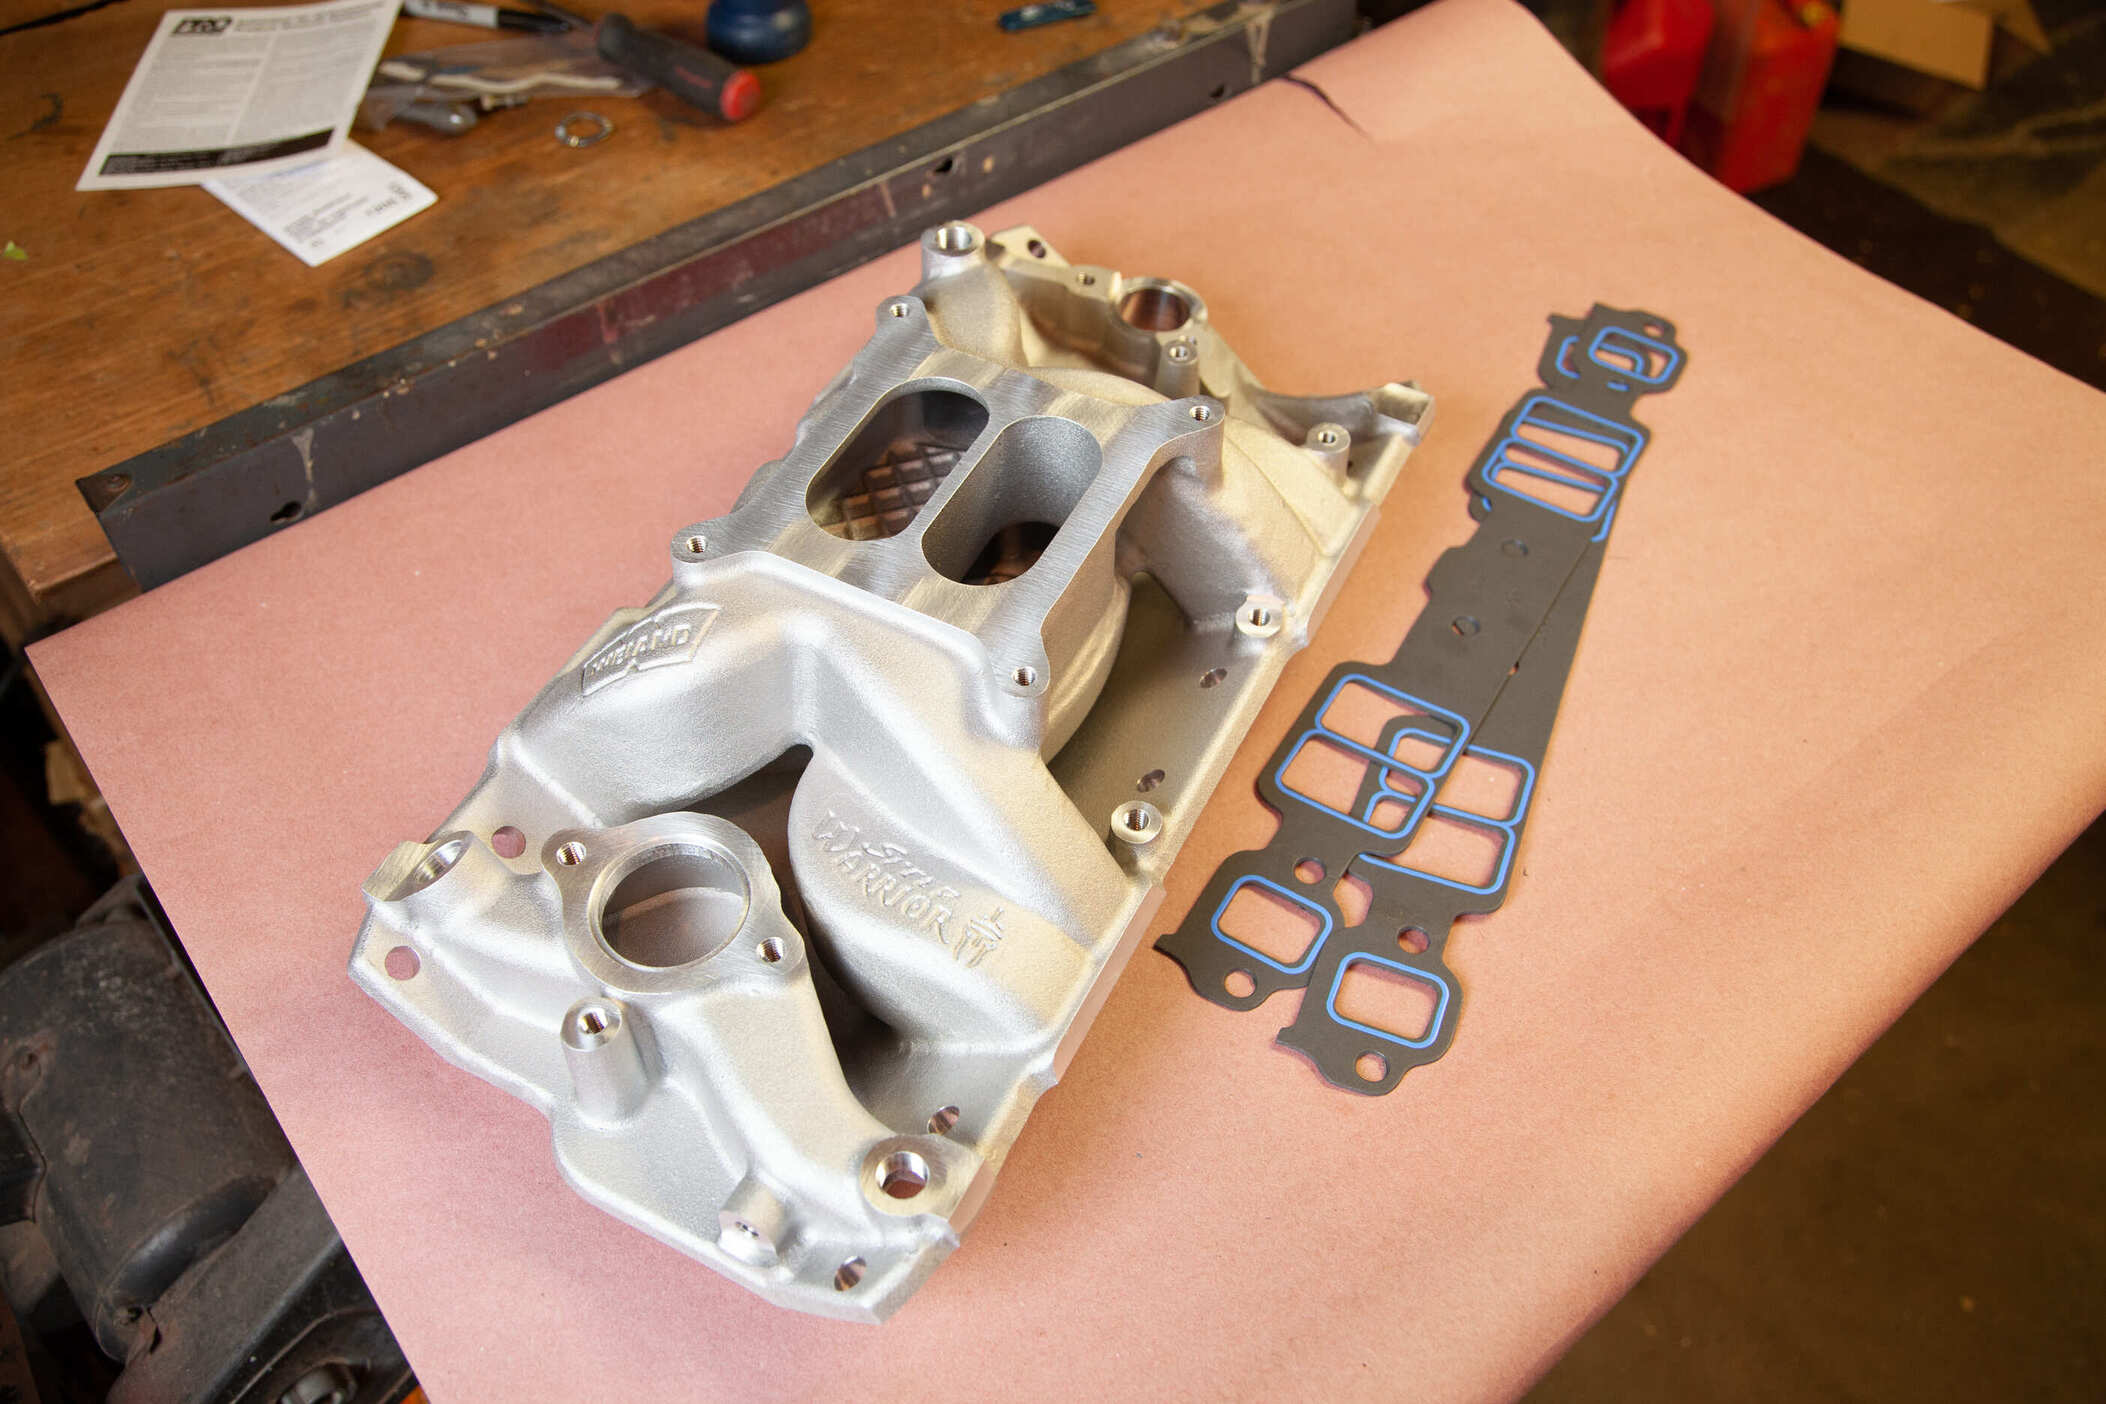
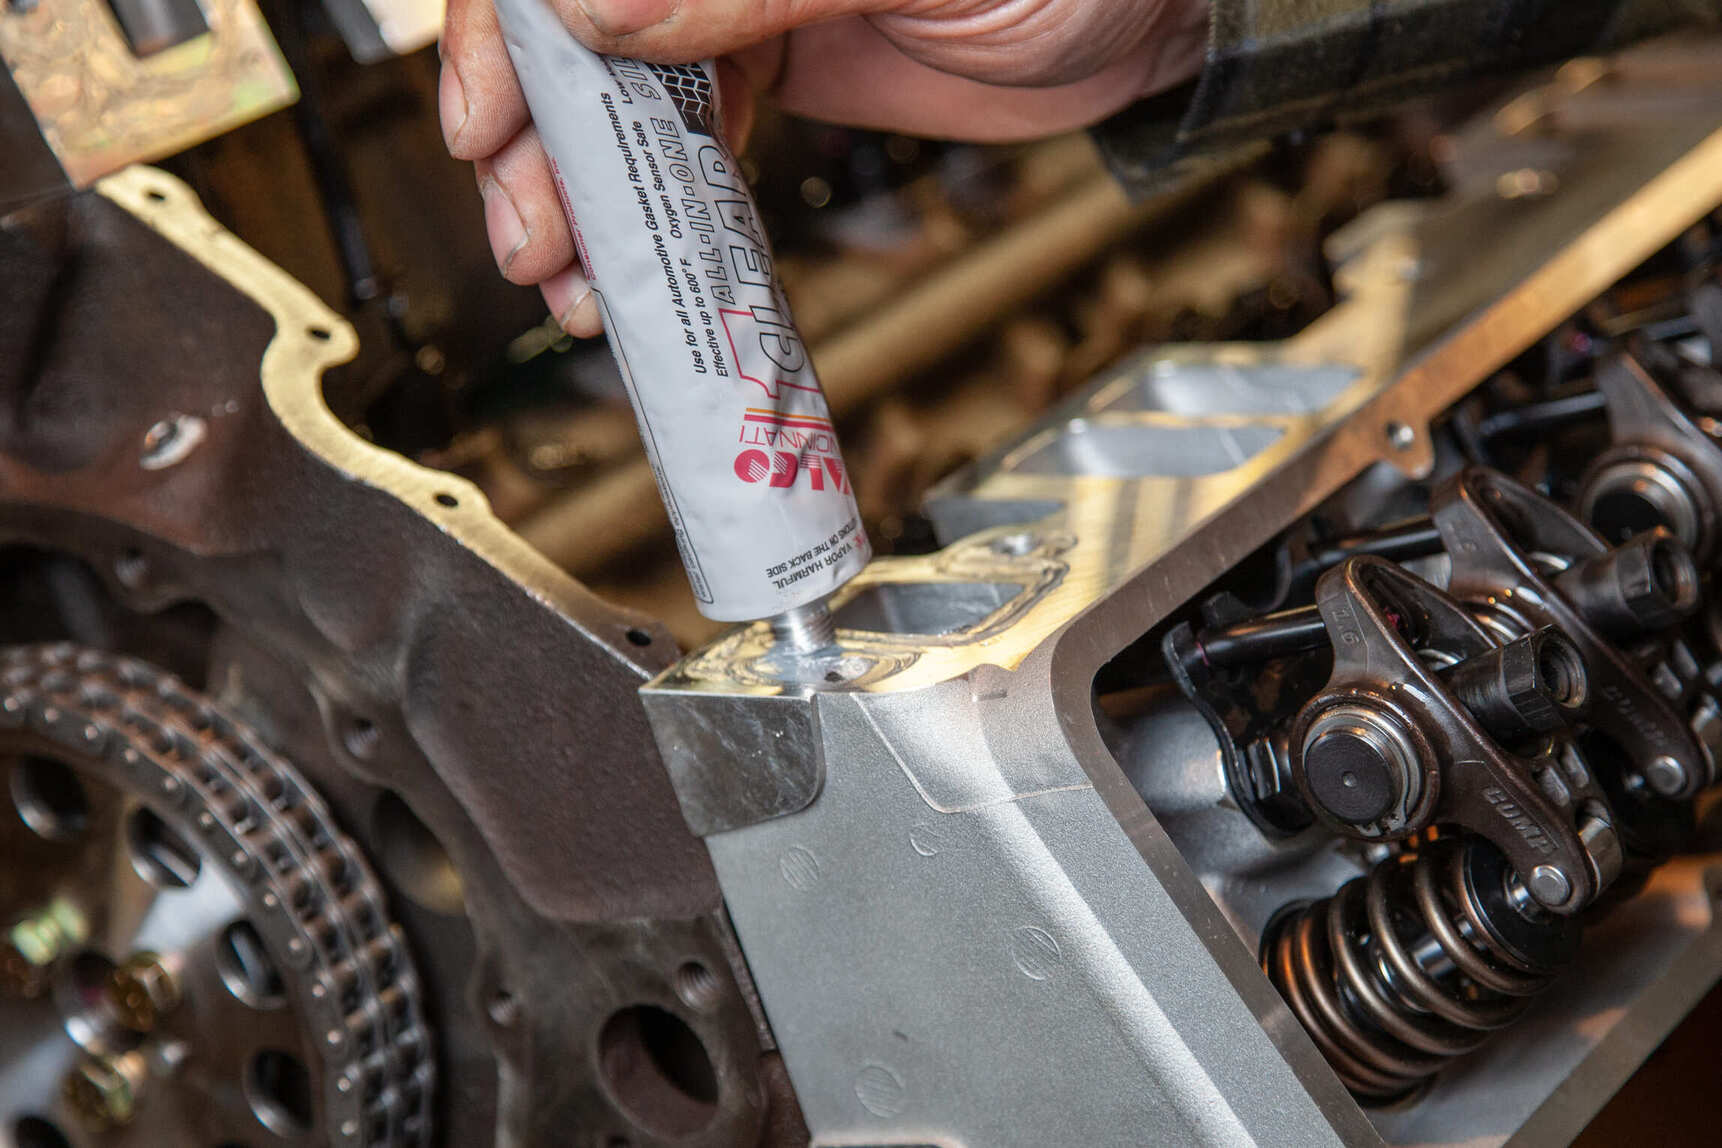
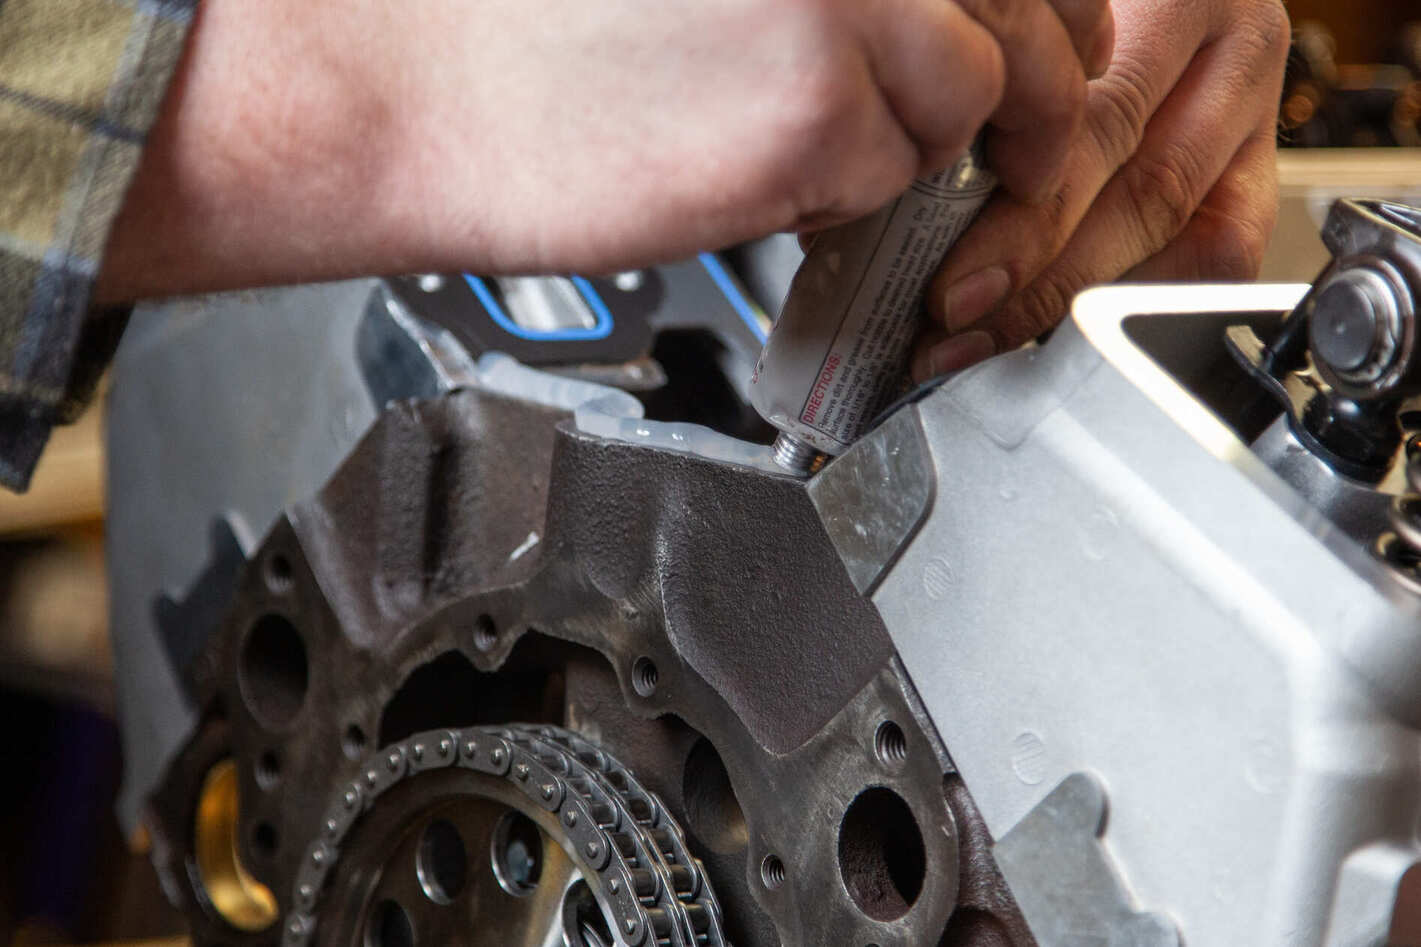
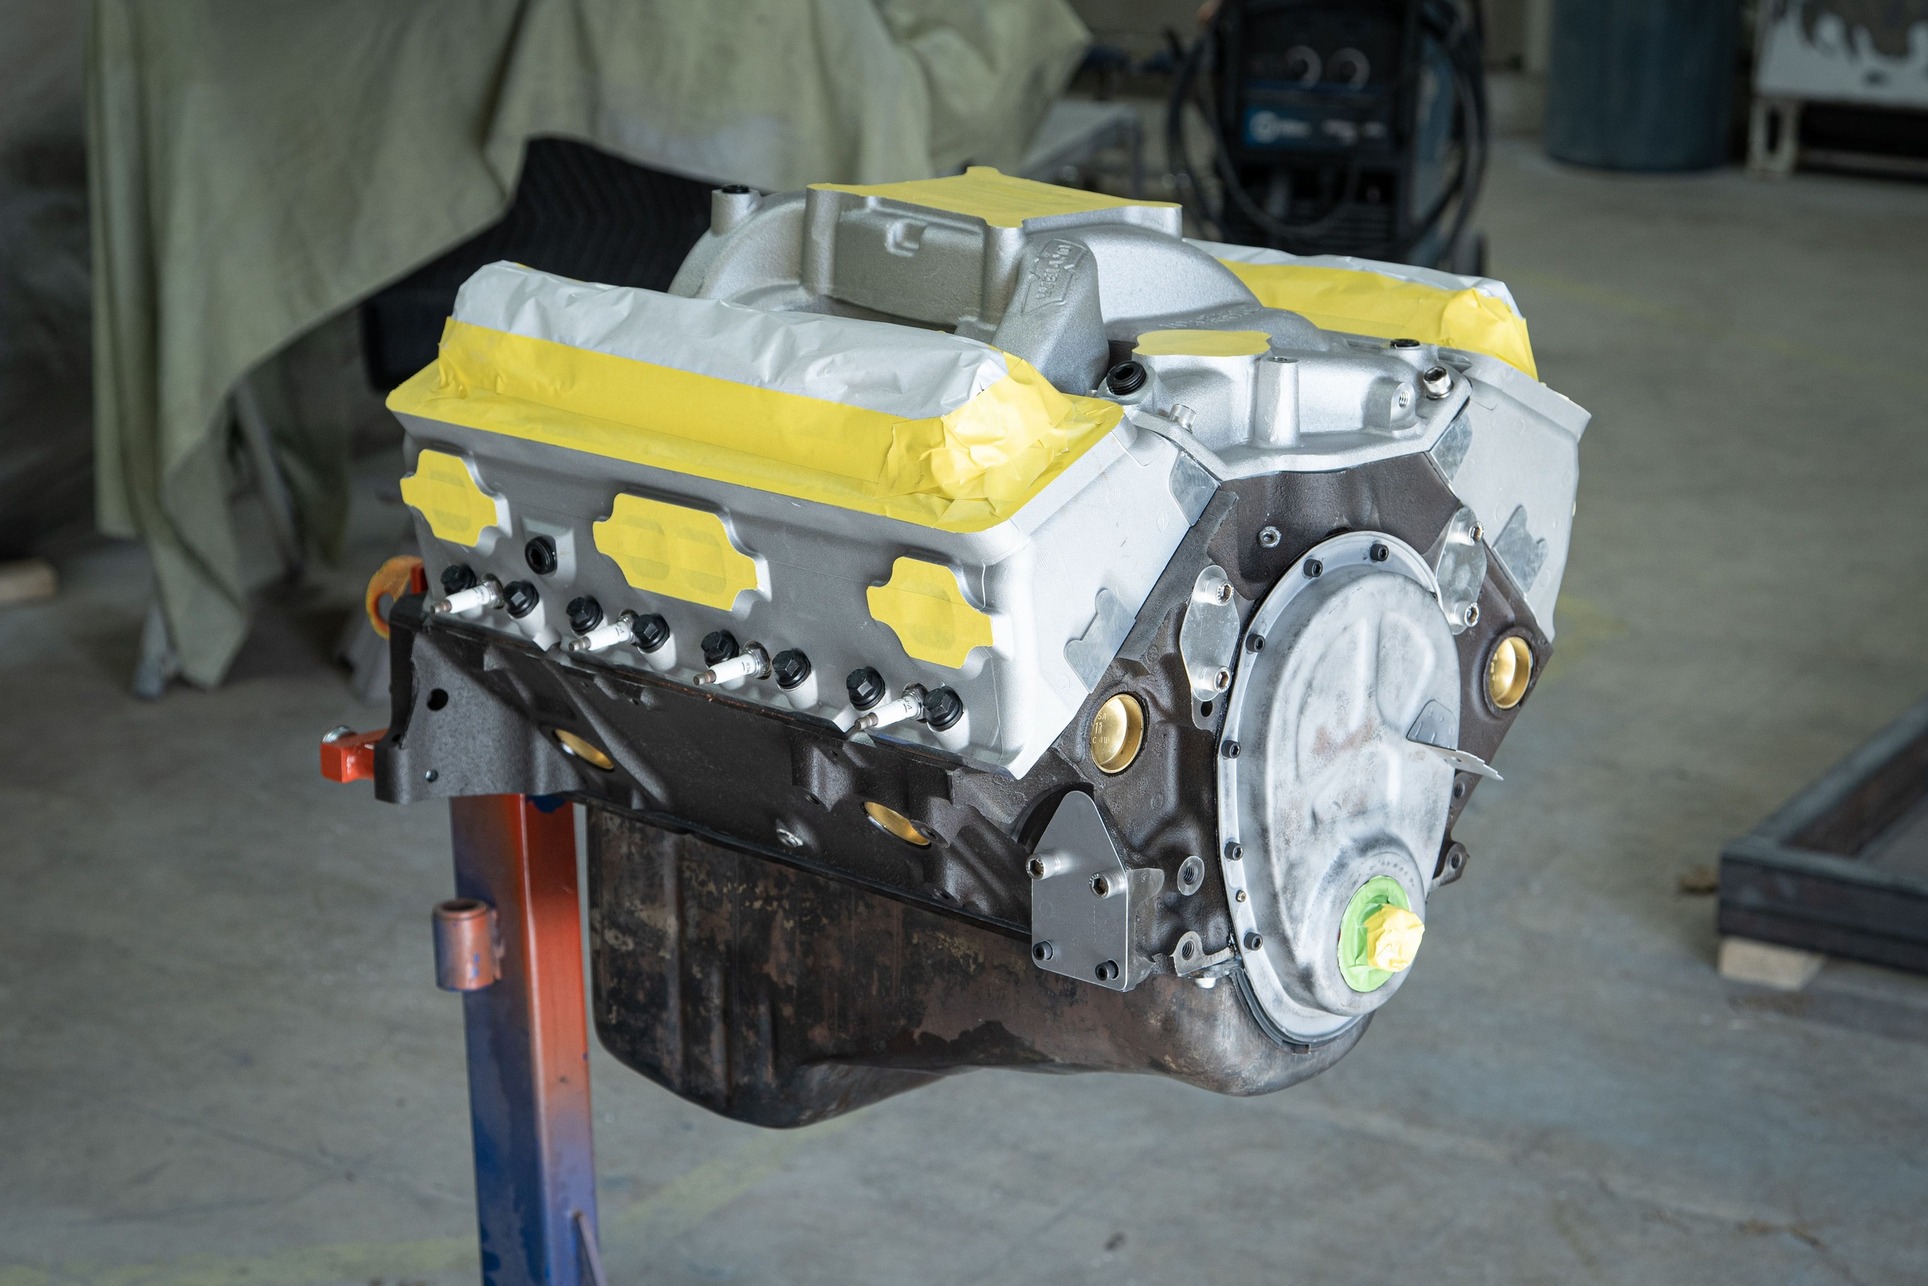
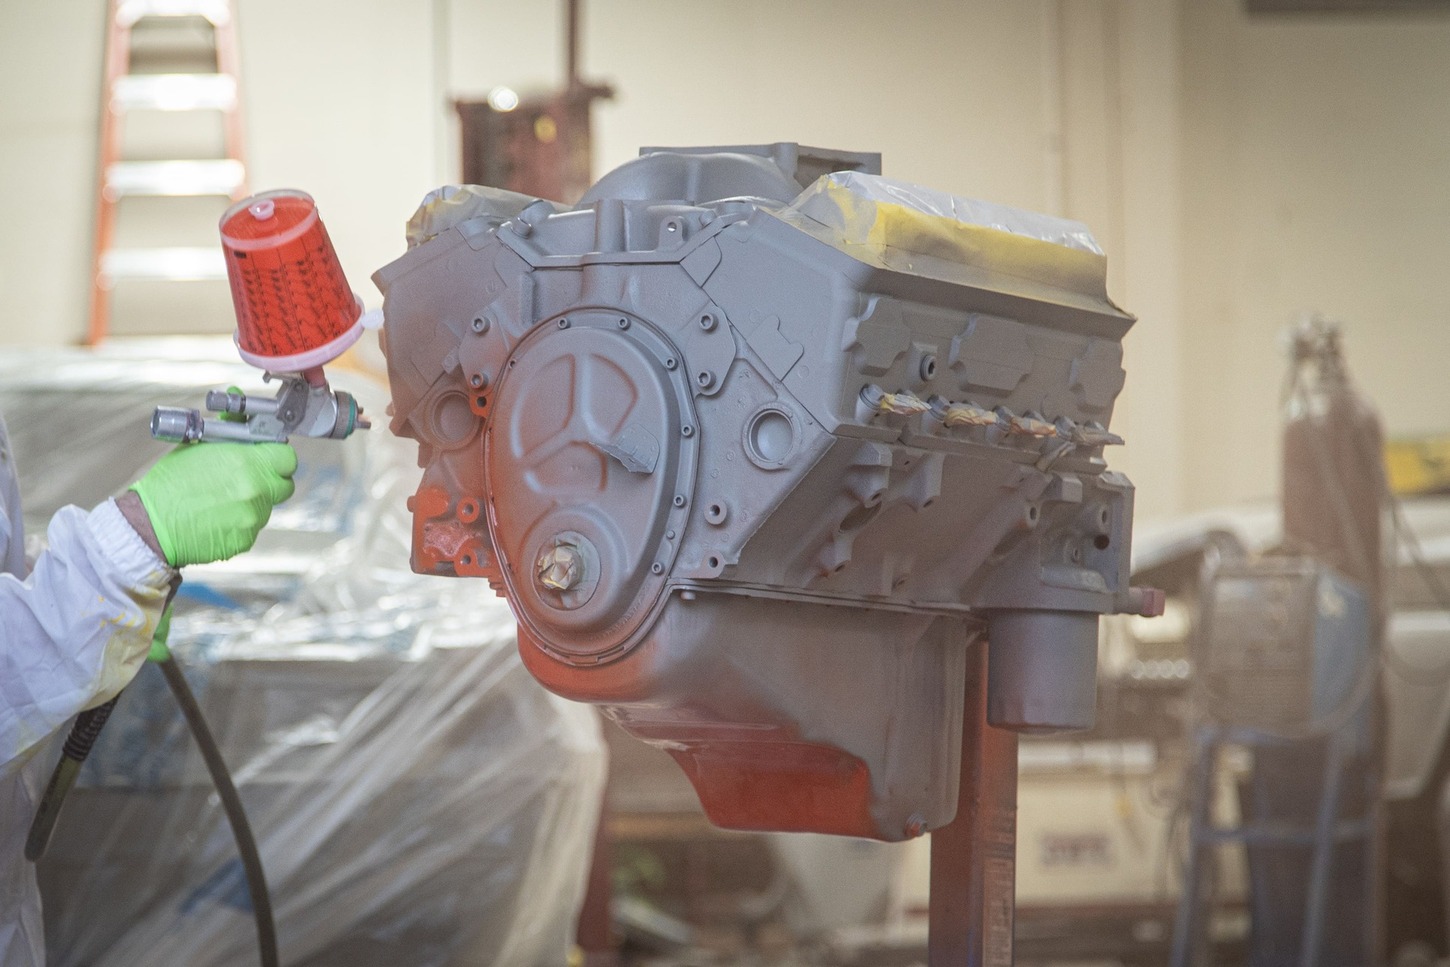
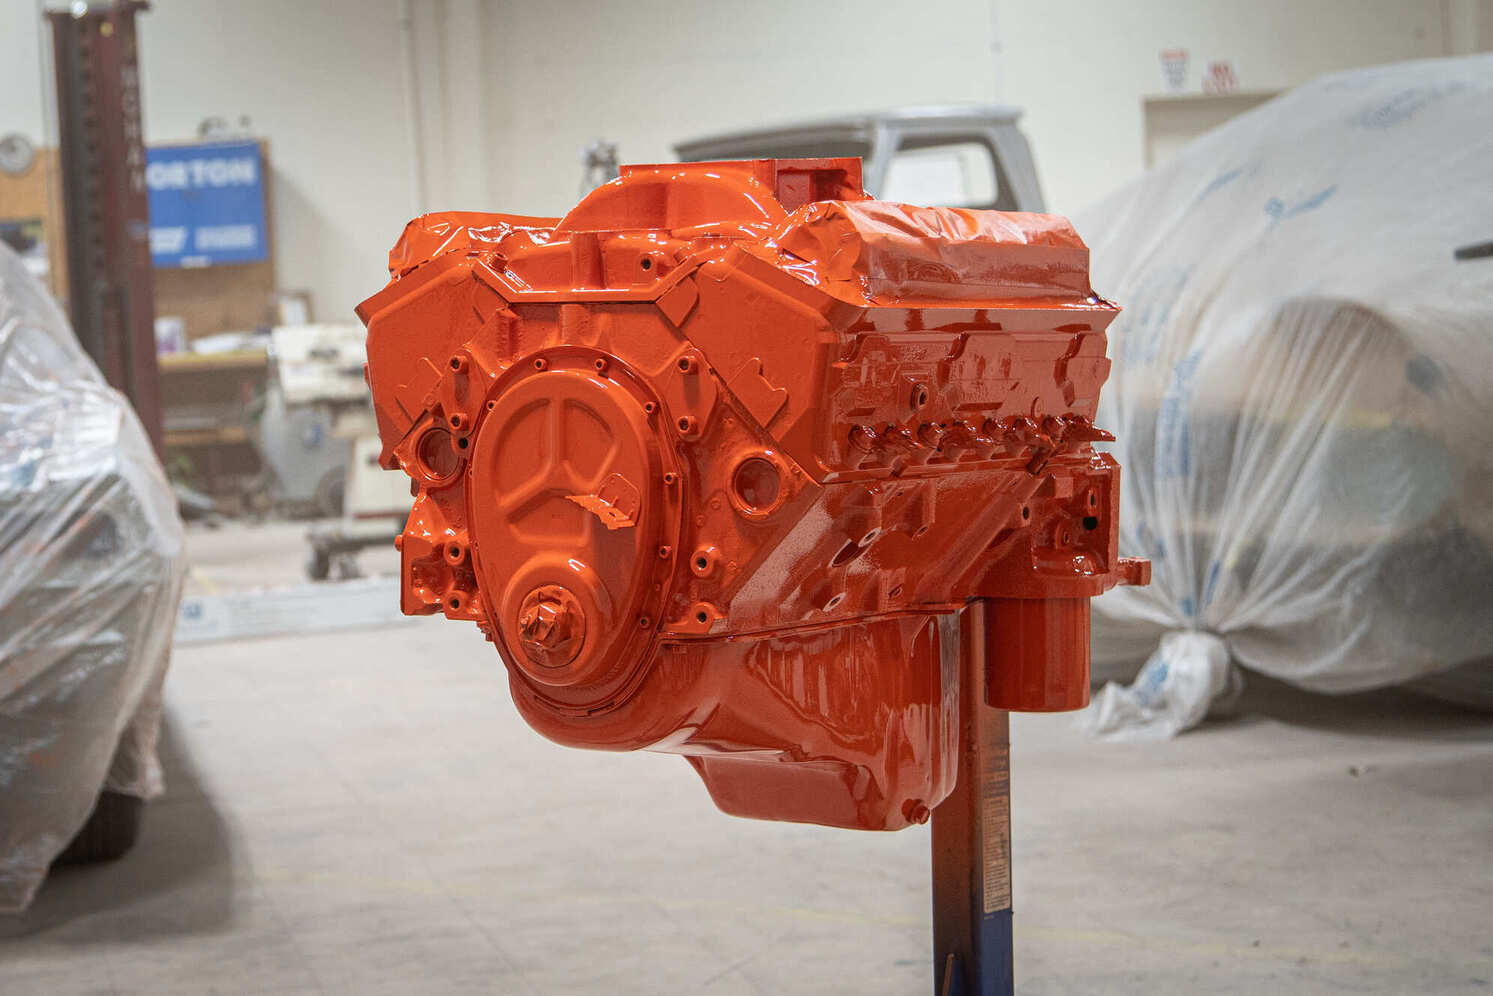
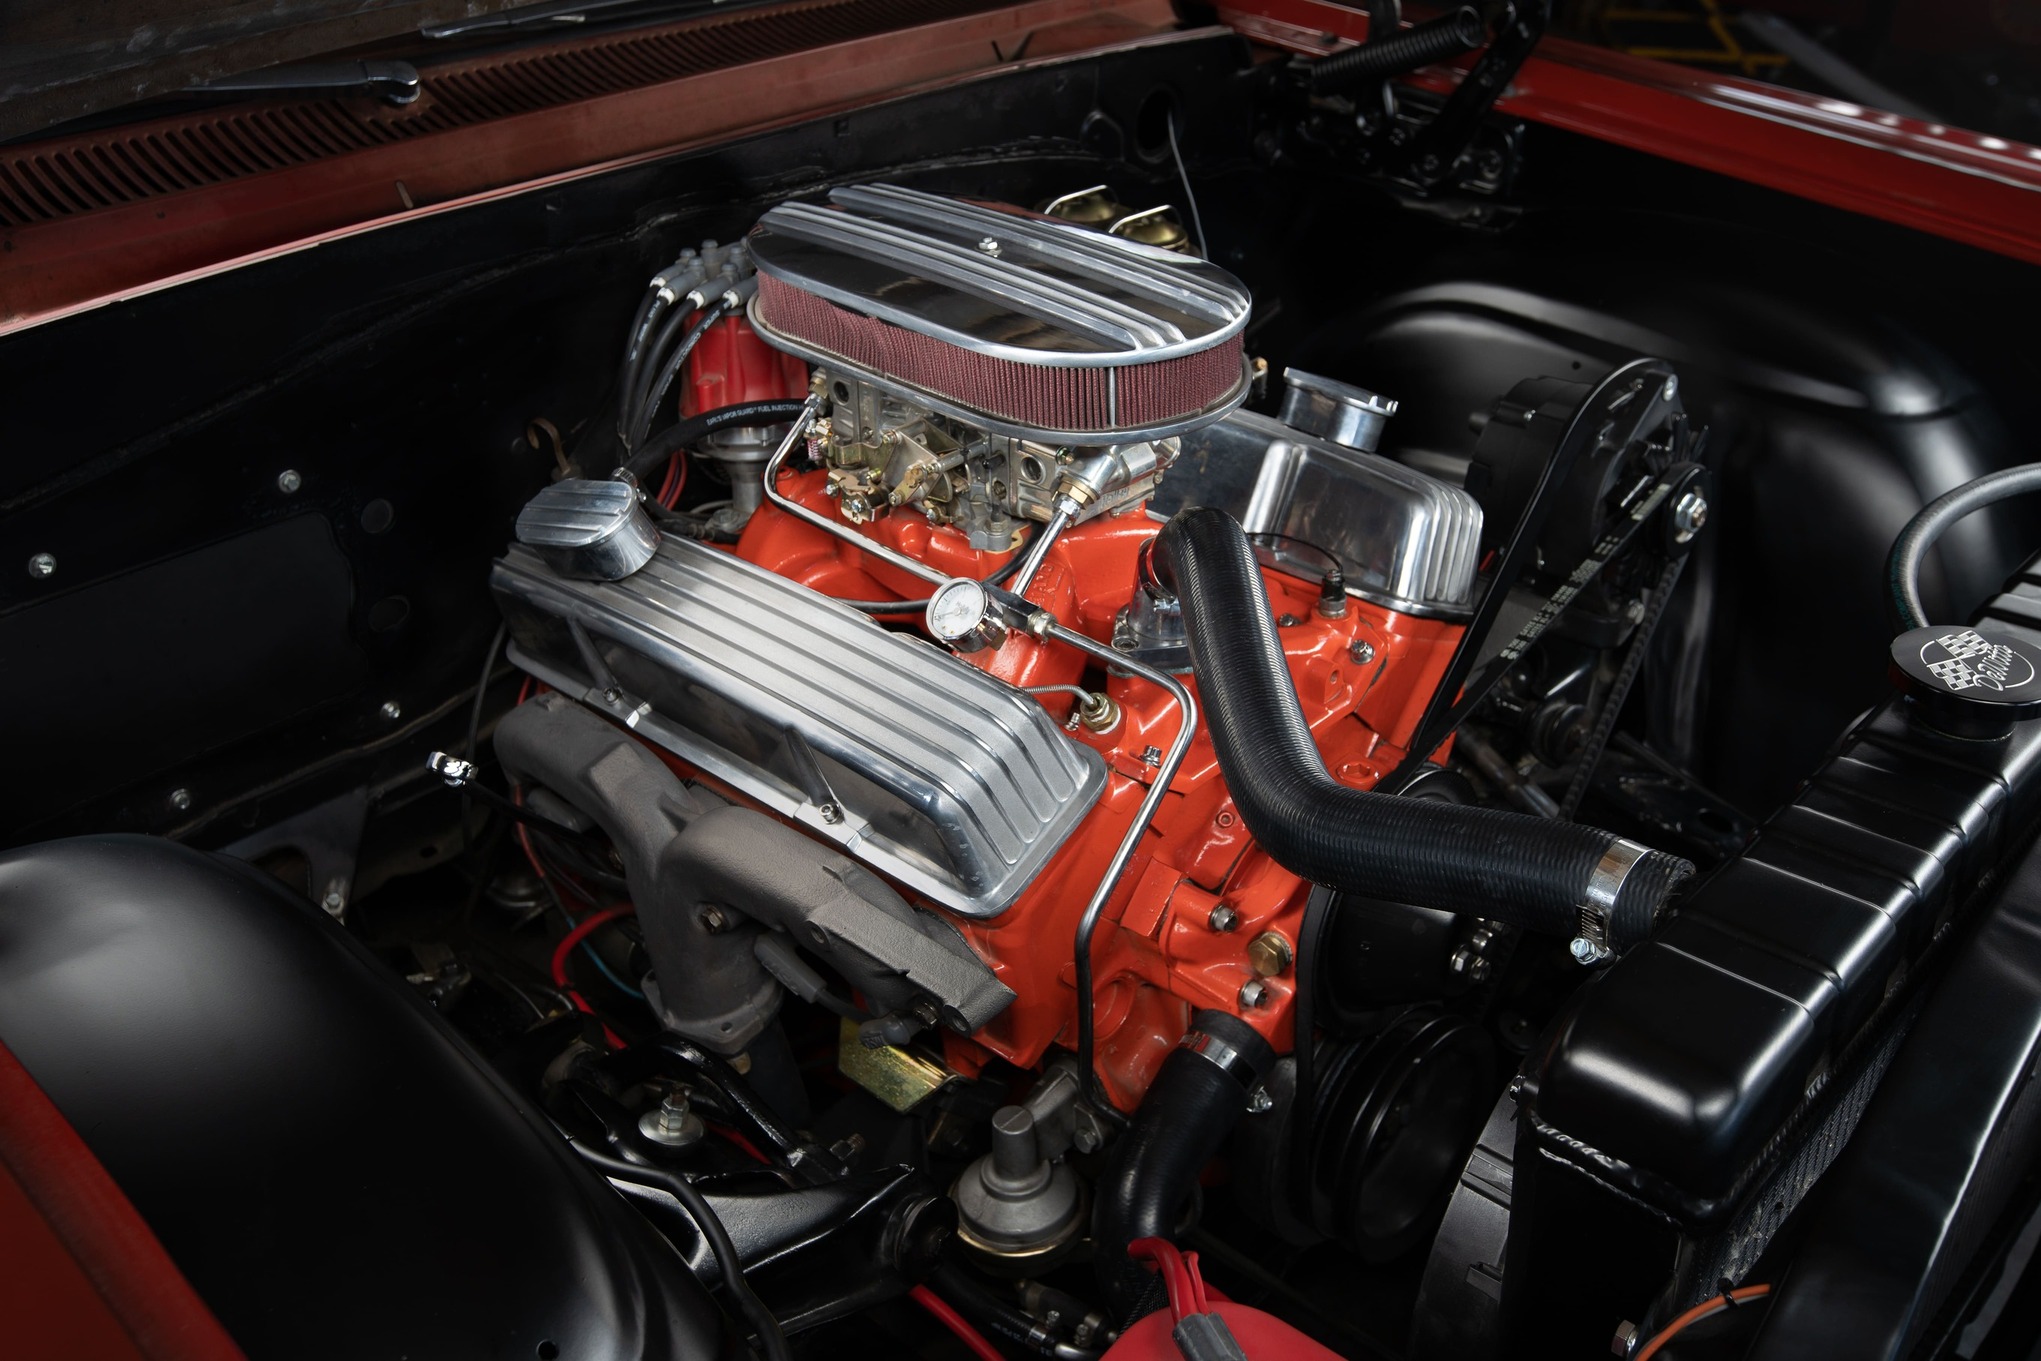
We started by installing the valves with a small amount of assembly lube avoiding any metal-on-metal contact.With the valves installed, spring retainers, locaters, and locks in place, we held a straightedge on the bottom of the spring retainer and verified each spring installed height with a set of calipers. Reference your cam box for the recommended installed height and shim, if necessary.With our spring height verified, we moved onto assembling the rest of the valvetrain components. These valveguides are machined with modern, positive stop stem seals with a 0.540-inch od. We also used a valve stem seal install tool to prevent damage to the seal. Be sure to use a dab of engine oil on each valve stem prior to installing the seal.After the valve seals were in place, we clamped down our springs using a trusty spring compressor tool. It can be helpful to have an extra set of hands here.Next, we installed a set up ARP high-performance 7/16-inch rocker arm studs (ARP PN 100-7101) and Dart (PN DRT-27001110) pushrod guideplates for 5/16-inch pushrods. Note: These heads are designed to only be used with pushrod guides.After the springs were installed, we moved onto installing the heads. We used a set of Fel-Pro’s thin 0.015-inch shim gaskets (PN 1094) for a little extra compression. We applied a coat of copper gasket spray to each head gasket before installing.We used a new set of ARP head bolts and applied some thread sealer before torquing the heads. Speedway recommends torquing the heads to 50-65-80 lb-ft.We installed a set of Comp Cams Short Travel Retro-Fit hydraulic roller lifters (PN 15853-16). Before install, we let them soak in a can of engine oil to be well lubricated.Checking for the pushrod length we used Manley’s pushrod length tool (PN 42132) and adjustable-length tool set (PN 7705) to verify the length of our pushrod. Make sure your lifter is setting on the base circle of the cam lobe (valve closed) before checking this measurement. We came up with Comp’s 7.300 and ordered a set of Magnum pushrods for guideplates (PN 7609-16).After the pushrods are installed and before installing the rockers, we applied a dab of assembly lube to every contact surface.Here’s a look at our lifters and pushrods prior to installing the rocker arms. We rotated the crank to TDC #1 to begin our tightening procedure on the rocker arms.Note the trunnion seat on these Comp roller rockers—the poly locks can only seat against the flat side of the trunnion—be sure this side faces up when installing the rockers.With the spark plugs removed and engine at TDC #1 cylinder, we set all the loose rockers to zero lash (slight resistance spinning the pushrod in your finger), then turned the engine over 180 degrees at the crank and repeated the step. Last, we added a half turn of preload to each of the lifters and locked down the poly locks.We picked out a high rise/dual plane Weiand Speed Warrior intake (PN 8501WND) promoting a broad rpm powerband. The best matched set of intake gaskets are Fel-Pro’s (PN 1205) that also have rubberized coolant port seals.Before installing the intake, instead of using coolant jacket gasket seals, we typically use a high-temp sealer around the outside water jacket ports on the top and bottom of the intake gasket. This also helps hold your intake gasket in place prior to installation.We also applied about a ¼-inch bead of sealer to the front and rear valley rails—this technique has been proven time and again over a factory-type rubber seal.After installing the intake, we final-torqued it to 25 lb-ft, starting at the inside moving outward and let the sealer cure before moving onto paint.We ran the engine over to our local paint shop and prepped it for paint. A factory timing cover and oil pan was installed before we taped off necessary ports and prepped the surfaces for paint by scrubbing with wax and grease remover several rounds.A three-part epoxy primer/sealer was applied …… before laying on three heavy coats of single-stage Chevy Orange.Here is the engine dropped in our ’63 Chevy Impala and dressed in a set of Speedway Motors tall finned aluminum valve covers, Corvette-style 2½-inch Ram Horn–style exhaust manifolds—topped with a Holley 750-cfm double-pumper carb and a Speedway Motors 12-inch dual finned air cleaner to tie it all together.
We use cookies to ensure that we give you the best experience on our website. If you continue to use this site we will assume that you are happy with it.