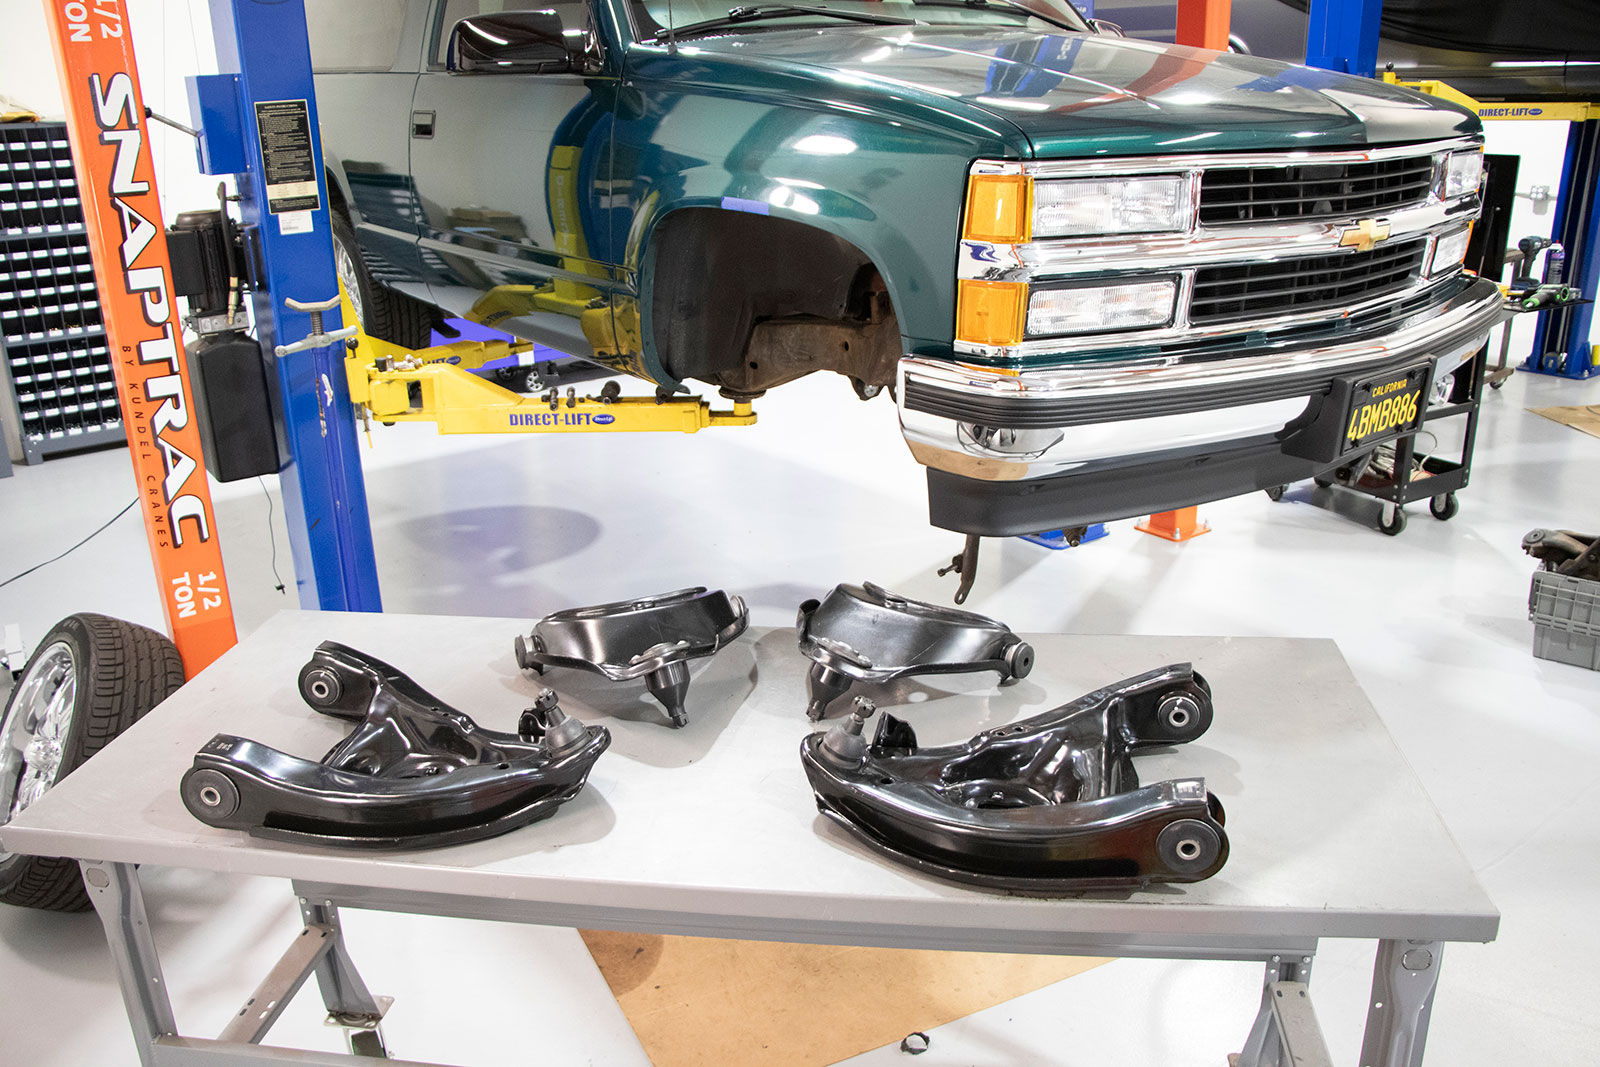
With the help of Duralast, our 1998 Tahoe will be riding better than new again thanks to a complete line of replacement suspension components, including control arms, steering linkage, and new monotube shocks.
Our Daily Driver 1998 Tahoe gets a Suspension Overhaul With Duralast Parts
By Todd Ryden – Photography by Taylor Kempkes – Videography by Ryan Foss Productions
The Chevy OBS truck series, known in 1988 as the GM T400 transmission platform when introduced, was all new from the ground up. The series ran through a successful decade of hard-working trucks, along with Tahoes and Suburbans, and today are sought after by truck enthusiasts.
We’re lucky enough to have a two-wheel drive Tahoe that serves as a daily driver and remains mostly stock. But, at 25 years old, there are plenty of worn-out pieces that need replacing to keep the rig riding and driving as nice, and safely, as one would expect. One area that was overdue for some maintenance and attention was the front suspension.
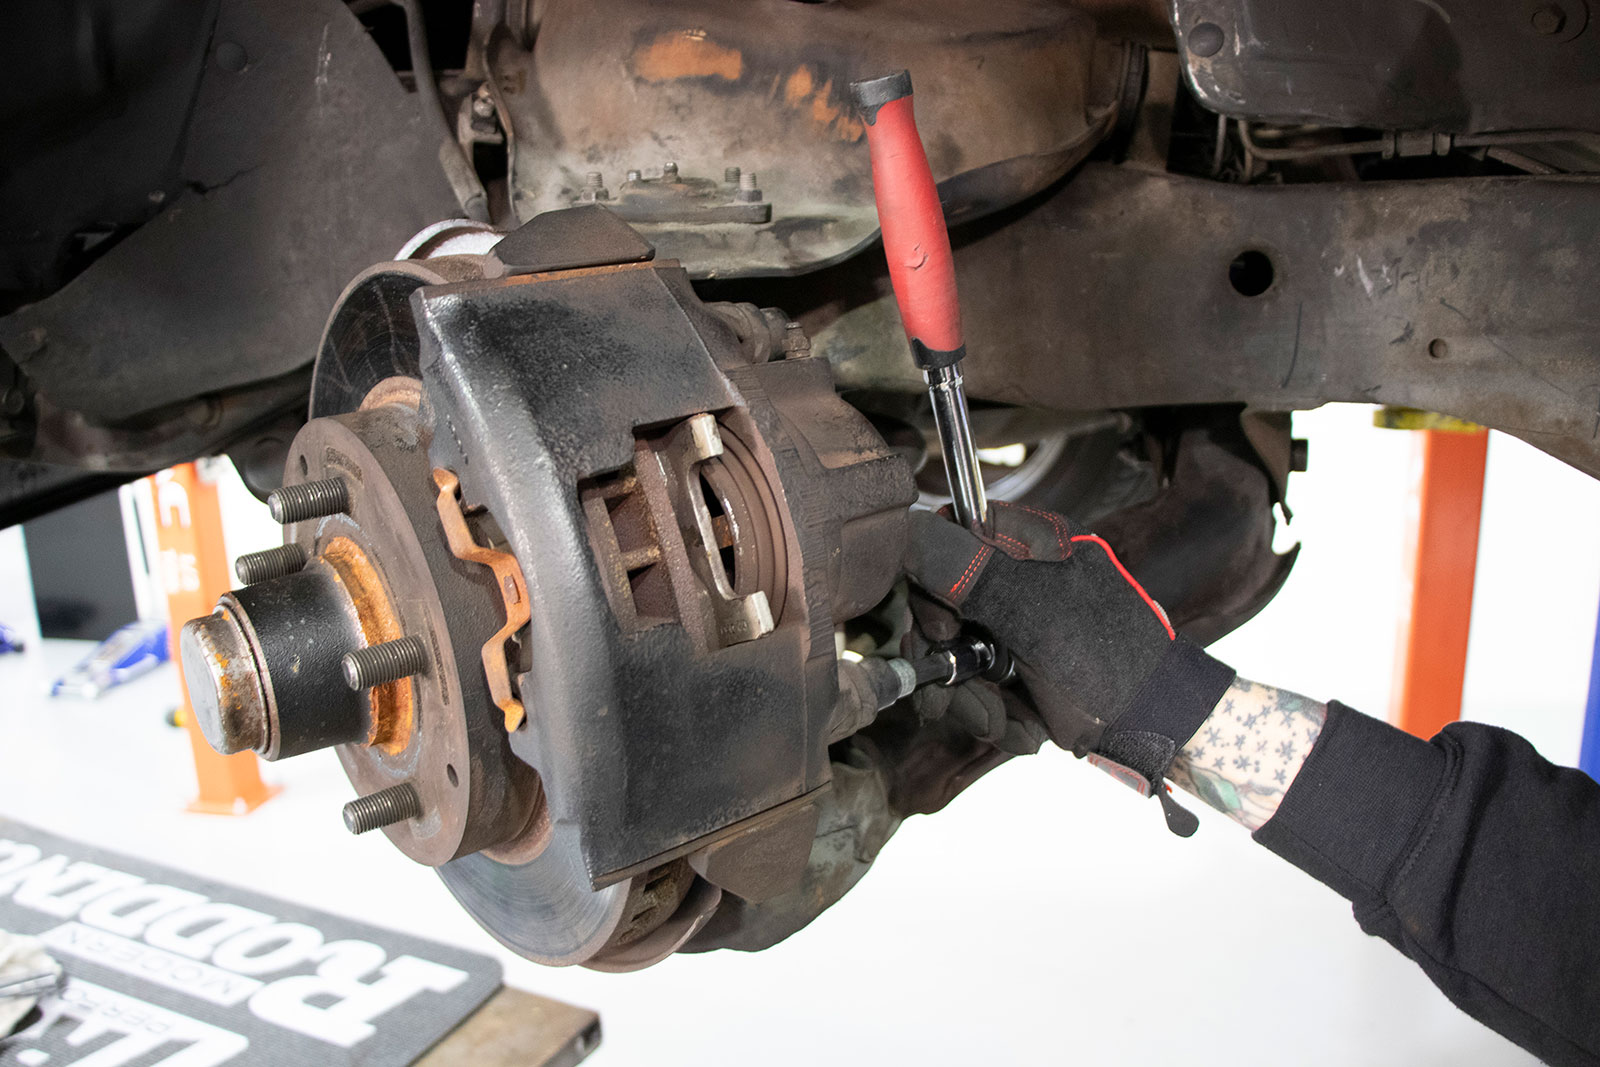
With the Chevy OBS safely raised off the floor, we went to work on the frontend by removing the calipers followed by the brake hose mount from the control arm.
As a daily driver, this Tahoe sees it all, from carrying loads, to road trips, and a lot of running around in stop/go traffic. The plan was to keep things simple and rebuild the suspension with stock-style replacement parts that were designed to meet or exceed the factory specifications. To answer our needs, we turned to Duralast.
The parts we needed to rebuild our 1998 Tahoe’s suspension were easy to look up and select. We ended up choosing Duralast’s complete control arm assemblies as a huge time saver rather than rebuild our factory units. They do offer direct-fit bushings and ball joints in their Gold series line that are engineered to be improved, stronger-than-factory replacements, which is why we chose to update the steering linkage. Lastly, a new set of monotube shocks were selected for the front and rear.
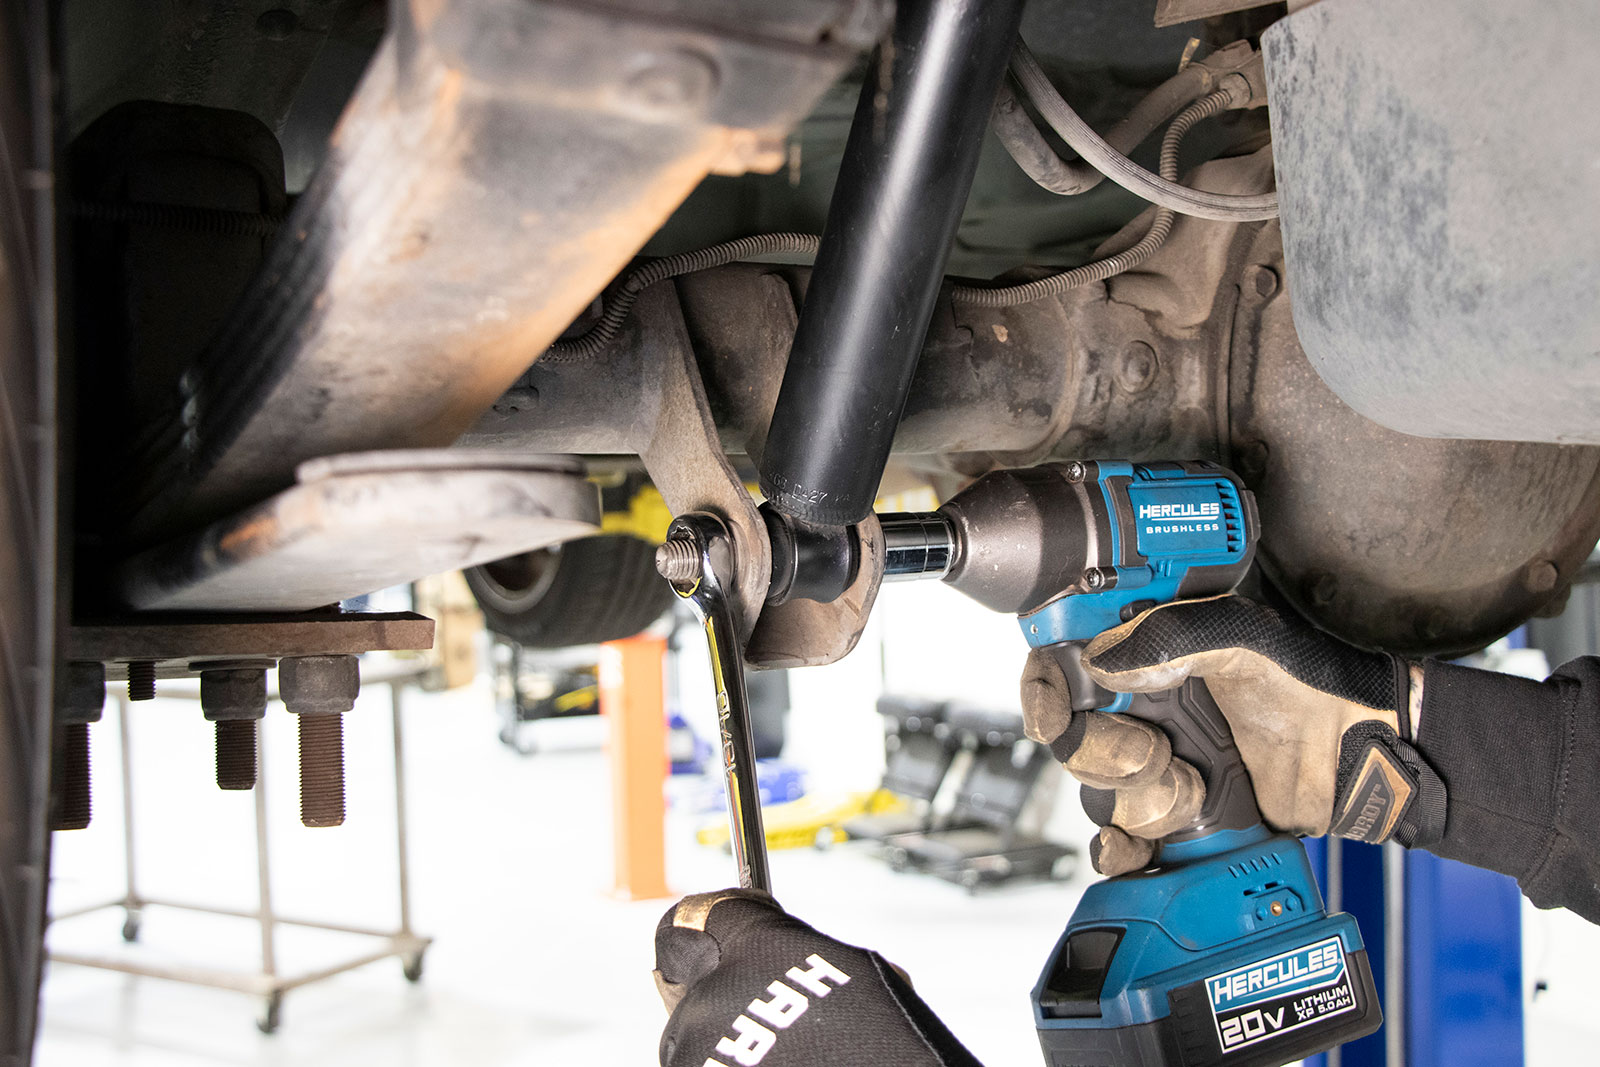
The worn-out shocks were unbolted and pulled out to make way for the new Duralast Shocks.
With all of our new parts on hand, we set about the installation project. The control arm assemblies were stamped of serious heavy-gauge steel and come out of the box ready to bolt-in with fresh ball joints and bushings. These proved more helpful than we even expected since we didn’t have to press the old ones out, clean the old arms, and install new parts. The arms simply bolted right in place as expected from Duralast.
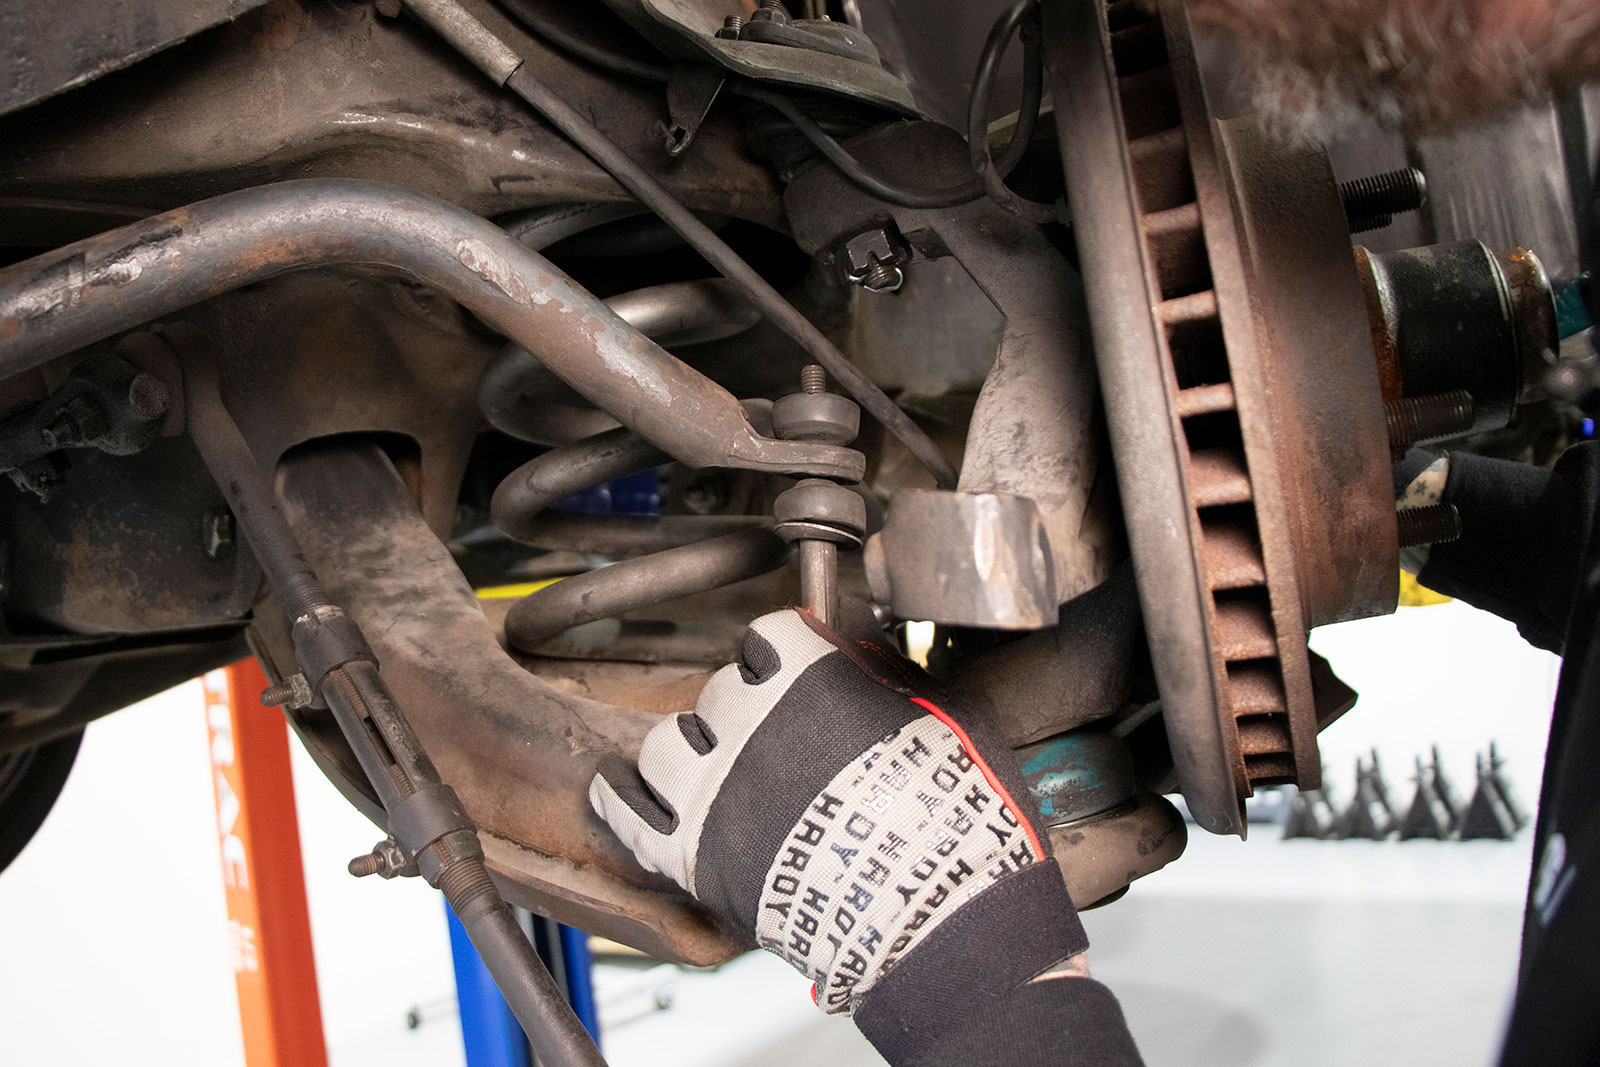
With the outer tie rod removed we set about taking off the sway bar. The end links and bushings will be replaced before reinstalling the factory bar.
By the end of the day, the Tahoe was dropped back on the ground with its new suspension. The first drive felt tighter, nicer, and just better. Once we get the alignment done and dialed in, we’ll be ready for miles of smooth, trouble-free cruising. CTP
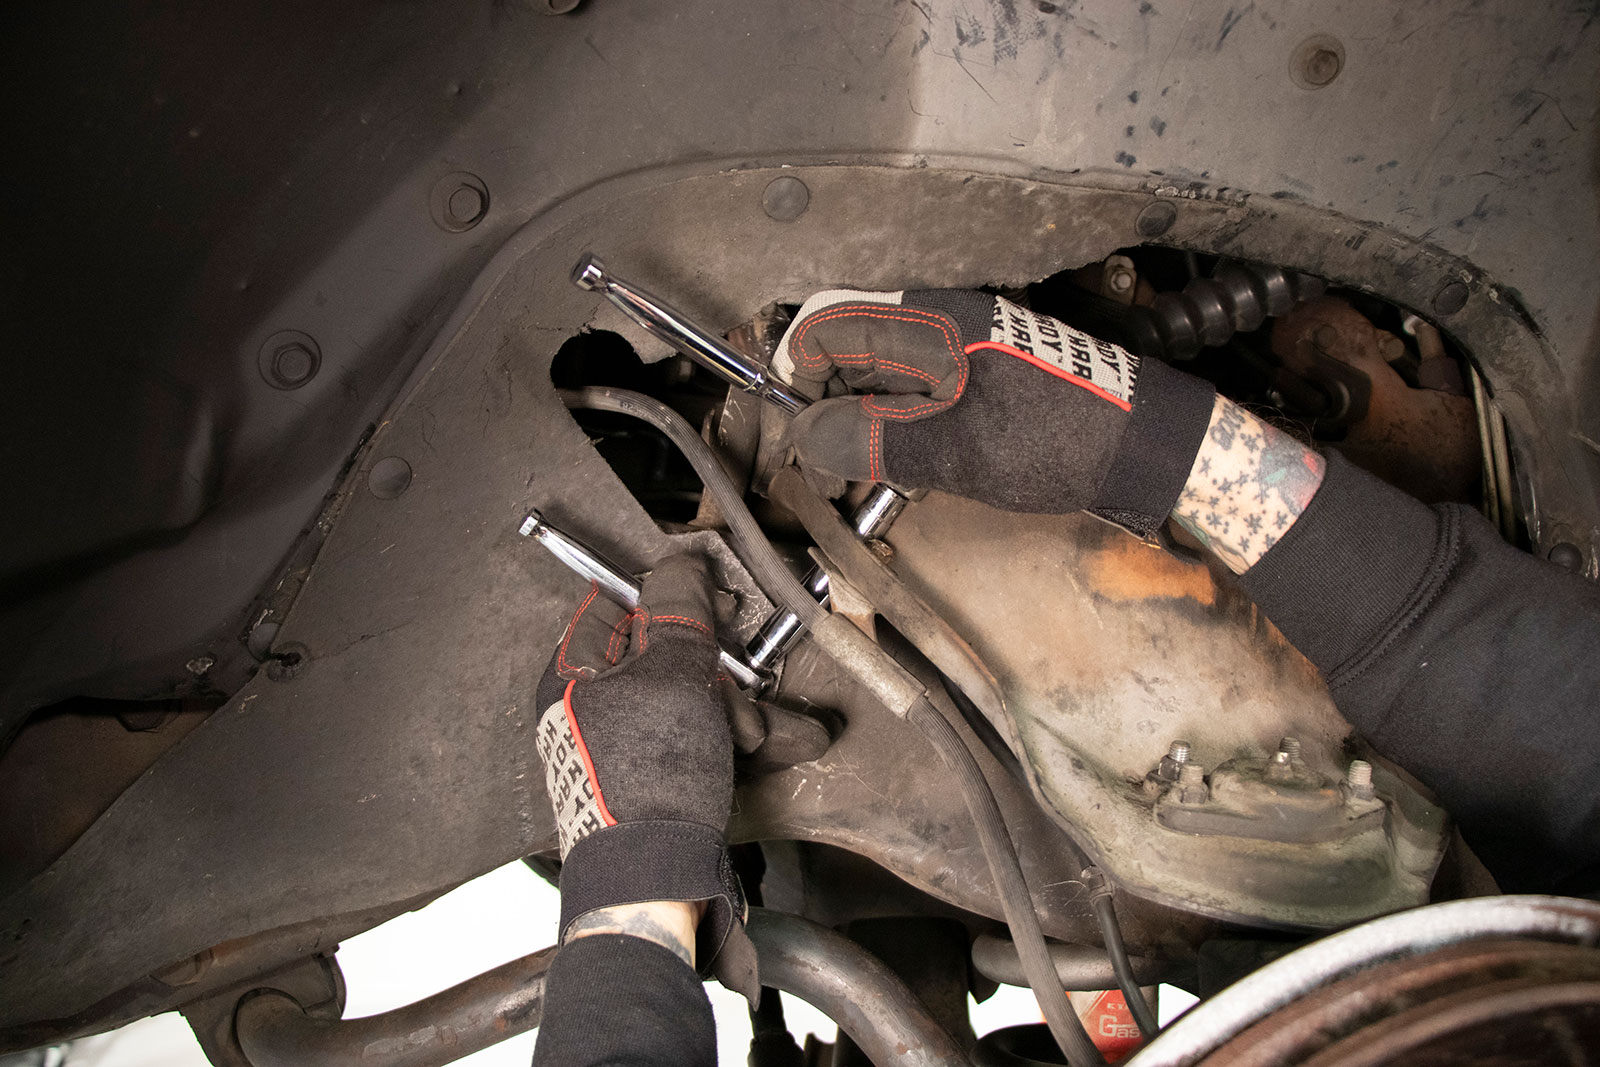
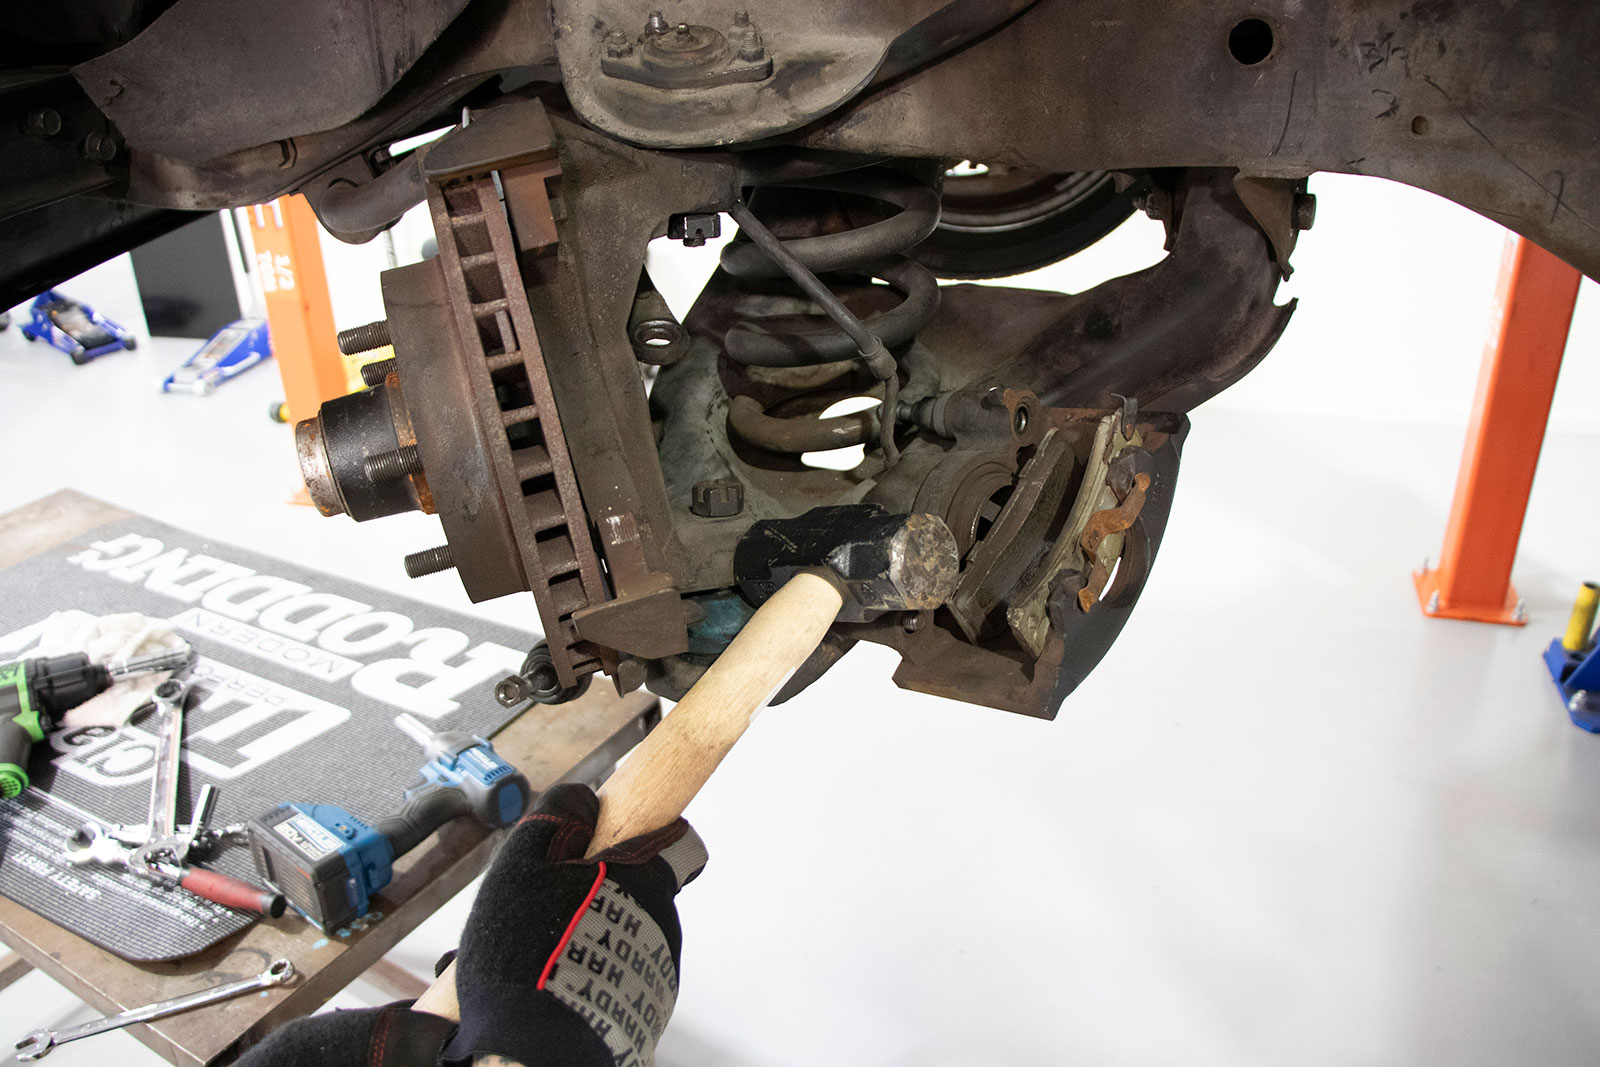
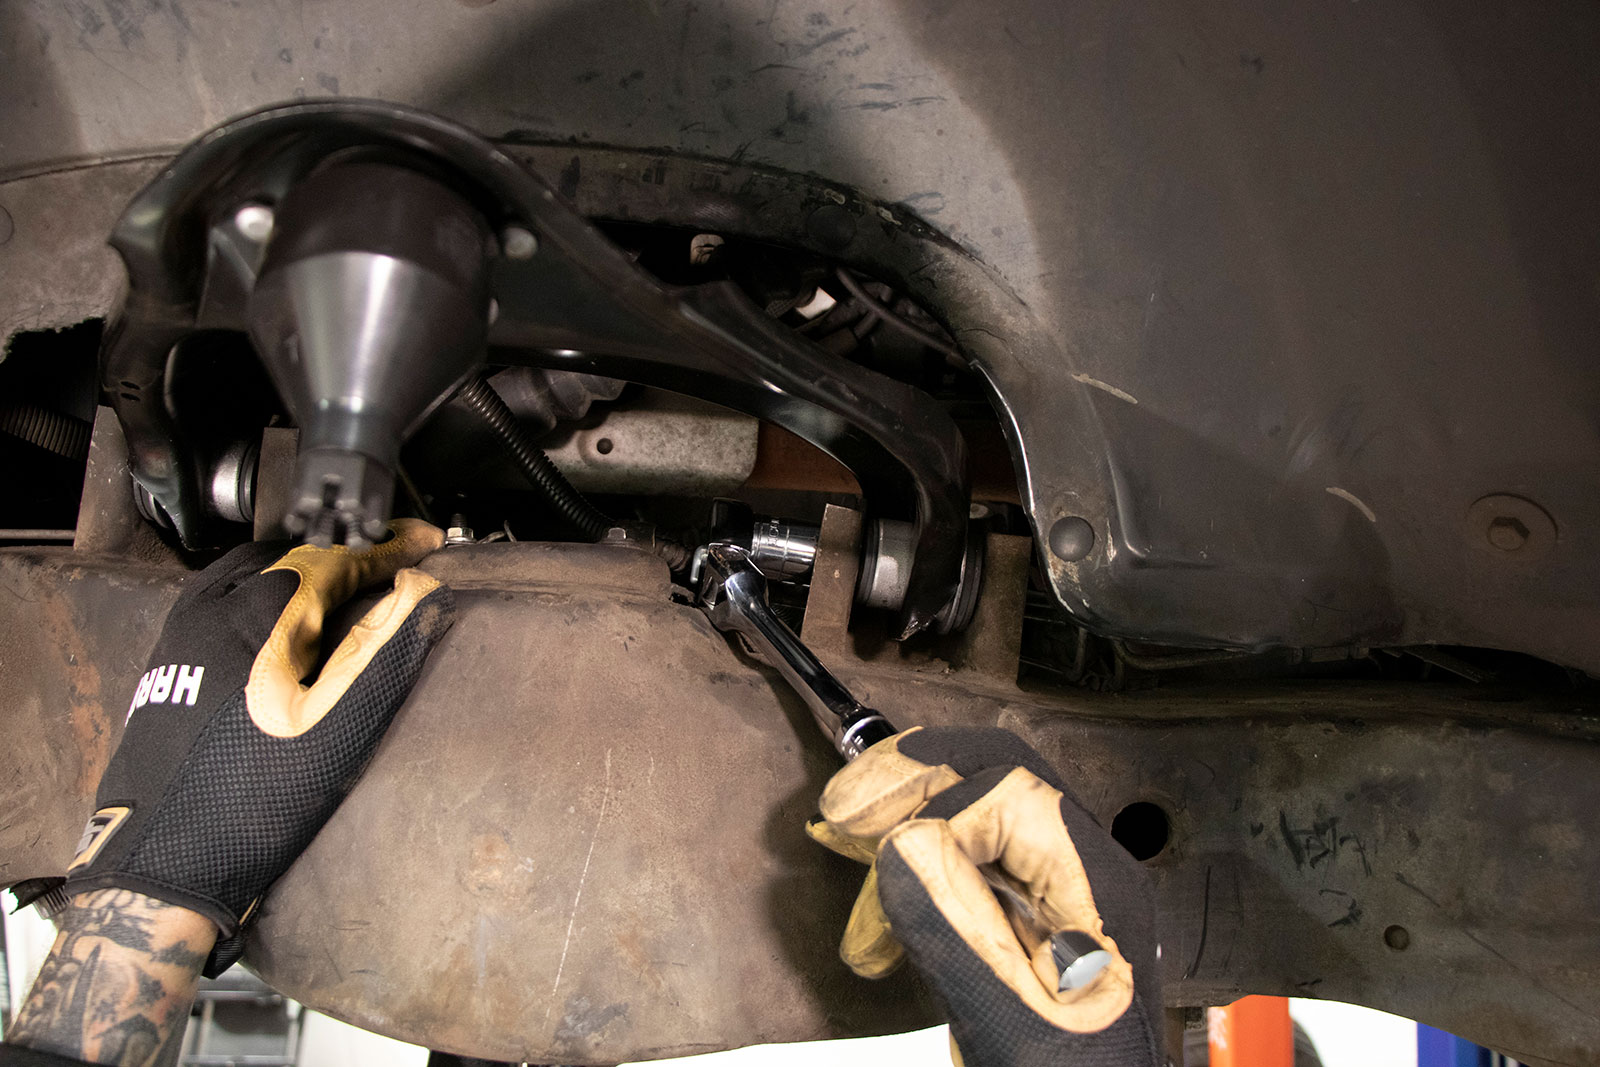
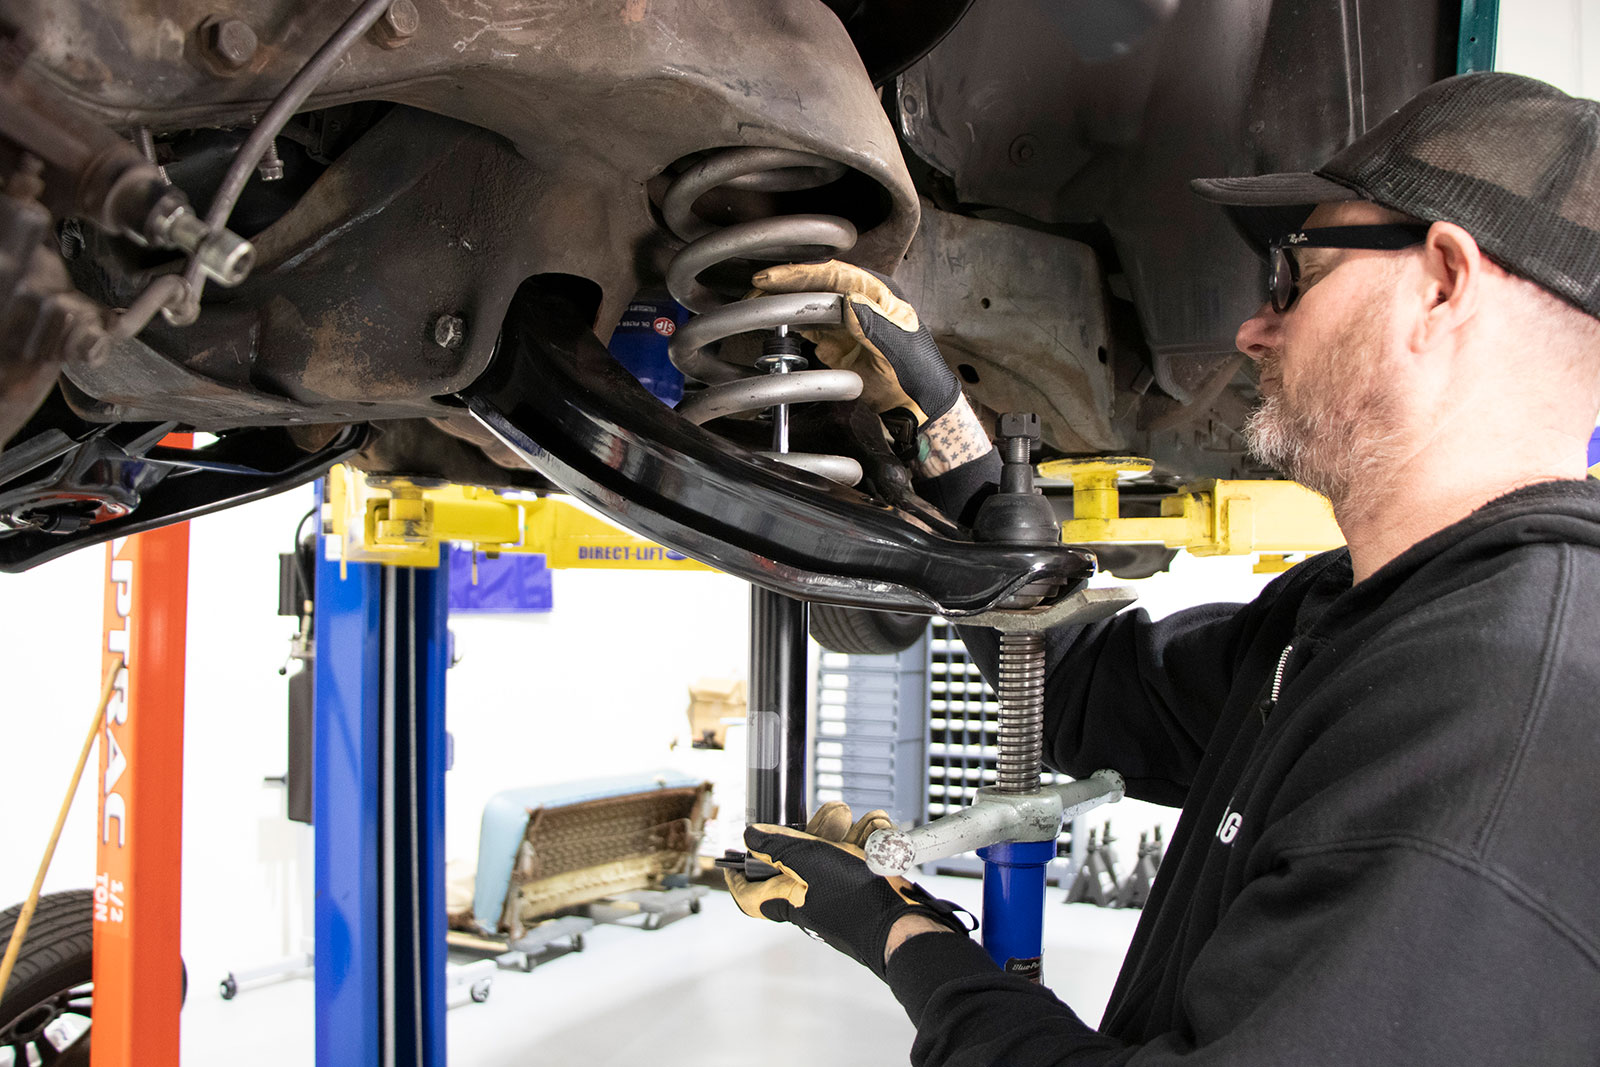
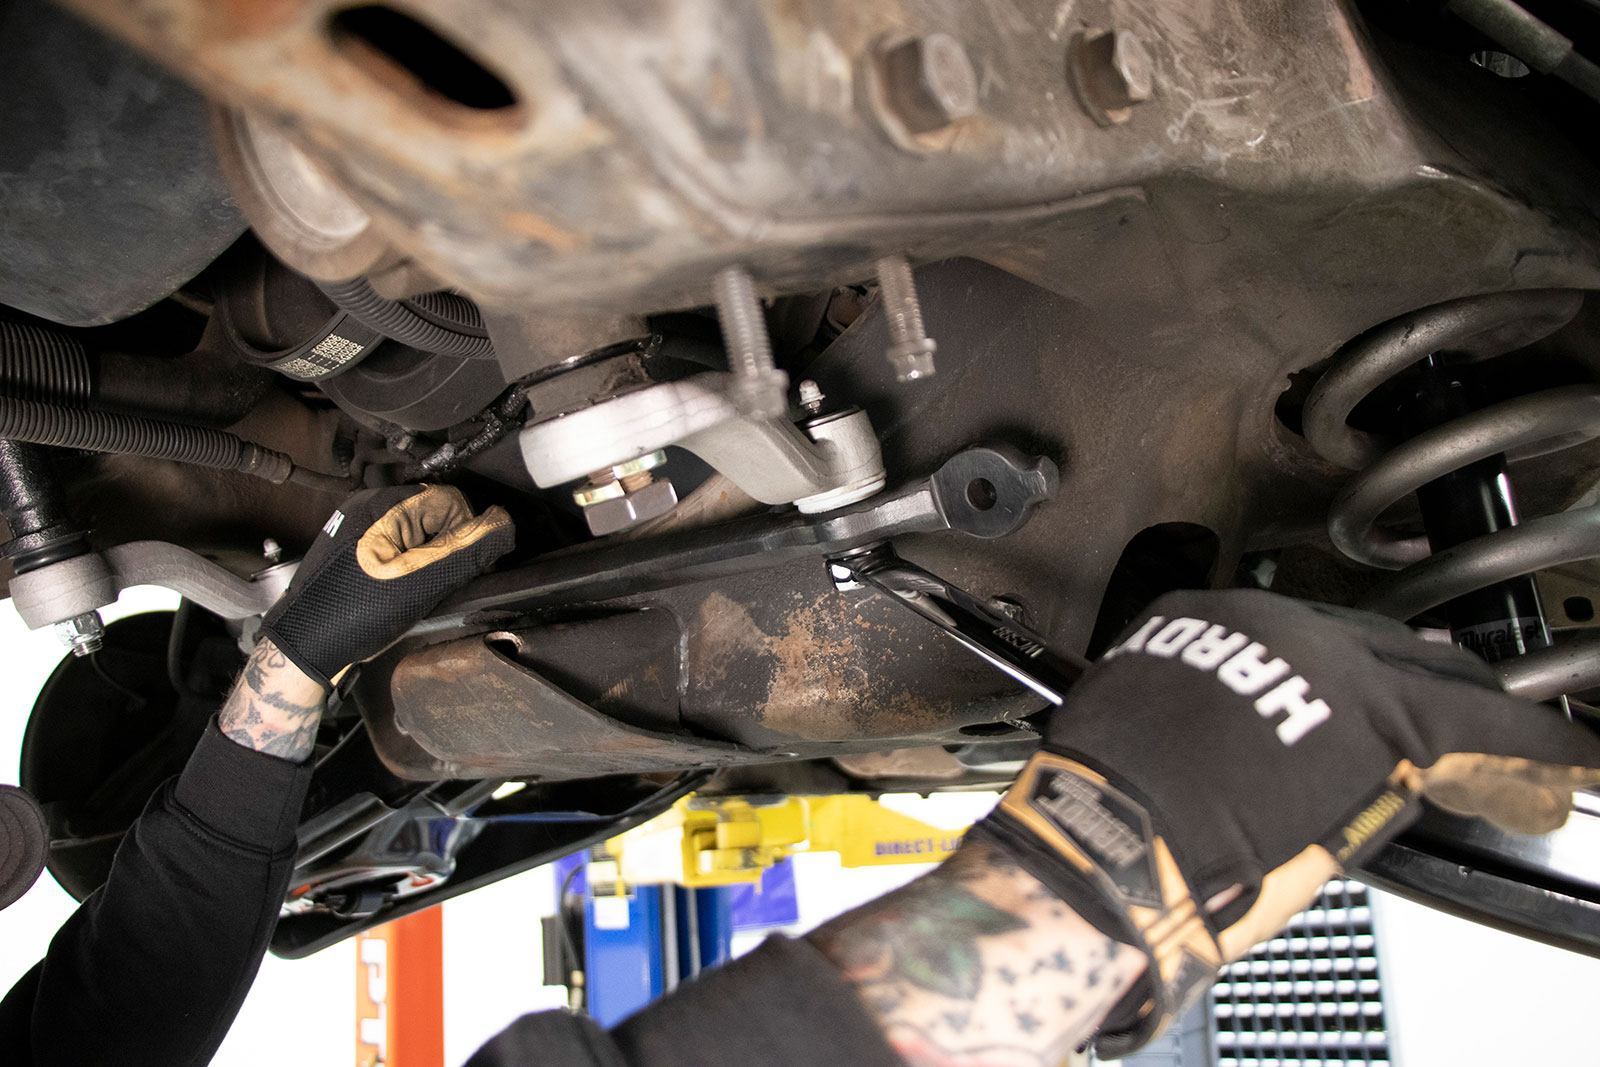
The cotter pins were removed from the upper and lower ball joints and then the nuts were loosened—not removed—just enough so you can safely separate the ball joint from the spindle.A few taps on the spindle separated it from the ball joint, but you will likely need a pickle fork to get the job done. At this point you’ll need to have a floor jack to support the lower control arm to help safely remove the coil spring. We usually pull the spindle from the lower control arm, followed by the upper connection.
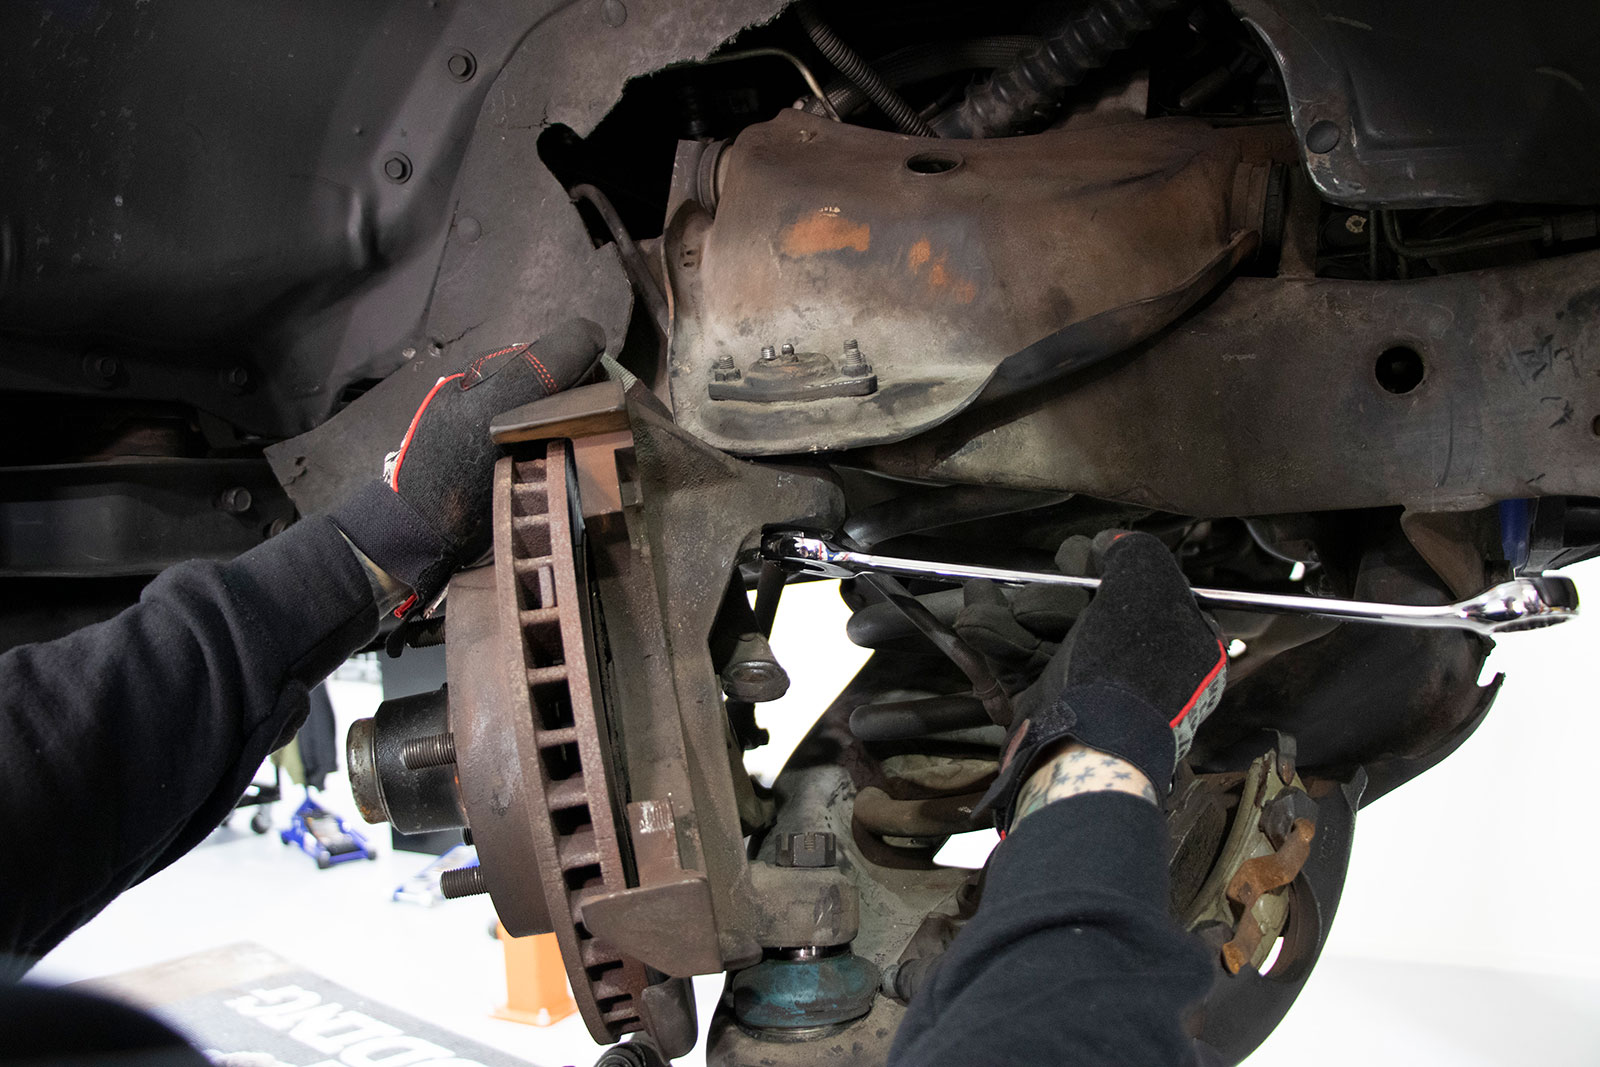
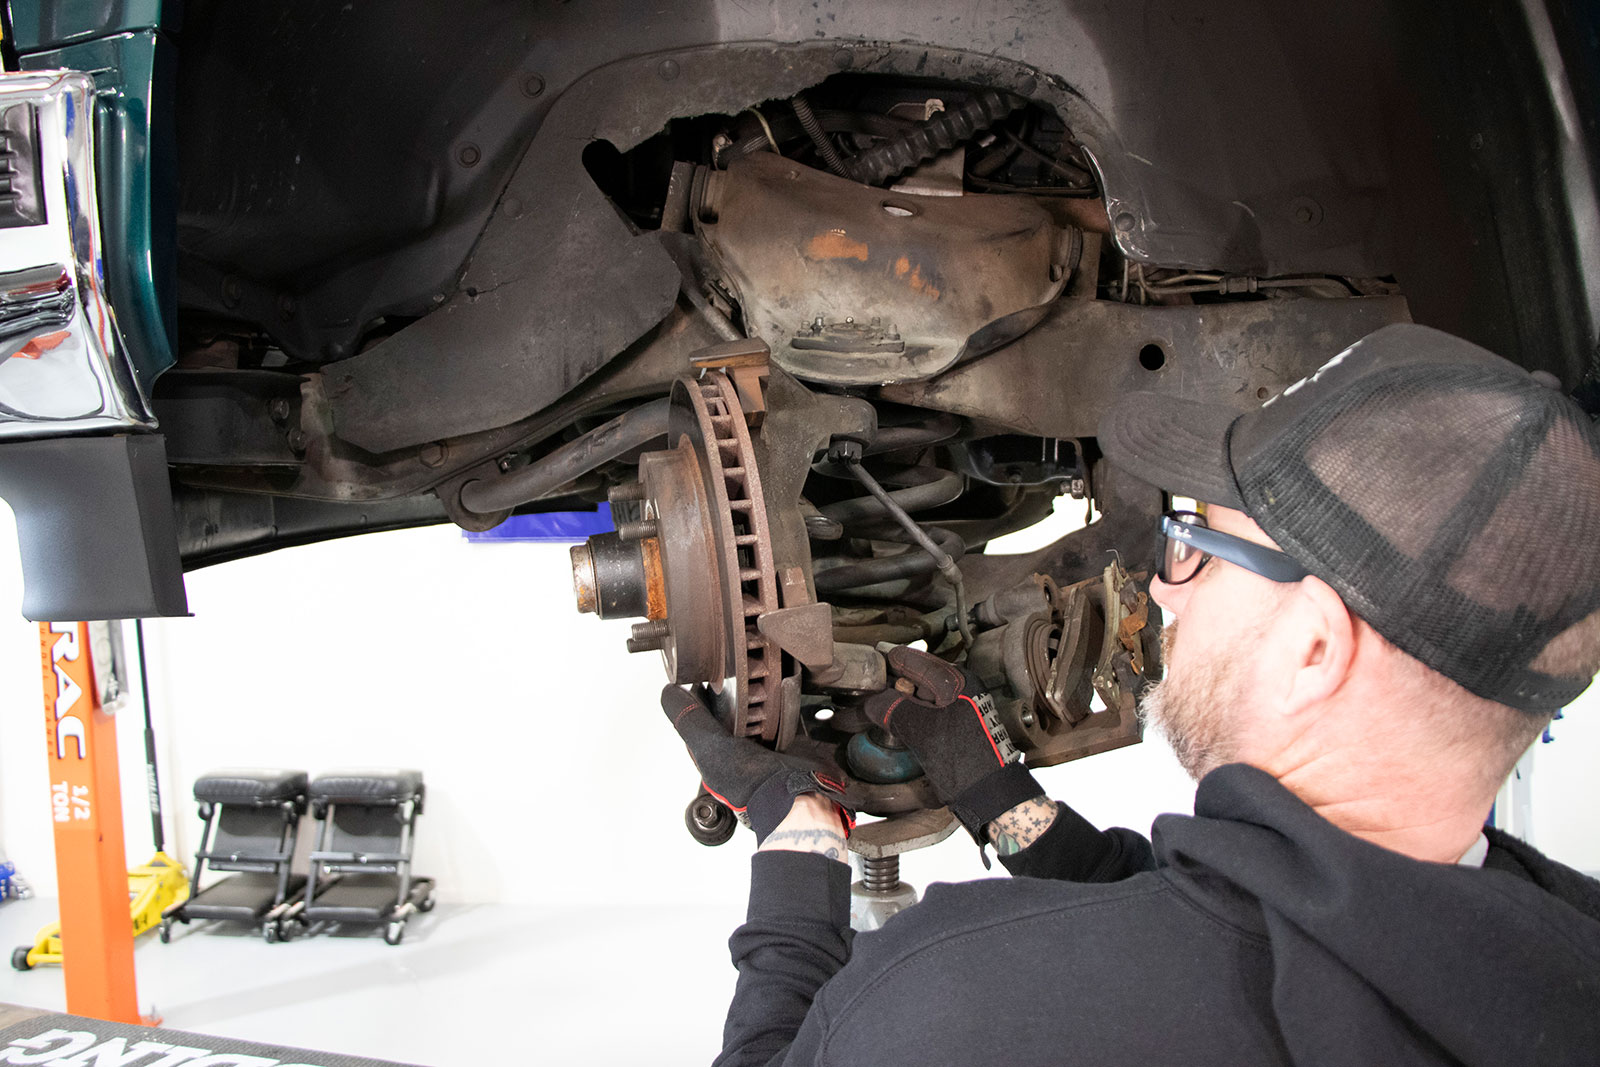
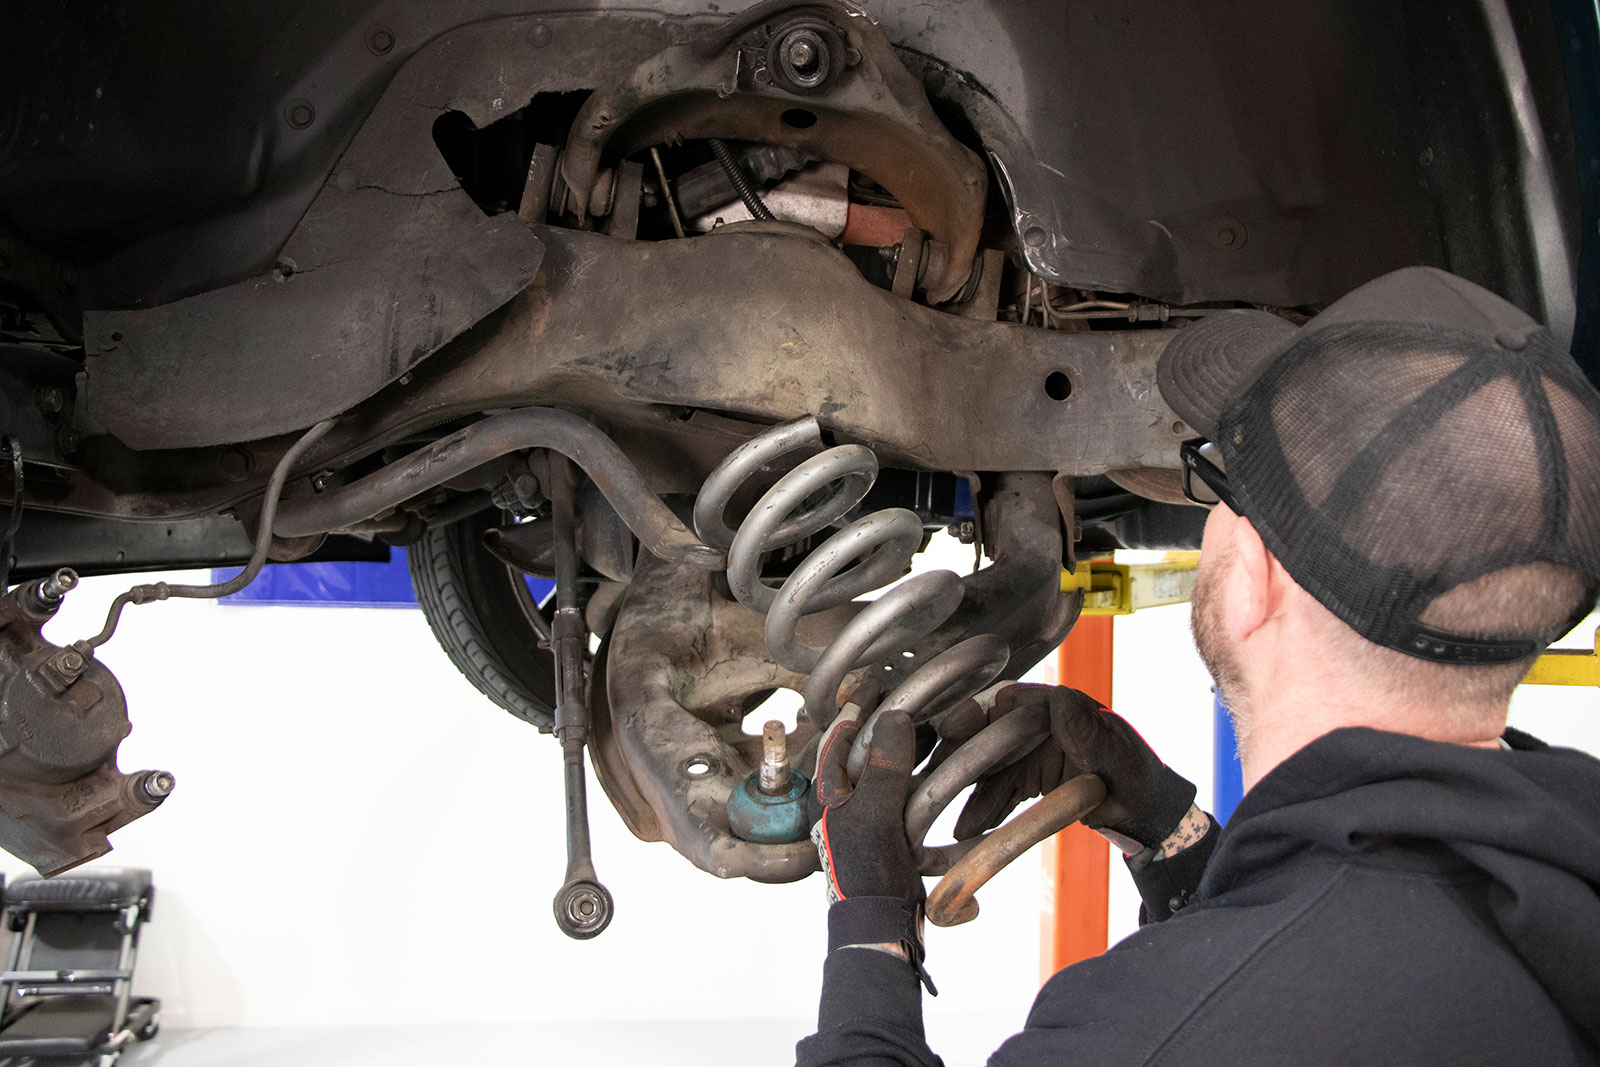
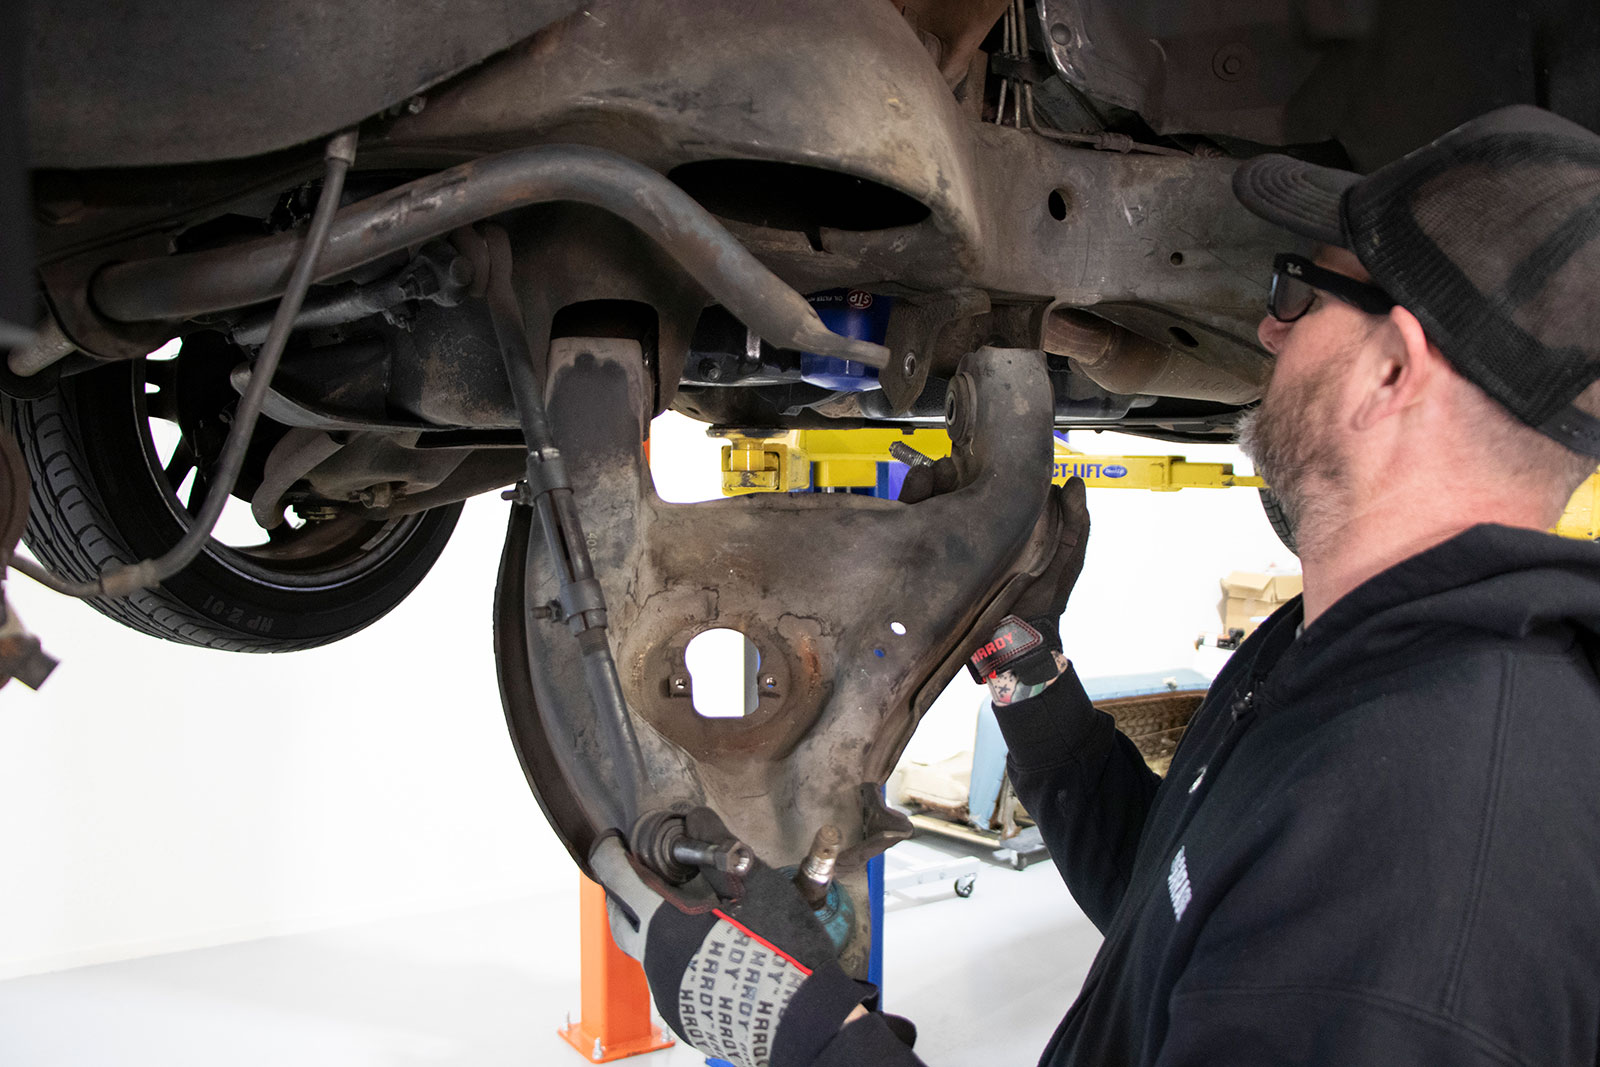
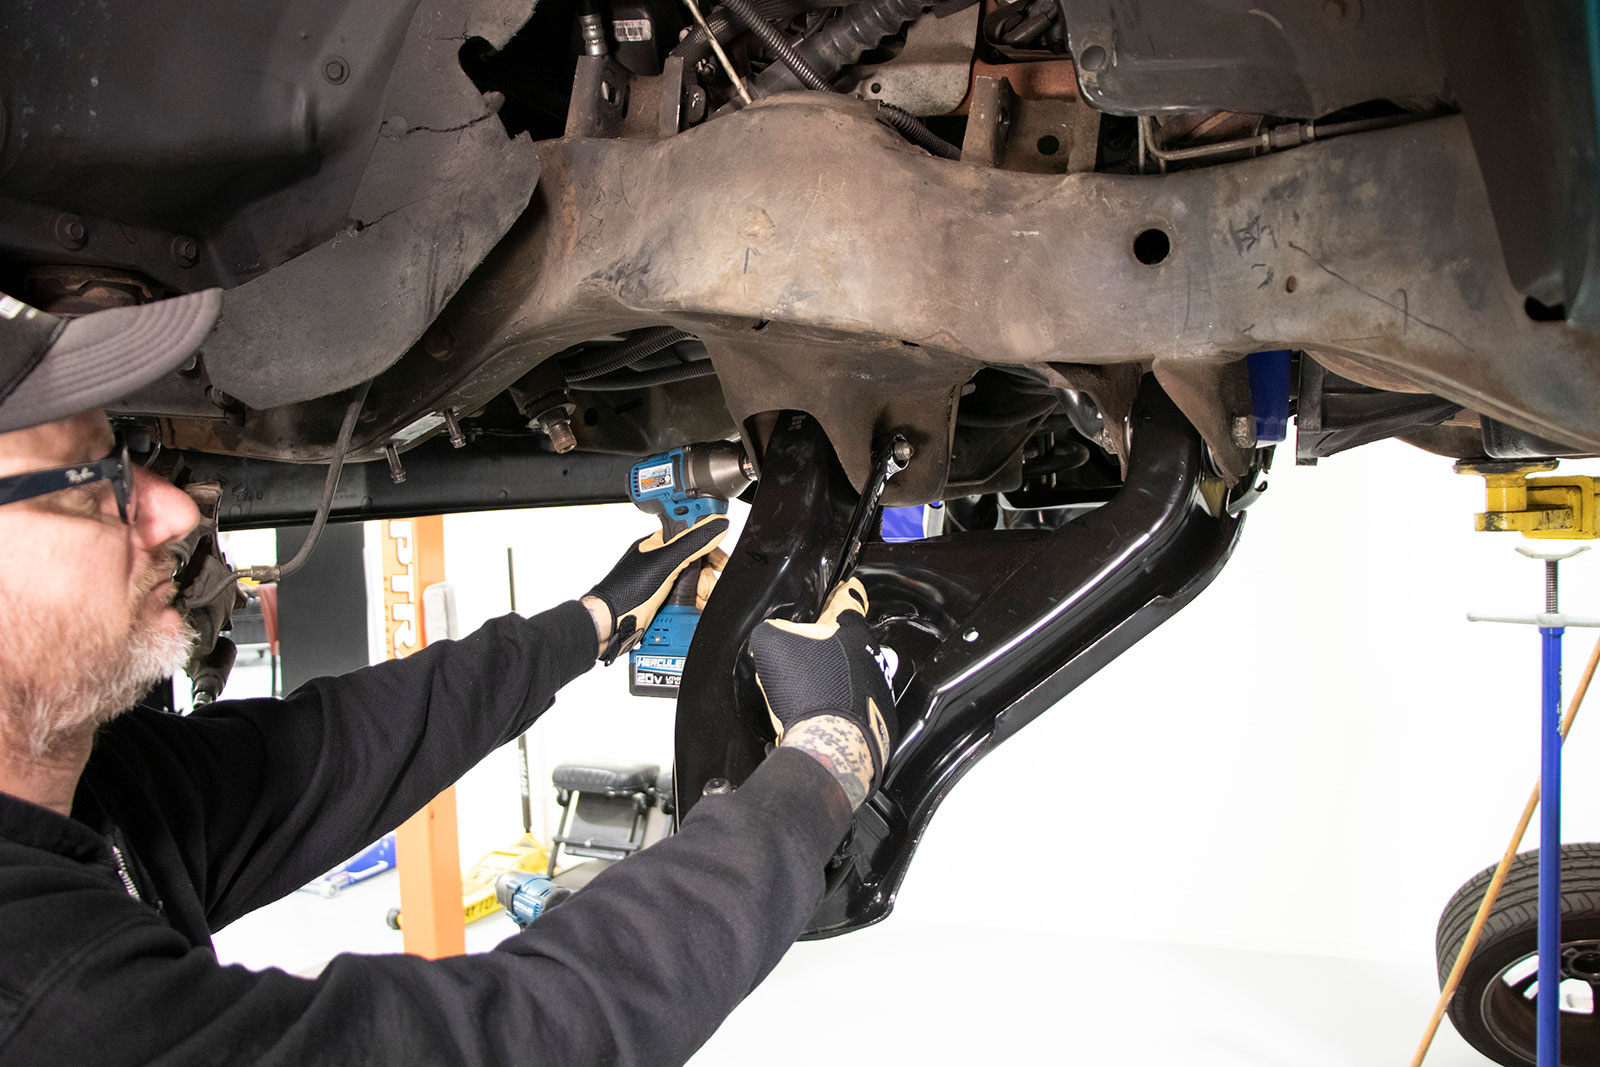
With the spindle out of the way, carefully lower the jack supporting the lower control arm until the pressure is off the coil spring and it can be removed.Remove the two lower control arm bushing bolts and pry the control arm out. We tossed ours into the swap meet pile of parts.
Duralast offers completely assembled and ready-to-install control arms, or you can purchase new bushings and ball joints to install. We opted for the new assemblies, which are stamped from OE spec’d steel and assembled with new bushings and ball joints that meet OEM specifications.We applied a touch of grease to the new bushings and cleaned up the original bolts, then positioned the new control arms in place for a perfect fit (as expected).
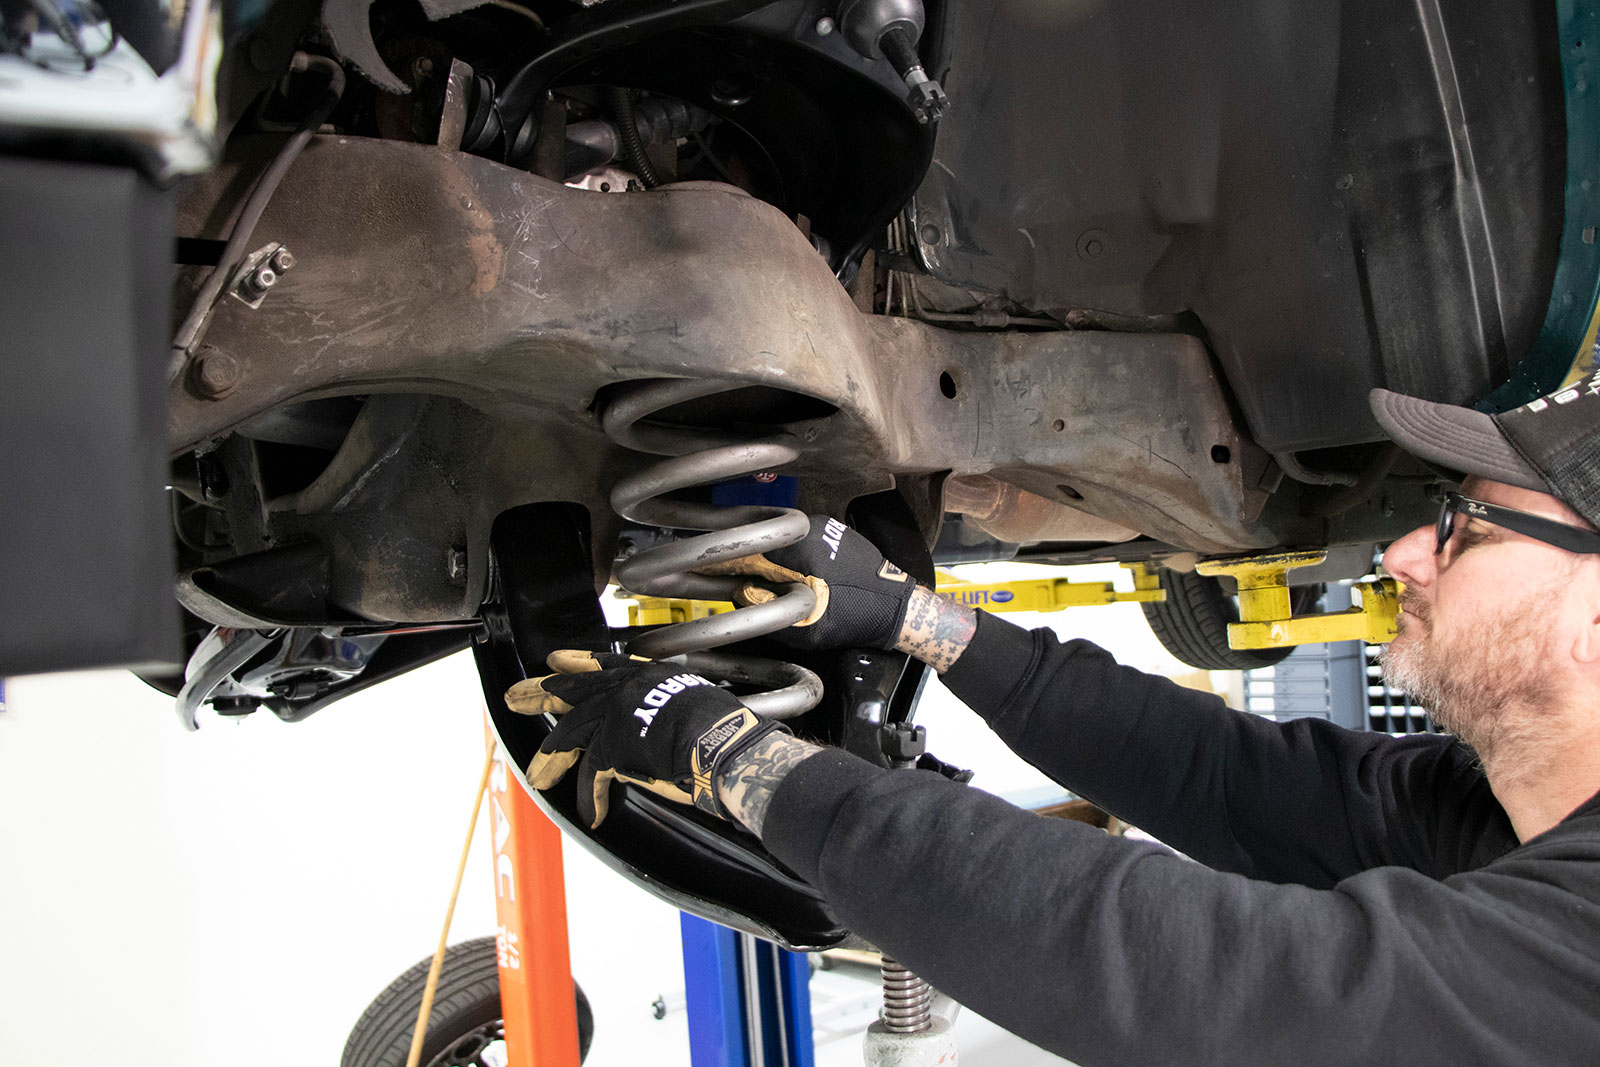
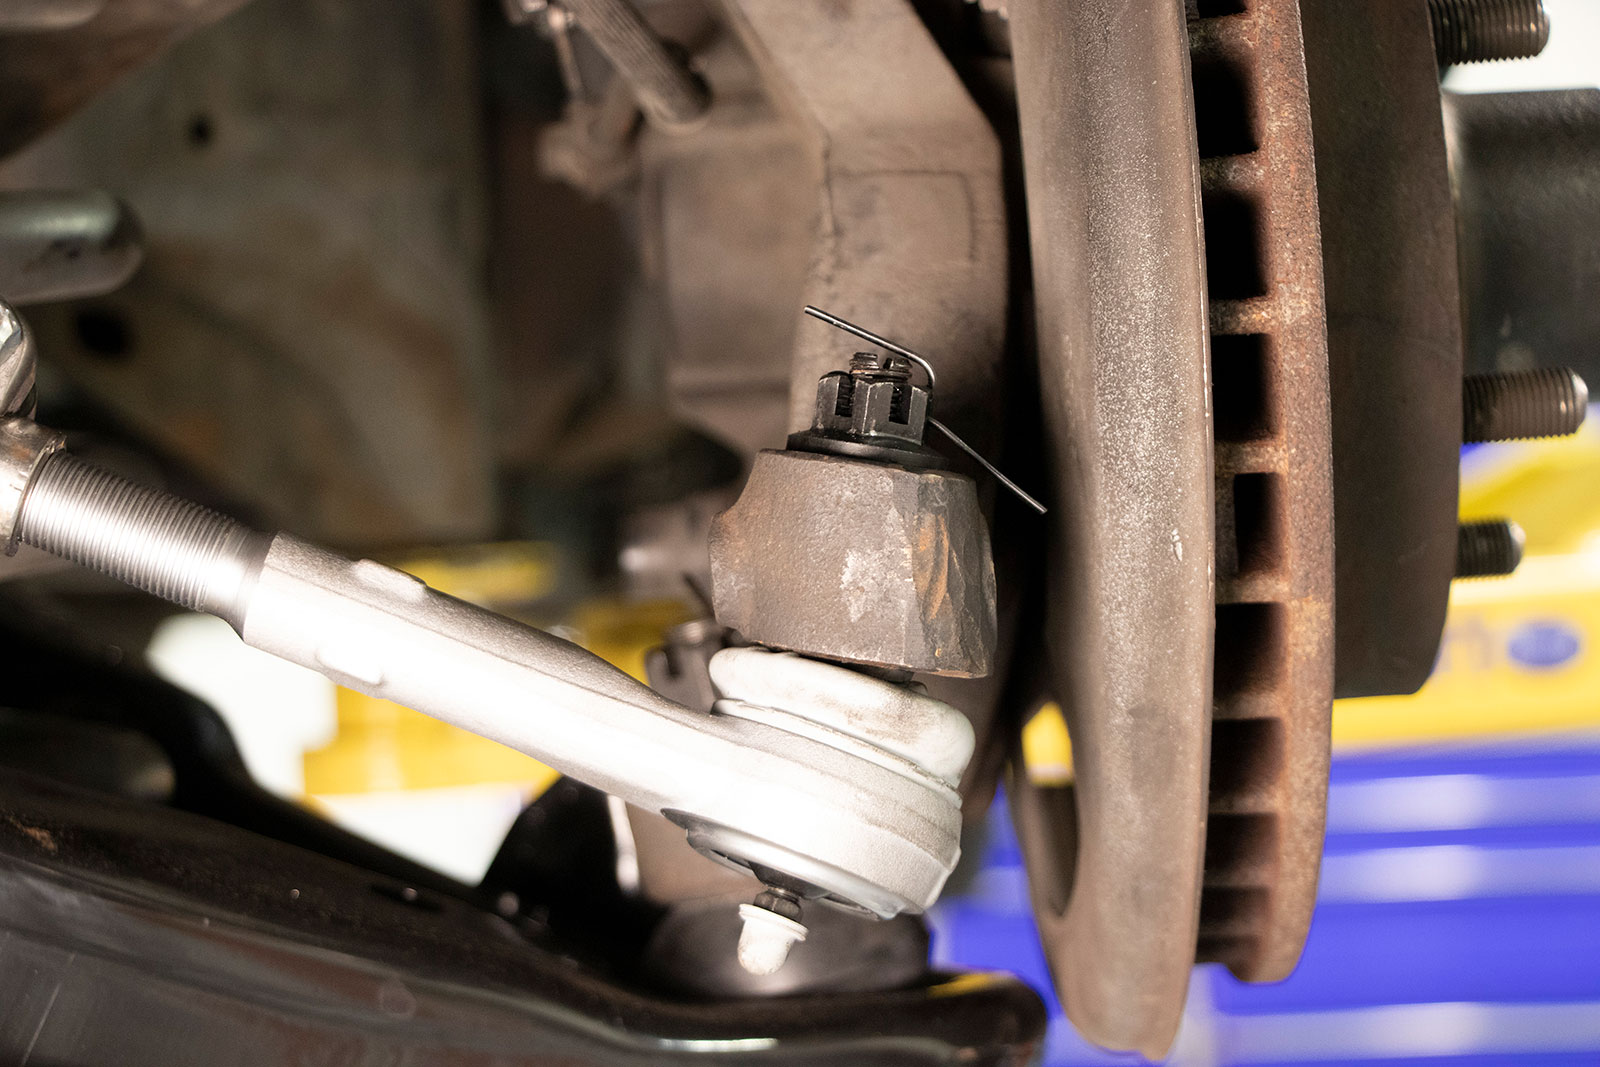
With the control arms mounted it was time to put the squeeze on the new coil springs. These springs will help restore the factory ride and height to just like new. Use caution while installing the springs to make sure they seat properly.With the spring compressed and the lower control arm supported, we installed the new shocks to hold the assembly in place as we prepared to install the spindle assembly.The spindle slides right over the lower ball joint followed by the upper ball joint. Tighten each castle nut to specification and install the supplied cotter pin.
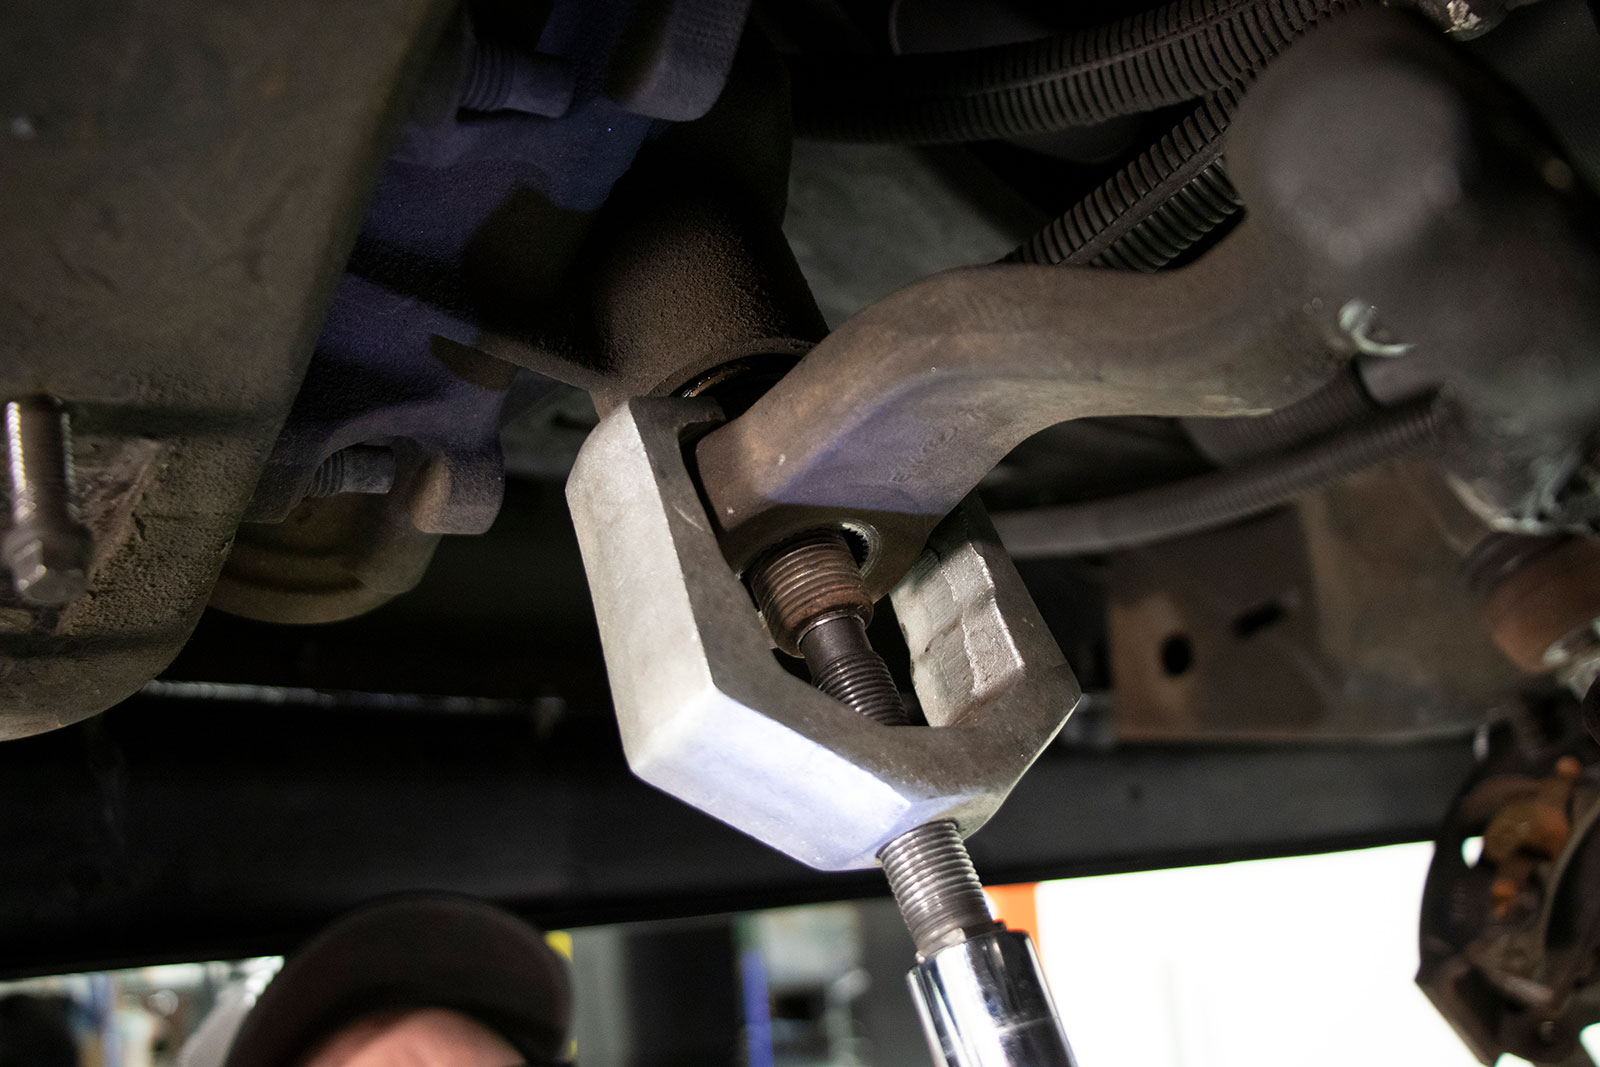
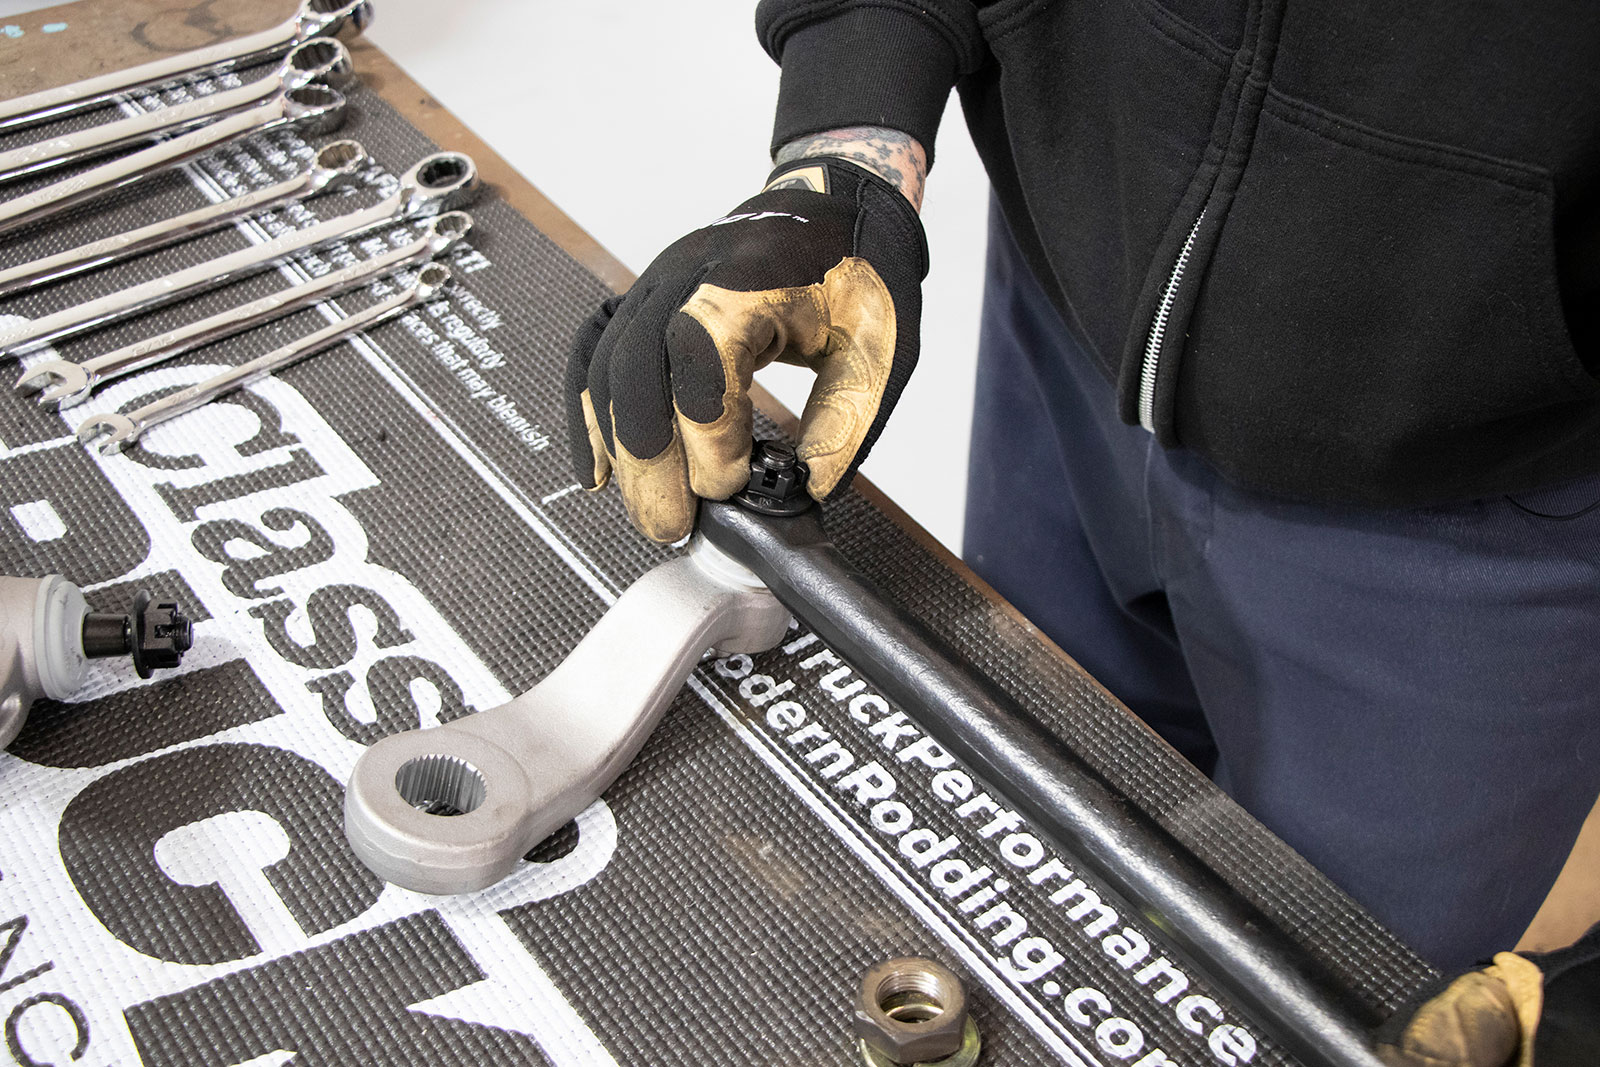
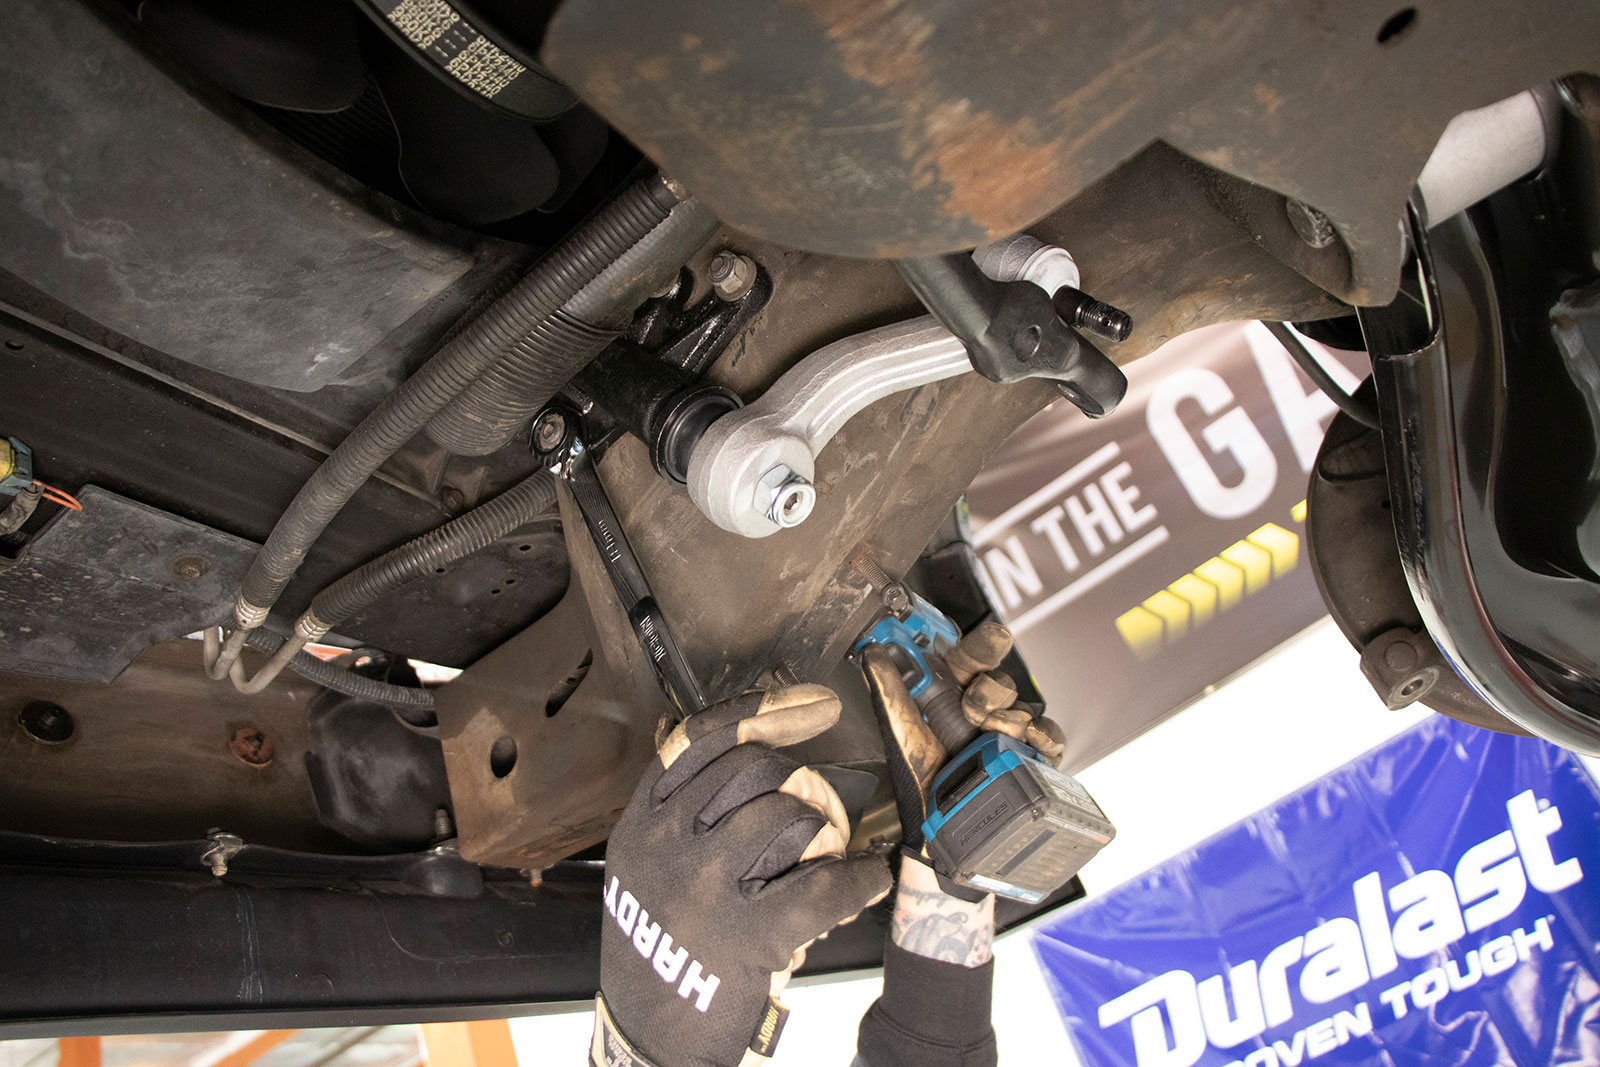
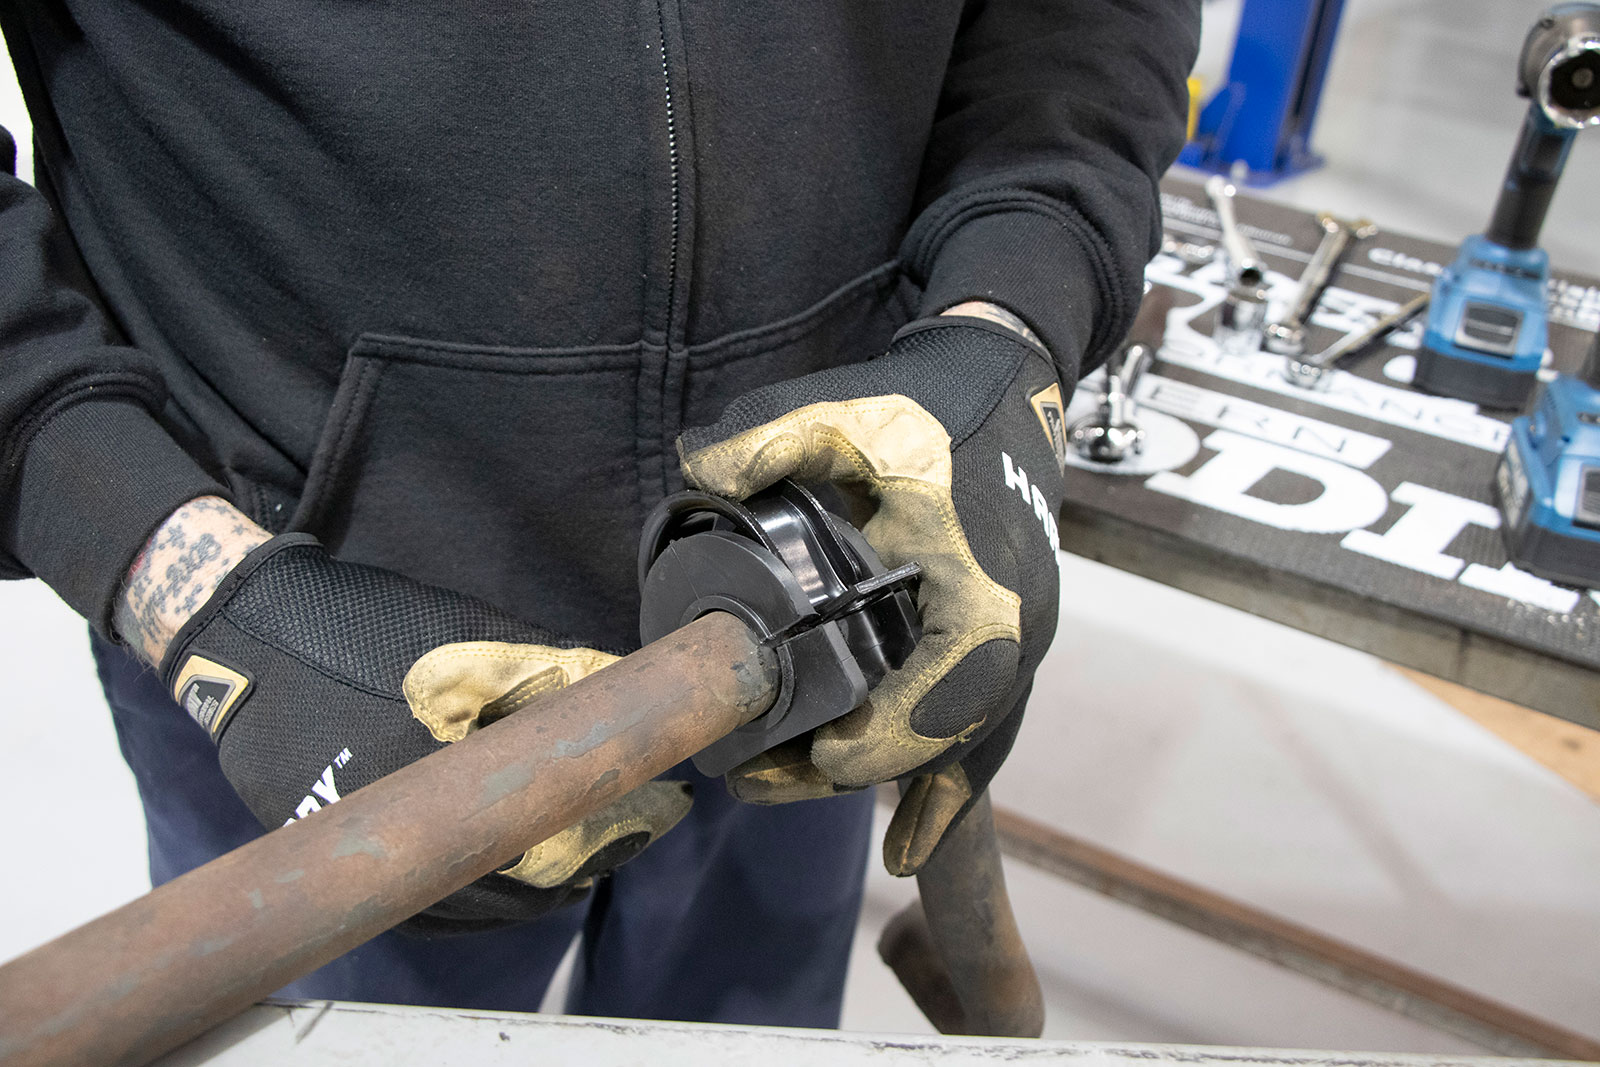
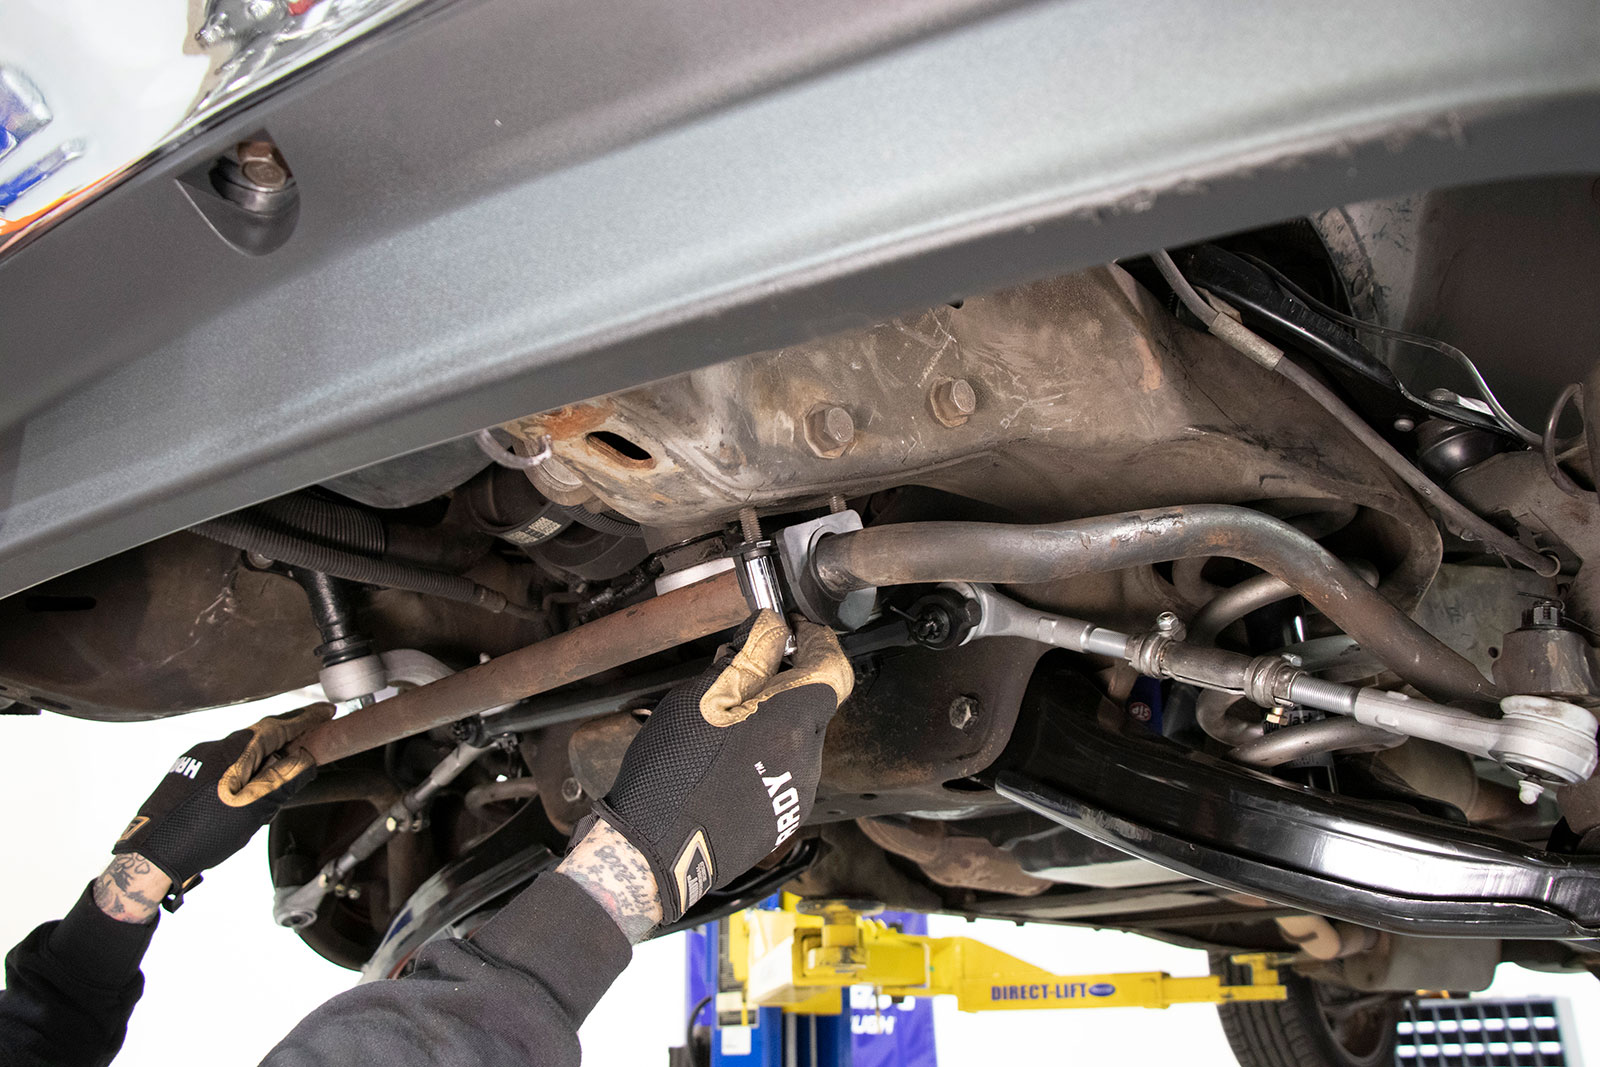
We decided to replace the pitman arm, which requires a special puller and a giant socket.We loosely installed the new centrelink to the pitman arm and installed it as an assembly. Note there are four flat spots on the splines of the steering shaft so the arm will be aligned properly. Use the new lock washer supplied with the pitman arm.The Duralast idler arm was installed on the opposite frame rail then connected to the centerlink— don’t forget the cotter pin!
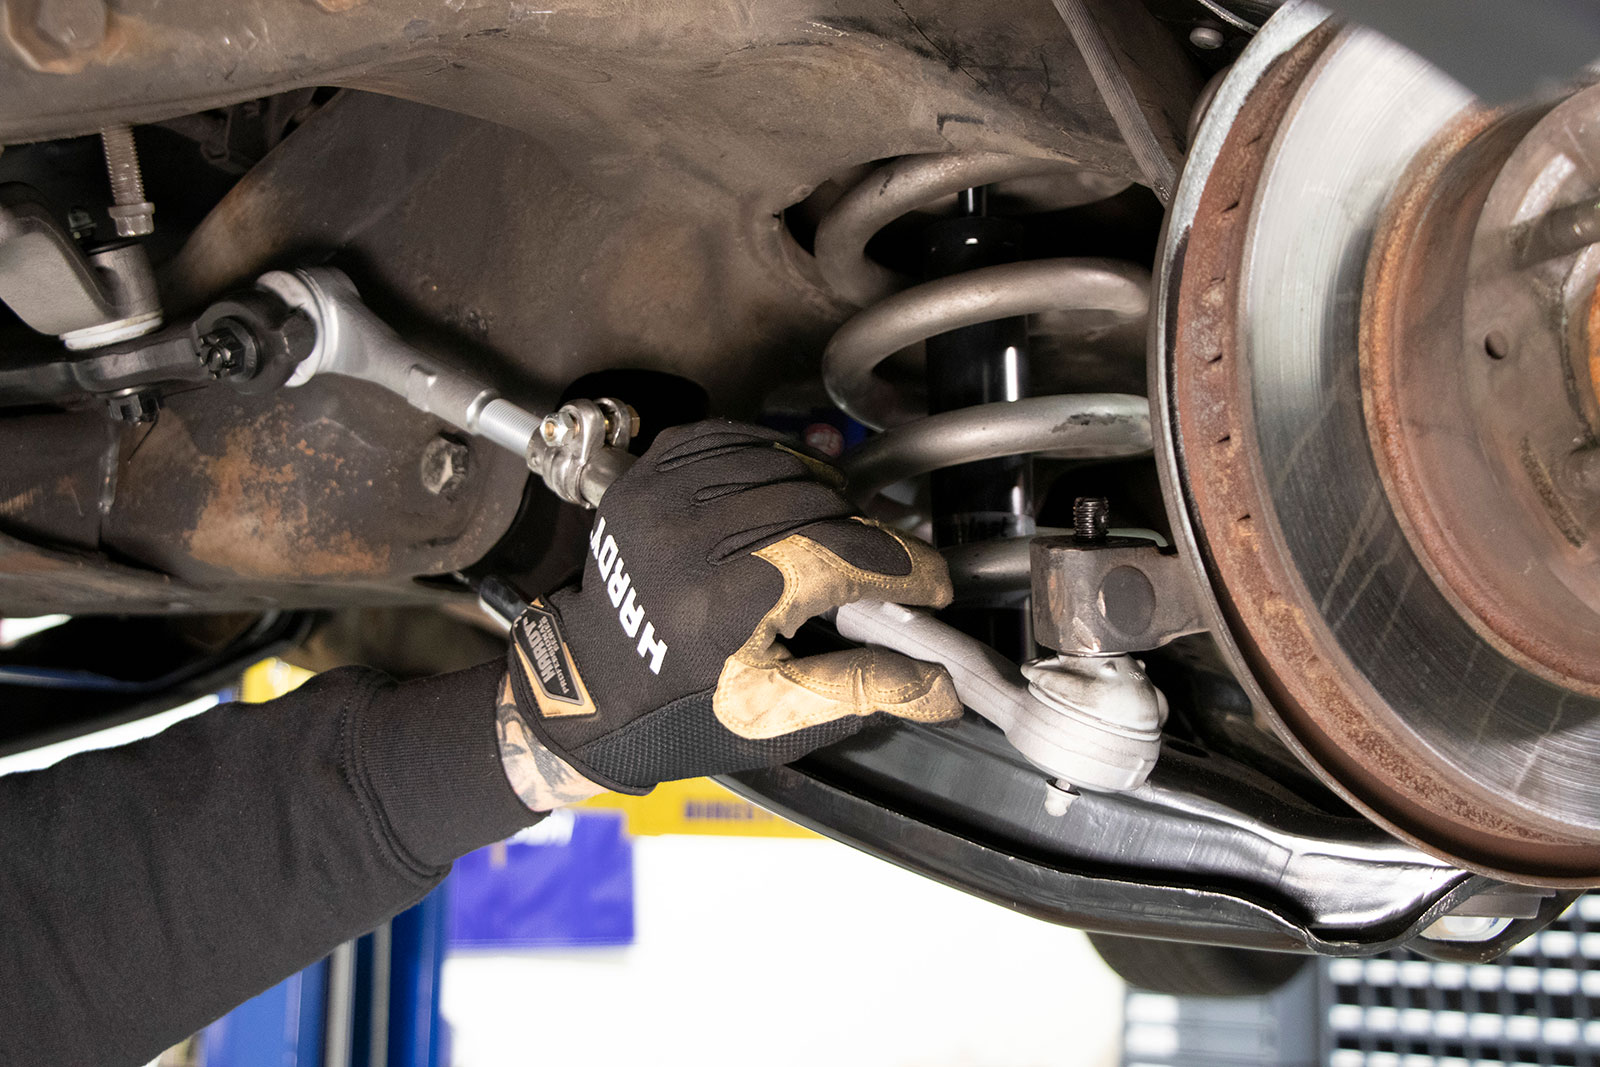
We assembled the new tie-rod assemblies and tried to match them up to the factory length to attempt to get our toe measurement close. We’ll still be heading to get a complete alignment once on the road.The tie rod assembly mounts to the centrelink and spindle and is retained with new castle nuts and cotter pins.
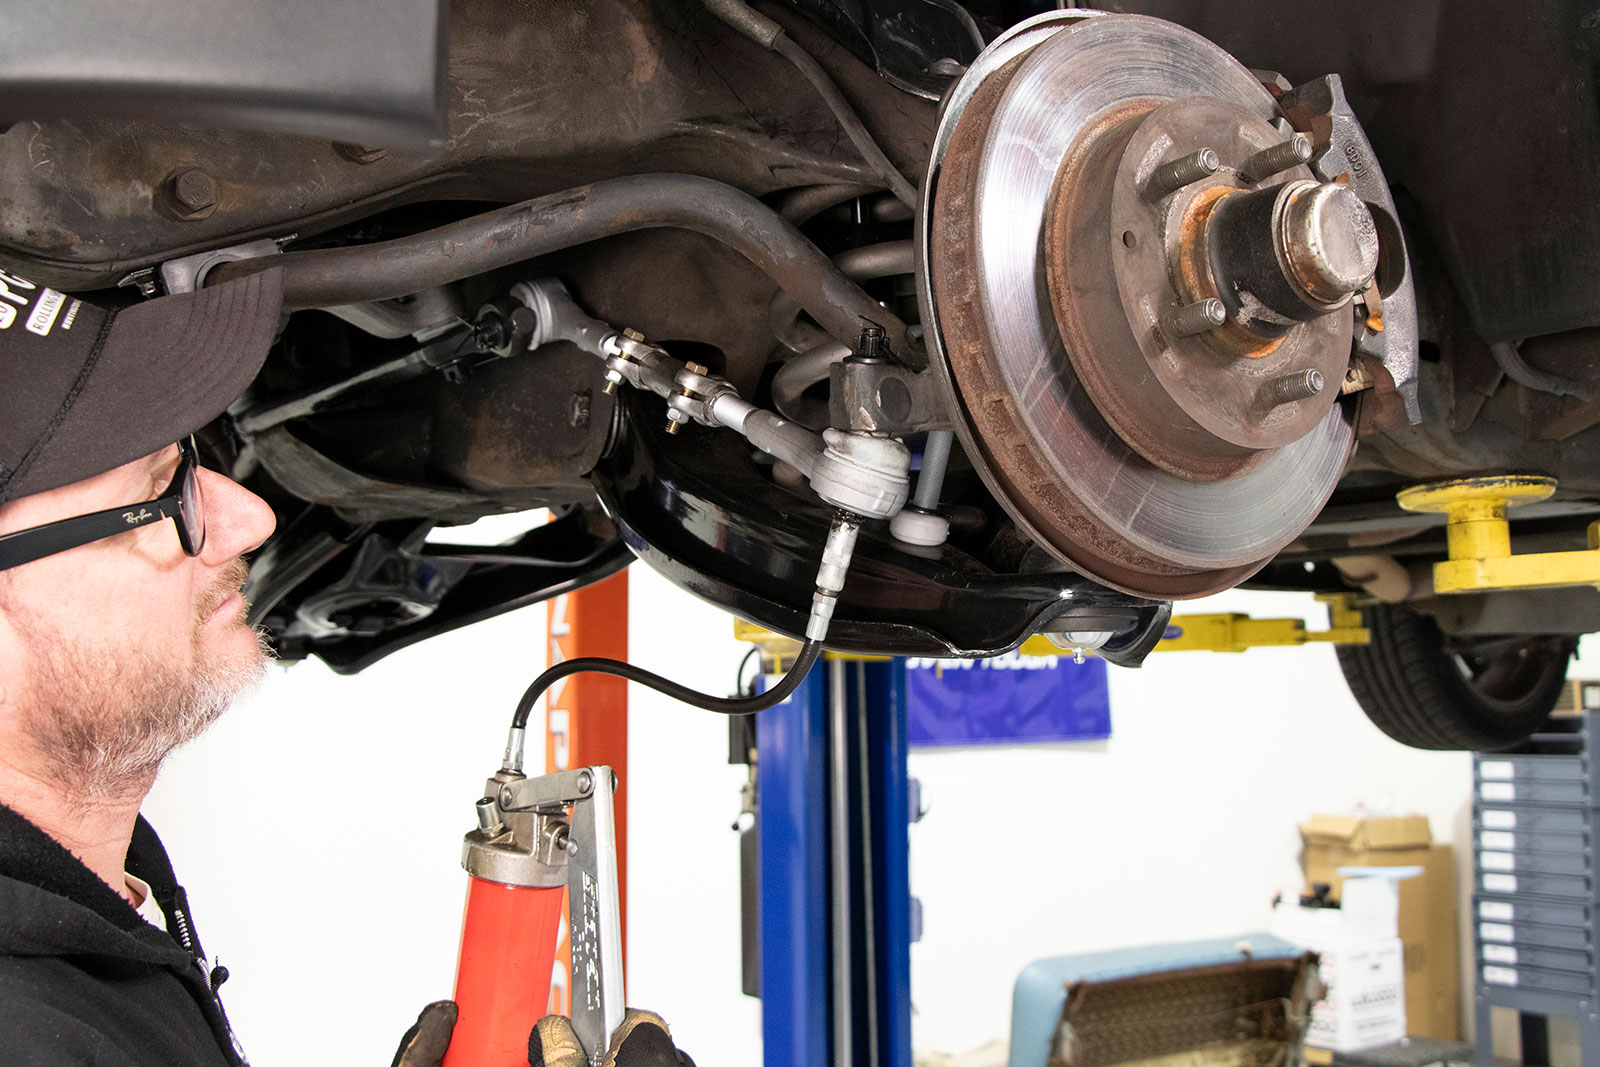
New Zerk fittings were installed in the ball joints and tie rods followed by a few pumps of fresh grease to get everything lubed and happy.A film of grease was applied to the new sway bar bushings then installed on the factory bar. New endlink bushings and hardware were also installed for a factory-fresh fit and finish.
With the front end rebuild complete, we turned our attention to the rear, replacing the worn shocks with new monotube shocks.
We use cookies to ensure that we give you the best experience on our website. If you continue to use this site we will assume that you are happy with it.