Is It Better To Repair Or Replace A Fender?

2nd series 1955 Chevy Truck Part 1: A Time-is-Money Comparison

By “Rotten” Rodney Bauman   –   Photography by the Author

Sure, we can salvage an original fender, but just because it’s possible doesn’t mean it’s practical. For our ongoing 2nd series 1955 Chevy truck project we’d decided early on to salvage as much of the truck’s original sheet metal as possible. In theory, that still sounds pretty good. In retrospect, however, we should’ve focused harder on practicality.
- Advertisement -
01 2nd series 1955 Chevy Truck Part 1 A Time is Money Comparison
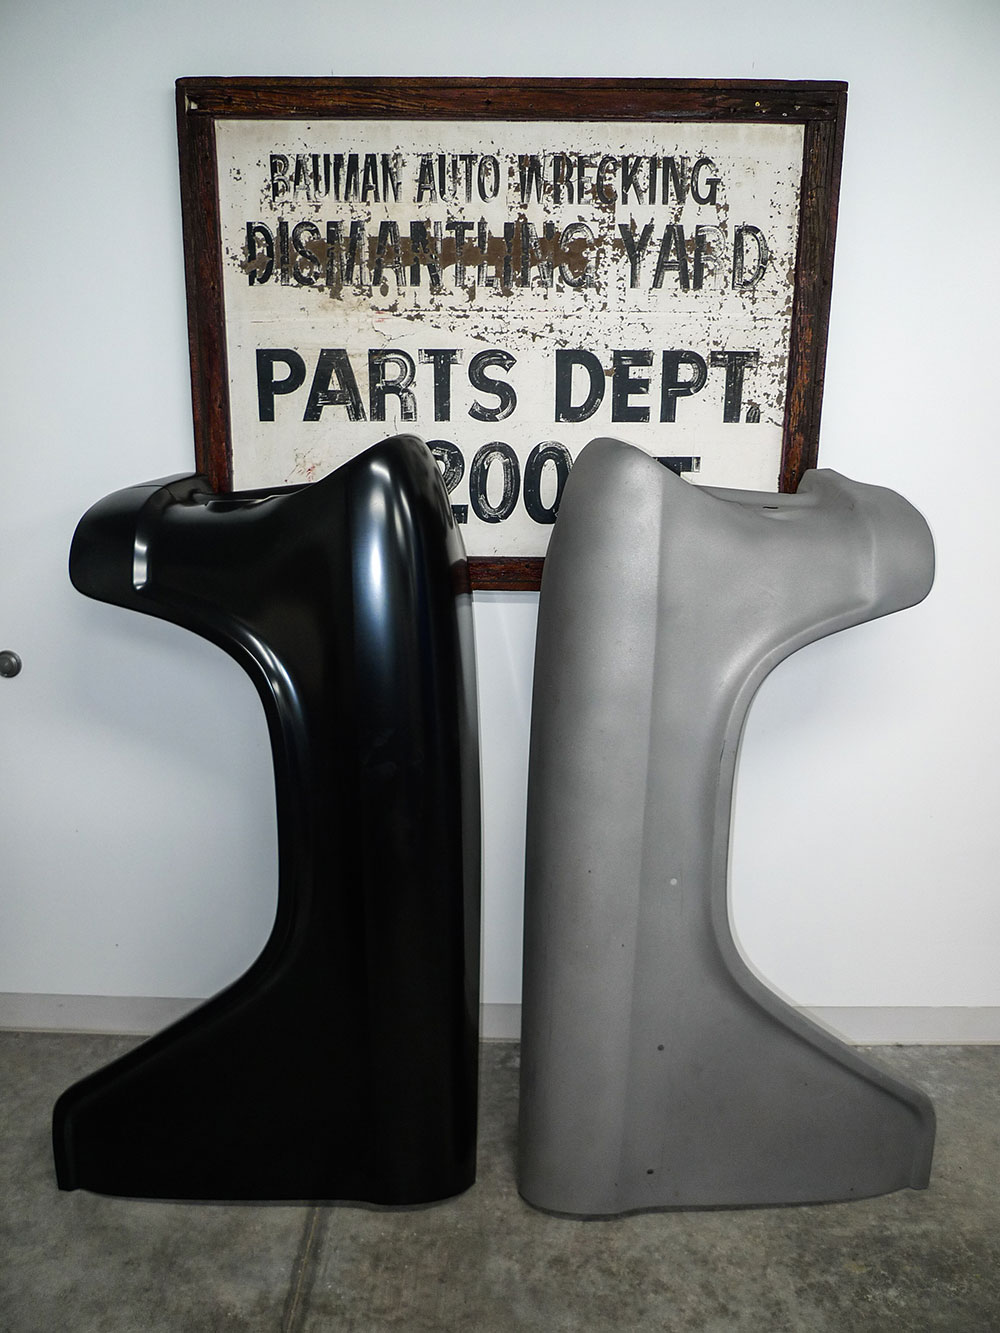
So, here’s our starting point: one used-original fender, abrasive-blasted with roughed-out metalwork pretty much done, and one new-reproduction fender from Brothers Truck Parts.

As a crash-damage estimator I’ll admit I’m hit ’n’ miss. After all these (roughly 46) years in the panel-pounding profession, I still have that tendency to underestimate metalworking, as well as filler working, times. Now with embarrassing hours invested, I’ve done it again. I’ve worked way too hard on this truck’s original right front fender.

Read More: How to Fill Holes in Metal with Pre-Fabbed Discs
02 We like to keep a fleet of portable work stands ready at all times
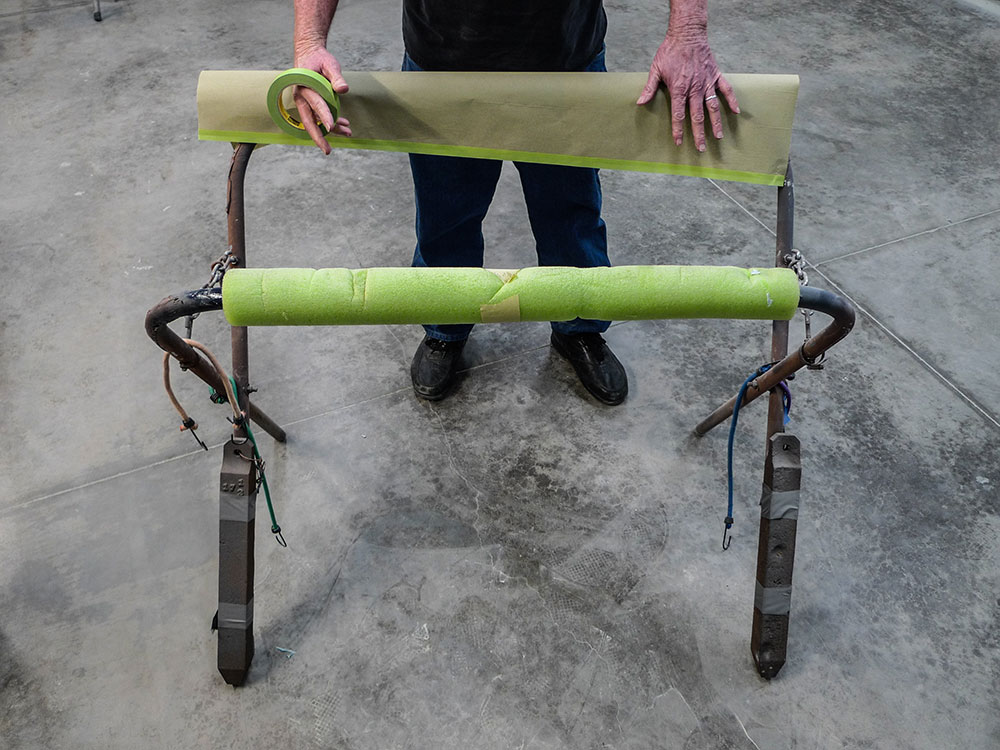
We like to keep a fleet of portable work stands ready at all times. From Summit Racing, this one’s close to 20 years old. Accessory ballast and pool toy padding not included.

Over on the other side (the driver side) we’ve abandoned the original front fender and door in favor of reproduction panels from Brothers Truck Parts. At the time of our purchase the brand-new fender was just under $500. Even though shipping (to Montana in our case) might’ve cost about as much, it might’ve still been the better deal.
- Advertisement -
03 Earlier on the task force truck this fenders metalwork was addressed
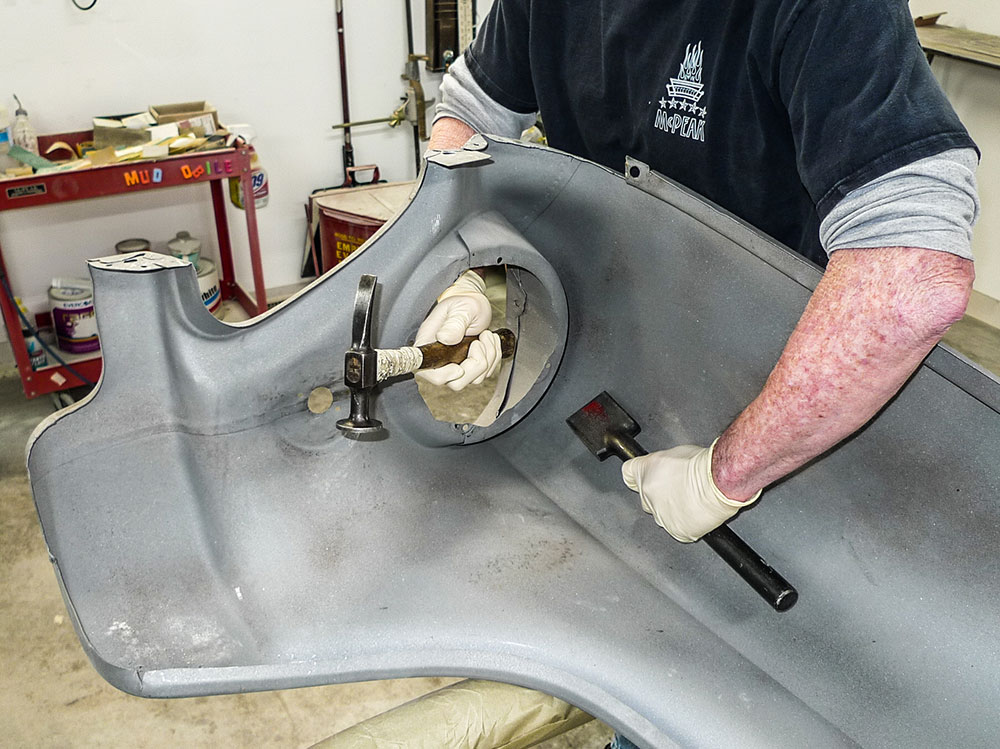
Earlier on the task force truck, this fender’s metalwork was addressed. The dented eyebrow’s B-side, however, was difficult to access. Here on the ’stand we’ll get a handle dolly on it.

Since our project truck will be running both new-reproduction and used-original fenders, we have an opportunity to compare cost, quality, and perhaps, most importantly, that practicality we’ve been talking about.
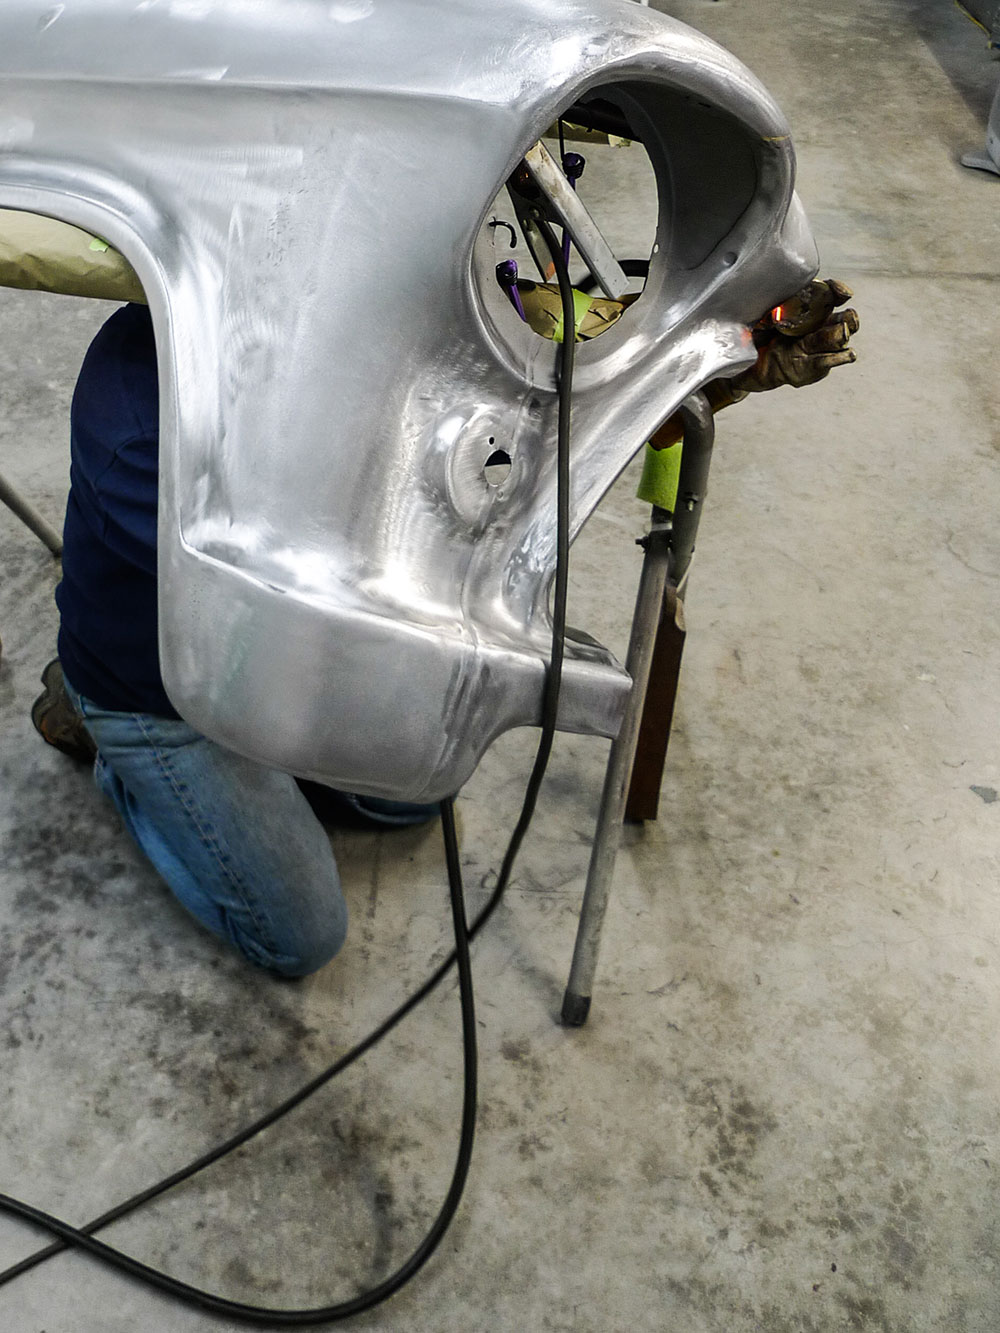
04 our Chevy task forces original fender sports some cracks
In addition to its wrinkles, crinkles, lumps, and bumps, our Chevy task force’s original fender sports some cracks. There’s one side-to-side difference right there.

While we’ve been working on other panels (cab, hood, inner fenders) we thought our front fenders were stored safely enough against the body stall wall. The used fender has already been abrasive-blasted and, for the most part, roughed-out metal work was done during mockup when the truck’s front group was last screwed together.

Read More: Keeping Your Classic Truck Cool
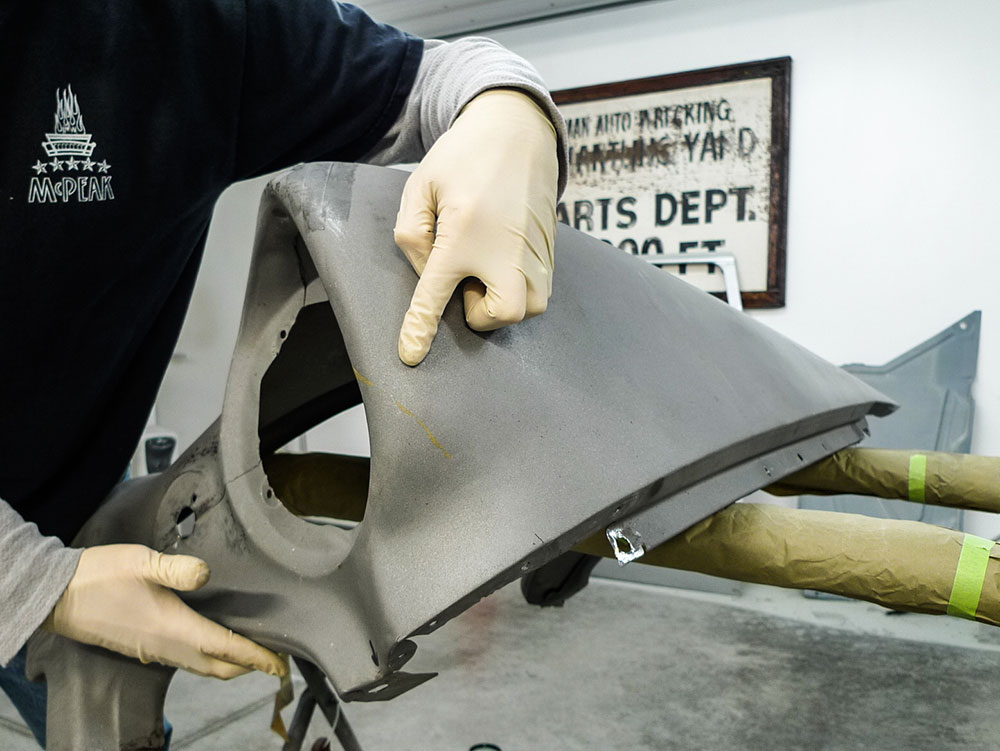
05 The used original fender has a seam here above the headlamp
The used-original fender has a seam here above the headlamp at just about 2 o’clock. The new-reproduction fender does not.

At the time of this typewriting one dent remains in the used fender’s eyebrow. With that fender secured to a portable work stand, we can access the dent’s backside more easily now.

- Advertisement -

So, from the big brown corrugated-cardboard box, is our new-reproduction fender ready for the paint department? By this shop’s standards, no, but it’s seeming to be close.
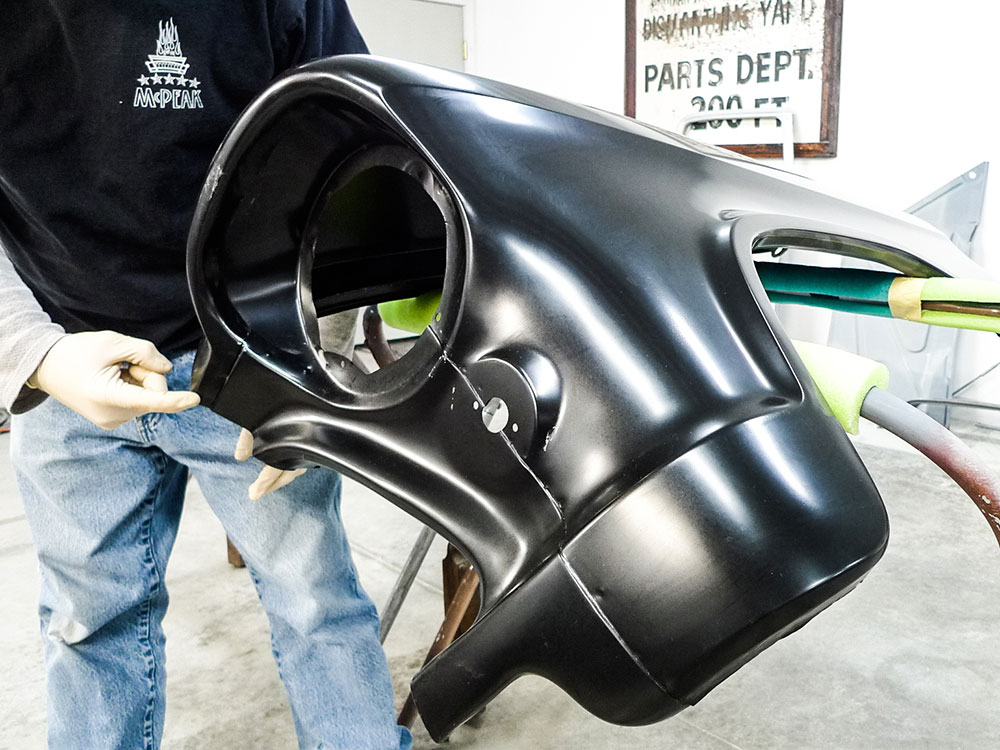
06 The new reproduction fender has a seam here beside the headlamp
The new-reproduction fender has a seam here beside the headlamp at just about 3 o’clock. The used-original fender does not.

On the truck, the new-reproduction fender has already been test-aligned with new and used adjacent panels. With minimal modification, the reproduction fender’s rearward edge matches the reproduction door’s forward edge just fine. Our original hood was crash damaged anyway, so we’ve done the work to make it fit in with its surroundings.
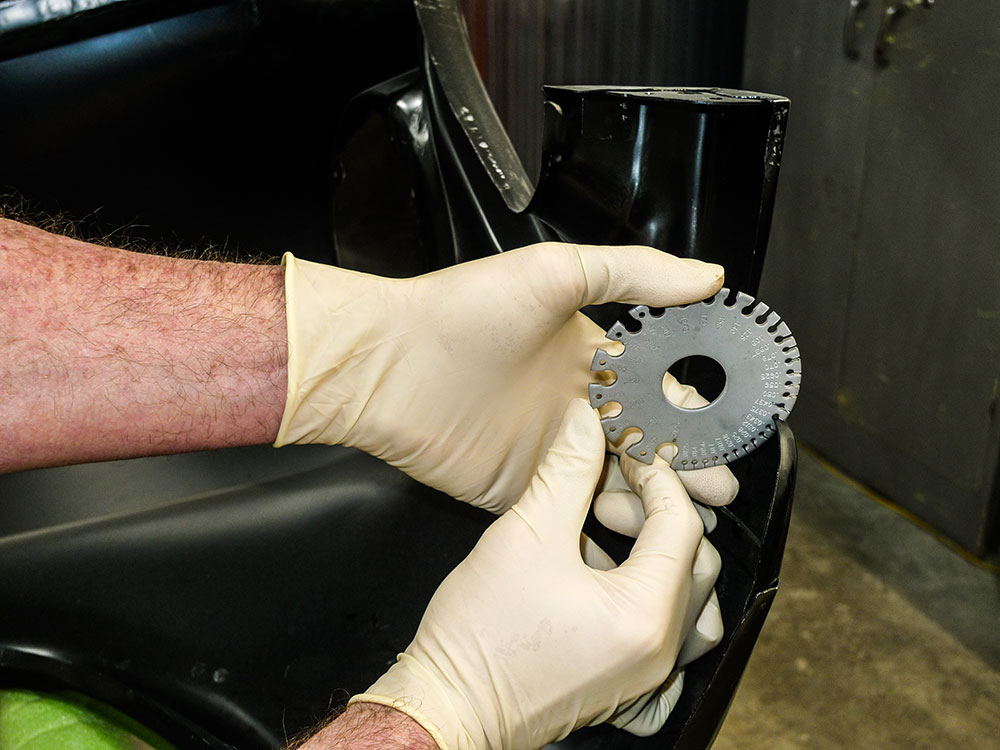
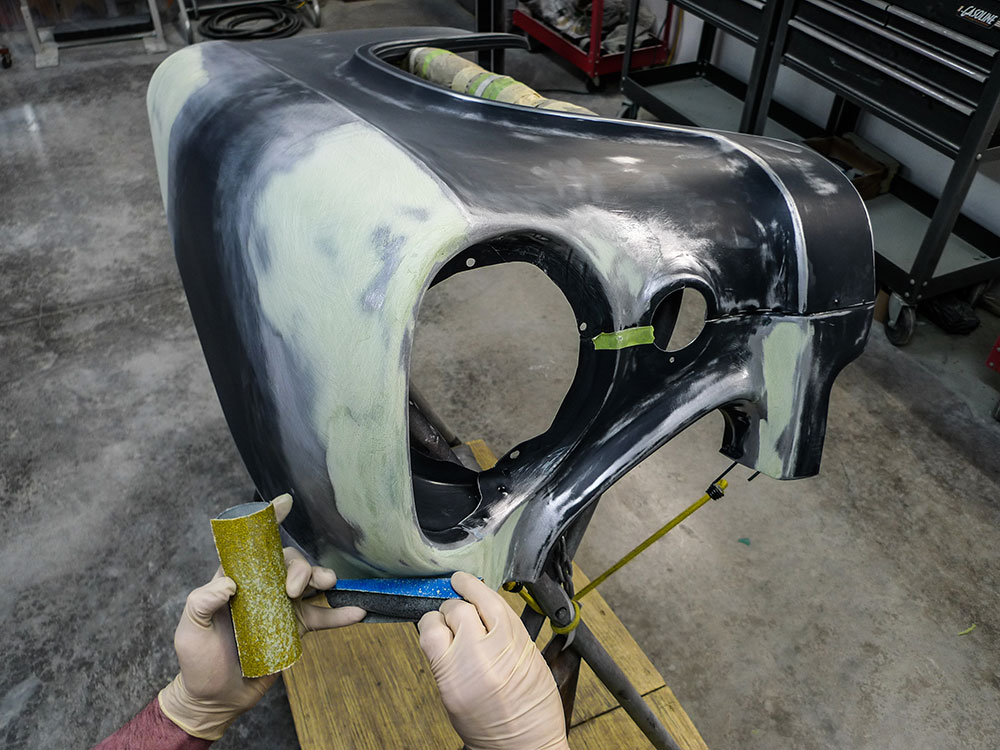
07 By our own measurements the original fenders skin is 18 gauge steel
By our own measurements, the original fender’s skin is 18-gauge steel. The reproduction reads closer to 19-gauge—so let’s ease up a little with our hammer smacks from here.

Perhaps like you, we hear other builders’ complaints regarding reproduction panel fitment. We’re always open-minded and willing to listen to those who’ve fought those types of battles. All we can tell you here is, to this point, on this job, we’re not having their exact same difficulties. Even so, let’s leave a little room for surprises.
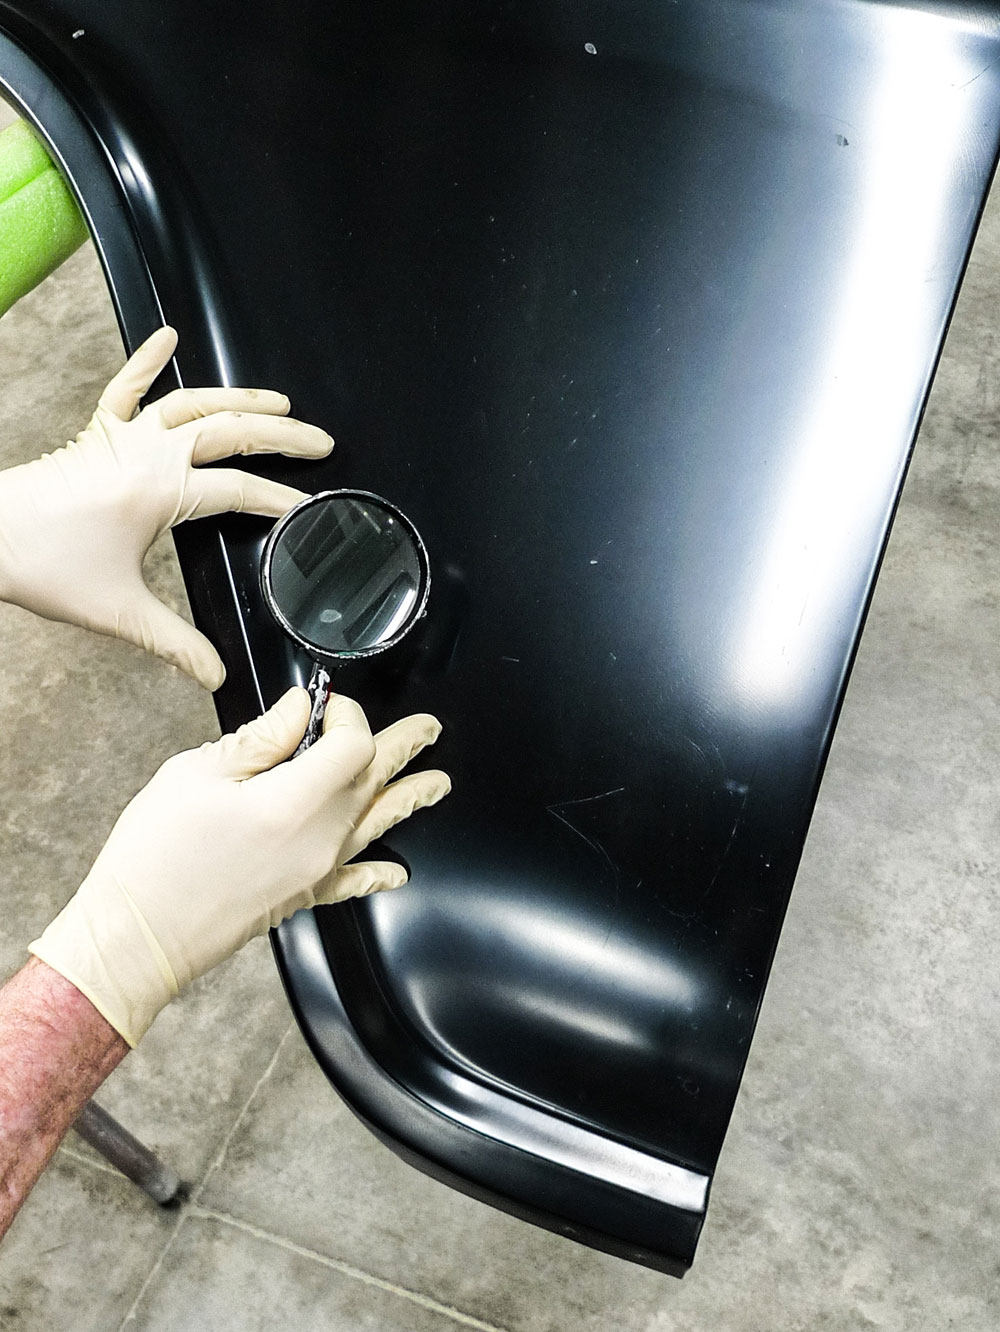
08 Here however on the new reproduction fender we see some sort of splatter
Apart from surgically clean polyester dust everywhere, our body stall is an operating room. Here, however, on the new-reproduction fender, we see some sort of splatter.

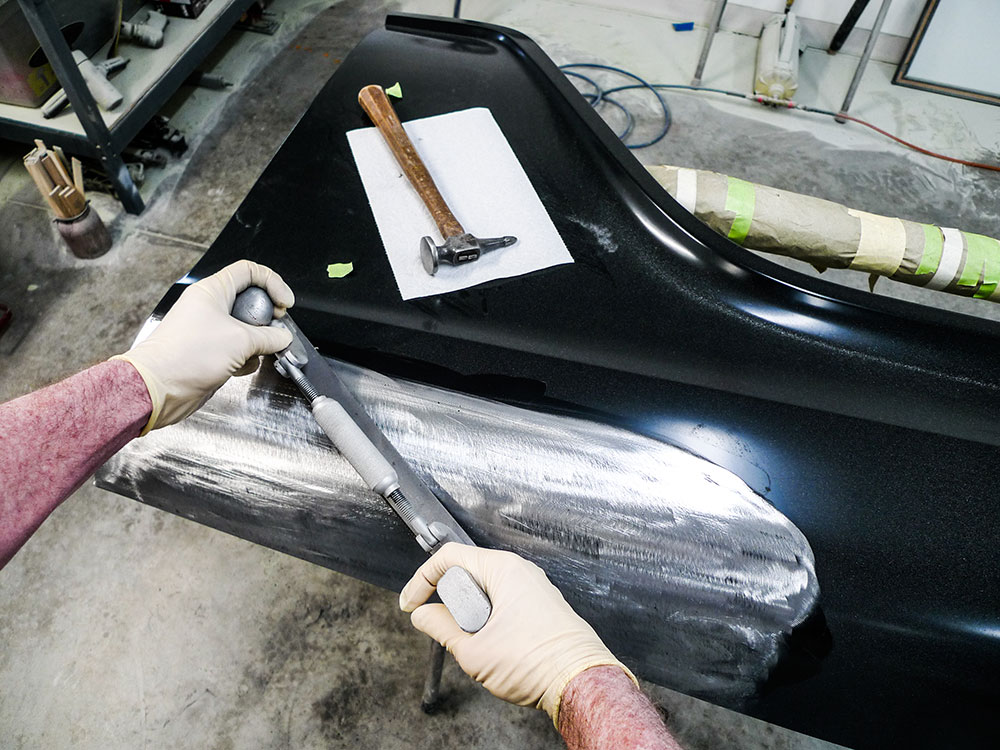
Soon you’ll see it anyway, so I might as well fess up to a little boo-boo—something that occurred months ago during our panel-alignment marathon. Back when we were going for gaps, the brand-new fender’s upper-rearward edge seemed low where it met the beltline edge of the door. Plopped atop the cowl a single body shim made the needed difference, but not before I’d hastily employed a Keysco leverage bar. If by chance you’re unfamiliar, that’s an age-old body shop tool—and it’s ordinarily my friend!

Read More: Coilover Buyer’s Guide For Classic Trucks
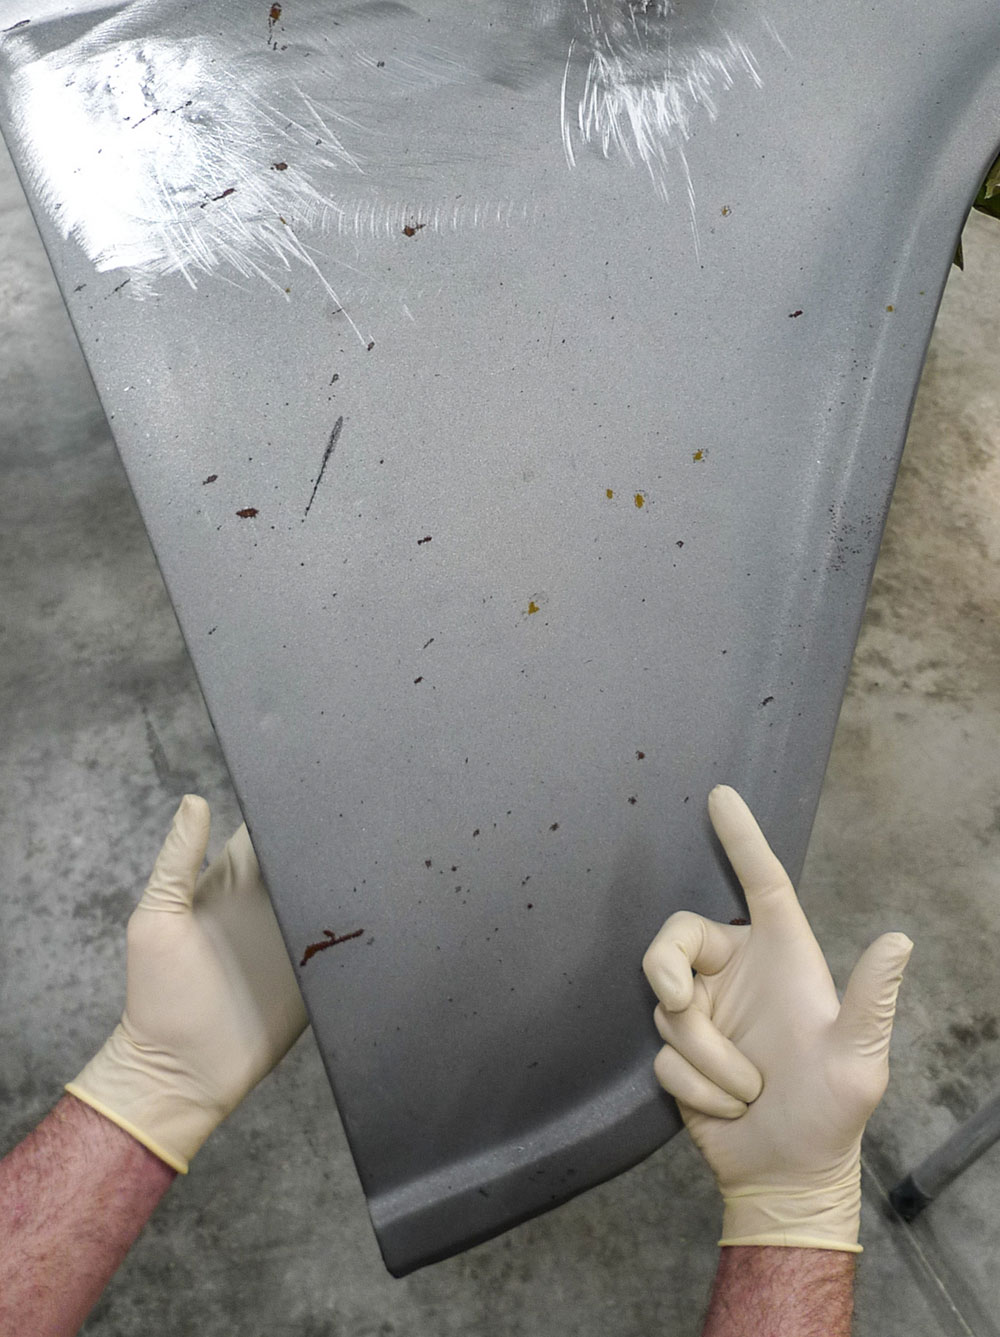
09 Somehow our abrasive blasted original fender is also affected by mysterious splatter
Somehow, our abrasive-blasted original fender is also affected by mysterious splatter. In this instance it’s become scale rust, which won’t clean up so easily.

Not to distract too much from my own personal goofs, but do you ever get the feeling you’ve been somewhere before? Somehow it seems as though we’ve touched on the necessary fillerworking subject here—not so long ago. This time, rather than expounding deep technical details, let’s just focus on the aforementioned practicality. New versus old—let’s consider this a time-is-money comparison.
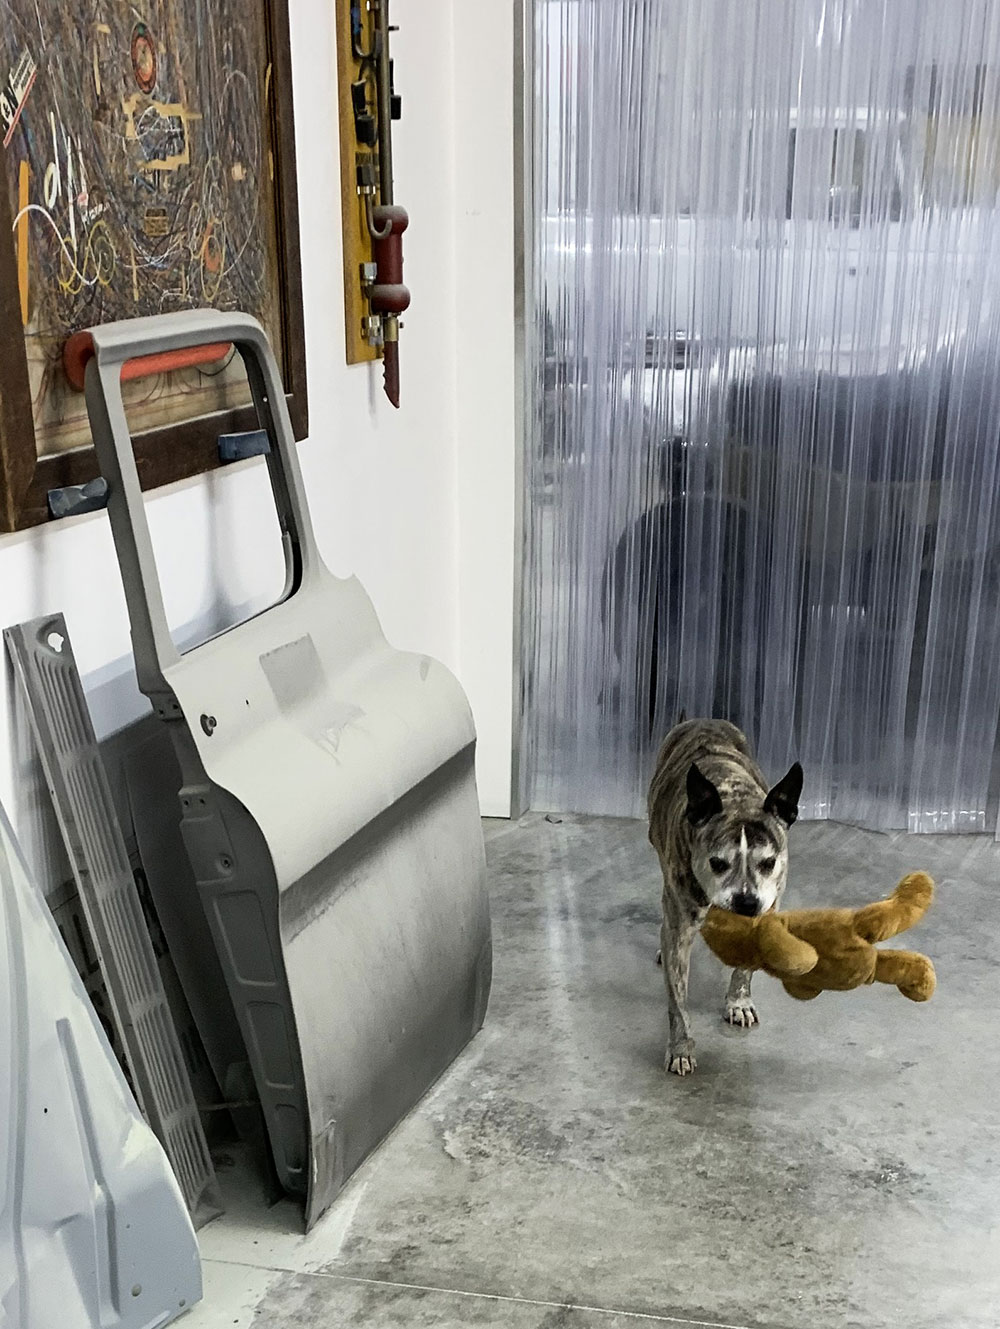
10 Out the back door of the body stall is T bones egress
Out the back door of the body stall is T-bone’s egress. When he reenters from his romp he’ll be slinging’ slobber in a side-to-side stride. Now we understand.
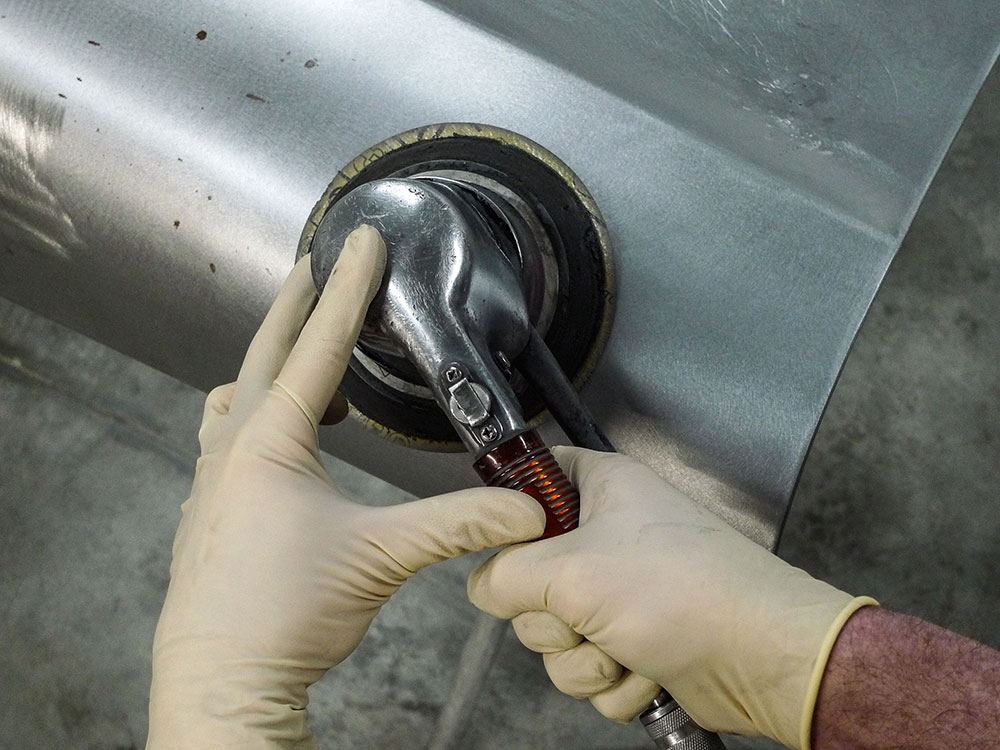
11 Since abrasive blasting left this fender rather porous a flat DA pad may not reach deep enough into problem spots
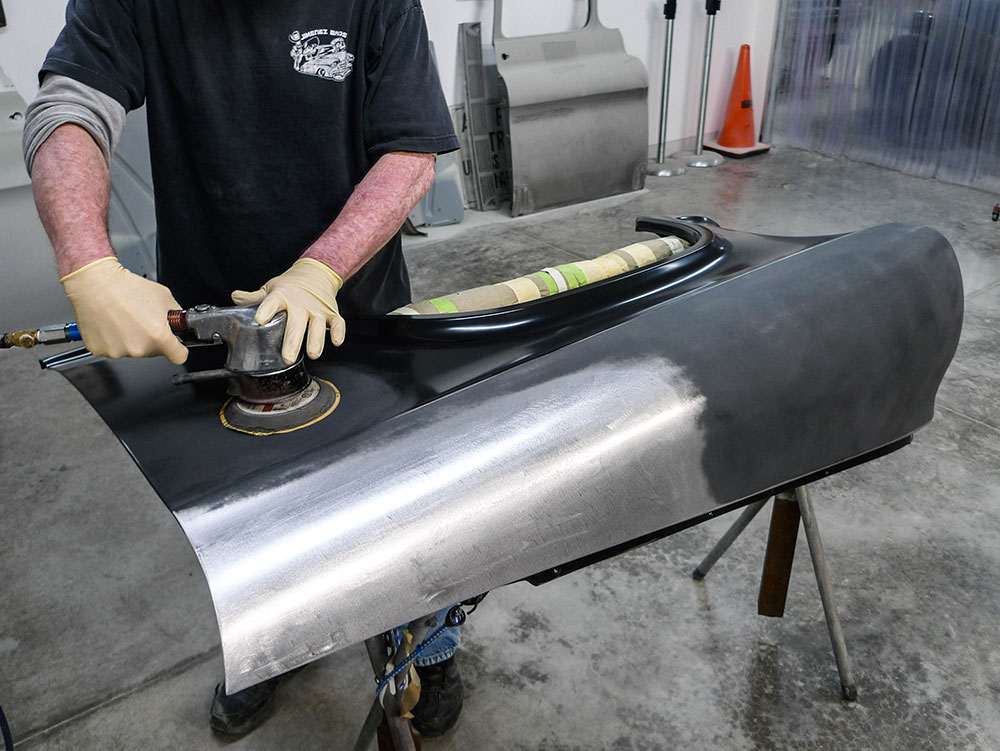
For starters, it’s 80-grit on a DA (dual-action) sander. Since abrasive-blasting left this fender rather porous, a flat DA pad may not reach deep enough into problem spots.
12 Near spent 3M Clean Strip Discs on Harbor Freight die grinders are doing the trick
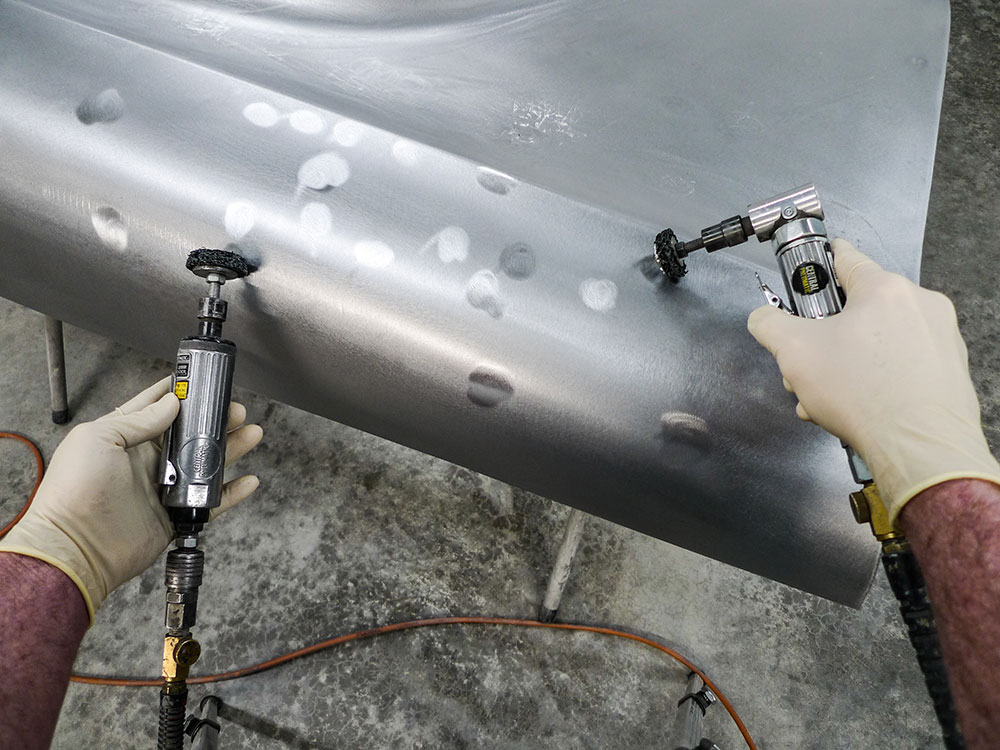
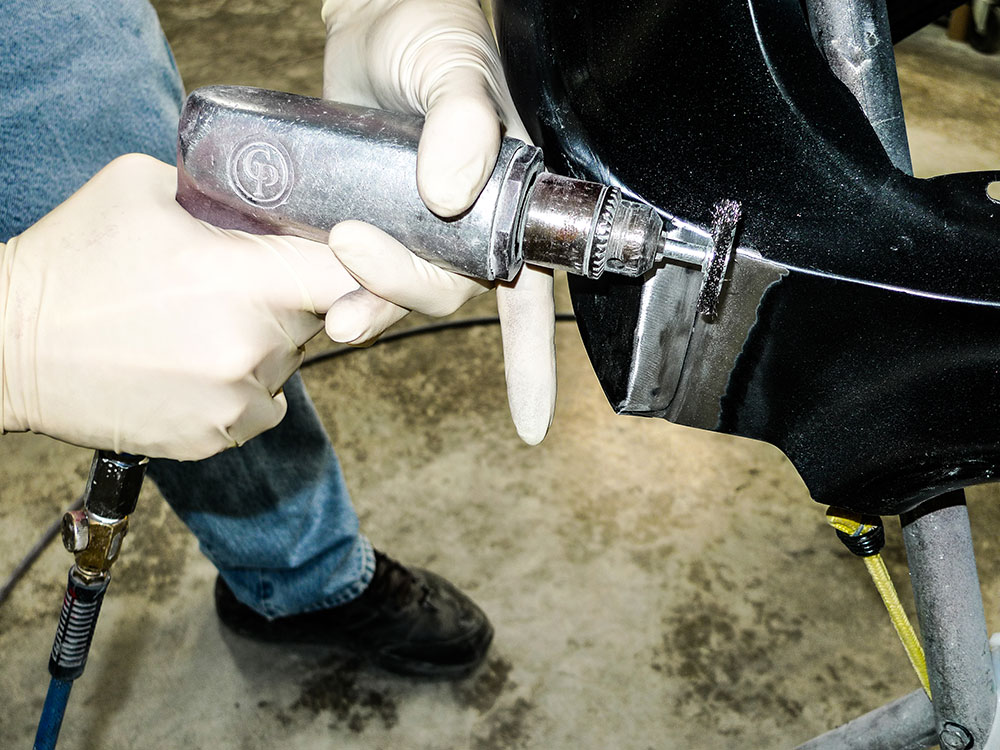
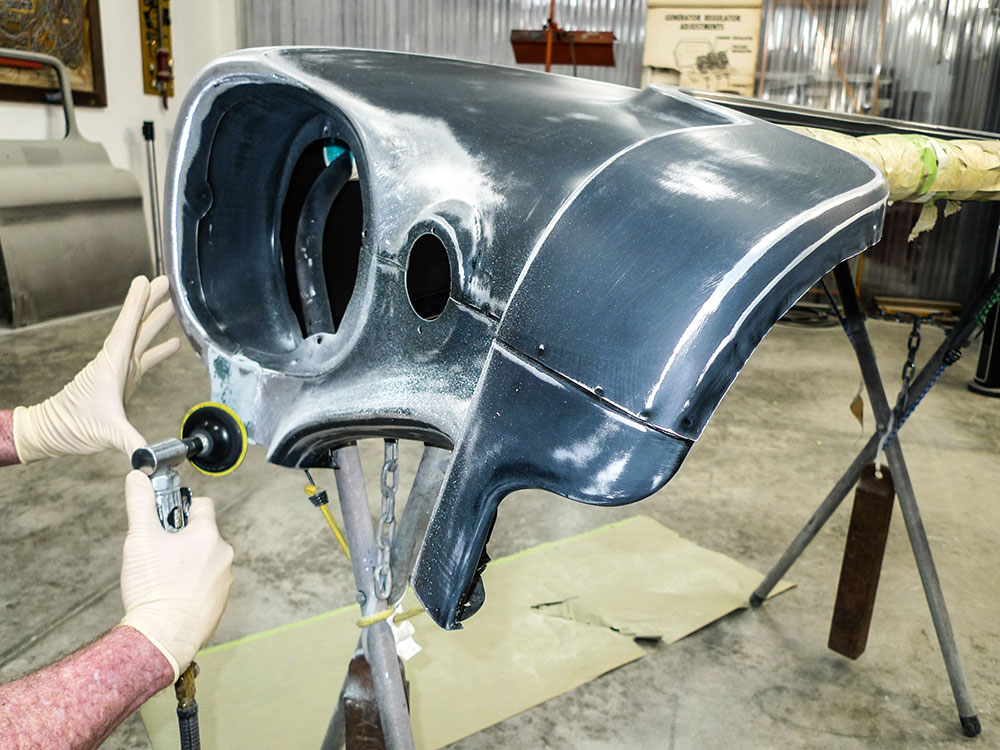
Near-spent 3M Clean & Strip Discs on Harbor Freight die grinders are doing the trick. If this wasn’t working, we’d be on our way back to the blaster—again.
13 the original fender is ready for first round primer surfacer
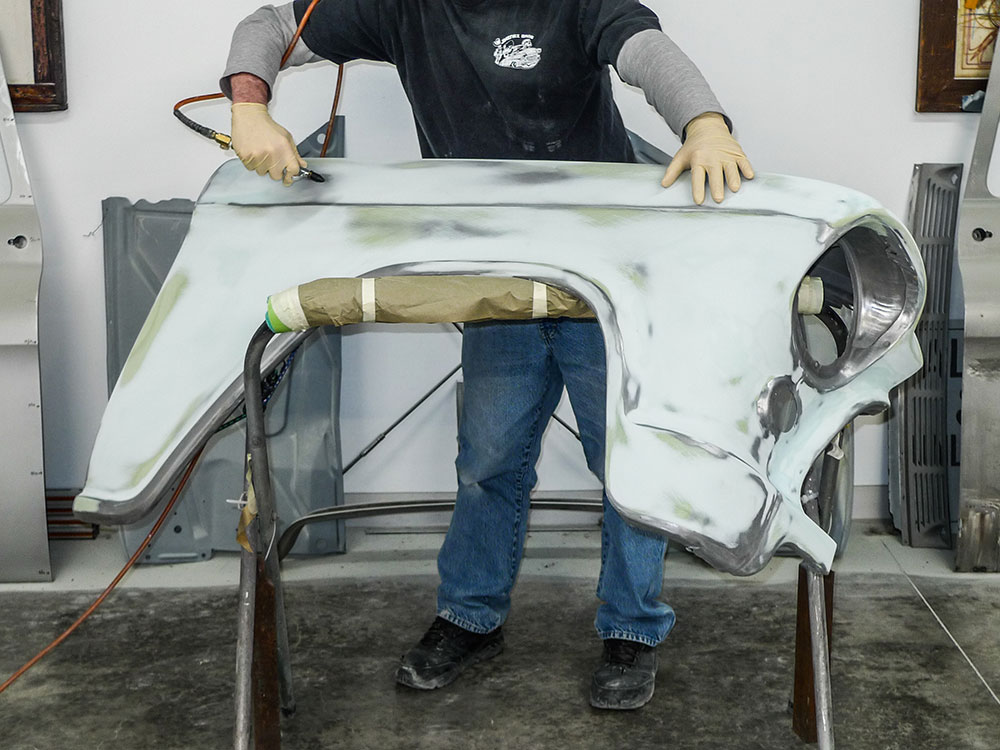
Way too many (45.25) hours’ worth of filler working later, the original fender is ready for first-round primer-surfacer. We won’t be charging accordingly. That wouldn’t be fair.

E-Coat Quandary

Back in the ’70s, as painter’s helper at my first real job, the head painter there said this for the black coating that came on new OEM body panels: “That’s good primer! You can scuff ’n’ paint right over it.” A few years later, at another shop, I was retrained differently: “Unless we start from bare metal, there’s no guarantee.”
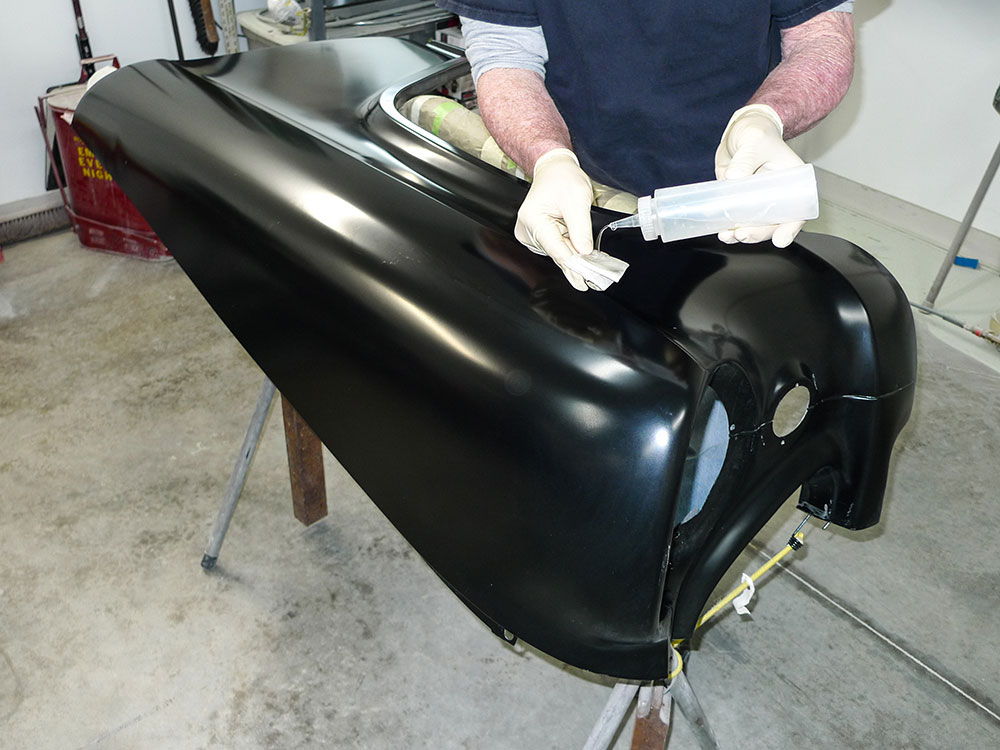
14 Using lacquer thinner or in this instance Montana compliant gun wash solvent on paper toweling
Using lacquer thinner, or in this instance Montana-compliant ’gun wash solvent on paper toweling, let’s see if we can reflow the new fender’s E-coat.

Like new OEM body panels, our new Brothers reproduction fender arrived with an E-coat or, if you prefer, an EDP (Electro Deposit Primer) coating. We think that description is a little vague as the terminology doesn’t state what the coating is actually composed of. If by chance it’s thermoplastic (lacquer-like by nature) it should be removed. To determine our E-coat’s substrate suitability there’s an easy test. As we turn our attention to the new fender, let’s begin with a little demonstration.
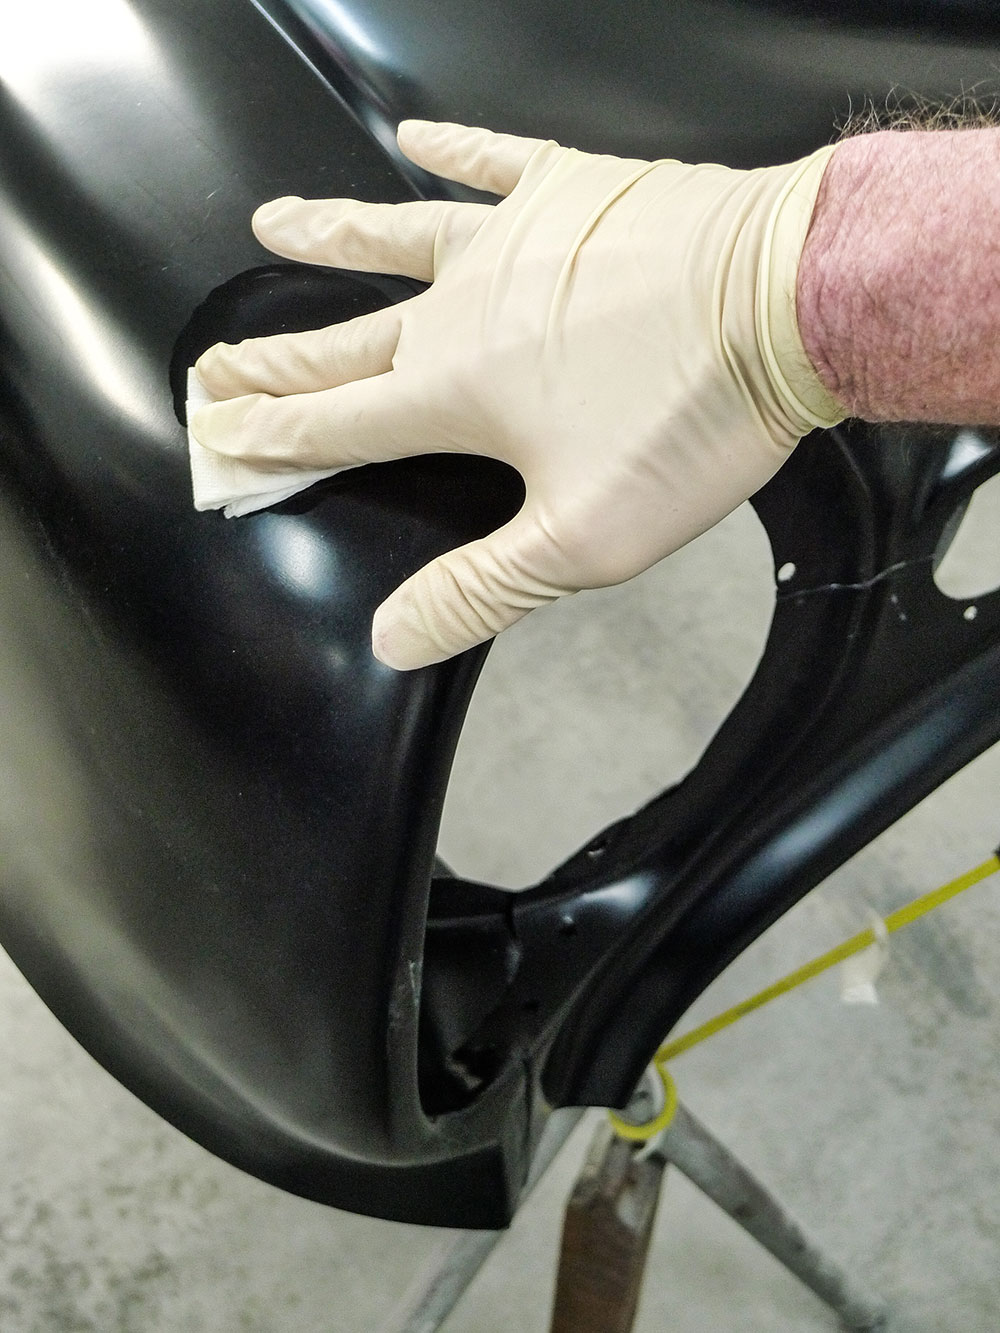
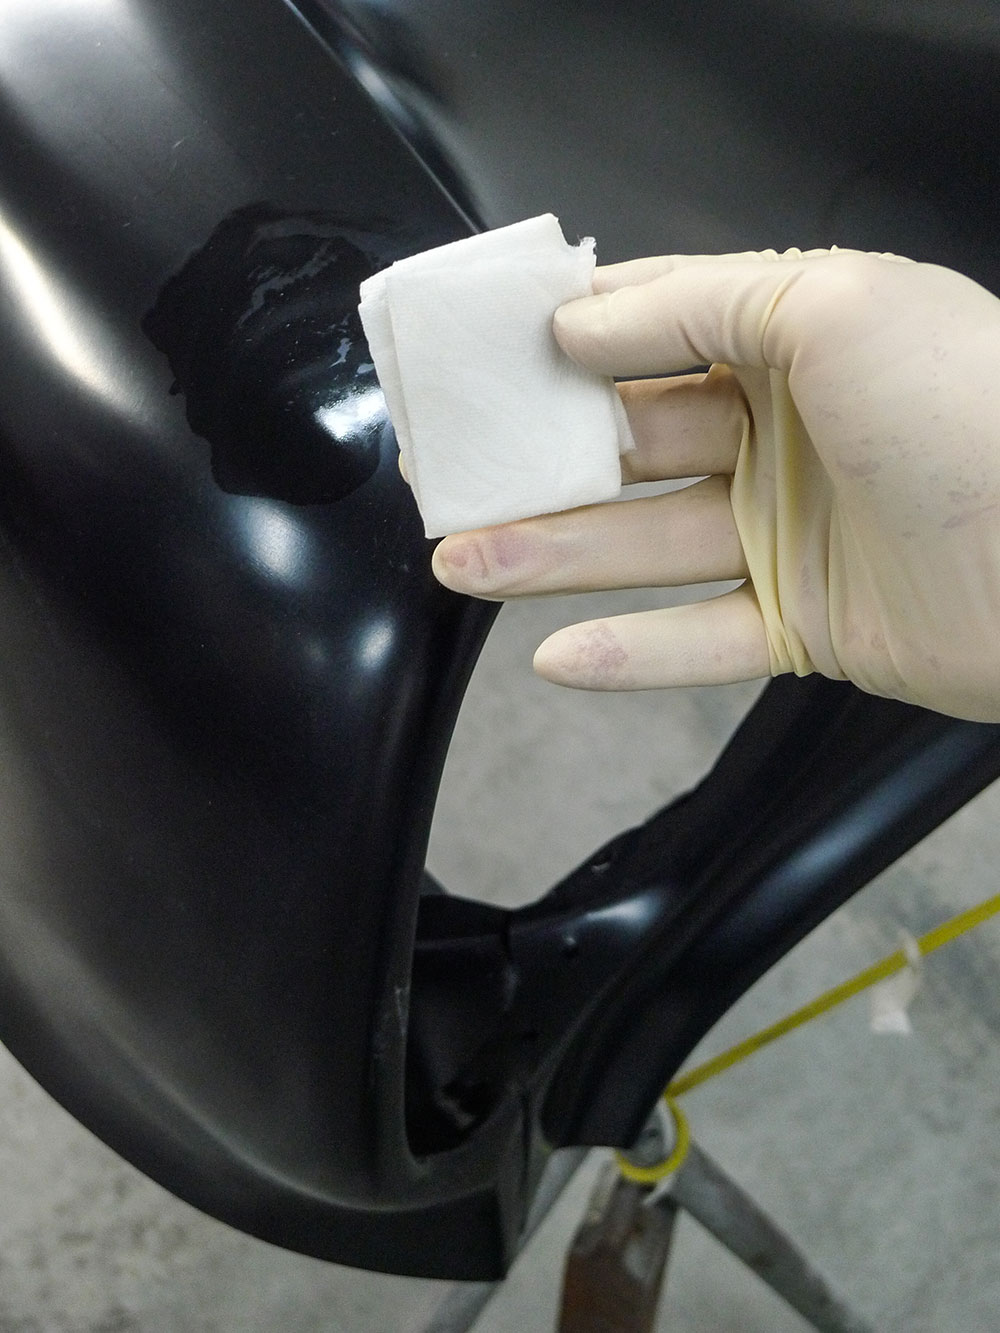
15 With our dampened toweling held in place long enough to bite if its going to were now attempting to rub the solvent in
With our dampened toweling held in place long enough to bite (if it’s going to) we’re now attempting to rub the solvent in. We’re really trying to melt through.
16 On that note perhaps well strip areas thatll receive body filler only
Test results are in! This fender’s E-coat is unaffected. Theoretically, it could be abraded and recoated. On that note, perhaps we’ll strip areas that’ll receive body filler, only.
17 Well begin with a popular household cleaning product
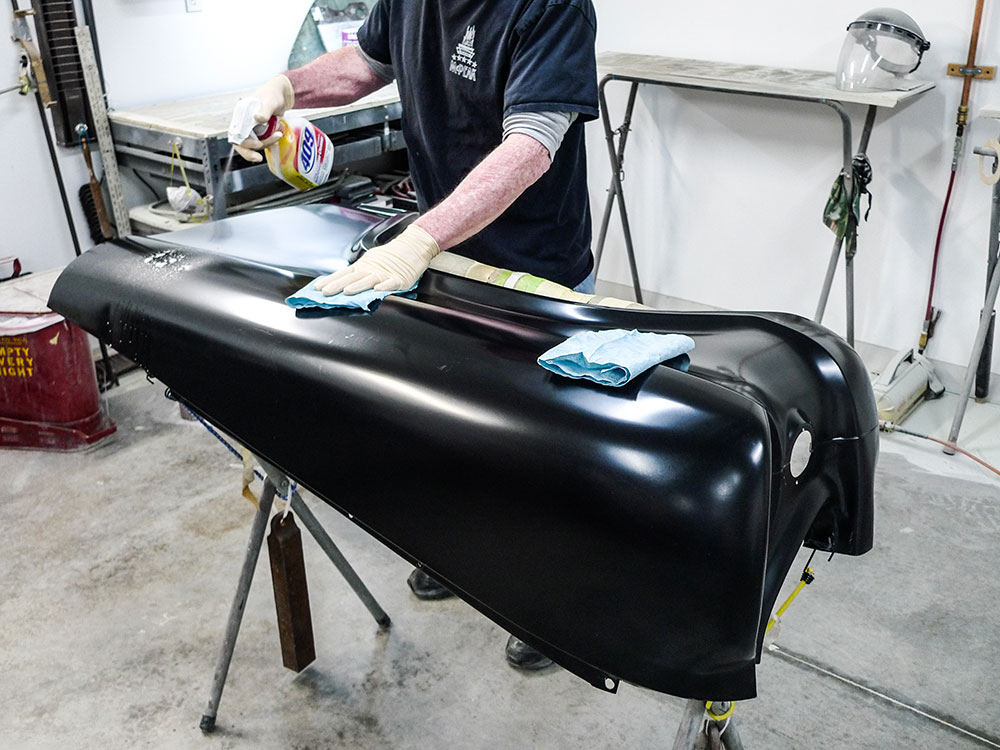
First, let’s be sure this fender is clean. We’ll begin with a popular household cleaning product and then follow with solvent-borne grease and wax remover.
18 I was quick to pull a Keysco leverage bar on this rearward upper edge
Earlier I fessed up to a little boo-boo. I was quick to pull a Keysco leverage bar on this rearward upper edge. Here I’m cleaning up after myself—and this repair is on me.
19 For the short horizontal seam that the other fender
For the short horizontal seam that the other fender (the used fender) doesn’t have, we’ll need to smooth things over.
20 In this stretch the seam has three factory spot welds
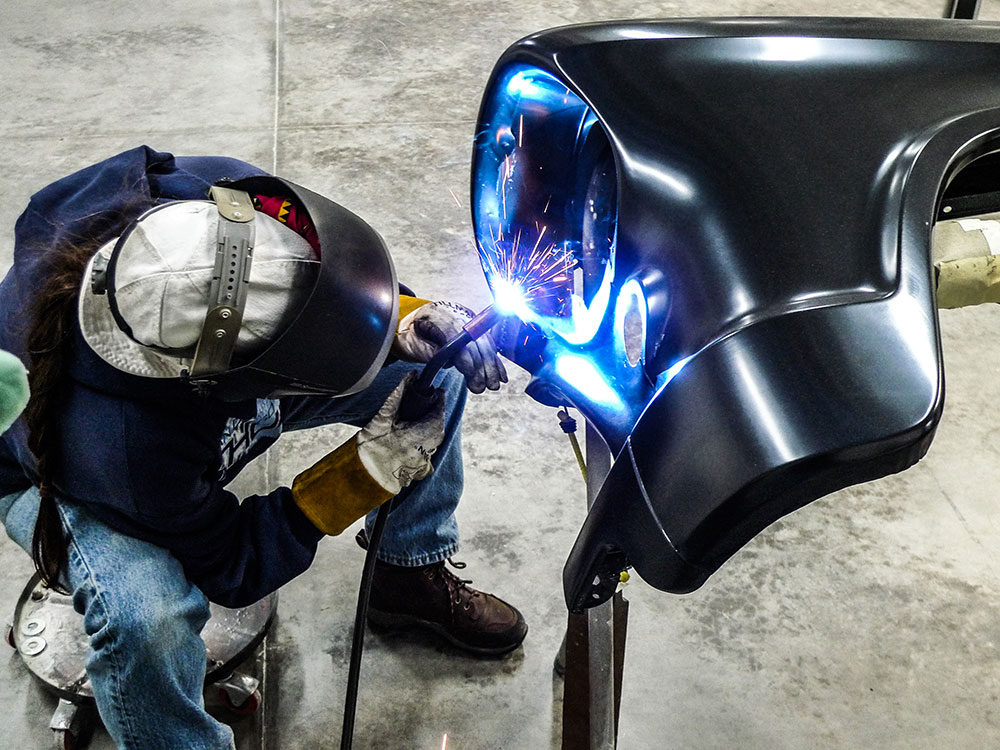
In this stretch the seam has three factory spot welds. Mrs. Rotten thinks the overlapping edge should be welded more solidly. Since it’ll end up under body filler, I’ll agree.
21 This is a job for another little Harbor Freight die grinder
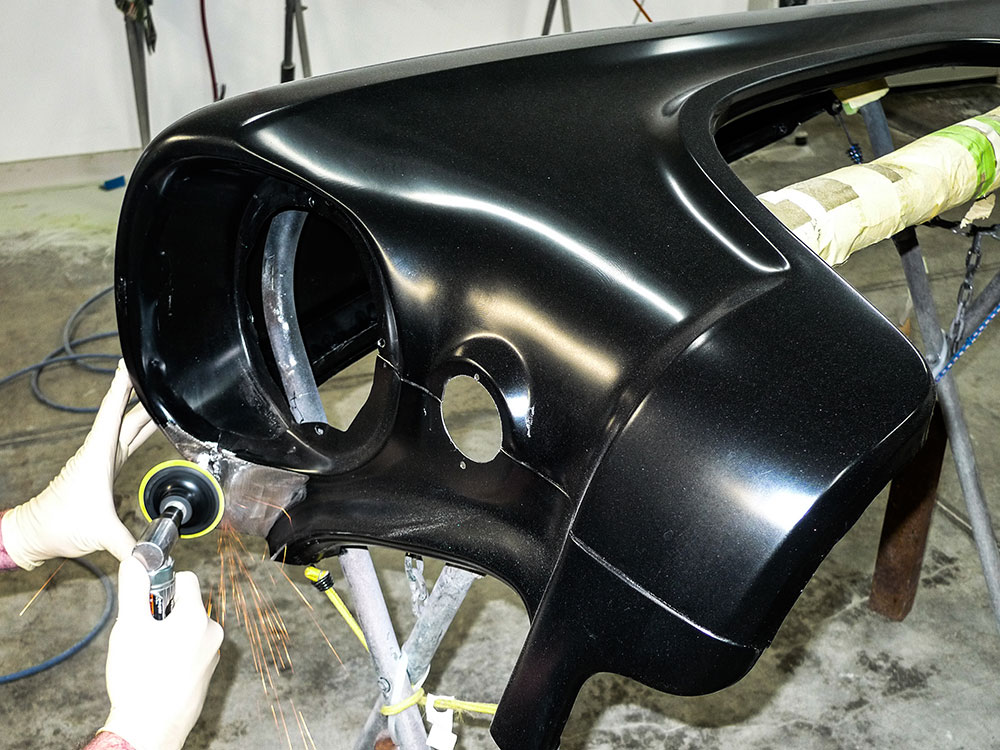
This is a job for another little Harbor Freight die grinder. With a fairly fresh 3-inch, 36-grit, Roloc-type disc it’s smoothing Mrs. Rotten’s MIG weld knots away.
22 Since were dealing with pits and porosity lets employ Summit Racings little Speed Blaster
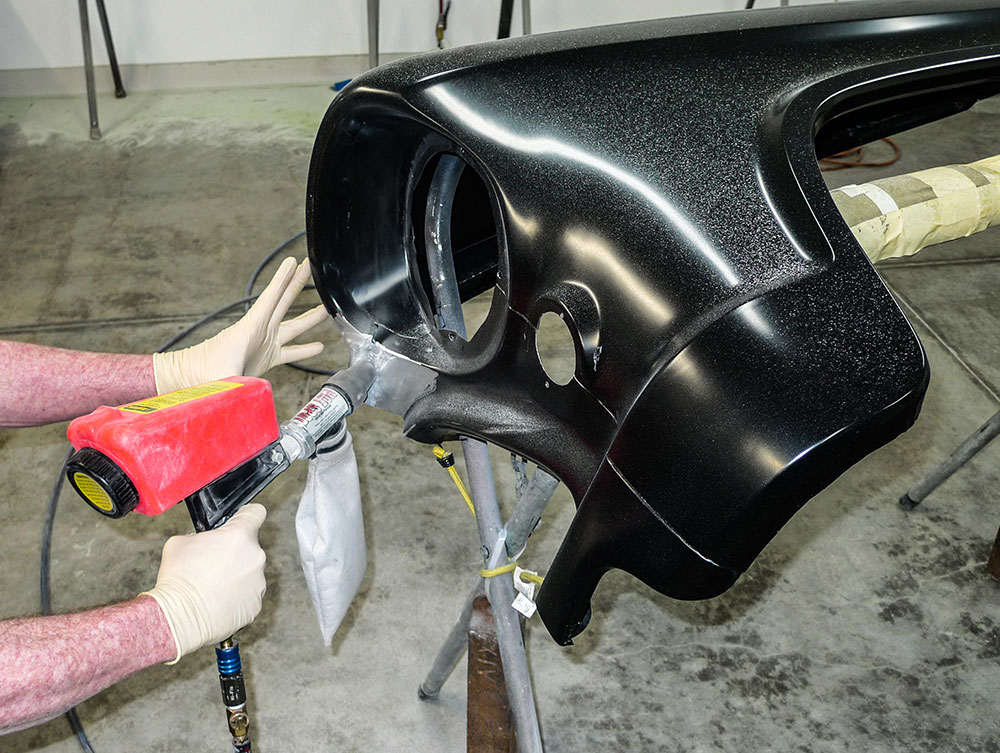
Since we’re dealing with pits and porosity, let’s employ Summit Racing’s little Speed Blaster. With its accessory Hot Spot conversion kit we’re keeping our mess to a minimum.
23 Moving on lets abrade this fenders E coat with 180 grit on a DA sander
So, never mind the bare steel area. I really don’t care to discuss that any further. Moving on, let’s abrade this fender’s E-coat with 180-grit on a DA sander.
24 For concave expanses where our flat 6 inch DA pad doesnt quite conform
For concave expanses where our flat 6-inch DA pad doesn’t quite conform, we’re abrading in a manual manner, again with 180 and a red Scotch-Brite pad.
25 Filler work over welding should begin with fiber reinforced filler
We won’t go deep into filler work this time, but we think this part bears repeating: Filler work over welding should begin with fiber-reinforced filler.
26 To speed this process were using the same die grinder
Of course fiber-reinforced filler sands like a rock. To speed this process we’re using the same die grinder and what’s left of the same 36-grit Roloc-type disc.
27 This time from Summit Racing well smear a thin skim of Evercoat Rage Xtreme for final fairing
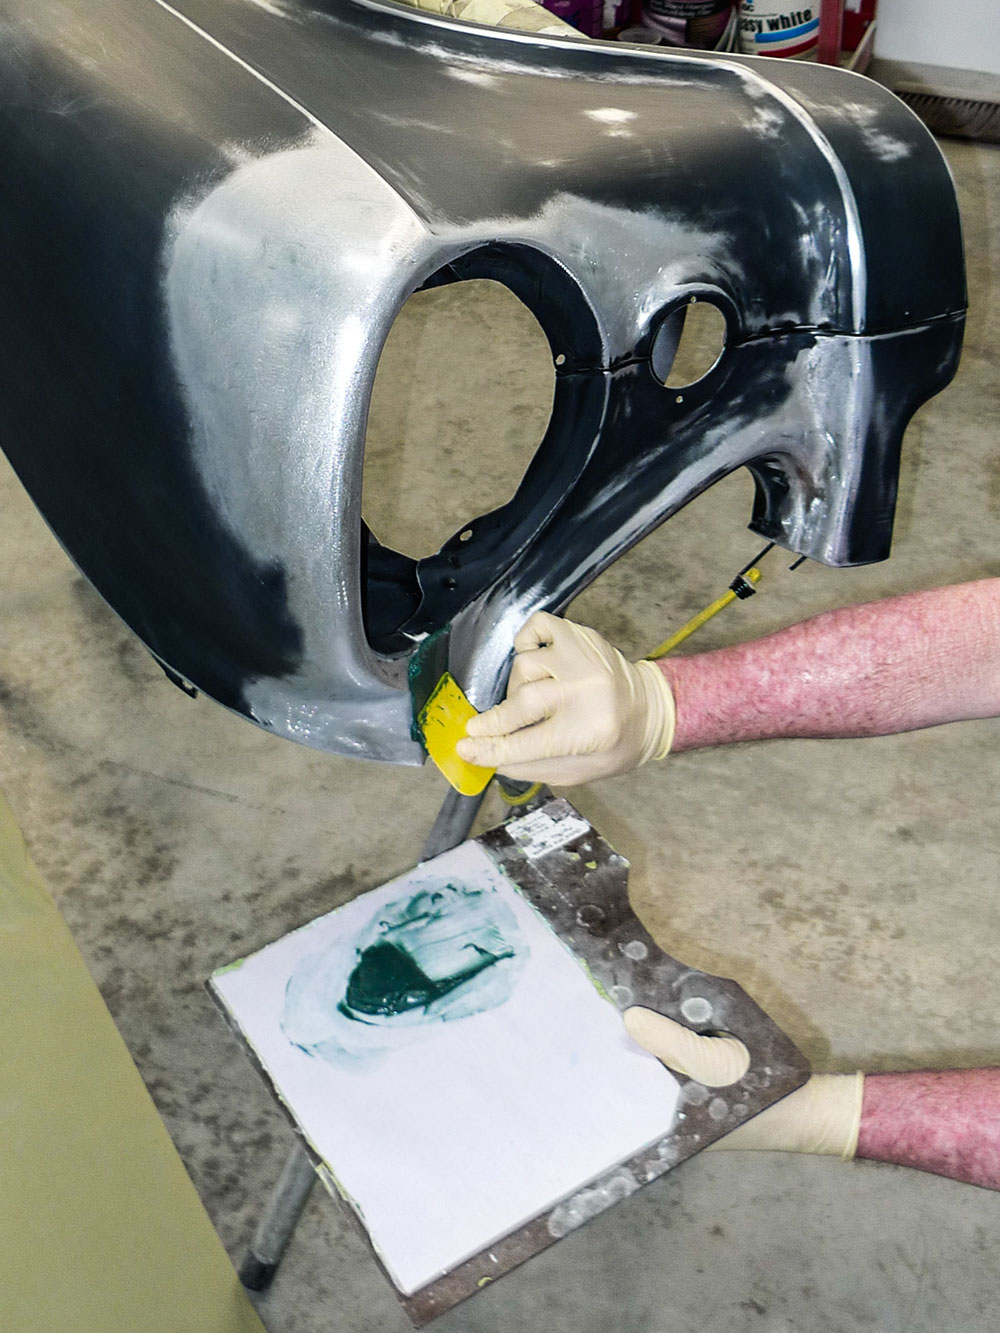
Finalizing initial filler work, we’re still working with boulder-grit (40-grit) abrasives. This time, from Summit Racing, we’ll smear a thin skim of Evercoat Rage Xtreme for final fairing.
28 Beginning with 80 and finishing with 120 grit our necessary filler work is fairly well completed
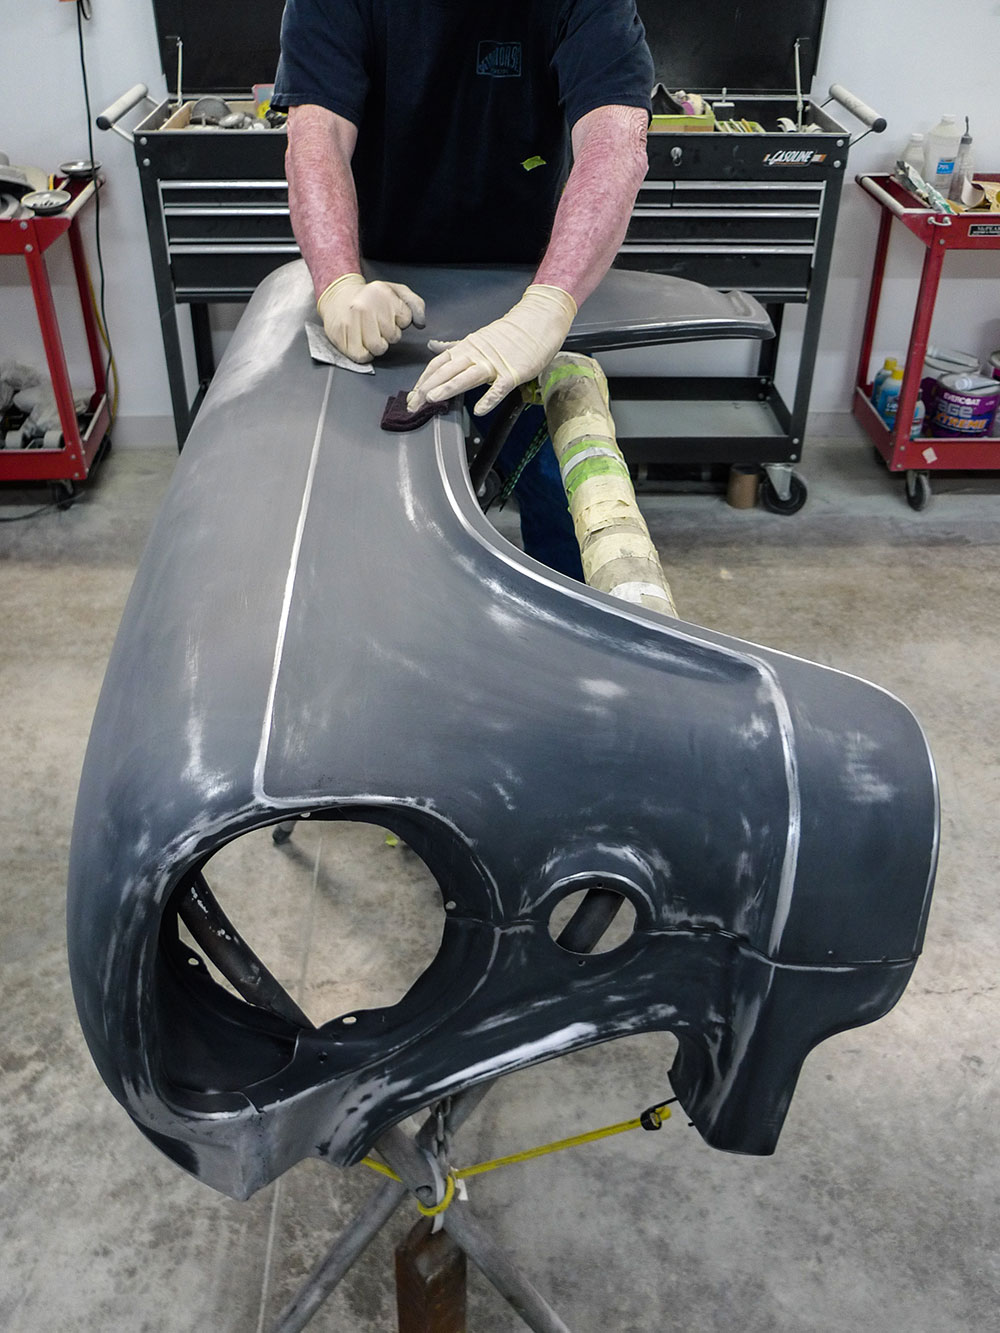
Beginning with 80, and finishing with 120-grit, our necessary filler work is fairly well completed. Through a surgically clean latex glove this feels pretty good.
29 After all this work are these fenders shaped exactly alike Technically no
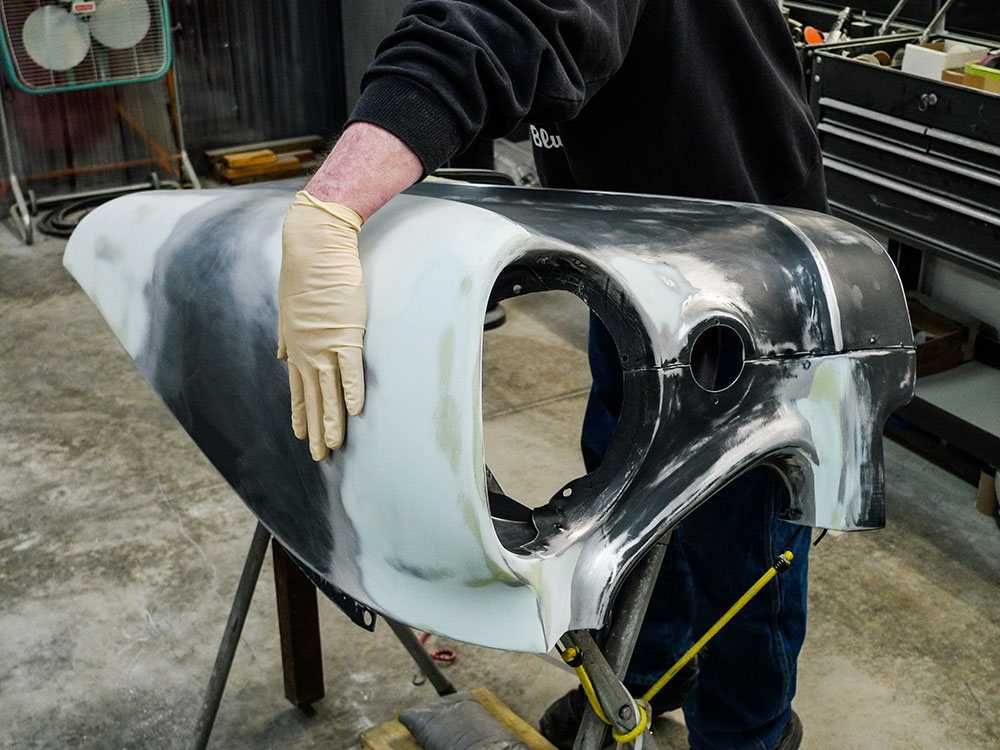
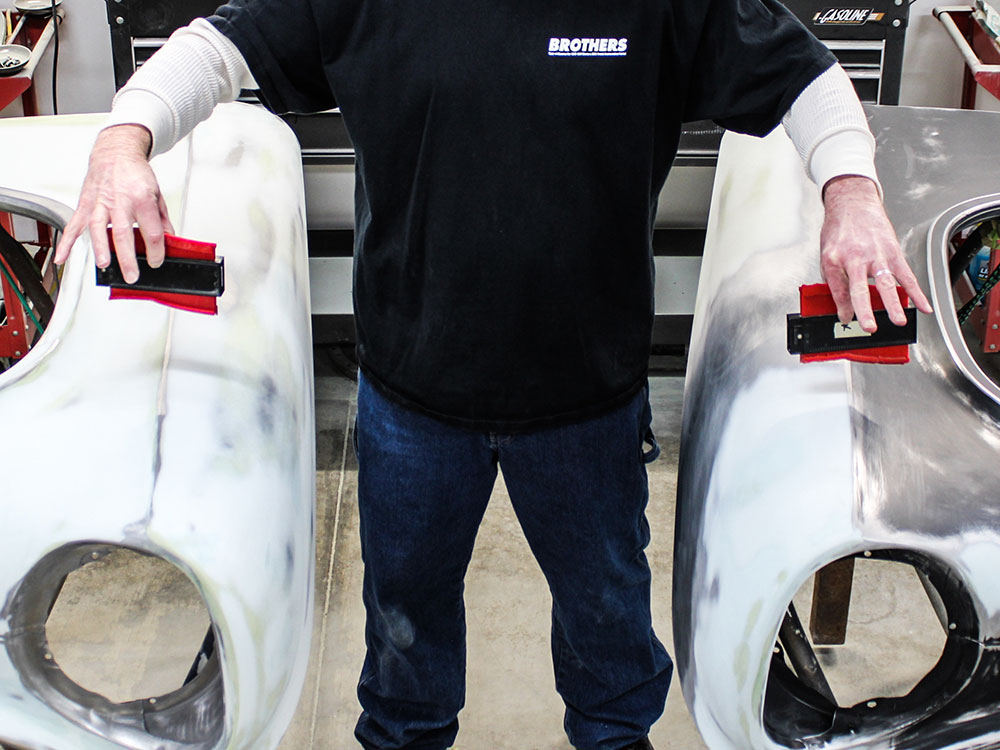
After all this work, are these fenders shaped exactly alike? Technically, no, but their minor variance should go unnoticed. On the same old truck, they’ll get along just fine.

Sources
Brothers Trucks
(800) 977-2767
brotherstrucks.com

Harbor Freight Tools
(800) 423-2567
harborfreight.com

Summit Racing Equipment
(800) 230-3030
summitracing.com

- Advertisement -

Related Articles

Search Our Site

More Classic Truck Performance

A Clean Serpentine Package for any LS Motor

By Ryan Manson   -   Photography by the Author One of...

Jack Fillers’ 1971 GMC Stepside has the Perfect Mix of Patina and Practicality

By Tommy Lee Byrd   -    Photography by the Author When...

2024 Grand National Roadster Show: The Classic Truck Perspective

By Rob Fortier   -   Photography by the Author Still reeling...

Our Chevy Pickup Gets a New Firewall, Engine & Transmission

By Ron Ceridono   -   Photography By the Author We’ve been...

Gary & Cindy Giovanni’s ’56 Chevy Modern Pro Street … South City Style

By Rob Fortier   -   Photography by Tim Sutton If you’ve...

Part 6: Custom Header Fab on the Scott’s Hotrods ’N Customs 1951 Chevy

By Kenneth “Stress Ball” DeKissere   -   Photography by Camren...
More Classic Truck Performance

The Arbor Camp Timber Company 1968 Chevy C10

Pete and Leslie Richmond's Tribute to Nostalgia By Ryan Manson  ...

The Harrison’s Rod & Custom ’71 GMC, Part 1

By Bryan Harrison   -   Photography by the Author This is...

THE GOLDMAN TOUCH

Gary Brown’s Full-Attitude ’57 Chevy By Rob Fortier   -   Photography...

Independent Thinking

Part III: C4 Corvette IRS for Early Chevy Pickups By...

Brad Bolves’ ’75 Ford SuperCab

By Eric Geisert   -   Photography by the Author For some...

OBS Steering Box Upgrade with Borgeson Universal Company

By Todd Ryden   -   Photography by the Author  Considering how...