Is It Better To Buy A New Door Vs. Repair The Original Door?

2nd Series 1955 Chevy Truck Part 2: New Old Stock From Brothers Truck Vs. Restoring The Original Door

By “Rotten” Rodney Bauman   –   Photography by the Author

Sure, we can salvage an original door. Lately, however, our salvaging efforts haven’t been so cost-effective. As you may recall from last month’s installment, our ongoing 1955 Chevy second-series project truck’s passenger side will retain an original front fender and door. For the driver side, we’ve procured a 1955-1956 GMC Truck second-series reproduction front fender and door, from Brothers Trucks.

- Advertisement -
01 Reproduction door from Brothers Trucks on the left and the original door on the right
So, here to the left is our brand-new reproduction door from Brothers Trucks. To the right is an original used door. It’s already received patch panels, also from Brothers Trucks.

Check Out: Hot Rod Homage: Guzzo’s 1967 Ford F100

Last month’s comparison focused on fenders. This time around we’ll focus more on doors. The right side originally had the usual issues that we’ve pretty much come to expect. From the gate, we saw the need for rust repair on the outside corners, so we ordered a replacement 1955-1956 GMC Truck lower doorskin from Brothers Trucks early on.

02 The original door weighs around four pounds heavier than the nos replacement door from Bothers Trucks
Shall we look for little differences? Off the bat there’s a weight difference of 4 pounds, but let’s be fair. The heavier original door has old undercoating inside.

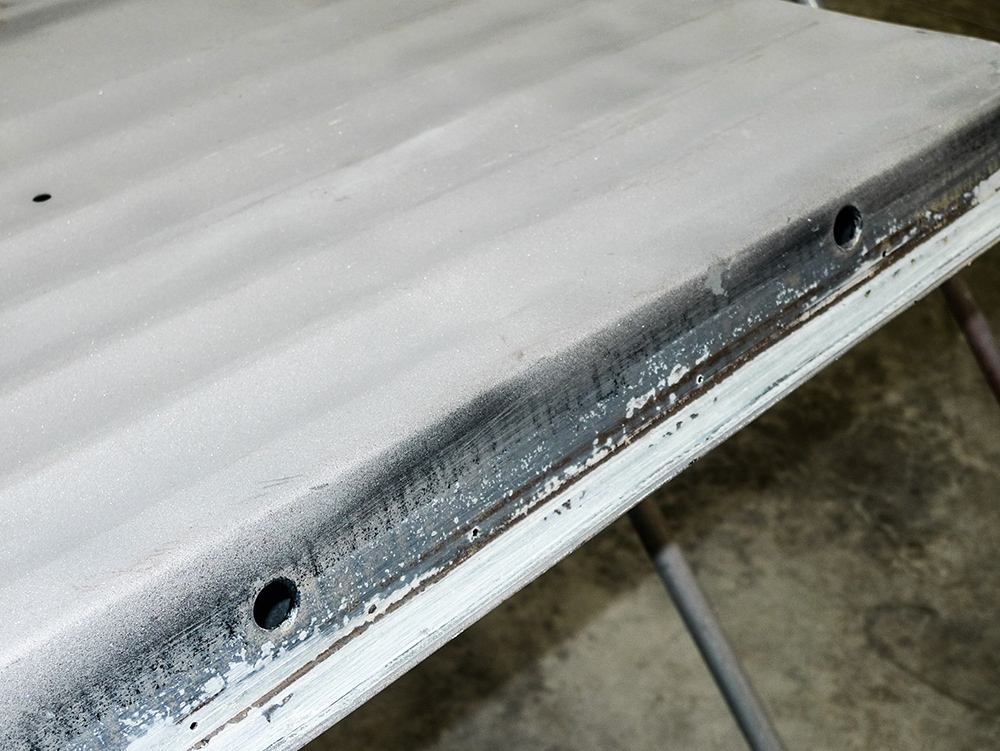
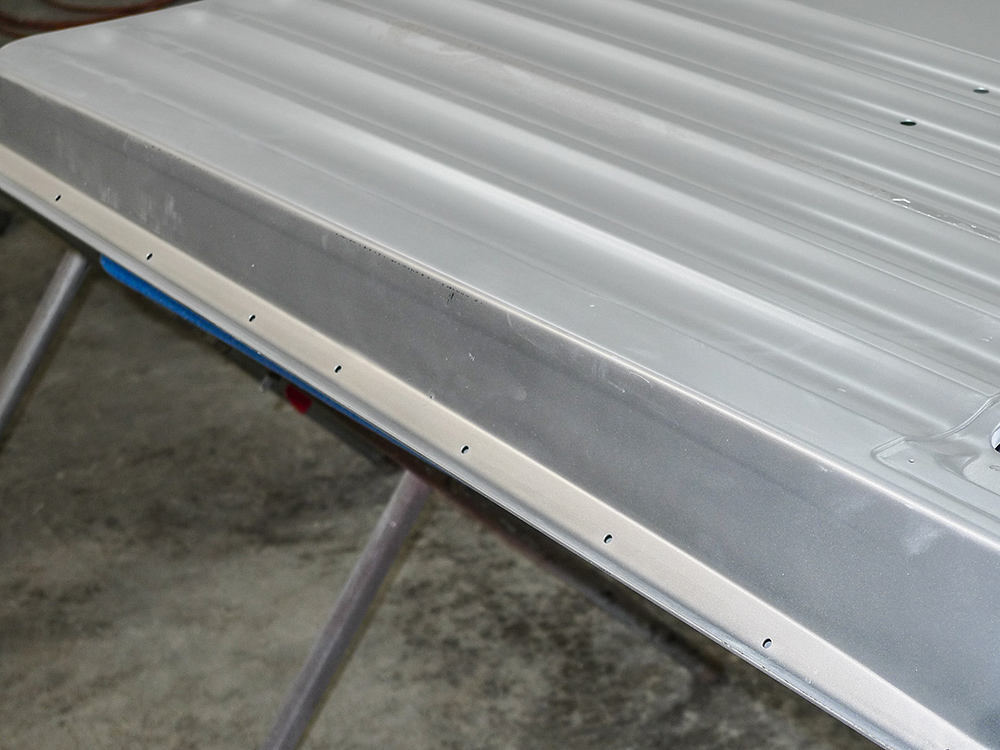
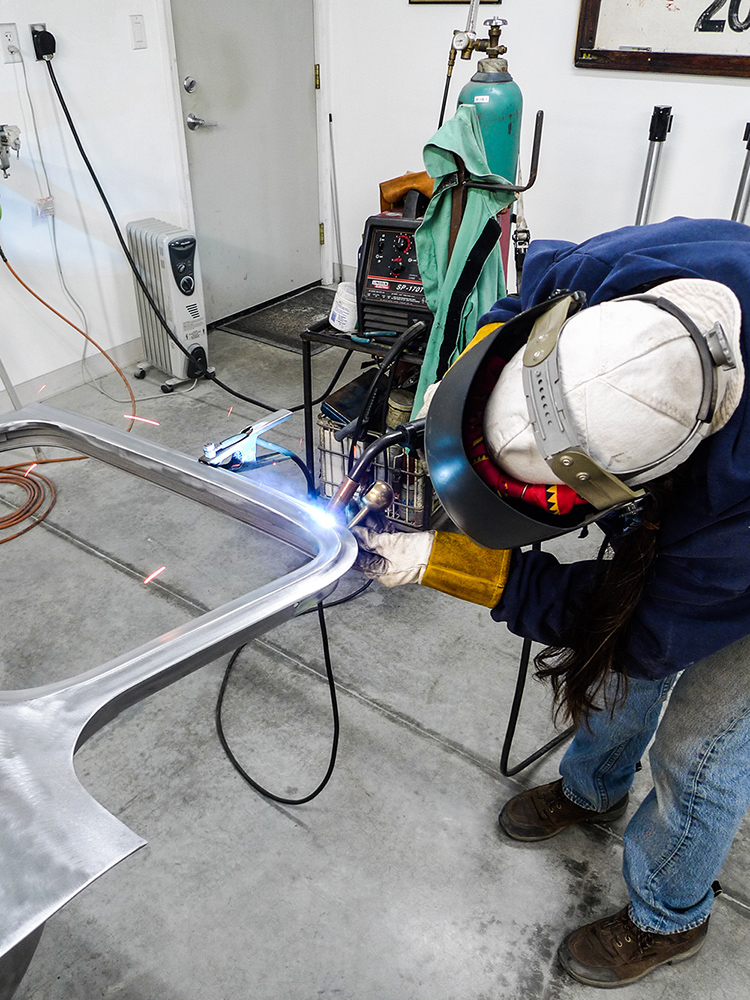
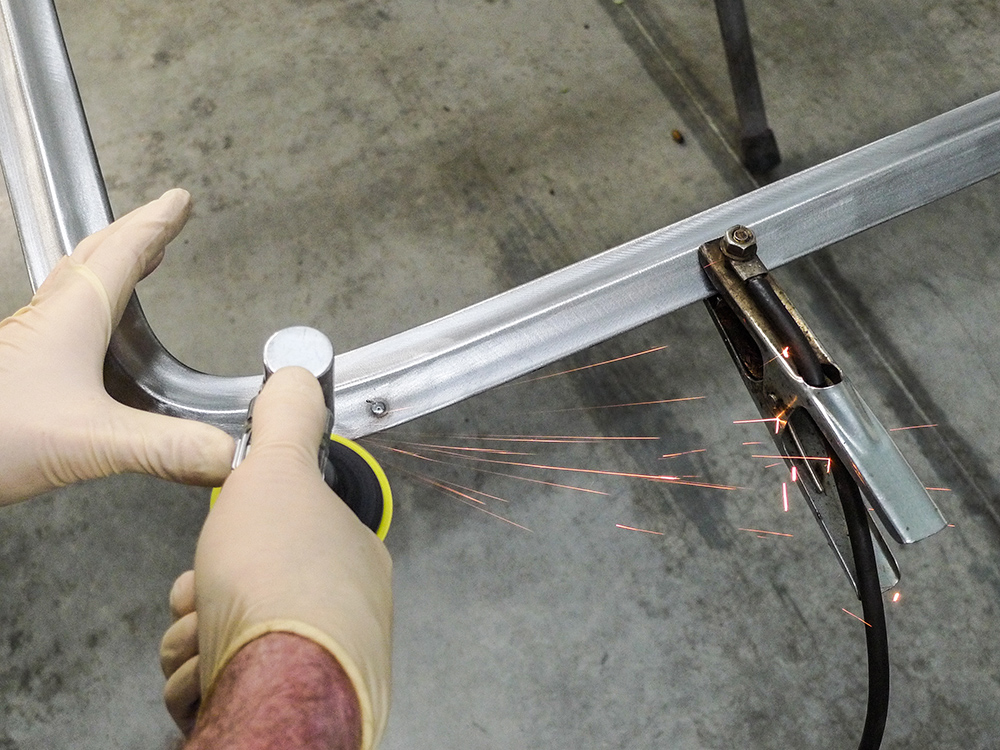
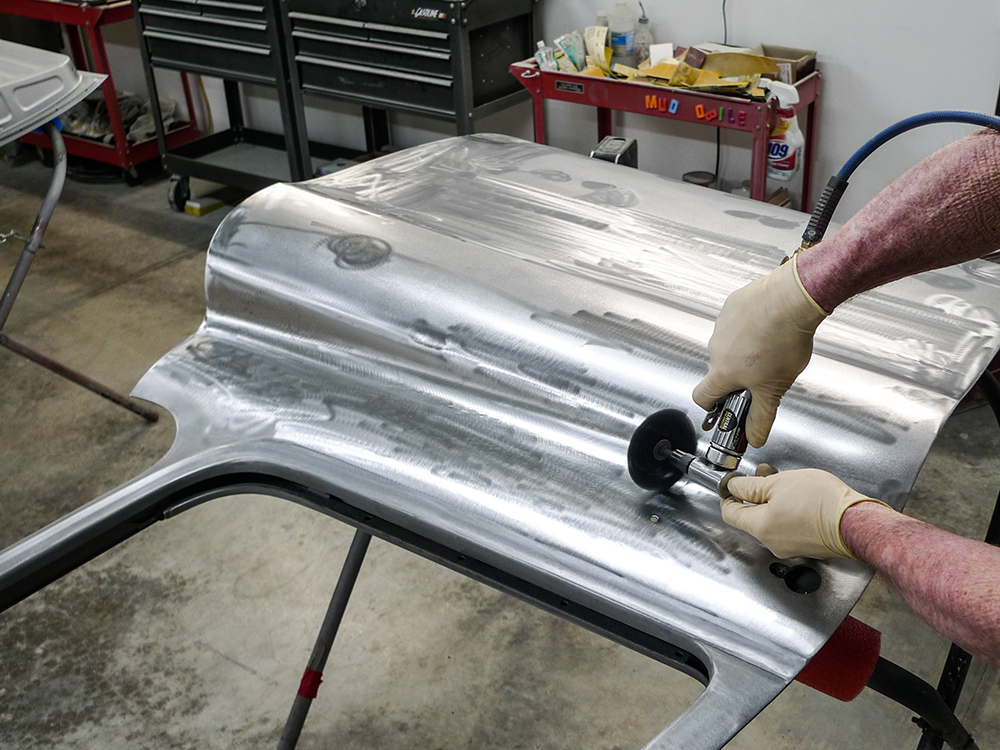
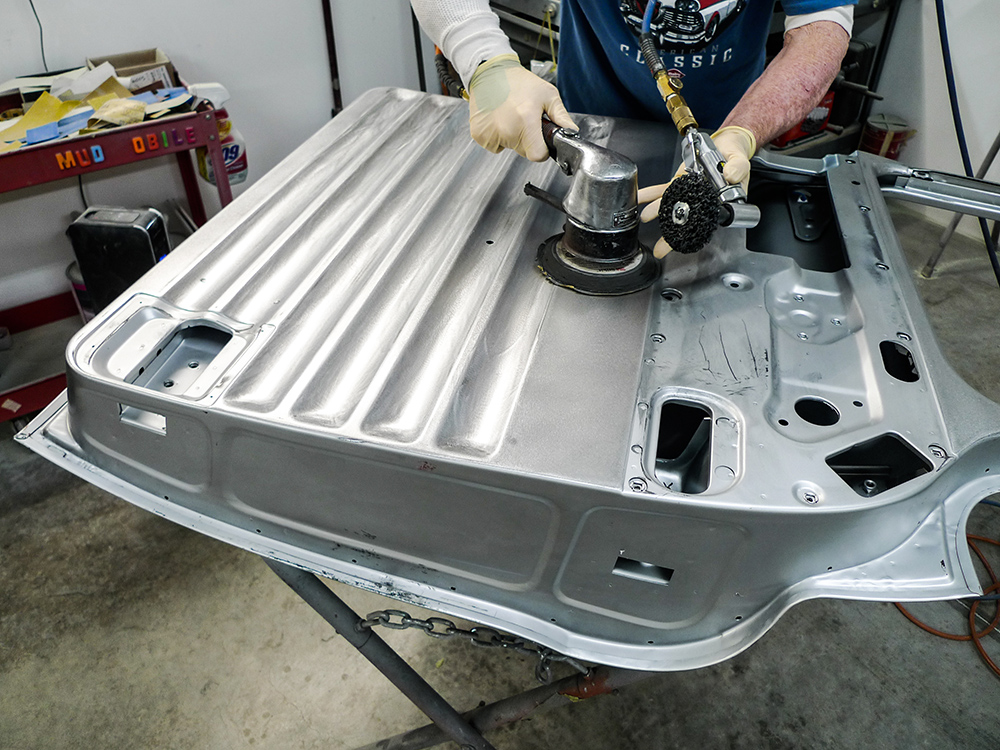
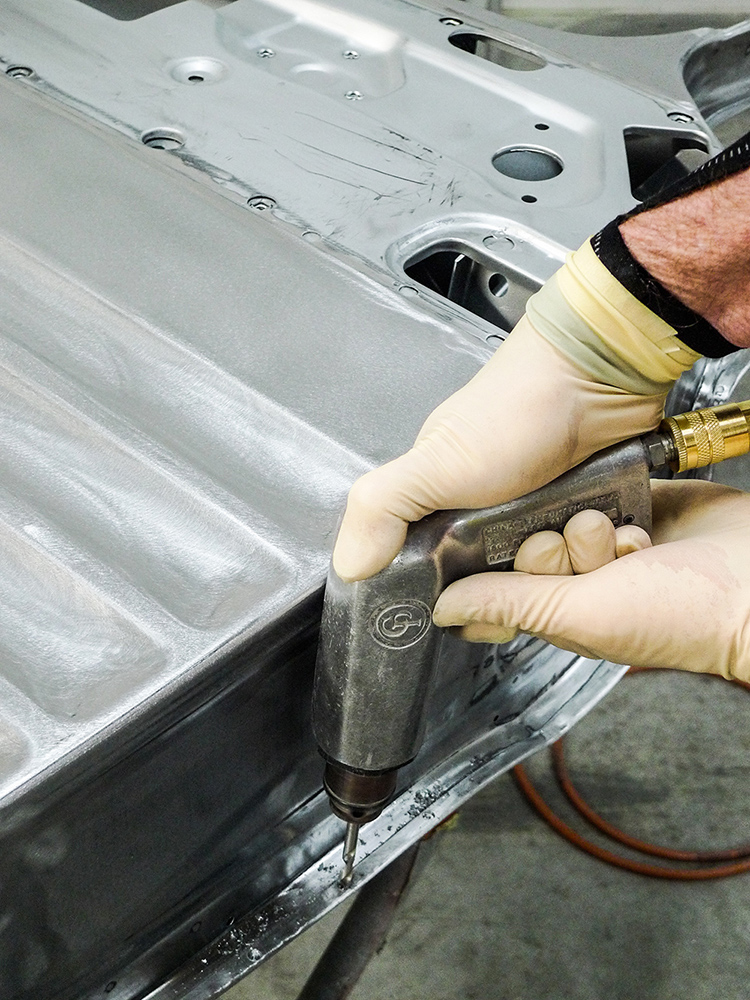
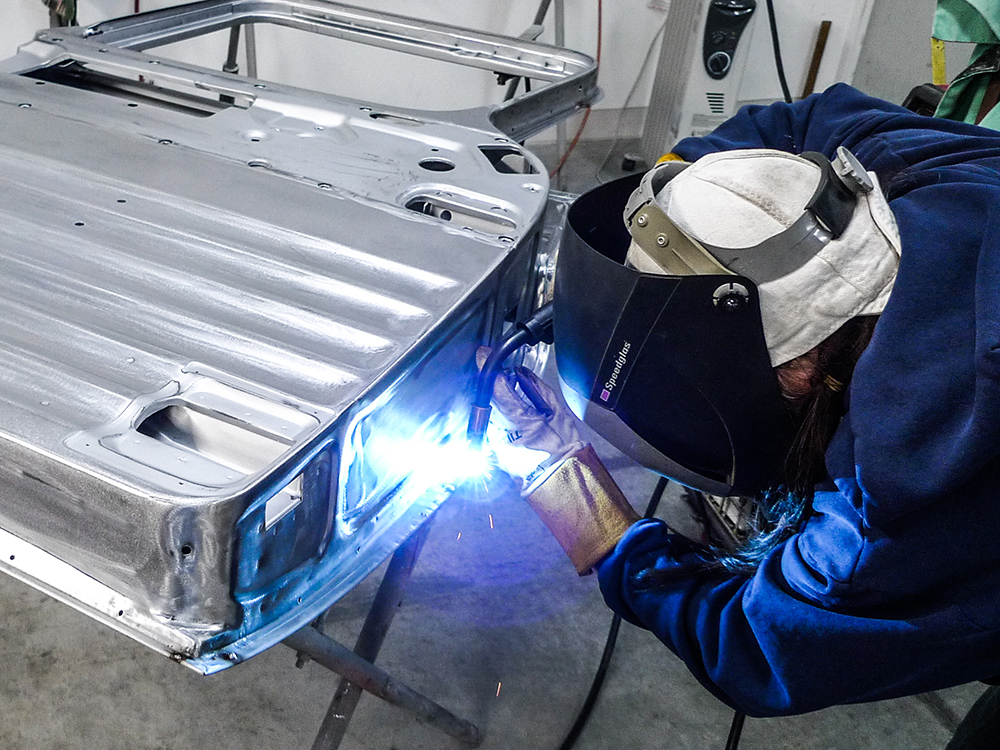
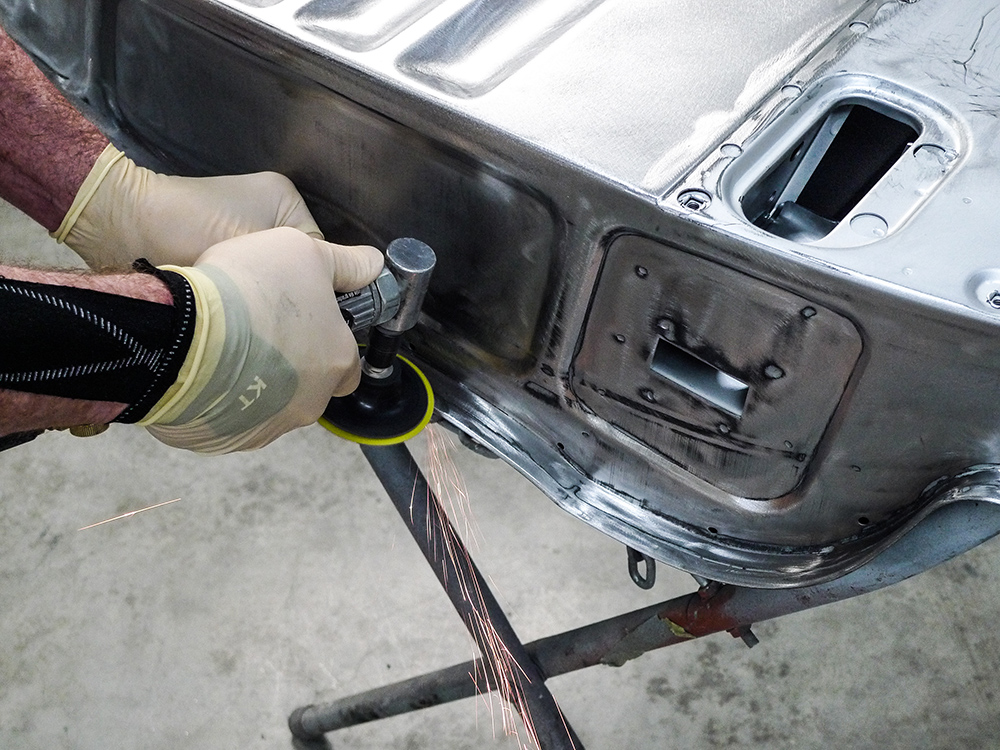
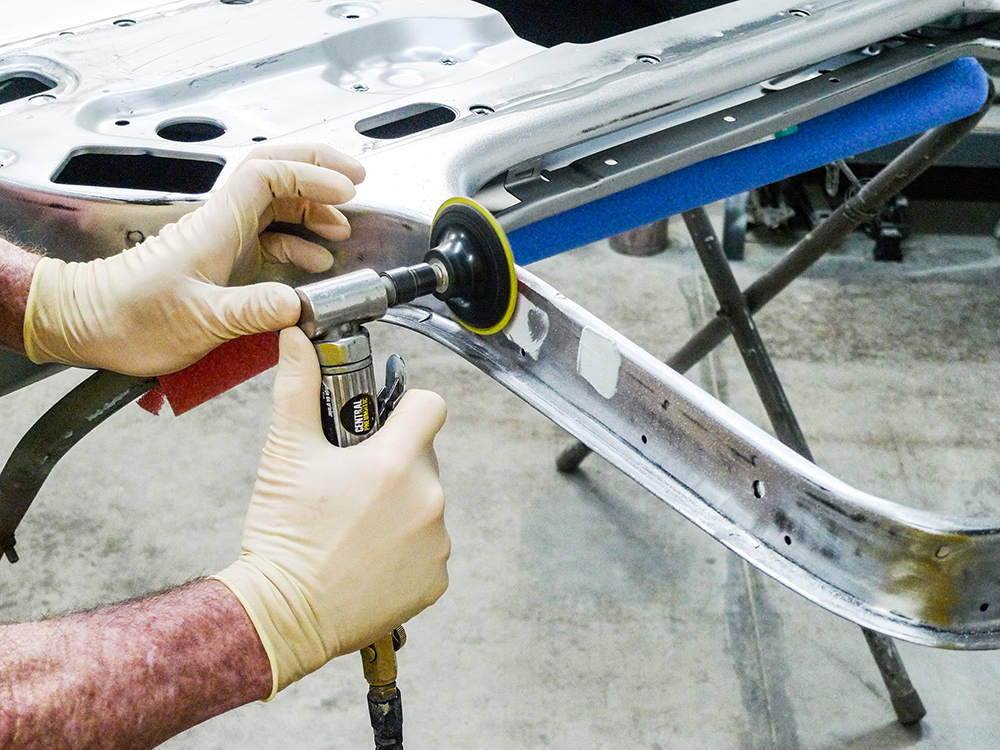
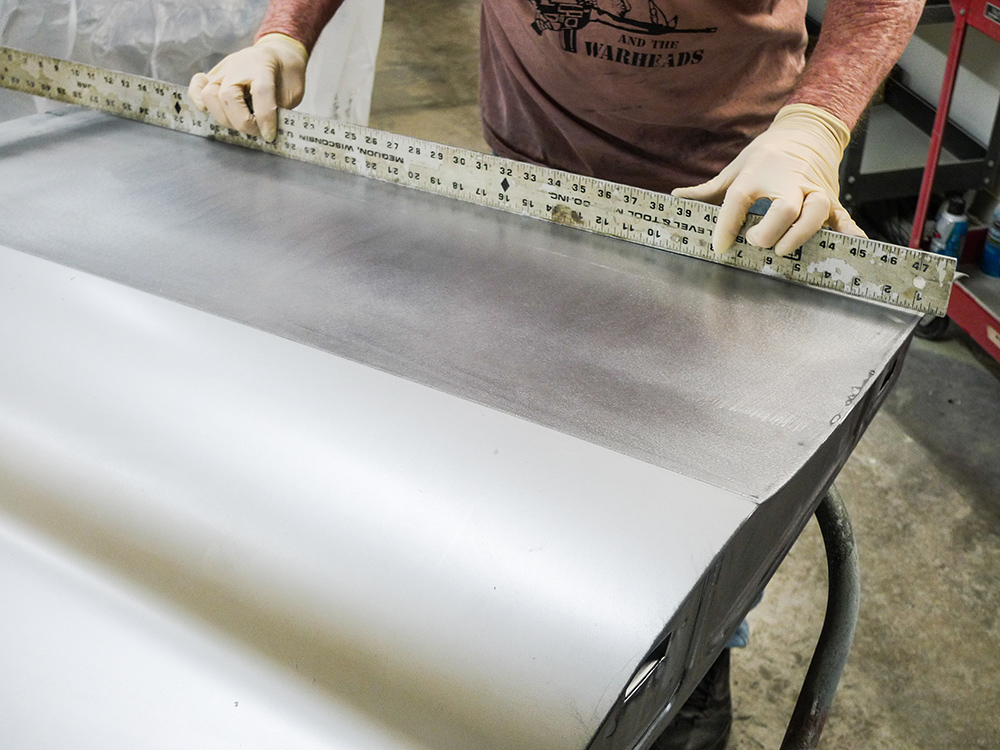
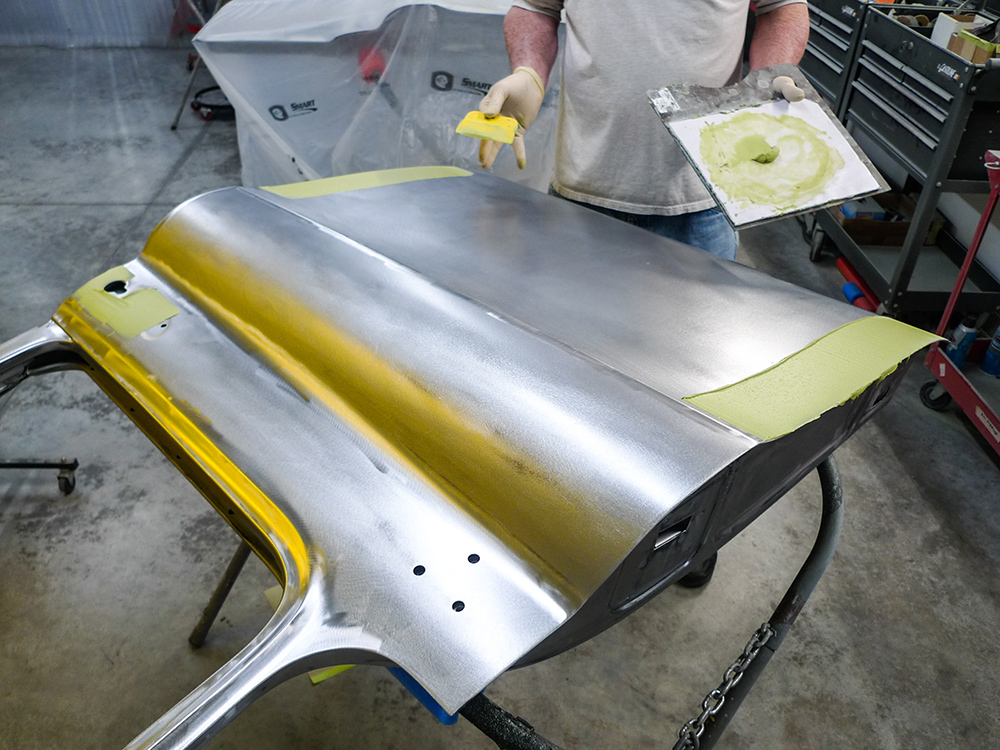
Certain sections of the old used door required abrasive blasting. As usual, blasting exposed other needed rust repairs, mostly along the inner door skin’s lower edge. In the end, we successfully installed the new, lower door skins and addressed the metal lost from rust corrosion. Some door-edge modifications rendered better-than-new body panel gaps. That went quickly and fairly easily. The required fillerwork, however, totaled up to more than we’d like to admit.

- Advertisement -
03 The original chevy doors are 18 gauge thick and the nos brothers trucks are 19 gauge
Like the fenders we’ve worked with, the original door’s inner skin is 18-gauge. Here the reproduction measures closer to 19-gauge, which will be good to know as we go.

Read More: How To Install Wilwood’s Forged Narrow Superlite Big Brake Kit

When we begin on the new-reproduction New Old Stock doors from Brother Trucks, we’ll call out any flaws we may discover. Truth be told, it’s an older reproduction that’s been leaning against the body stall wall now for years.

04 here are two drain holes along with rusty pin holes on the original door
On our original door, here’s what’s been hiding out down low. In addition to rusty pinholes we have two larger holes. They’re just drain holes, and they’re OK.

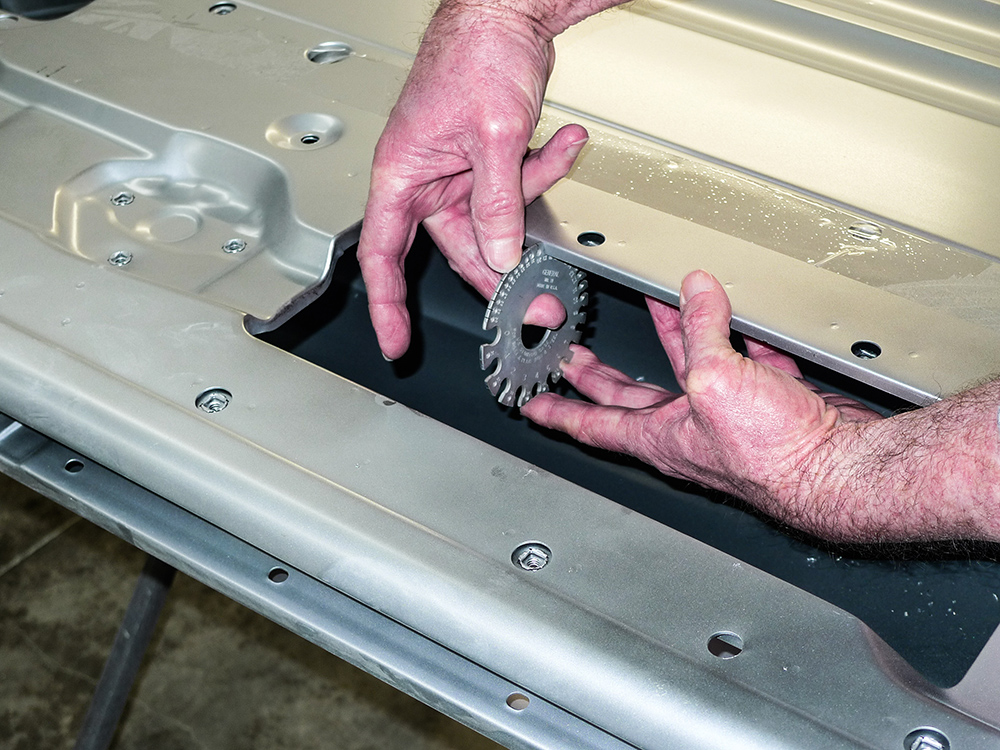
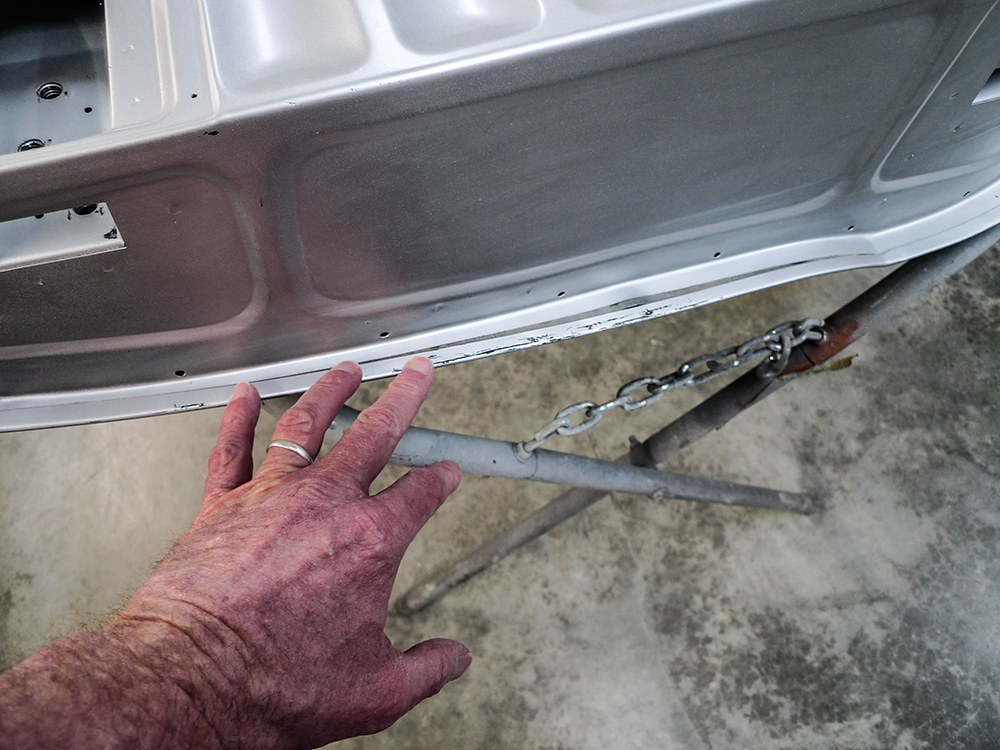
Years ago, our reproduction door was test-fit to the truck. At that time we managed to achieve acceptable alignment without adding or subtracting edge metal for gaps. It’s a good fit. It’s a Brother’s Trucks door, but not necessarily the same-brand door that Brothers stocks today. The one we have is silver. In our most recent catalog, the newer ones are black—and quite possibly further refined.

05 The reproduction also has drain holes but out of view at each extreme corner
The reproduction also has drain holes, but out of view at each extreme corner. Now what about the row of holes for door seals? Those seem differently arranged.

It’s been a while or two since we’ve actually checked, but last time we did, a brand-new reproduction complete door shell is $630 from Brothers. Shipping to our Northwestern Montana location would have cost about as much, but even so the reproduction could still prove to be a bargain. Here as we go, we intend to find out for sure.

- Advertisement -
06 we found the original chevy door seal hold down tabs and well likely reuse them
On the original door we find door seal hold-down tabs still in place. We’ll likely reuse them. The reproduction door does have the same little holes.
07 The original doors inner skin and jamb areas have been abrasive blasted
The original door’s inner skin and jamb areas have been abrasive blasted. Still, there’s further prep required before necessary fillerwork or primer.
08 Because our project truck has been a truck weve got mirror holes to deal with
Because our project truck has been a truck, we’ve got mirror holes to deal with. Of the two of us teammates, Mrs. Rotten has the better vision. Fortunately, she loves to weld.
09 of course we don t have to do this with the replacement door
With a 3-inch Roloc-type abrasive disc on a Harbor Freight angle die grinder, these little MIG knots are history. The reproduction door won’t require these steps.
10 we did not abrasive blast the outside of the doors but use a 80 grit da sander
When the original door’s inner skin and jamb areas were abrasive blasted, we didn’t blast the outer skin. Here we’ll begin with 80-grit on a DA (dual-action) sander.
11 For tighter contours with deep grinder marks that the DA just wont reach another angle die grinder on the original doors
For tighter contours with deep grinder marks that the DA just won’t reach, another angle die grinder (same brand) spins a 3M Clean and Strip Disc.
12 here is after a few hours of filler work on the original door
By this time, there’s been serious time invested. Overall damage required a fair amount of fillerwork—and it seems like we’ve seen those steps here before.

New-Door Discoveries

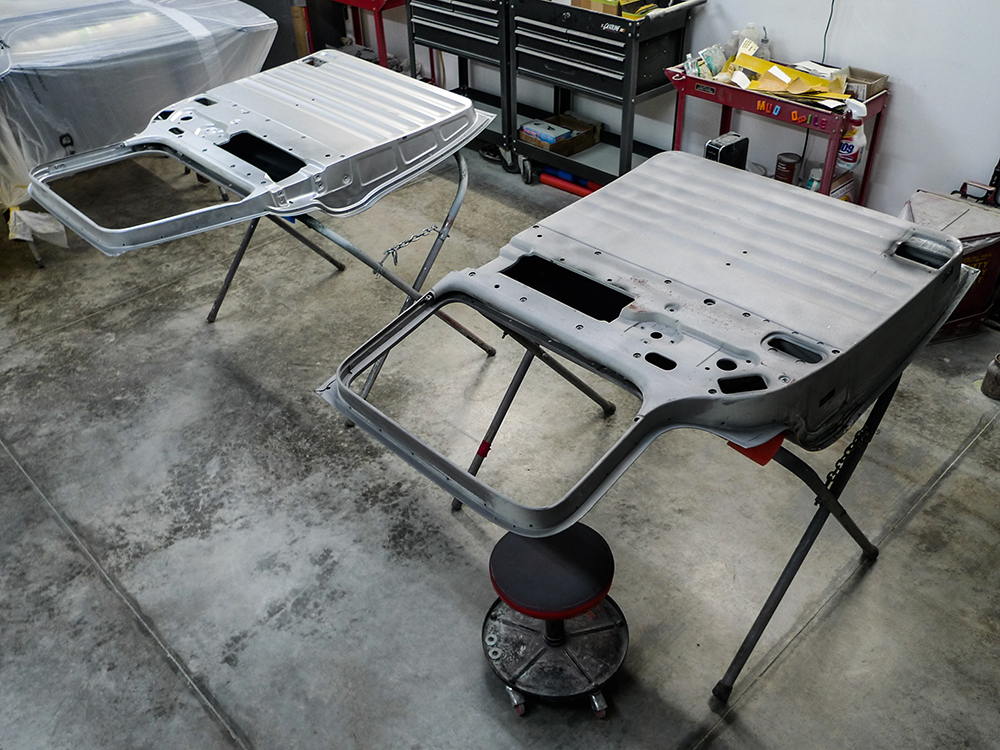
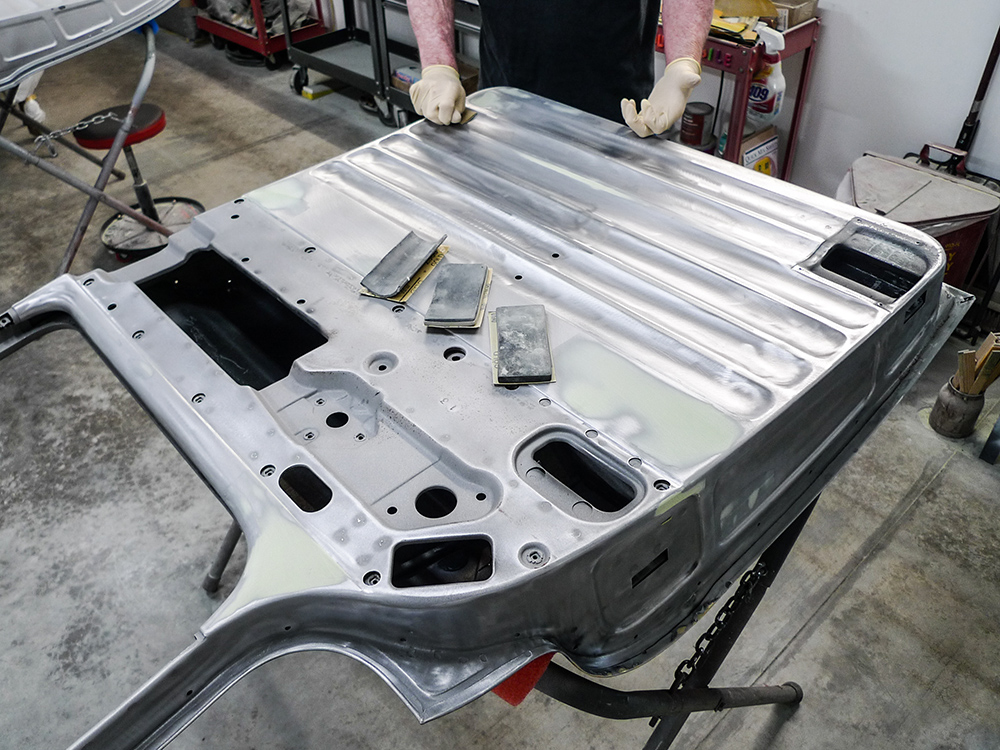
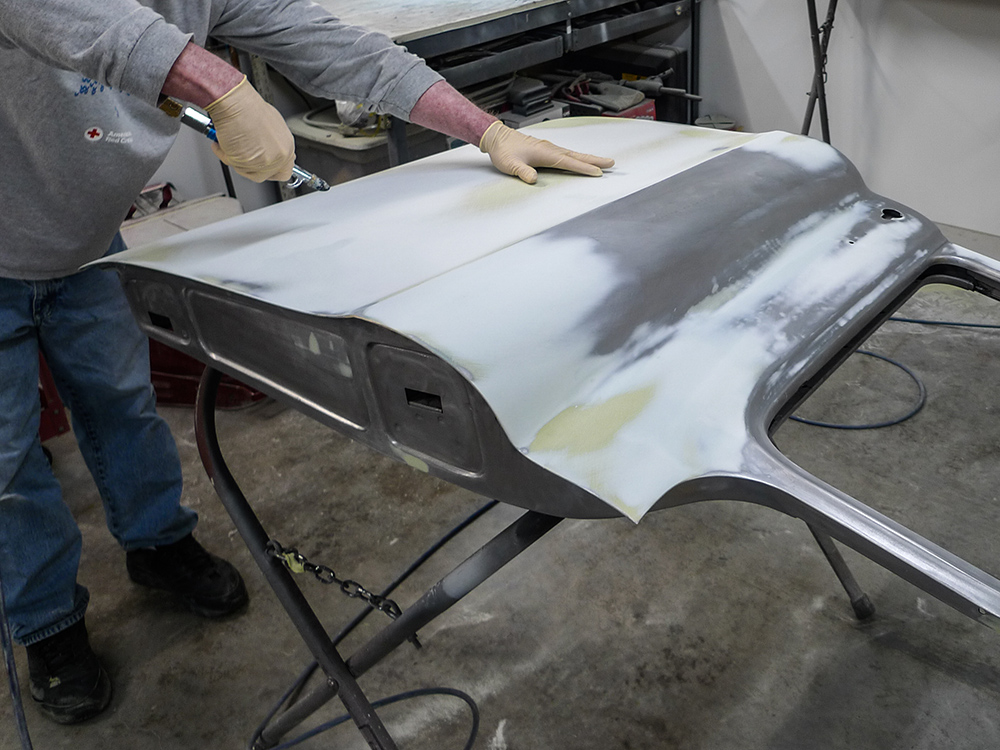
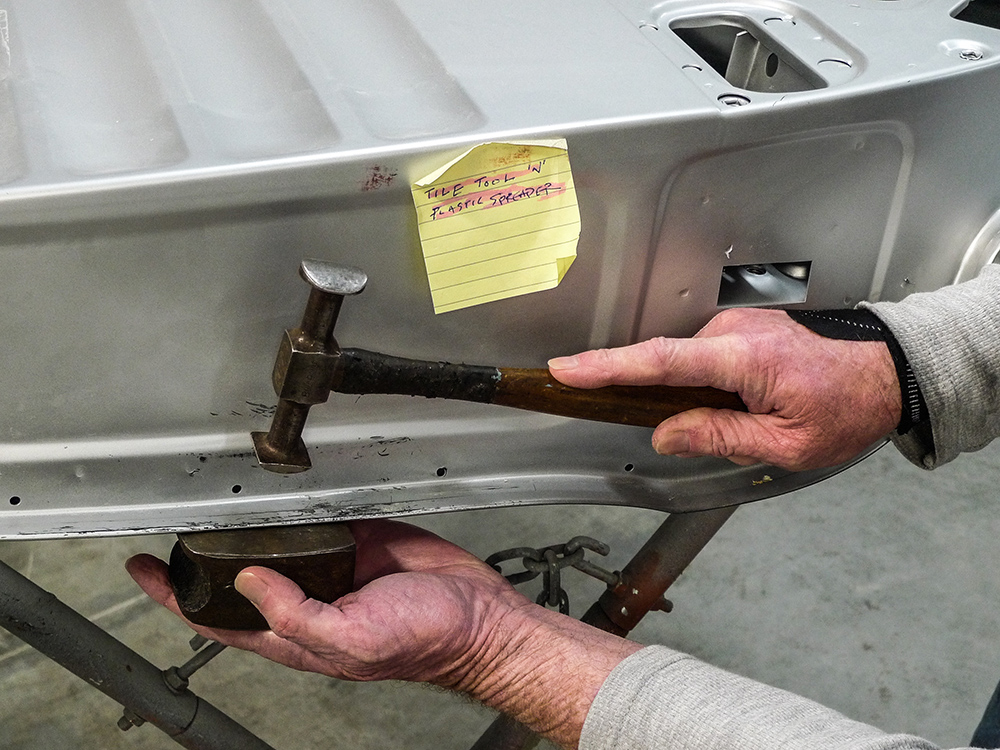
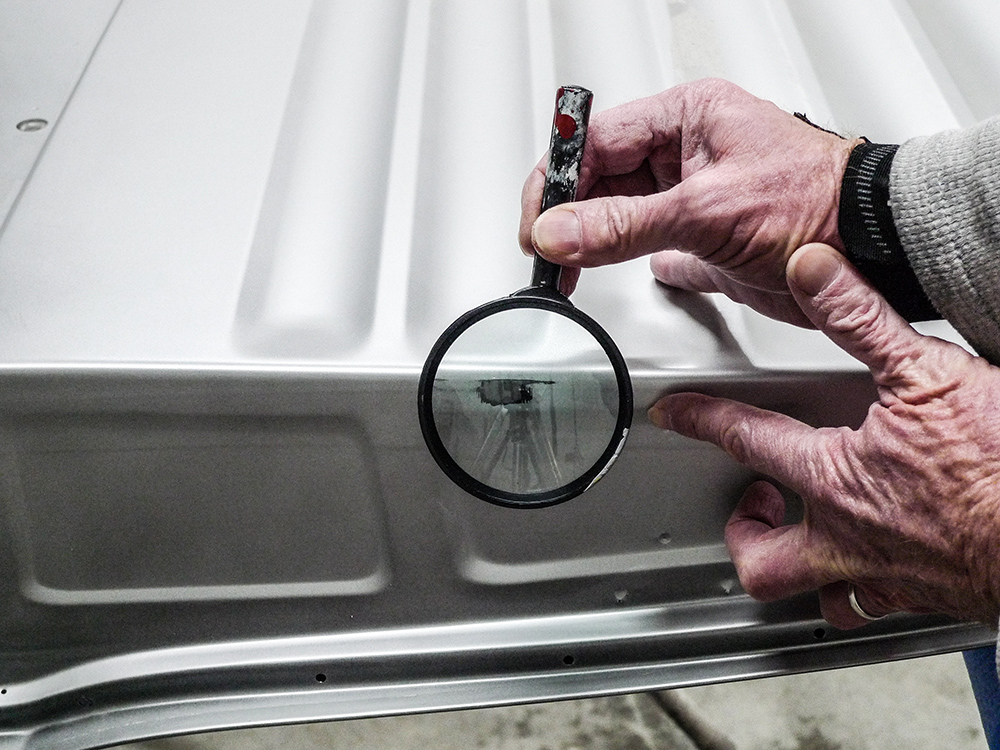
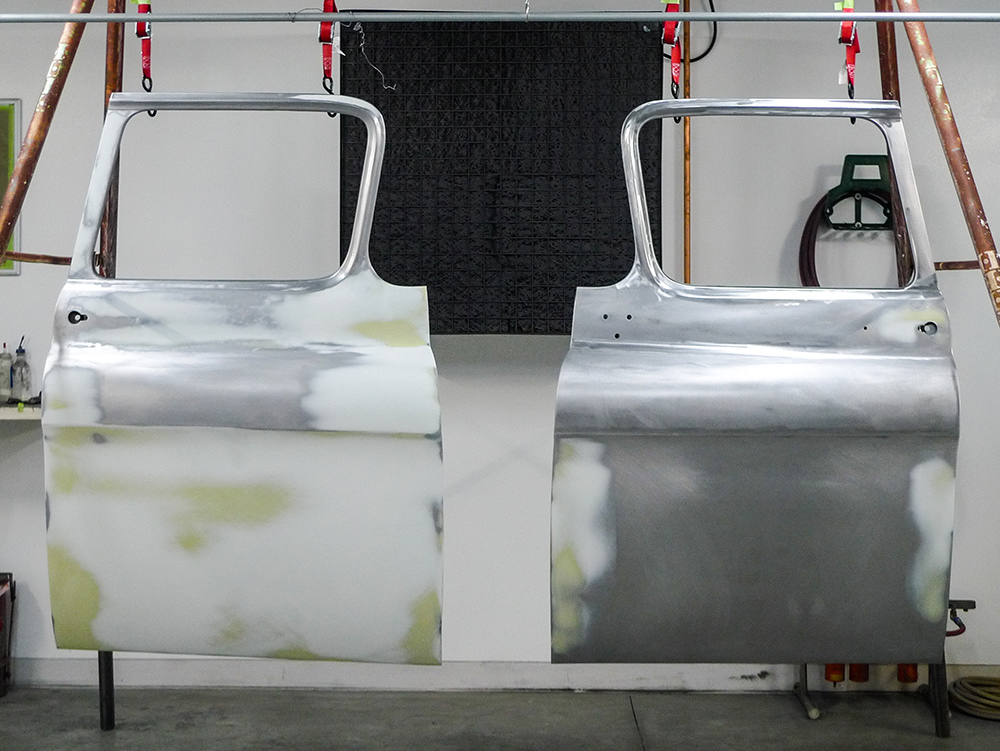
At this point with our used original door finally ready to prime, let’s turn our attention to the new-reproduction door. So far we’ve noticed two or three rather minor differences, which you’ll see as we proceed.

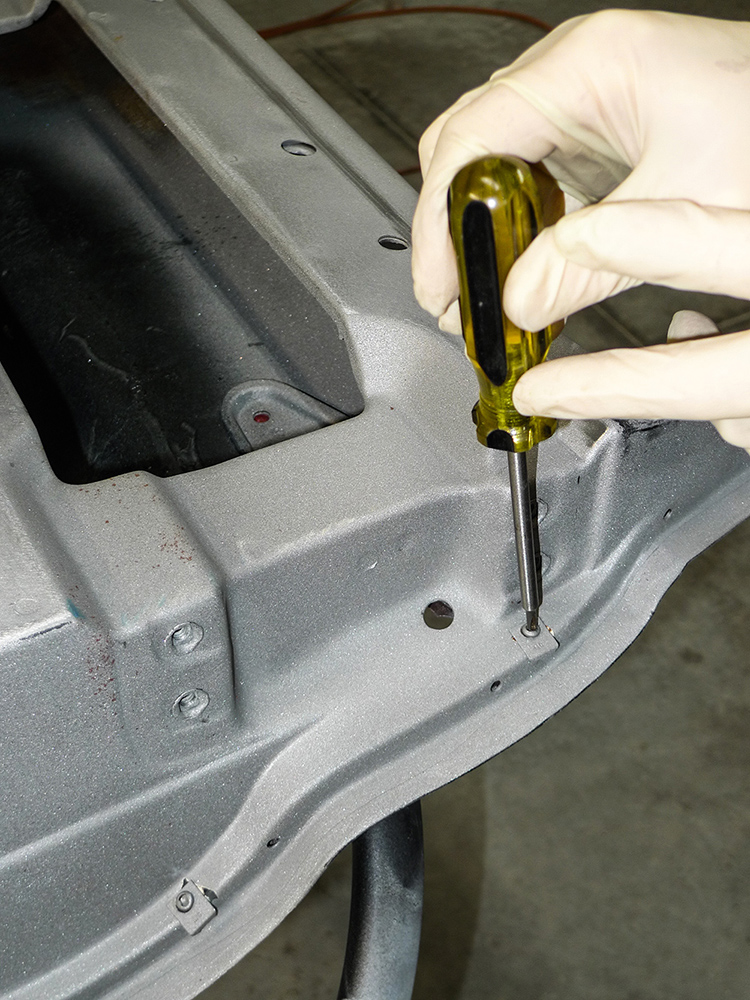
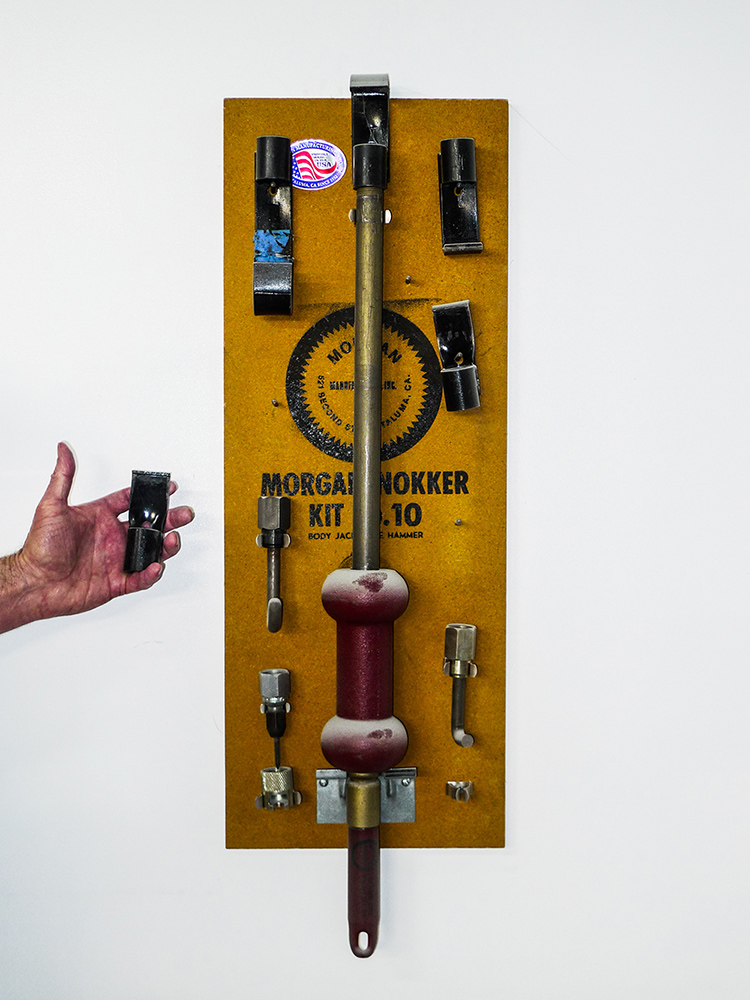
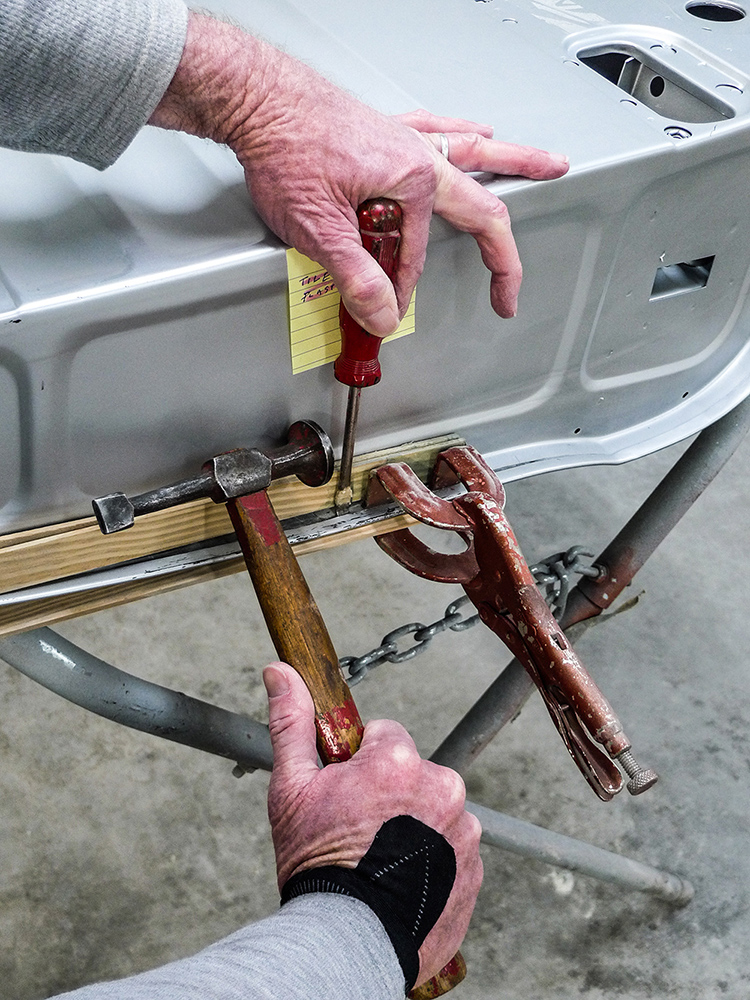
First, we must ask; have you ever latched onto a Morgan Nokker? For those unfamiliar, it’s just another age-old body shop tool. Think of it as a heavy-duty side-hammer set. As we go on to discover our doors’ minor differences, the Morgan Nokker will play a key role.

13 Morgan Nokker is used for adjusting door edges
With its numerous attachments, the Morgan Nokker is a body shop necessity. Ours has been known to fine-tune a door edge now and then.
14 the nos doors crimped edges were not spot welded
That’s how we discovered that our new door’s crimped edges were not spot-welded. Now we see it—after accidentally separating this edge.
15 We use a bent tip screwdriver to fix the edges of the new door
At times like these, mistakes get fixed in a hurry. Here a bent-tip screwdriver is the hot-tip tool for the job. As we tap it along, the panels find their proper places.
16 using a hammer and dolly we correct the edge of the door skin
Following this bit of hammer ’n’ dolly work we can almost pretend it never happened. We’ll move on for now. A little later we’ll come back to finalize our oops repair.

Another E-Coat Quandary

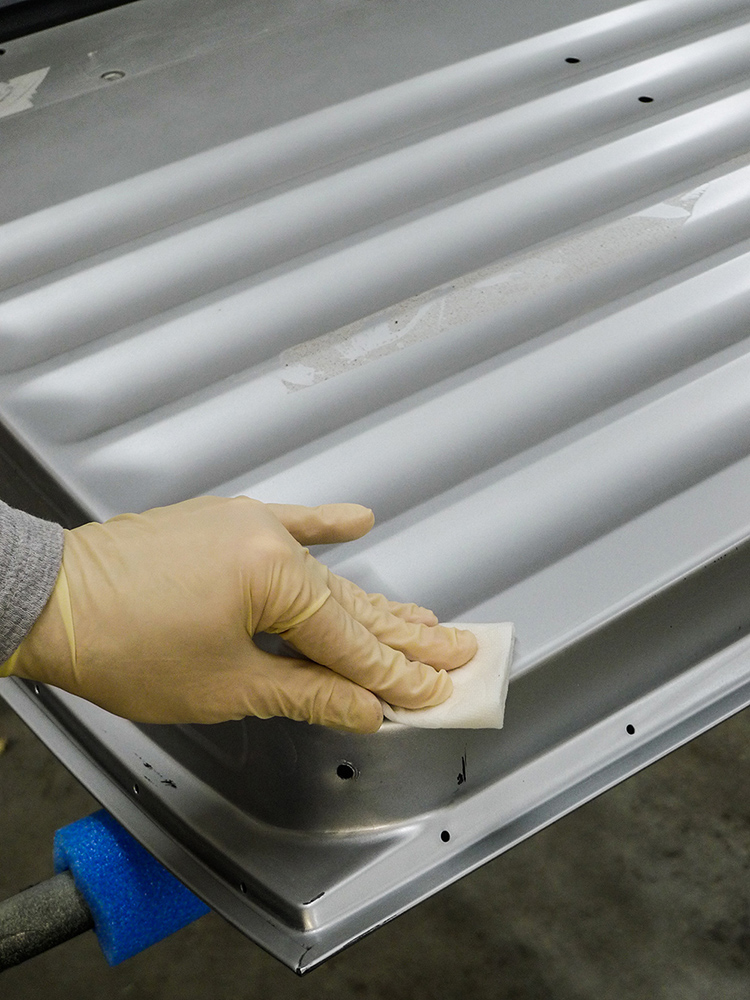
In part 1 we talked about Electro Deposit Primer coatings. Also known as E-coat, it’s commonly found on new OEM body panels as well as modern reproductions. As an option, proper E-coat can be scuff-sanded and painted over. Since we don’t always know what such coatings are actually comprised of, solvent-testing (as we demonstrated in part 1) is a capital idea.

17 looking through the layers of paint to the e coat 18 well saturate clean disposable paper toweling with Montana compliant gun wash solvent 19 we try to melt through the outer coating 20 the outer coating is melting away which tells us we need to remove it before bodywork 21 the black coating is coming right off with usual methods of bodywork 22 broken drill bits while bodywork on a chevy door 23 using the smallest of our spot weld reamers were cautiously reaming through the first layer of the doorskins crimped edge 24 mig welding the spot holes in the door skin 25 these plug welds will resemble assembly line spot welds 26 For cleaning out their dimples summits handy Speed Blaster does the trick 27 preparing for bodywork with solvent cleaner first 28 using a die grinder to correct imperfections in the door skin 29 now stripping the outside of the door to prepare for bodyfiller 30 our new door needs a little extra room and more crown for a perfect body gap 31 first bit of body filler on the new door 32 the NOS door from borthers trucks took around 8 hours to complete while the old door took around 30 hours of work

Sources
Brothers Truck Parts
(800) 977-2767
brotherstrucks.com

Harbor Freight Tools
(800) 423-2567
harborfreight.com

Summit Racing Equipment
(800) 230-3030
summitracing.com

Read Part 1 Here: Is It Better To Repair Or Replace A Fender?

- Advertisement -

Related Articles

Search Our Site

More Classic Truck Performance

Jeff Jones’ ’51 Ford F-1 Custom

By Chadly Johnson   -   Photography by the Author In our...

A Clean Serpentine Package for any LS Motor

By Ryan Manson   -   Photography by the Author One of...

Jack Fillers’ 1971 GMC Stepside has the Perfect Mix of Patina and Practicality

By Tommy Lee Byrd   -    Photography by the Author When...

2024 Grand National Roadster Show: The Classic Truck Perspective

By Rob Fortier   -   Photography by the Author Still reeling...

Our Chevy Pickup Gets a New Firewall, Engine & Transmission

By Ron Ceridono   -   Photography By the Author We’ve been...

Gary & Cindy Giovanni’s ’56 Chevy Modern Pro Street … South City Style

By Rob Fortier   -   Photography by Tim Sutton If you’ve...
More Classic Truck Performance

Holm Built Hotrods’ “Trans-Am” Bumpside Build

By Ron Covell   -   Photography by the Author In the...

The Arbor Camp Timber Company 1968 Chevy C10

Pete and Leslie Richmond's Tribute to Nostalgia By Ryan Manson  ...

The Harrison’s Rod & Custom ’71 GMC, Part 1

By Bryan Harrison   -   Photography by the Author This is...

THE GOLDMAN TOUCH

Gary Brown’s Full-Attitude ’57 Chevy By Rob Fortier   -   Photography...

Independent Thinking

Part III: C4 Corvette IRS for Early Chevy Pickups By...

Brad Bolves’ ’75 Ford SuperCab

By Eric Geisert   -   Photography by the Author For some...