Our objective is to remove the factory Independent Front Suspension and replace it with a more modern, better functioning system coupled with the latest in braking capabilities.
Installing Heidts Independent Front Suspension and Wilwood Brakes Upgrades on a Tri-Five Chevy
We’re sure you can relate when we say an old car is never truly finished. There is always a way to continue refining and upgrading your project car. Such is the case with this 1956 Chevy Nomad, a mildly modified street cruiser that has plenty of miles under its belt. The car recently rolled into Hot Rods by Dean, and the intention was to upgrade its suspension and braking system. Although plans involve a complete front and rear overhaul, we’re focusing on the front in this installment and will cover the rear suspension upgrades in a future issue.
Our starting point for this project is a ’56 Chevy Nomad, which has already been upgraded with tubular upper control arms and ’80s GM disc brakes. Now it’s time to overhaul the suspension and brakes with Heidts and Wilwood components.
For this series of upgrades, the guys at Hot Rods by Dean called Heidts, as the Illinois-based company is known for its Tri-Five suspension components. With numerous options on the table, the Nomad would receive Heidts (PN CA-203-M) polished stainless steel upper and lower control arms, adjustable coilovers (PN CB-120), drop spindles (PN SP-002-A), and Wilwood Dynalite 12.19-inch disc brakes. This is a large improvement over the car’s existing setup, which consists of stamped steel lower control arms, generic tubular upper control arms, conventional coil springs, and ’80s GM disc brakes. While this setup offered many miles of service, it was time for an upgrade and the combination of Heidts and Wilwood parts were up for the task.
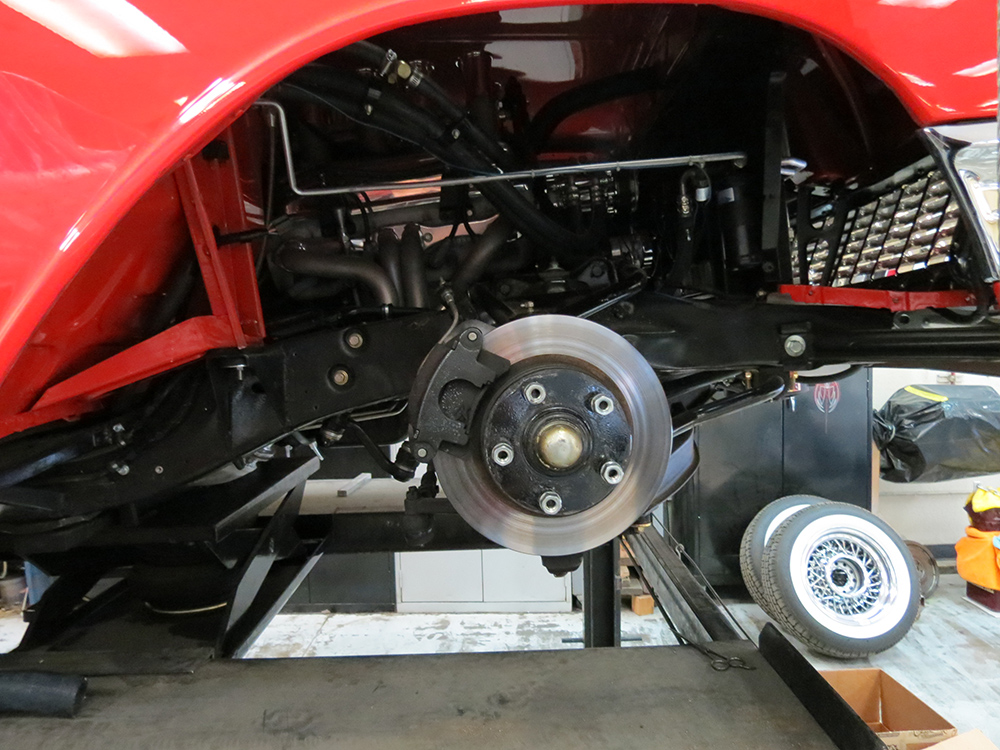
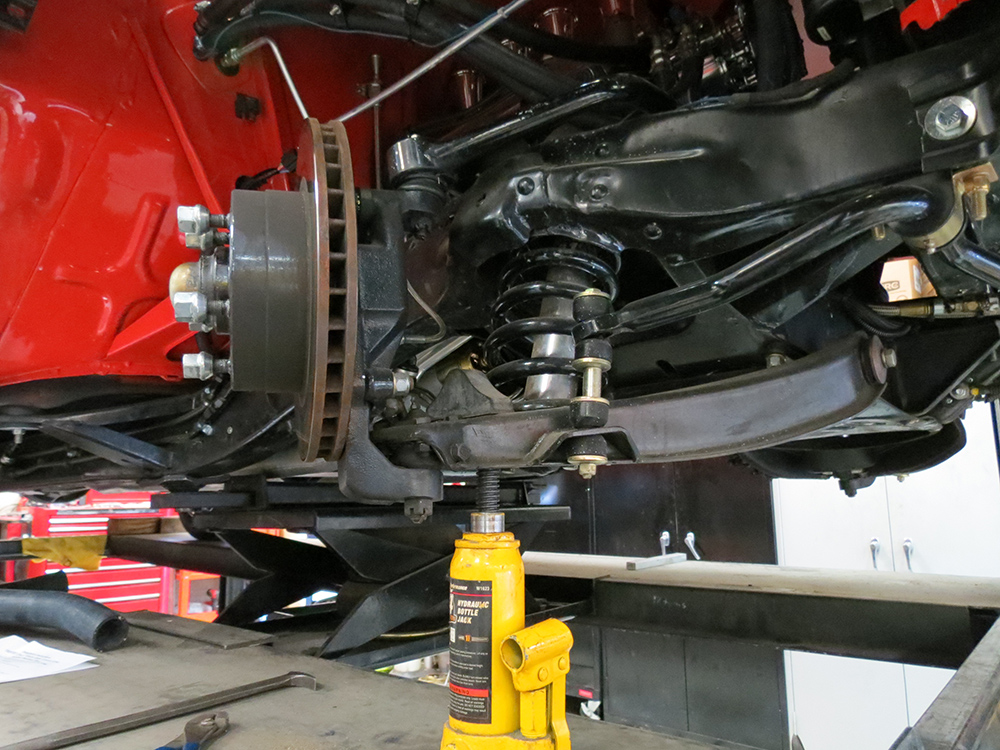
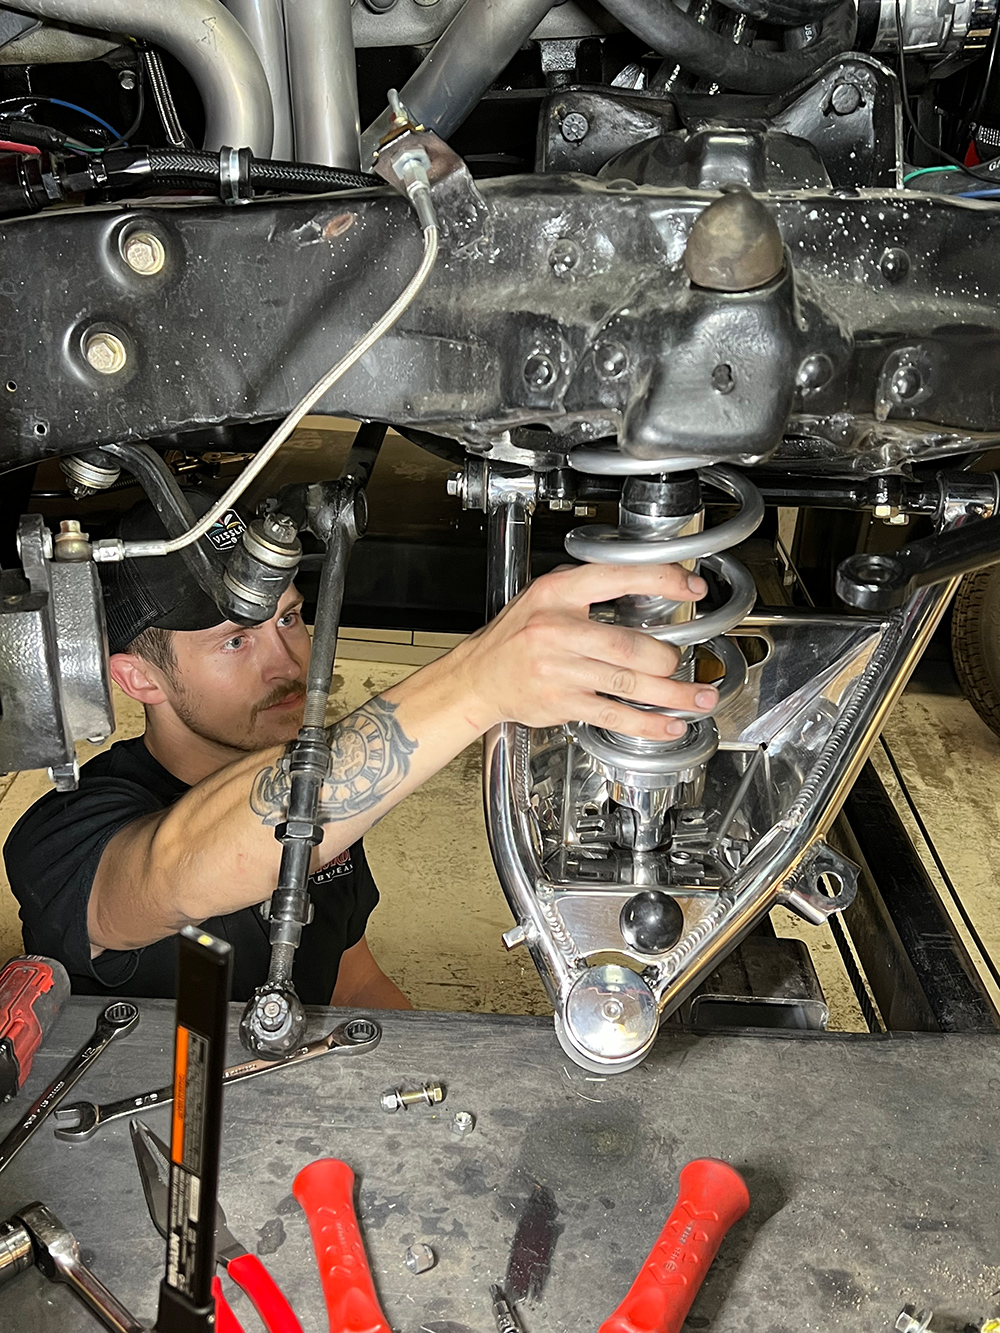
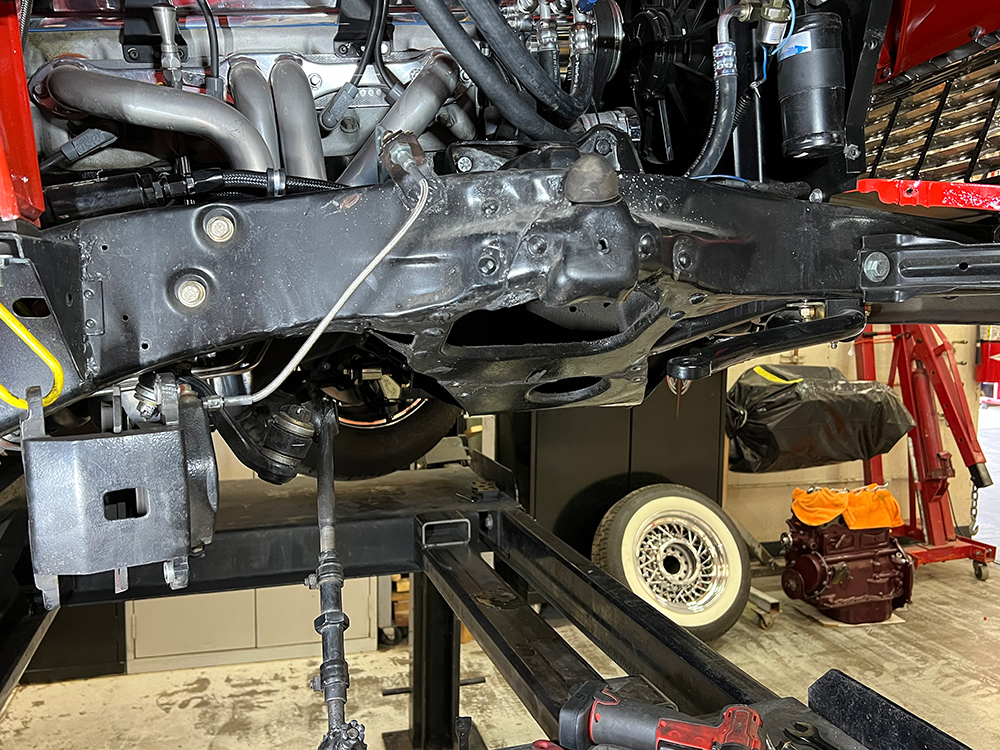
Hot Rods by Dean handled the install and utilized a drive-on lift, but you can accomplish the same results in the floor of your garage. A bottle jack is used to raise the suspension and then the front tire and wheel can be removed.
You can expect to install this collection of parts in a few evenings of shop time, as all the parts simply bolt in place of the originals. Obviously, painting and cleaning add to the timeline, but you can expect a straightforward install with the components featured in this article. It made a huge difference in the stance and ride quality on this classic Chevy Nomad, and we’ll be ready to tackle the four-bar rear suspension soon. MR
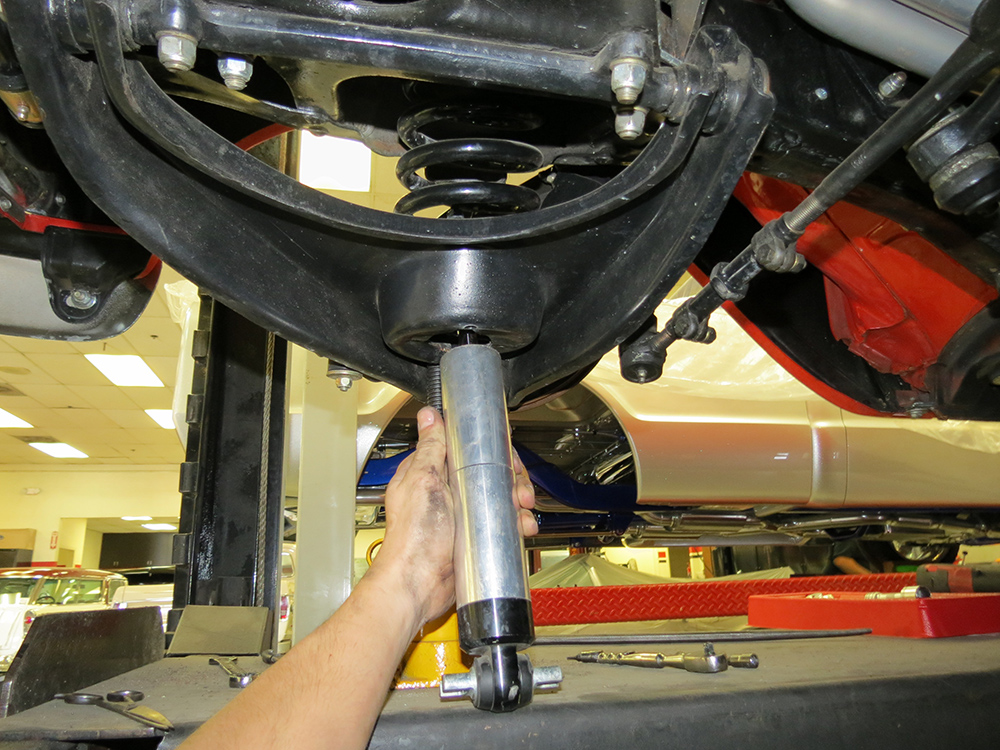
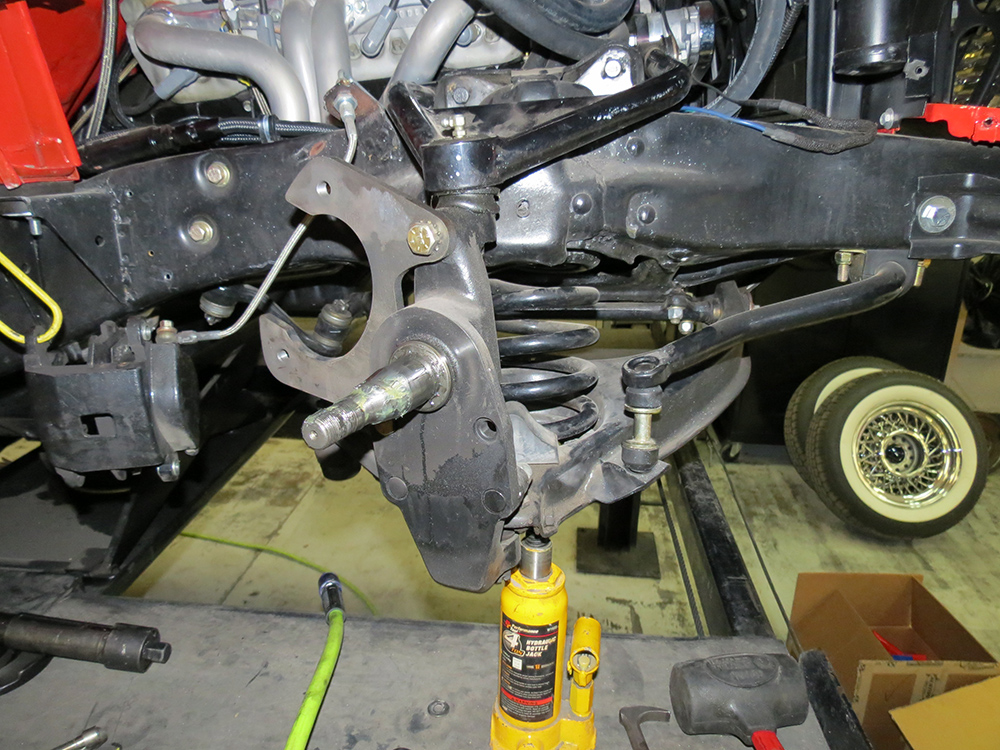
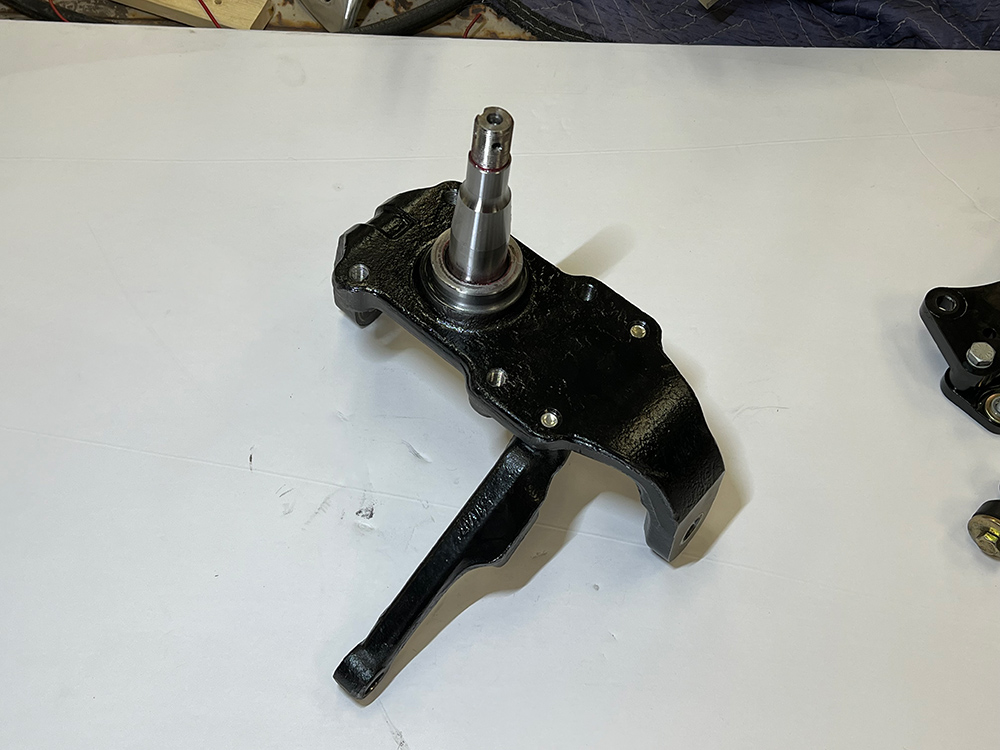
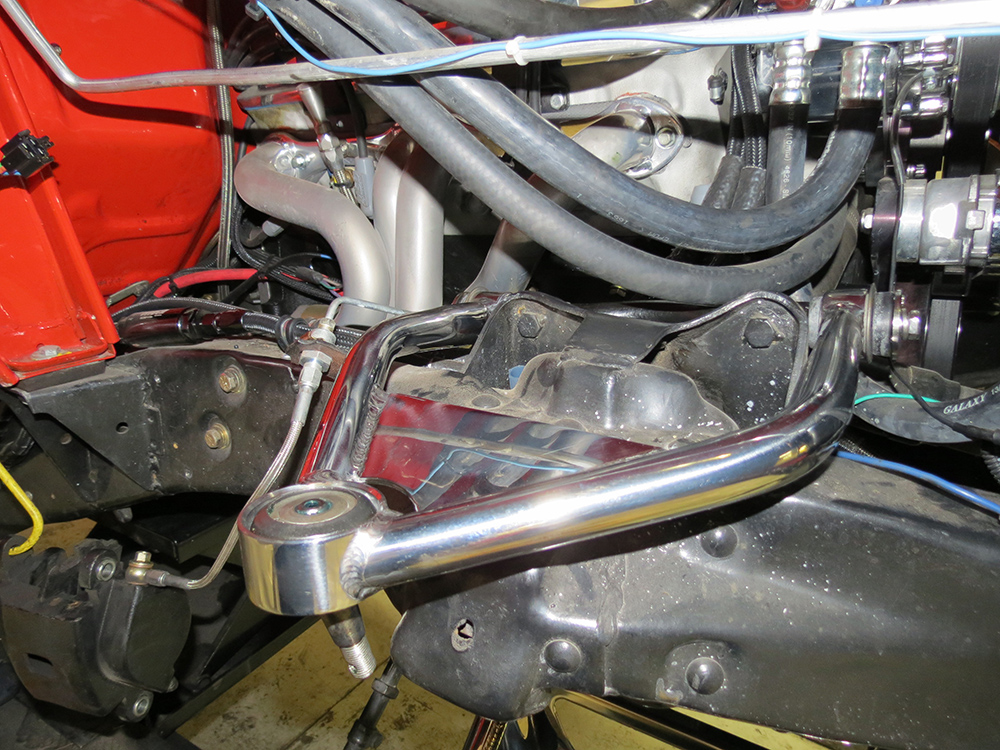
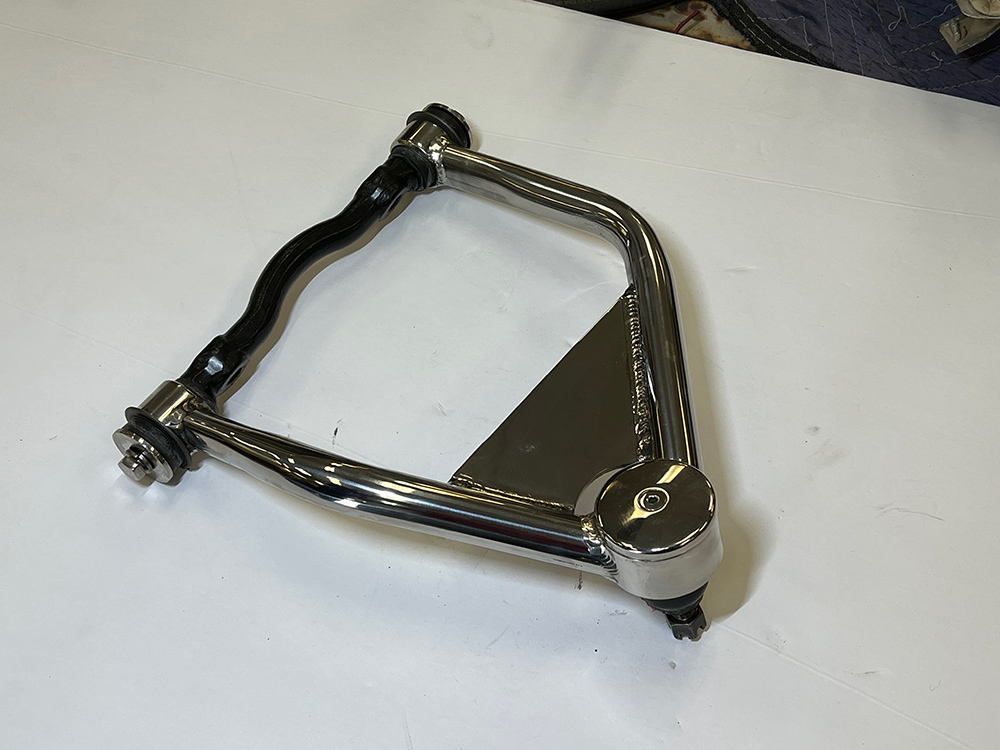
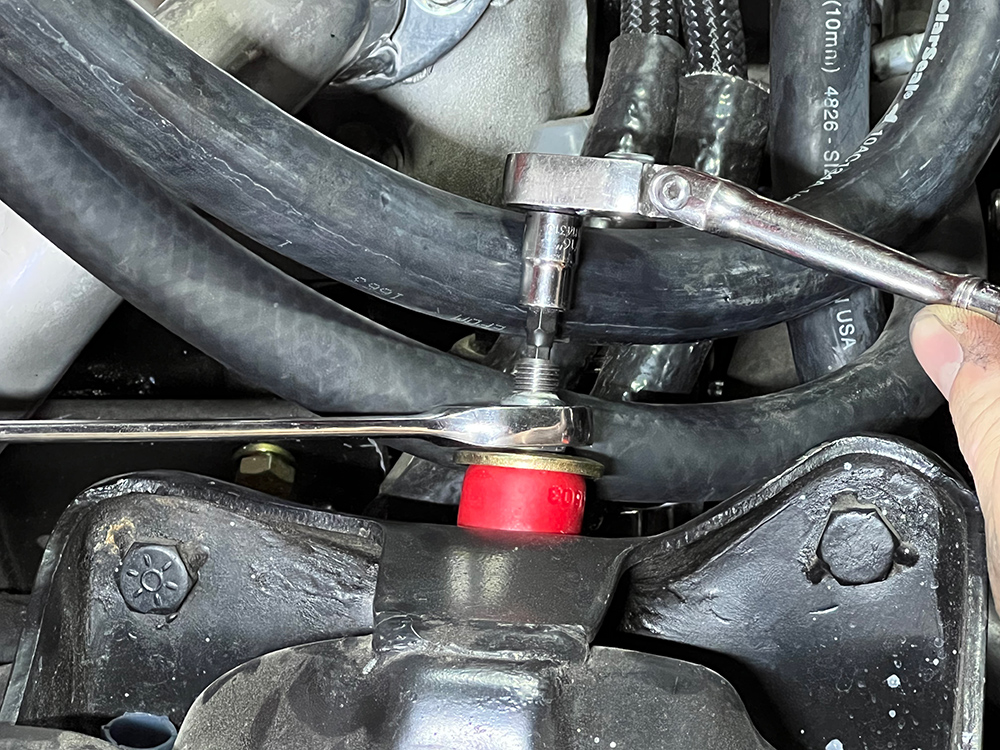
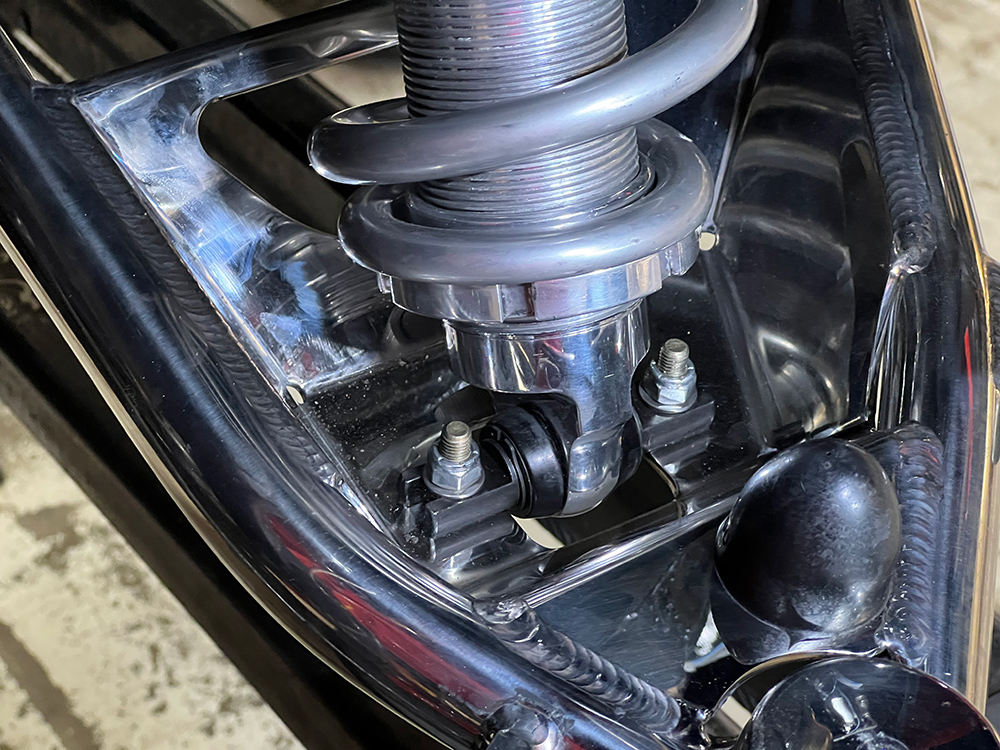
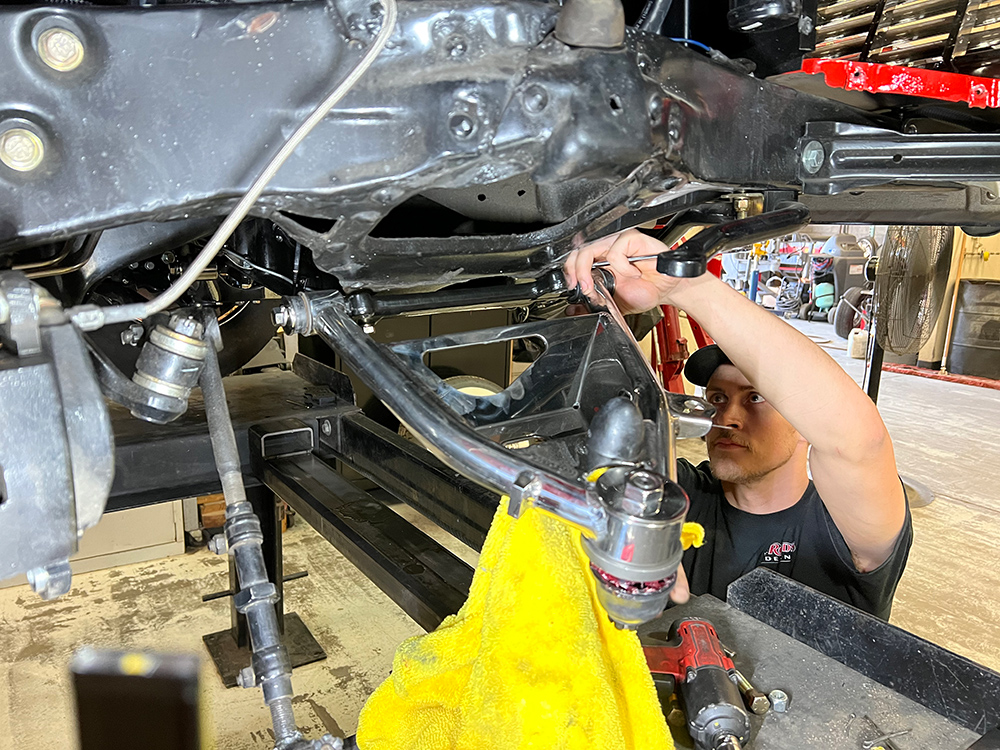
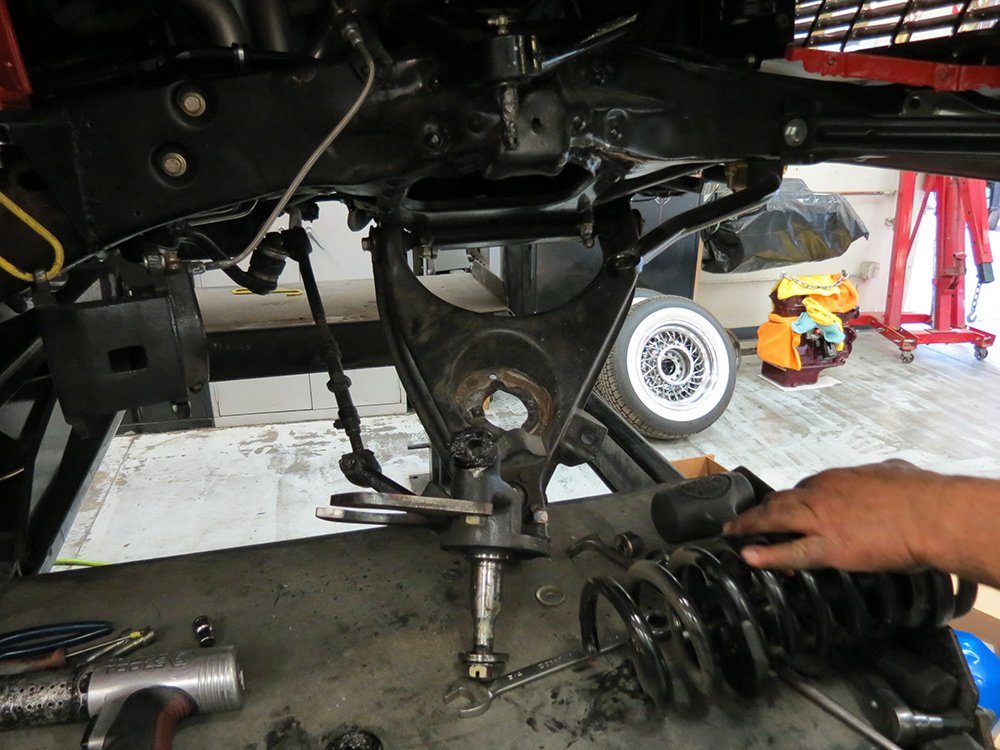
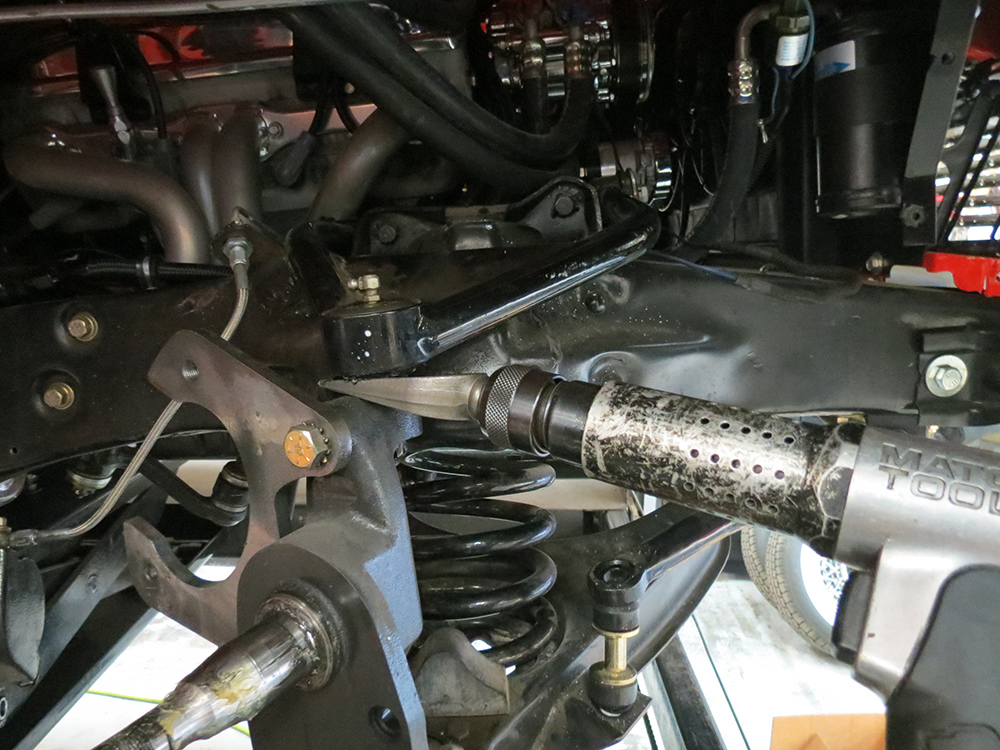
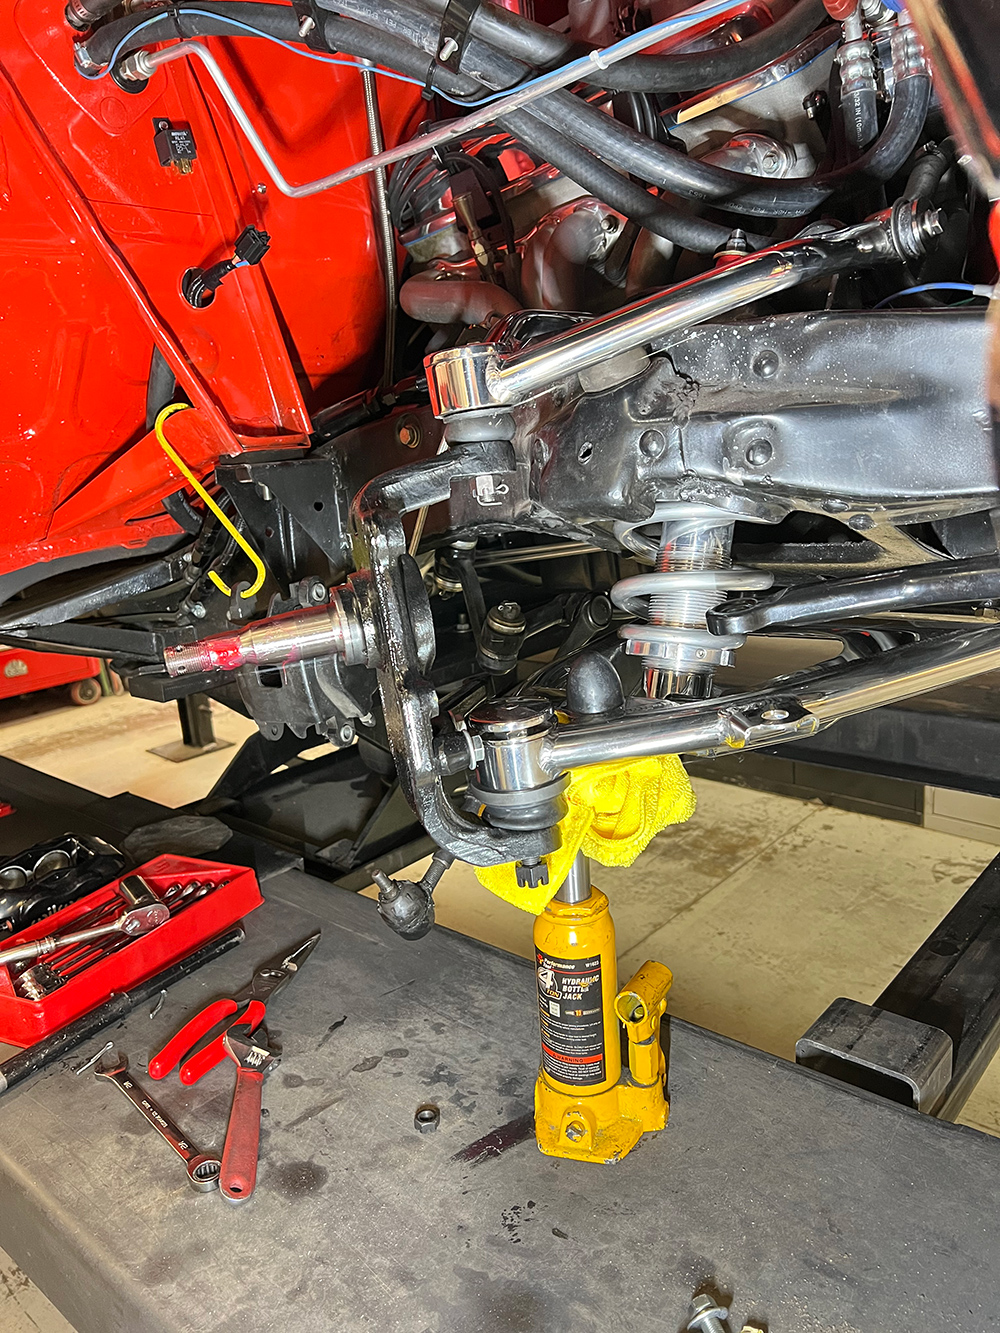
Shock absorbers are a great place to start the disassembly process. The upper nut and two lower bolts are removed, and the shocks are lowered out of the control arms.The ’80s GM disc brake calipers are removed, as well as the rotors to expose the aftermarket spindles. The caliper can be tied up out of the way to keep the fluid system sealed up until it’s time for the new calipers.Since our parts selection included a Wilwood brake system, we chose this optional front spindle (PN SP-002-A), which is a 2-inch drop spindle designed specifically to work with the Wilwood brake kit. Heidts also offers spindles to work with GM caliper brackets.The upper control arm simply slides onto the original studs on the upper frame mount. The cross-shaft bolts are installed hand tight and will not be tightened until the car is sitting at ride height. Tightening the bolts with the suspension unloaded can result in damage to the bushings.Heidts offers four upper control arm options, and we went with the polished stainless steel version (PN CA-201-SS-6) with an additional 6 degrees of caster built into the arm. We also upgraded to Heidts ball joint caps (PN CA-210) for a nice finishing touch.After the lower bolts are tightened, the upper nut can be installed and tightened. Since it is a locking nut, you’ll need to use an Allen wrench to hold the shock stud for proper tightening.Using the provided grade 8 bolts and nylon locking nuts, the lower portion of the Heidts coilover is bolted into place.The Heidts coilovers fit nicely in the original pocket. The crew at Hot Rods by Dean have installed many of these kits, so they pre set the ride height before putting any weight on the coilover. You may need to adjust the ride height to your liking after the car is resting on the ground.Heidts billet aluminum coilover shocks (PN CB-120) provide ride height and ride quality adjustability. Specially designed springs fit the aluminum body shock absorber, while also fitting into the original upper spring pocket.We opted for the Heidts (PN CA-203-M) polished stainless steel control arm, designed for coilovers. The control arms bolt into the factory locations, using the provided grade 8 bolts and nylon locking nuts.Heidts offers numerous lower control arm options, including raw steel and polished stainless steel versions. The control arms are also available with standard coil spring pockets, as well as provisions for coilovers.The lower control arm and spindle are removed as a unit. We’re retaining the sway bar and steering linkage that’s already in place, so these components can be lowered out of the way while we prepare for the new parts.The coil spring is under a tremendous amount of pressure, so it’s important to support the lower control arm when the ball joints are broken loose. In this case, the lower ball joint can remain connected to the lower control arm.Hot Rods by Dean utilized an air hammer with a fork attachment to break the ball joint loose. It’s a good idea to remove the cotter pin and loosen the castle nut, but do not remove the nut completely until the lower control arm is supported with a jack.As the assembly process continues, the bottle jack is once again used to compress the suspension. This allows for easy installation of the spindle. Once the castle nuts are tightened, the cotter pins are installed.As the assembly process continues, the bottle jack is once again used to compress the suspension. This allows for easy installation of the spindle. Once the castle nuts are tightened, the cotter pins are installed.
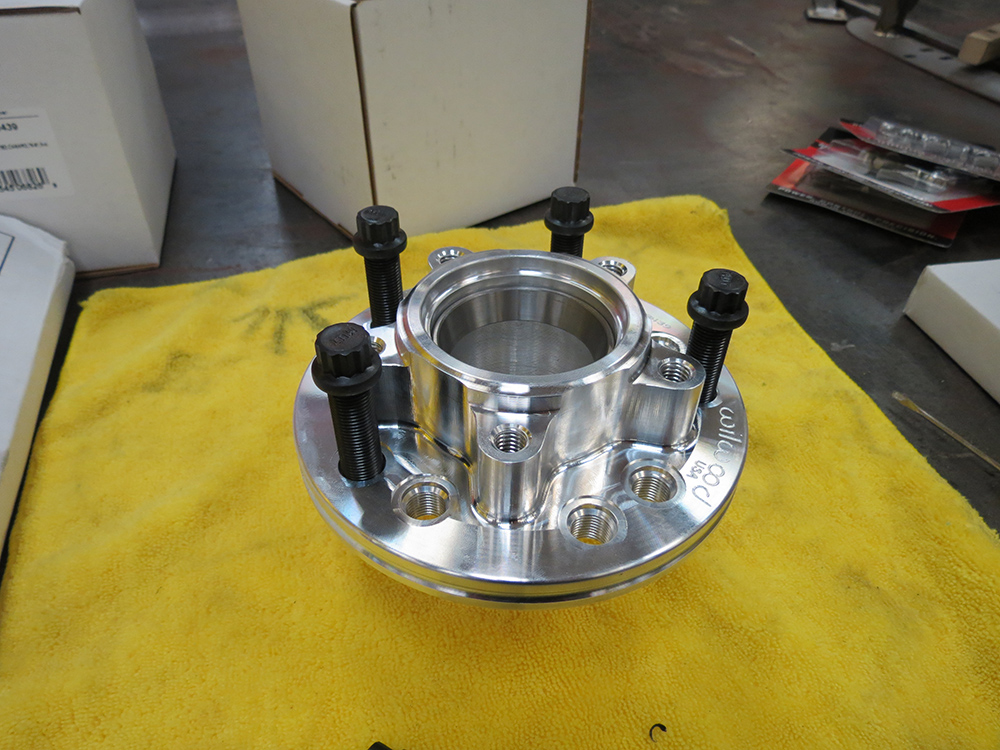
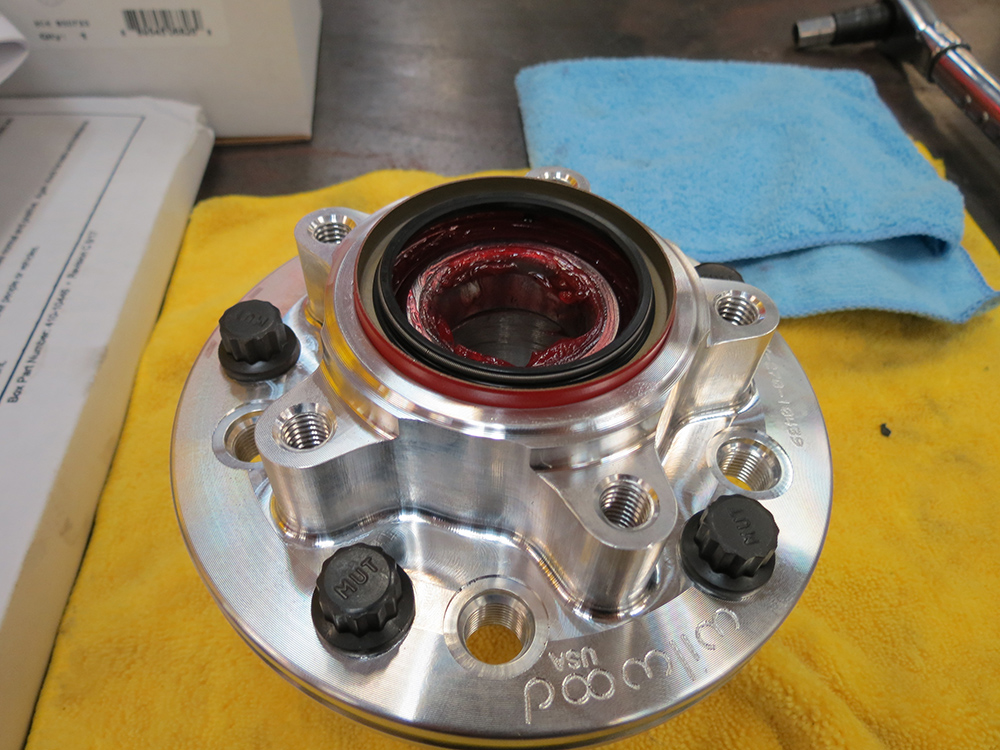
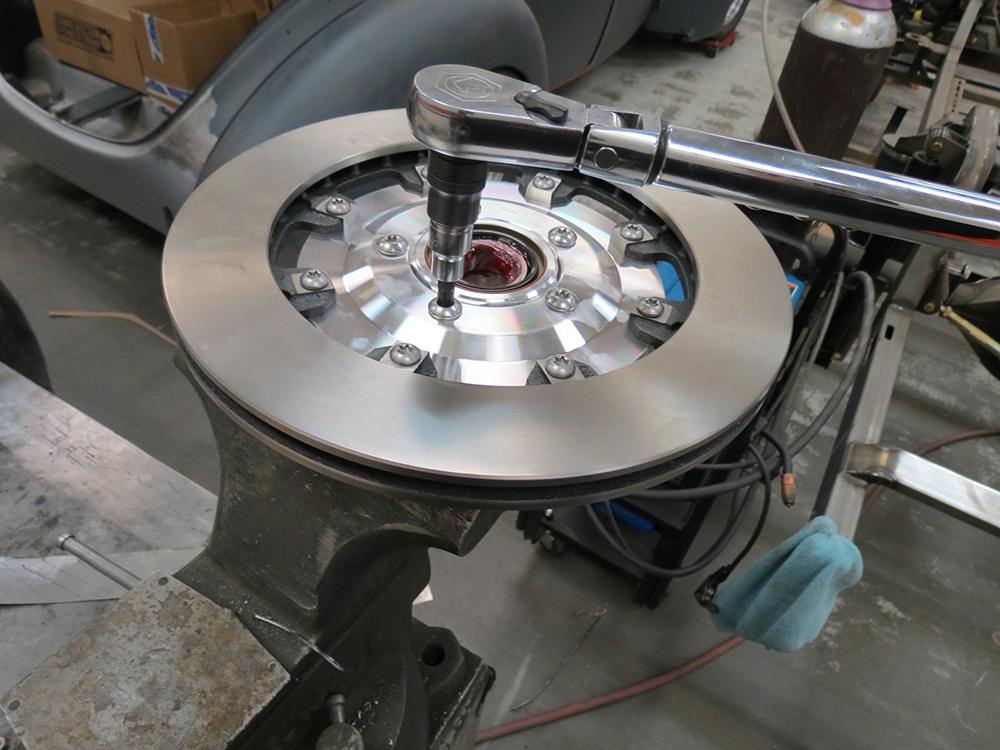
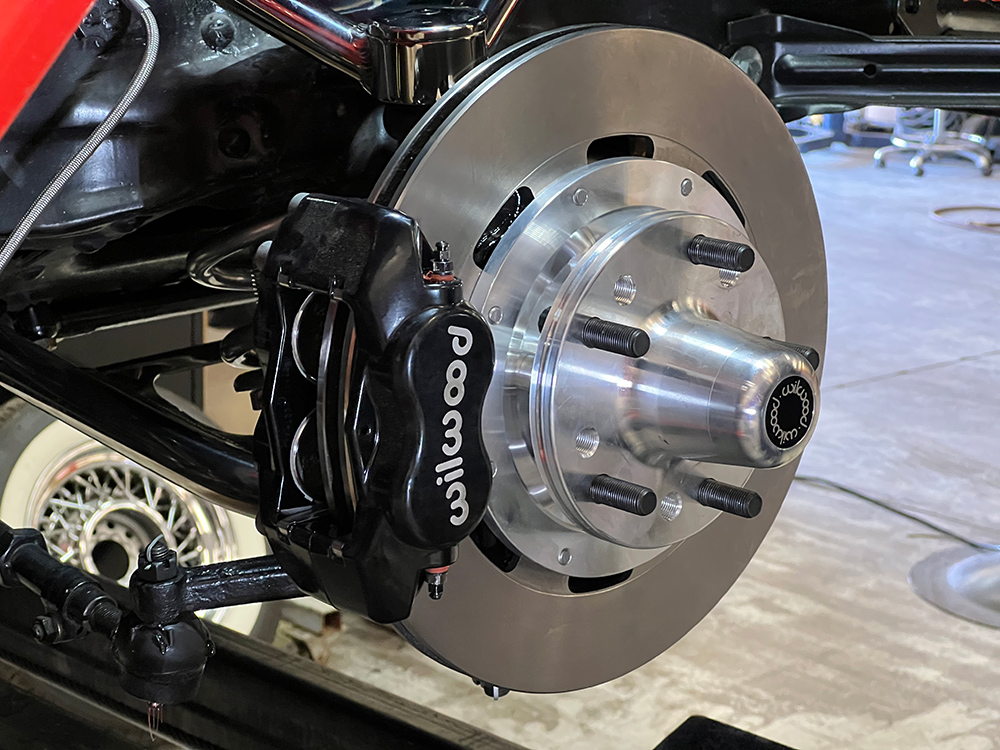
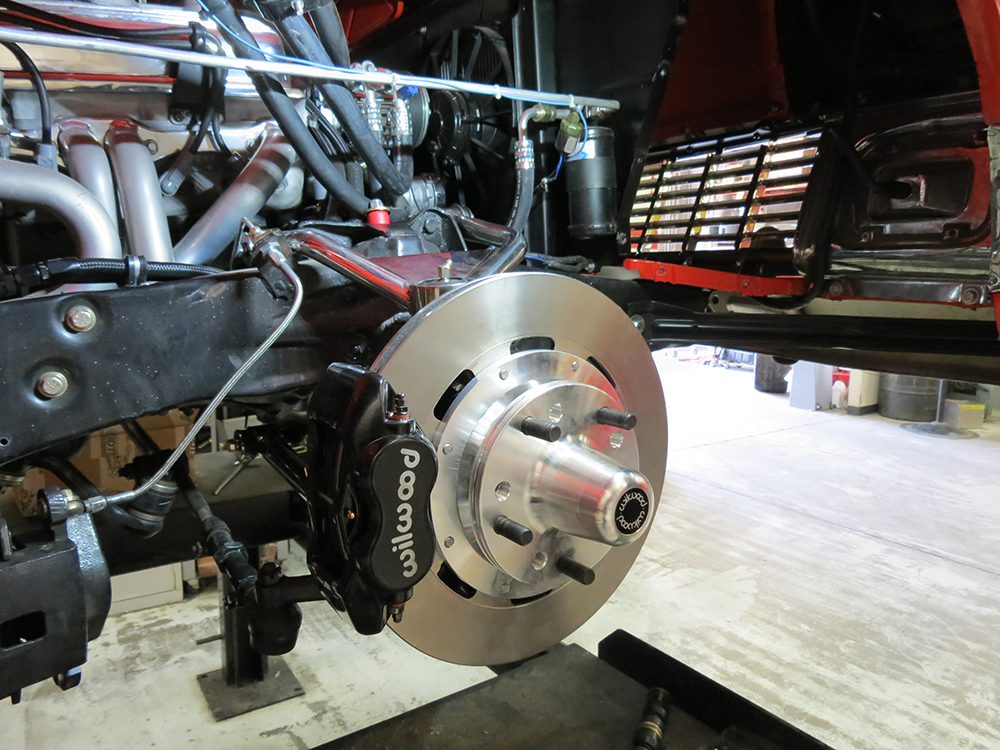
Now the guys at Hot Rods by Dean can begin assembling the Wilwood brake system, a Dynalite Front Brake Kit with 12.19-inch drilled and slotted rotors (PN 140-12306). It all starts with this beautifully machined hub.The assembly process starts by threading the wheel studs and torquing them to 77 lb-ft and packing the wheel bearings with grease.With the rotor clamped in a vise, the hub, hat, and rotor can be mated with the provided hardware. Wilwood suggests using red Loctite 271 on the threads and then torquing the rotor bolts to 25 lb-ft. Then, the hub bolts are torqued to 45 lb-ft in an alternating sequence.
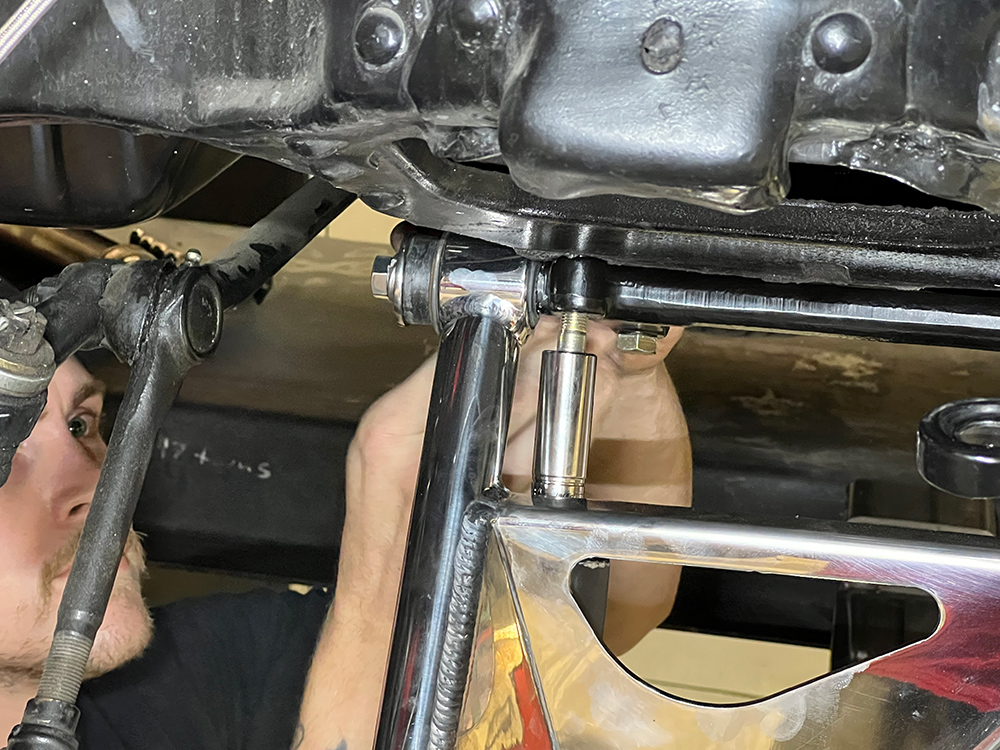
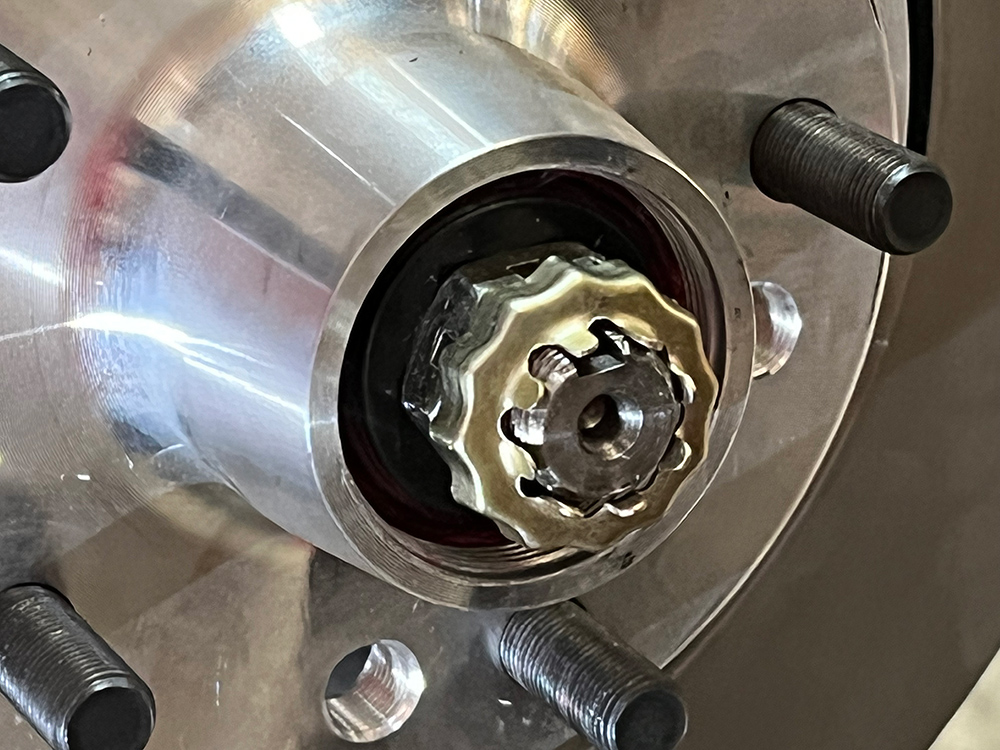
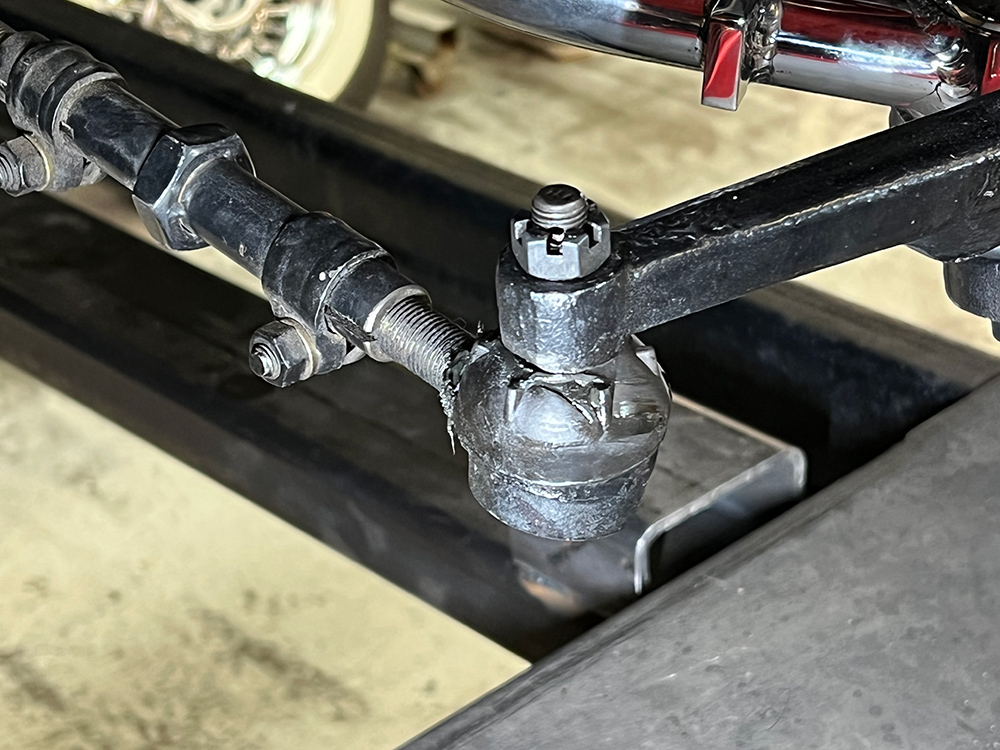
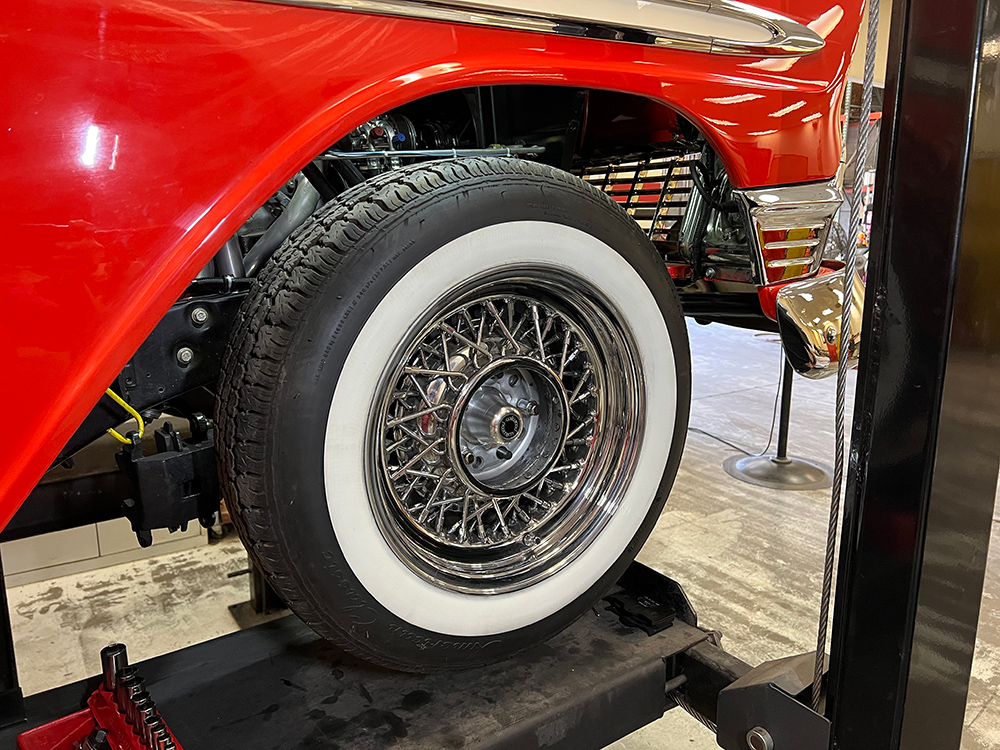
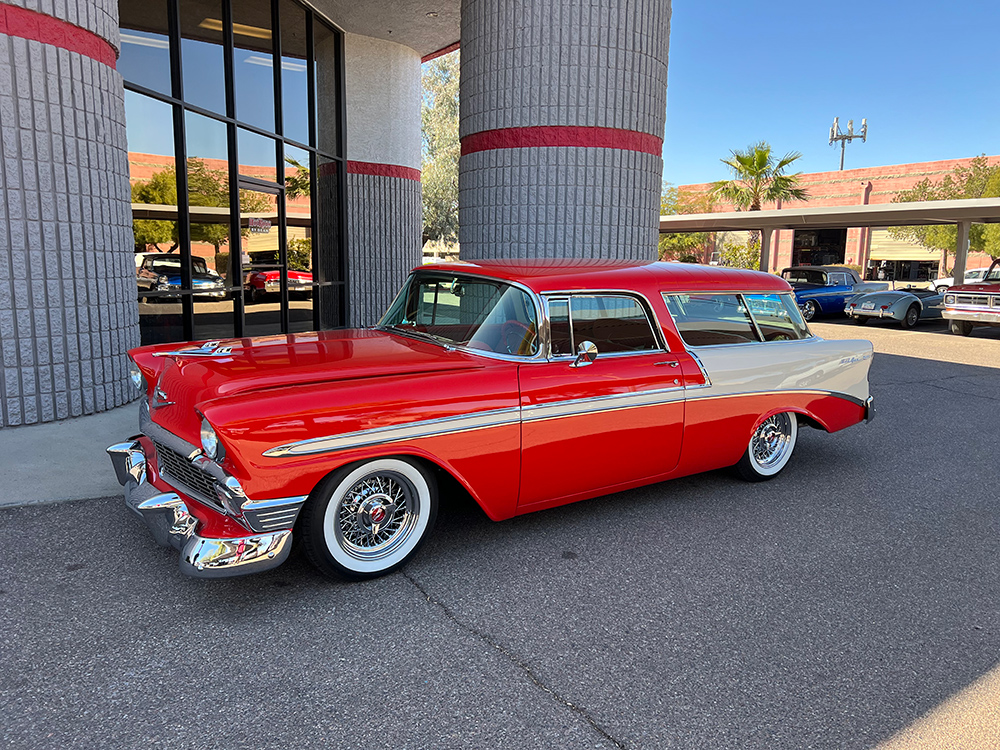
After packing the outer wheel bearing with grease and sliding the keyed washer in place, the castle nut can be installed. Tighten until you feel tension on the rotor and spin the rotor a few times to seat the bearings, then back off slightly until you can slide the cotter pin into place.The Wilwood brake calipers bolt to the provided caliper bracket; it’s important to note that shims are provided to ensure proper centering of the caliper and rotor. Before sliding the pads into place, measure the distance and shim accordingly.Now, the rest of the steering and suspension pieces can be re-installed to the new Heidts and Wilwood components. Here, the existing tie-rod end is fit into the steering arm and fastened with a castle nut. The cotter pin can now be installed.One of the final reassembly steps is bolting the existing 1-inch sway bar to the new tubular control arms. New endlinks and bushings provide a firm connection to complement the new suspension setup.Finally, the brake flex hose can be installed on the new caliper and the system can be bled and checked for leaks. The threaded Wilwood dust cap is the finishing touch on the upgraded disc brakes.The Wilwood 12.19-inch rotors fit some 15-inch wheels, so it’s always a good idea to measure your wheels and compare them to Wilwood’s illustrations. Luckily, this wire wheel and wide whitewall from Coker Tire fits nicely over the new brake system.With the car sitting on the ground once again, we can check out the new ride height and enjoy a test drive around the block after double-checking all the hardware. This ’56 Chevy Nomad is ready to ride!
We use cookies to ensure that we give you the best experience on our website. If you continue to use this site we will assume that you are happy with it.