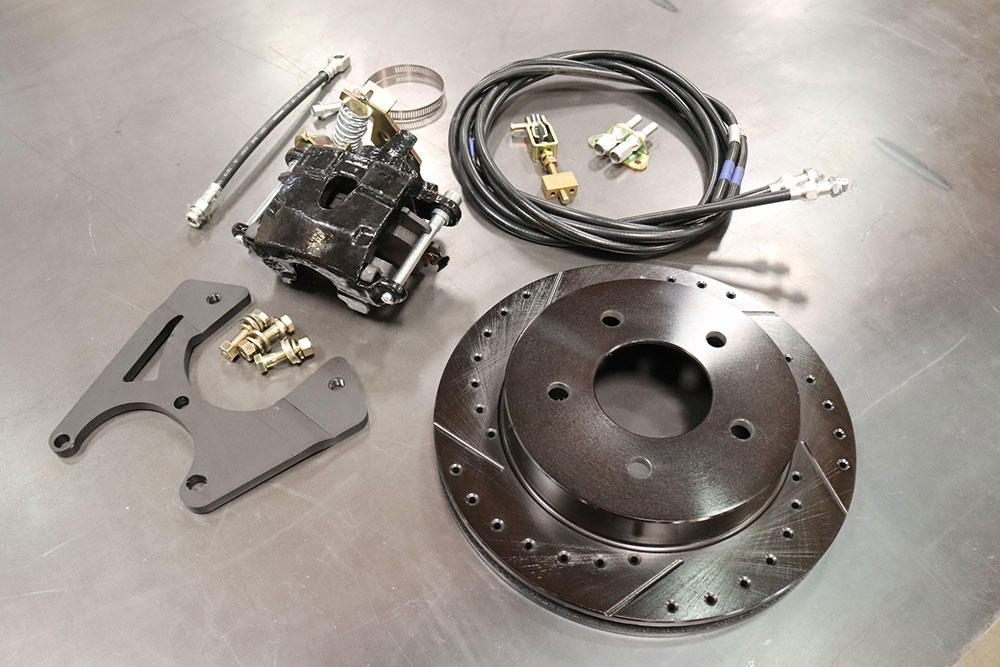
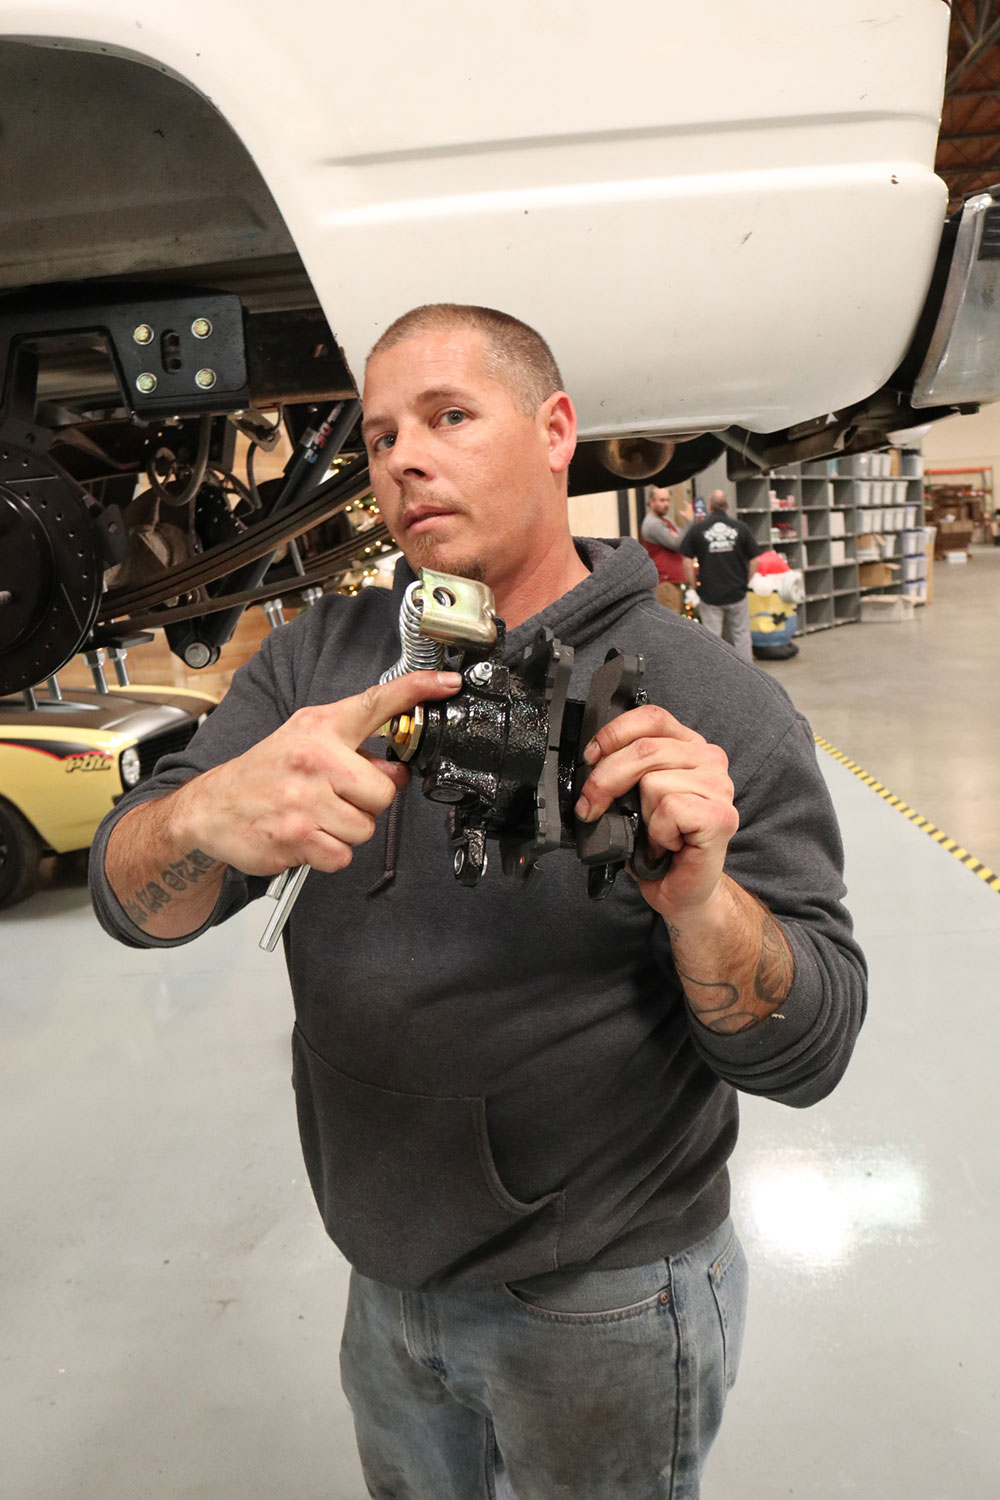
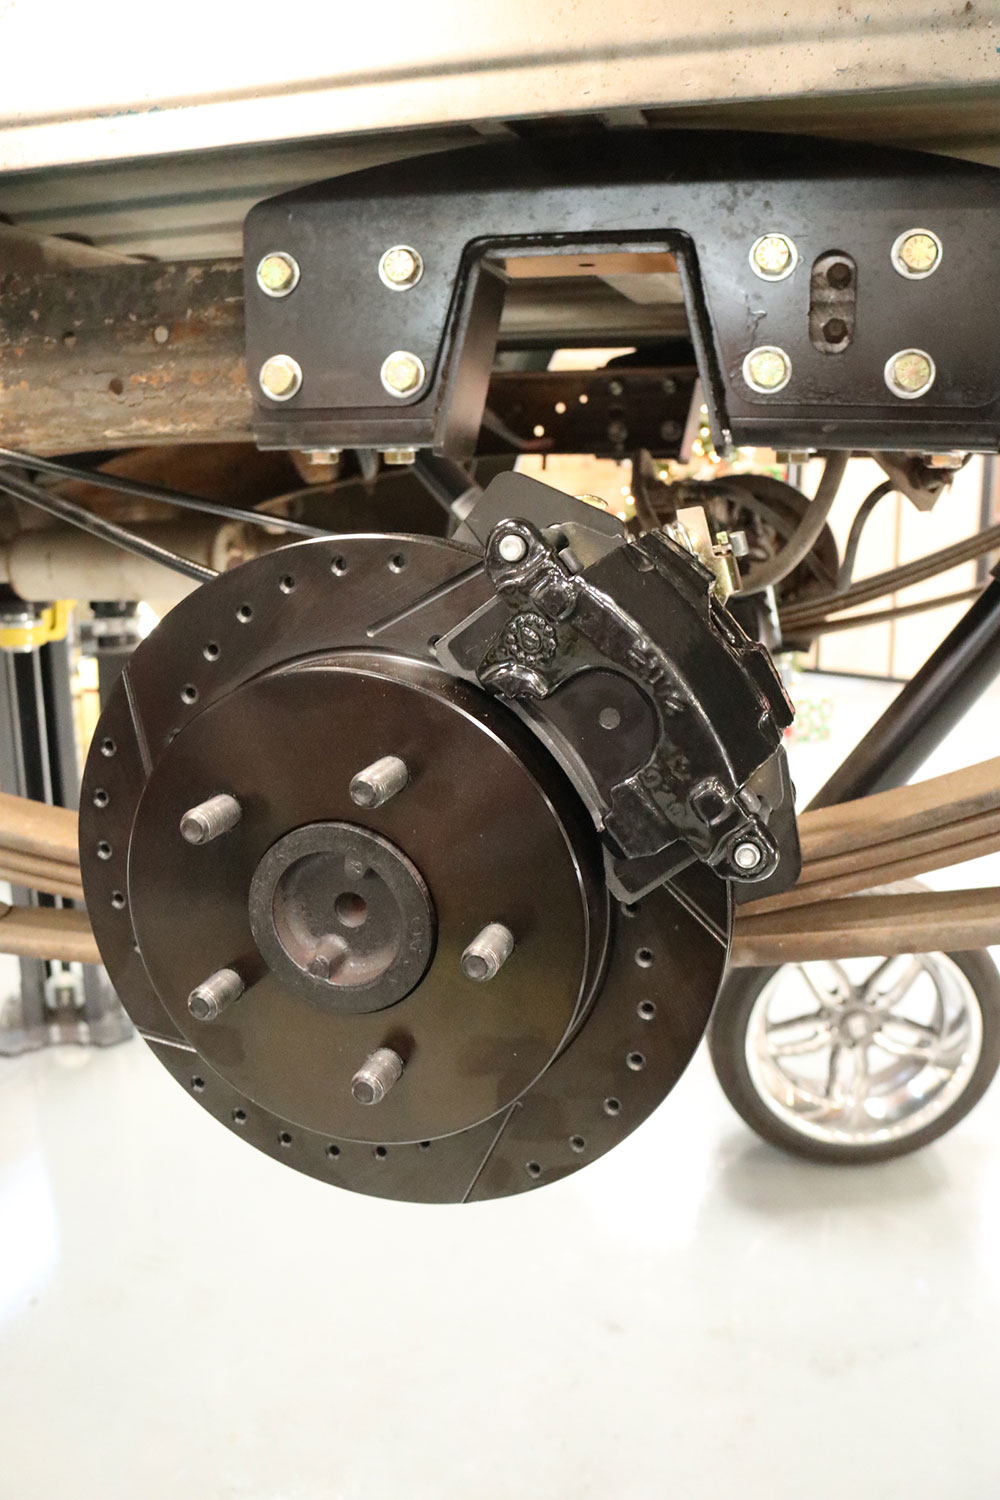
Performance Online’s (POL) Blackout Series rear disc kit for the ’88-98 Chevy/GMC 1/2-tons (PN RWB58898) includes a set of coated, 11.75-inch drilled-and-slotted rotors, parking brake–equipped GM single-piston calipers with laser-cut brackets, rubber flex hose, and trim-to-fit parking brake cables.
If you’re tired of your C/K 1500/GMT400’s stock 10-inch rear drum brake performance and are looking for a direct bolt-on kit (in lieu of doing the Internet’s favorite backyard mechanic “late-model” swap), Performance Online’s new kit for the Chevy/GMC pickup trucks (as well as the similarly equipped ’92-00 Blazer/Tahoe/Yukon/Suburban) will do the trick … without emptying your wallet.
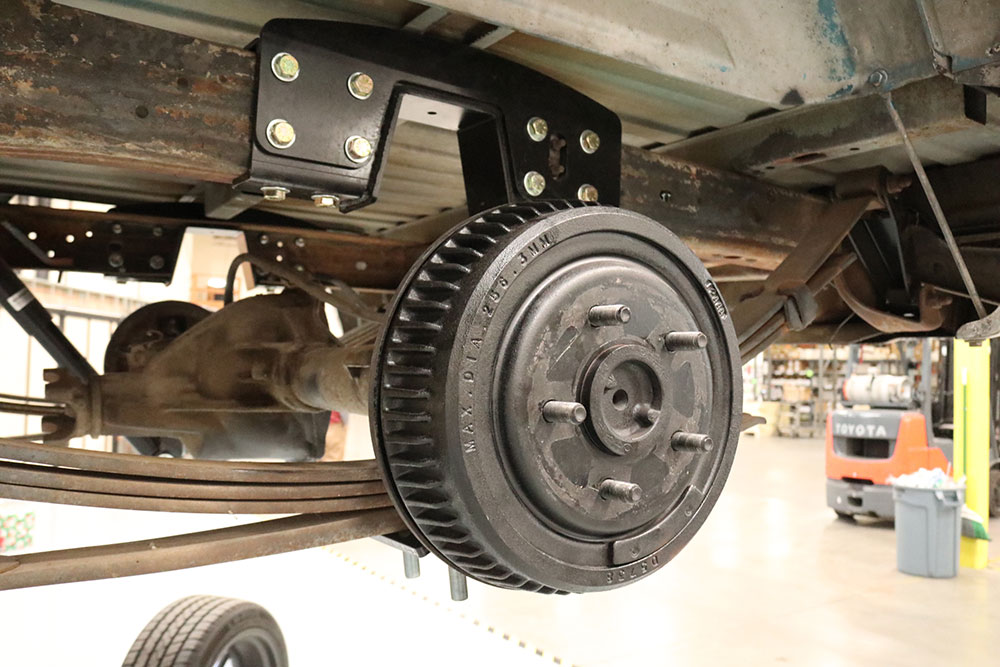
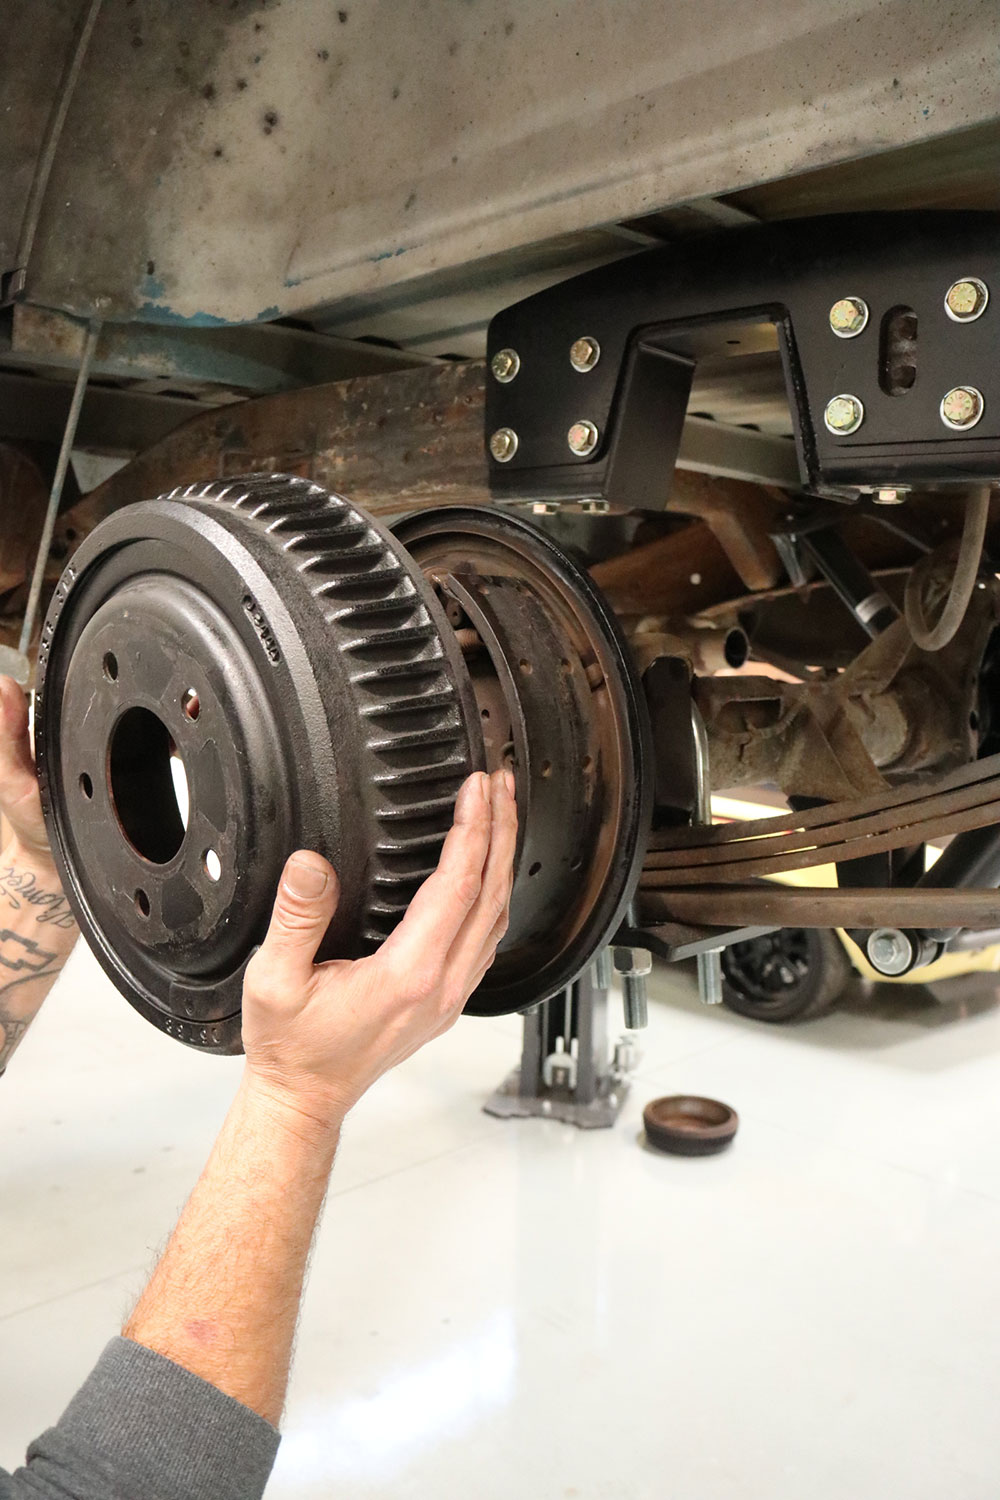
The oh-so-familiar 10-inch drum brake—GM’s staple stopping power for 1/2-ton OBS truck and full size SUVs. We’ll be getting rid of these, obviously!
As with any rear disc brake conversion on a vehicle originally disc/drum equipped, the factory proportioning valve will need to be upgraded to a disc/disc version, which POL does offer separately. However, since the kit uses a Cadillac-style caliper with the integrated parking brake mechanism and comes with a “you-fit” parking brake cable kit, that option will remain. (Note: POL has found some variances in the parking brake cable application with different model trucks—consult with them when purchasing to ensure you get the correct option. Also, the adjustment of the caliper’s parking brake lever is crucial to the performance of both the parking brake and the caliper itself—if you have any doubts or difficulties with this procedure, we’ve found numerous YouTube videos that clearly illustrate the proper procedure!)
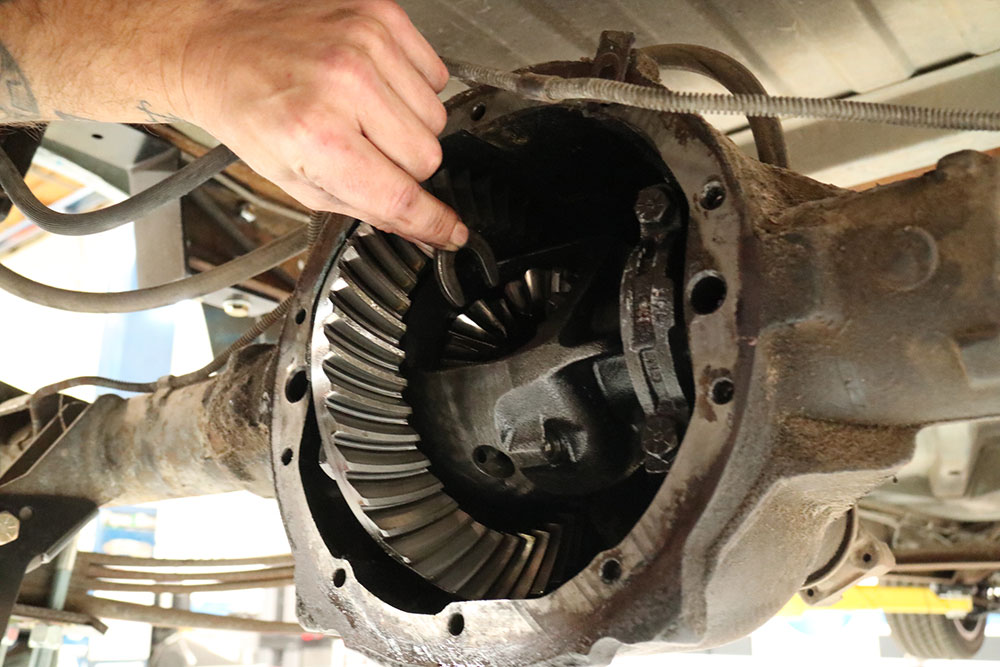
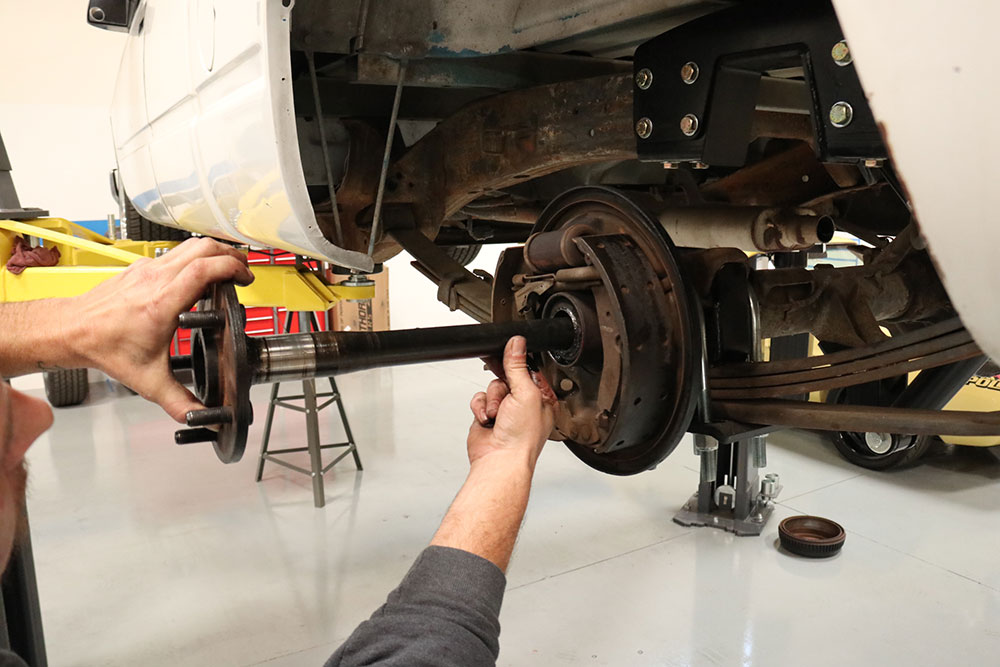
Unlike your convenient 9 inch axles, GM’s C-clip rear ends require the removal of the differential cover/draining of the gear oil in order to pull the axles. While you’re in there, give the ring-and-pinion a good inspection (hopefully a fluid change is all you’ll need—but now’s the time to make any necessary repairs).
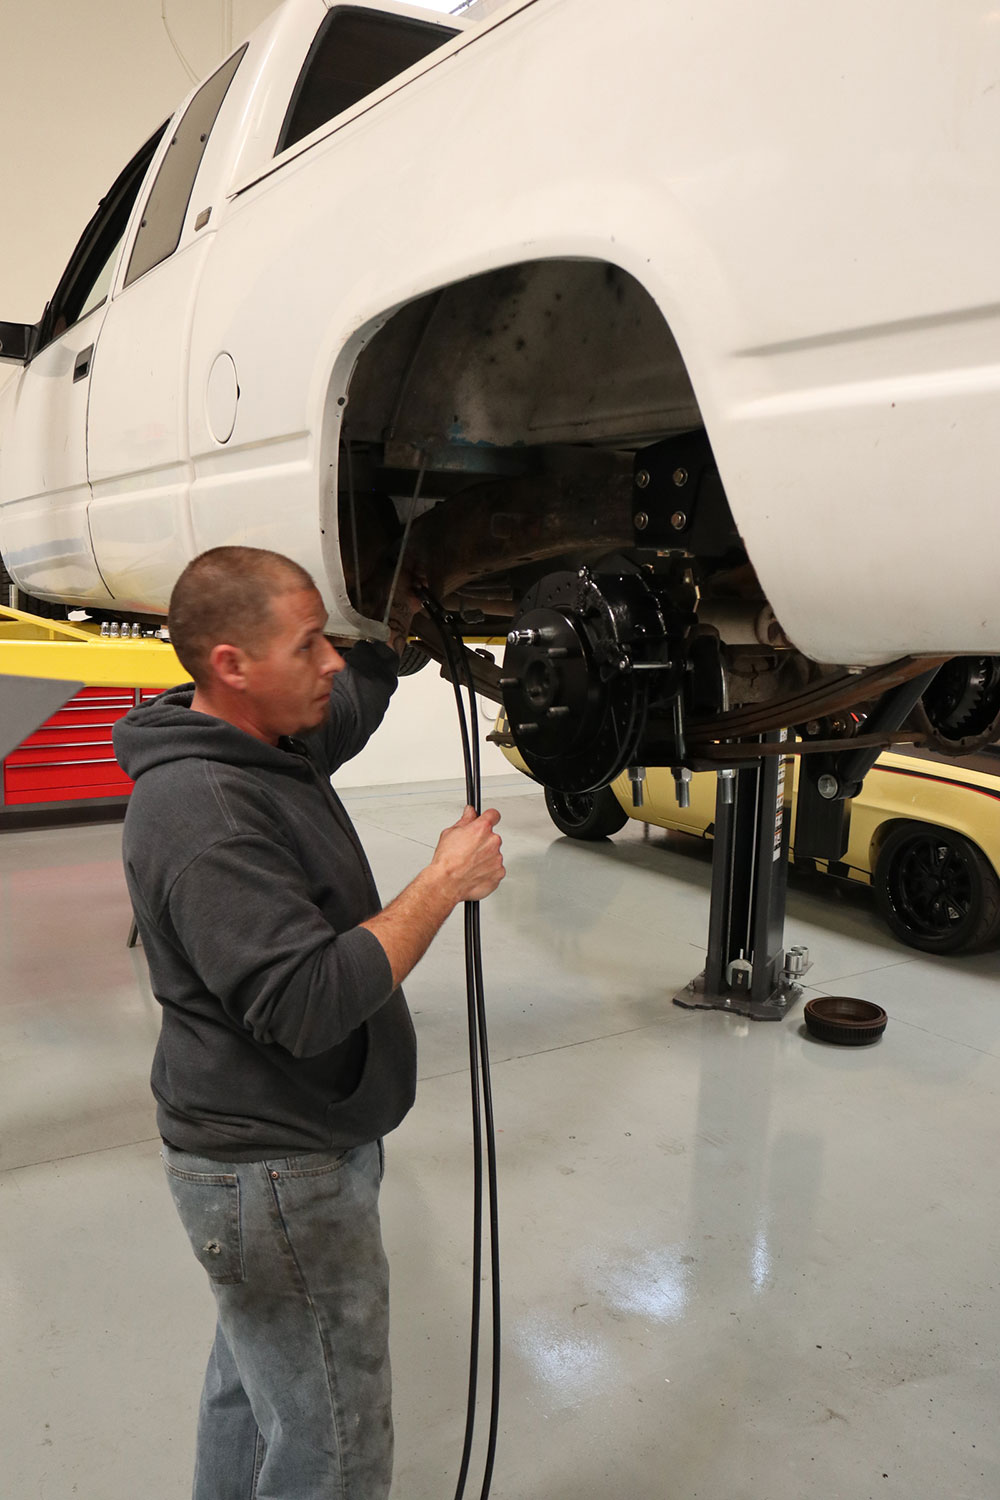
Once Western Chassis had completed the installation of their Super C-Notch and 5-inch drop front spindle and coil kits on the ’93 Silverado test mule and a few miles were put on to let things settle in, as it were, POL took over from there and wrapped up the job with their Blackout Series rear brake kit. We just happened to swing by with camera in hand at the right moment to capture the process and share it with you. Enjoy, and use this little tutorial to your benefit when and if the time comes to outfit your OBS truck accordingly!
(Note: This procedure shows the removal of the axles in order to remove the drum brake backing plates; the alternative is to disassemble the drum brakes and cut the backplate in half using a cutoff wheel.)
. With the C-clip retainers and cross pin out and set aside for “safe” keeping, the axles can be safely removed. Next, remove the remaining drum brake assembly—leave the factory hardline to each wheel cylinder (they will be reused with the new flex hoses) but discard the OE parking brake cable.
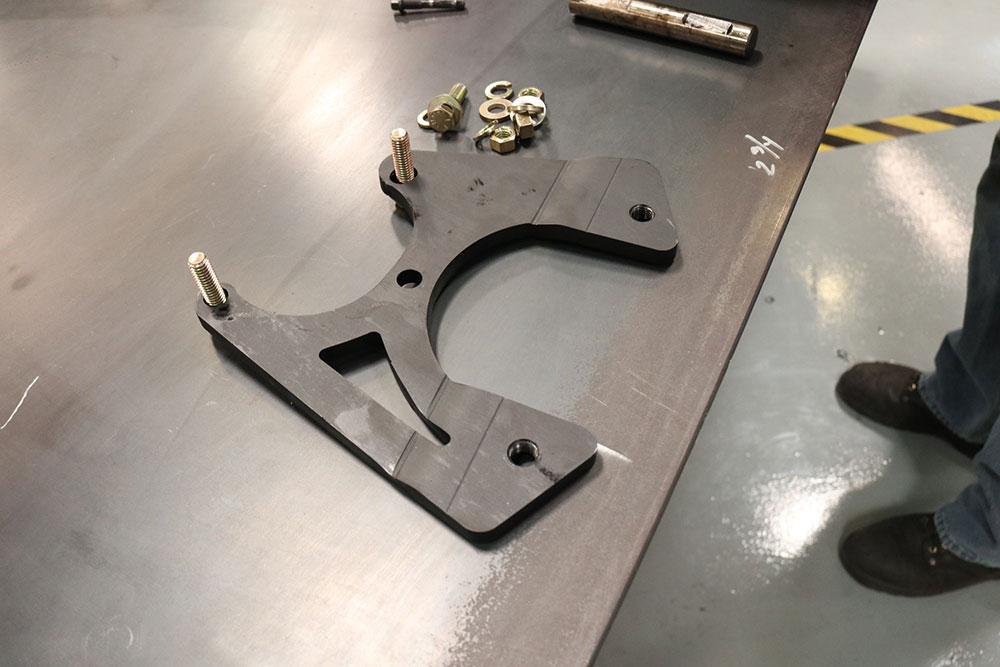
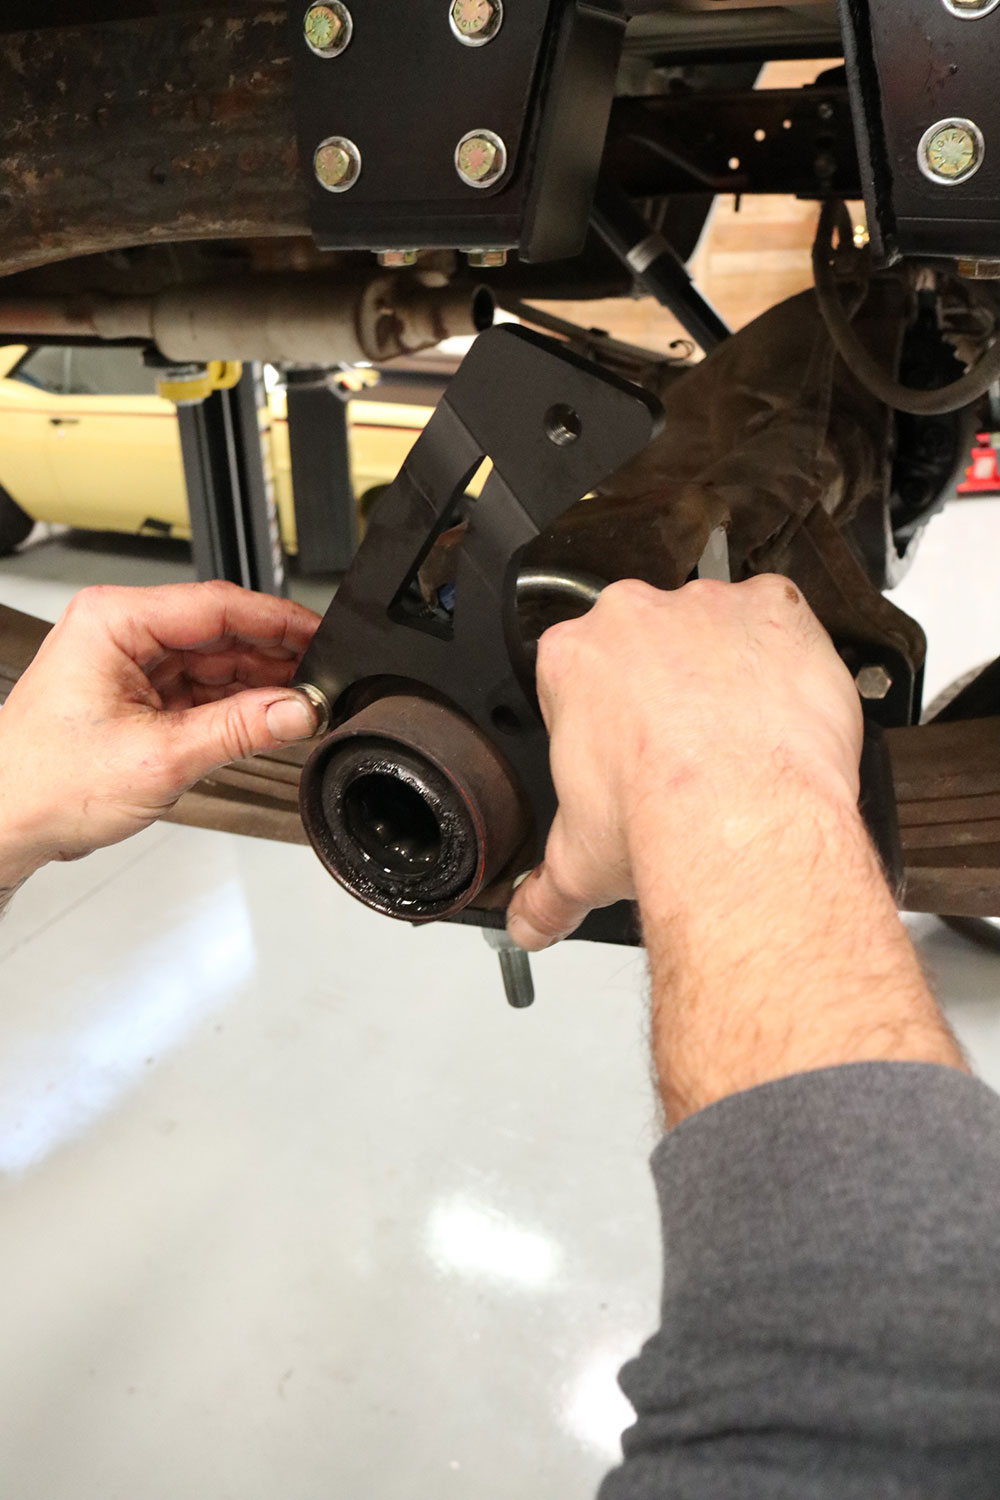
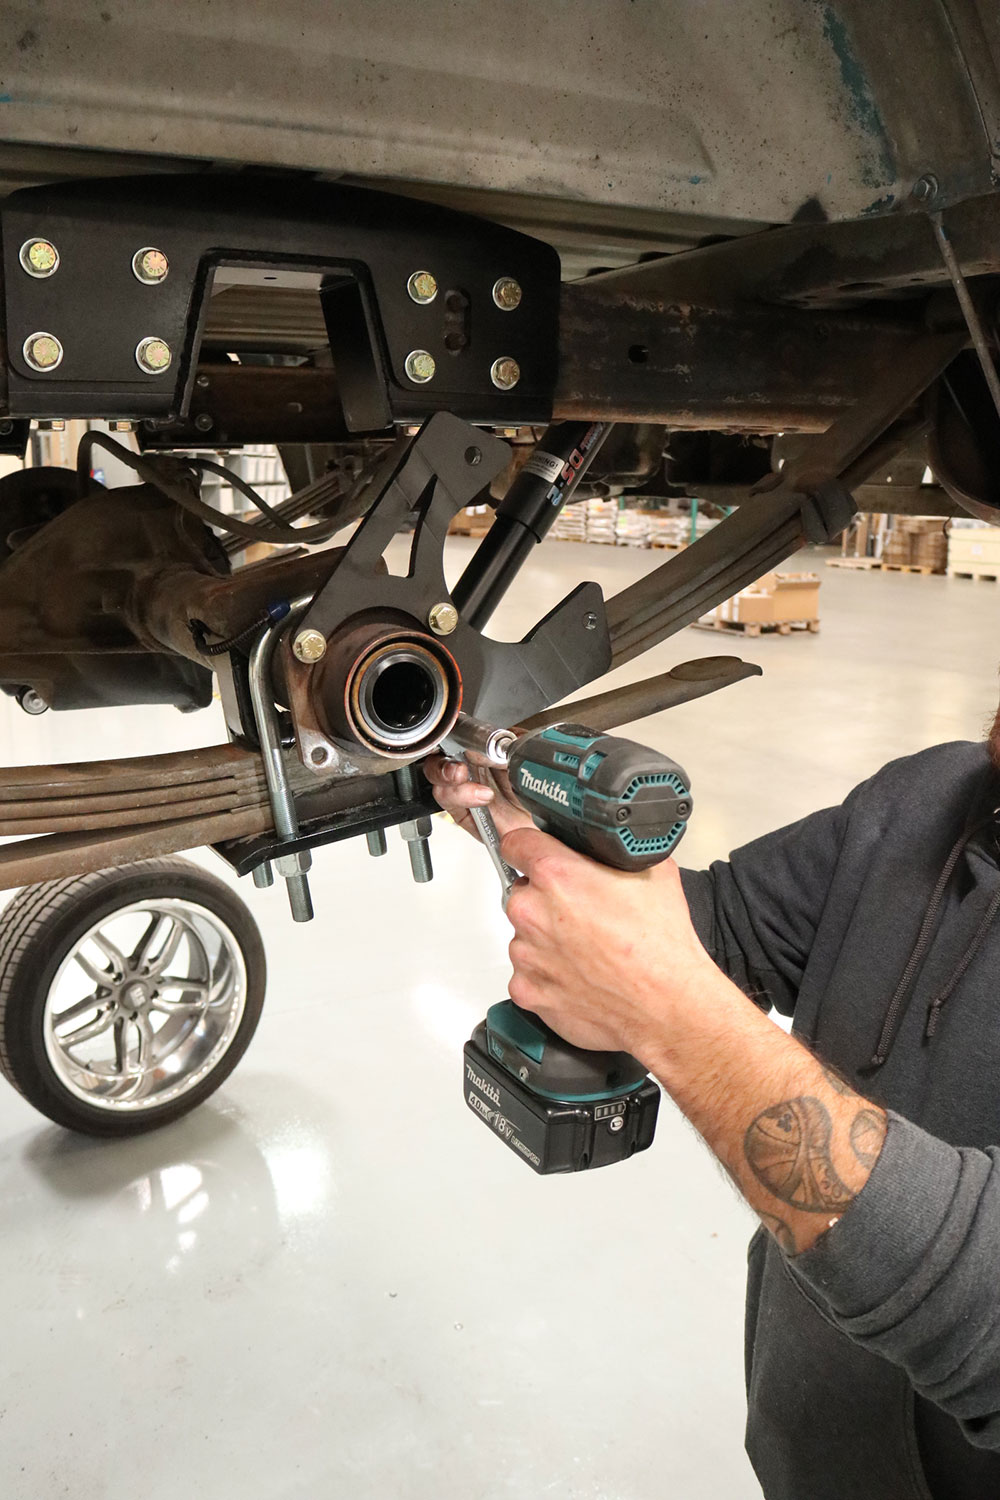
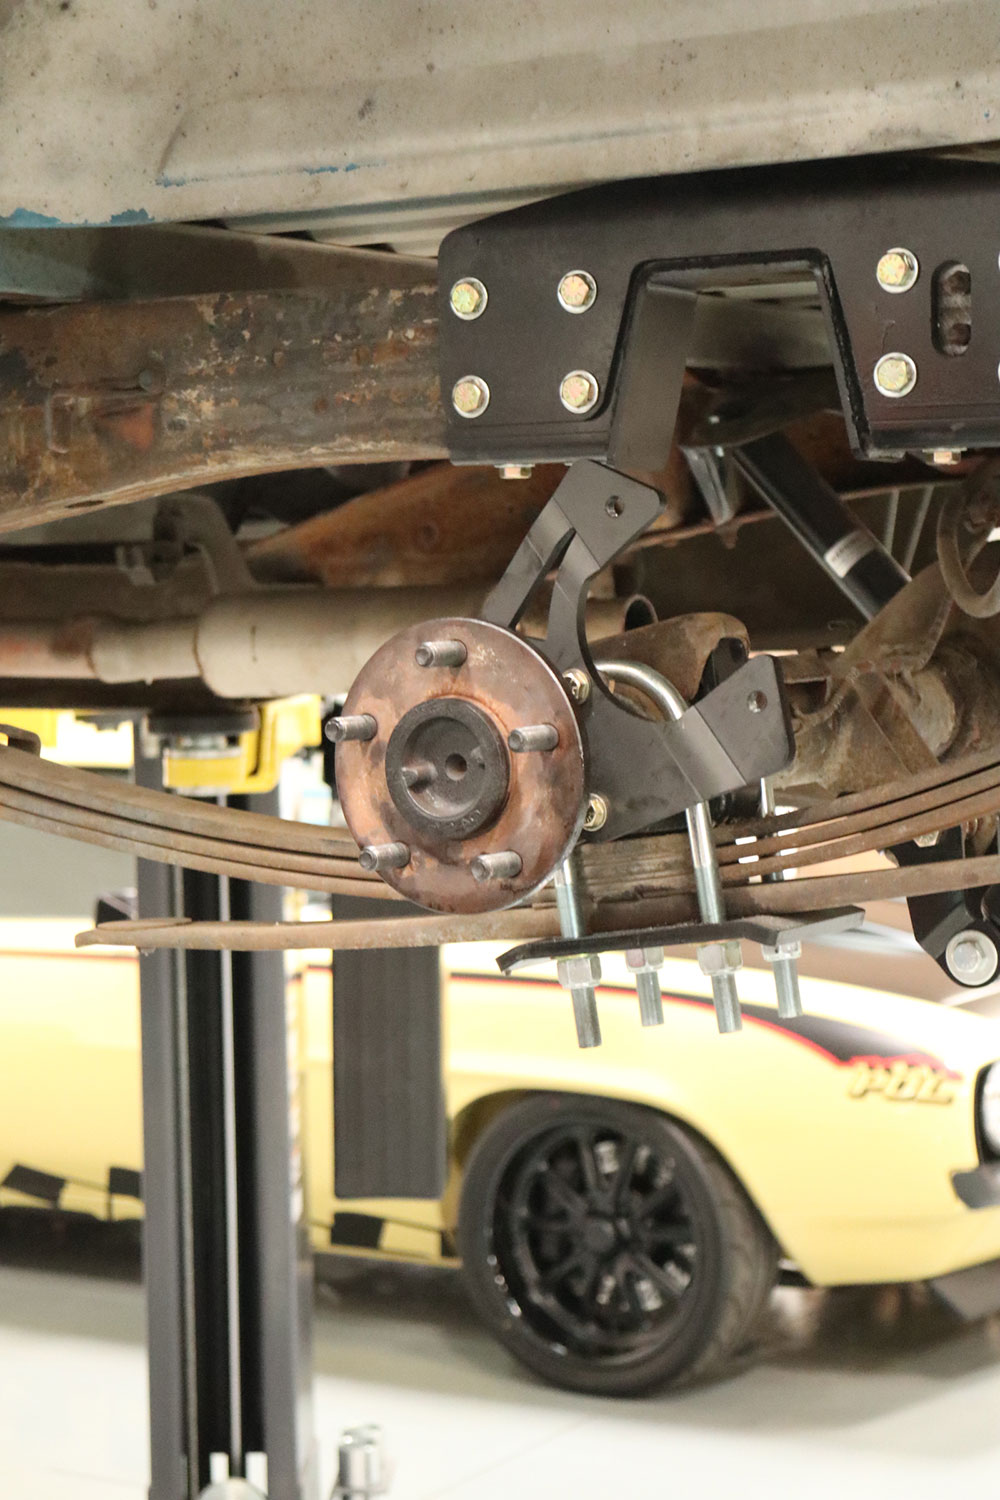
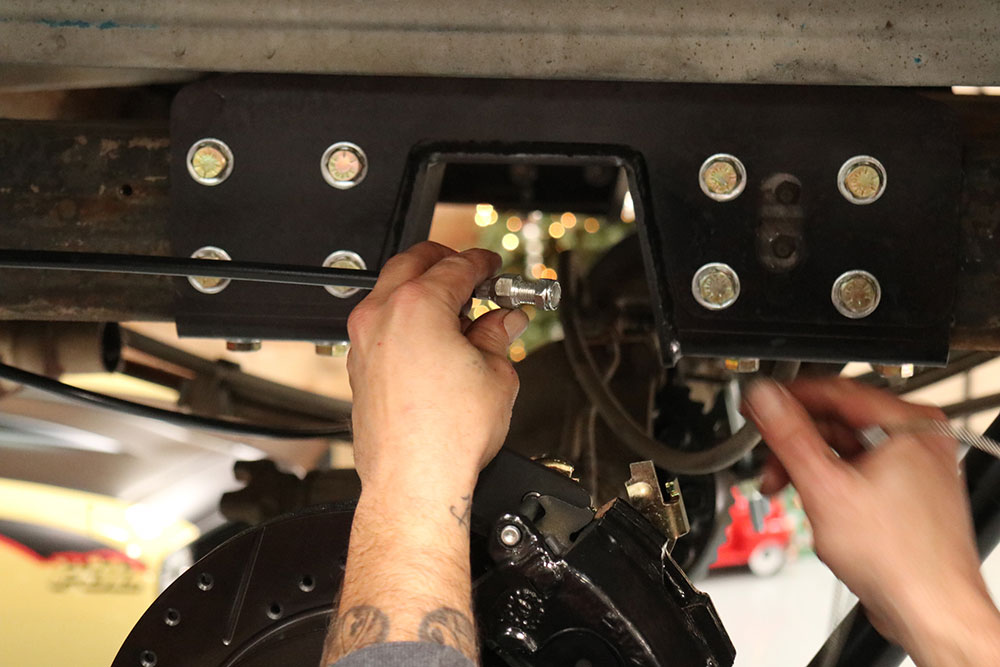
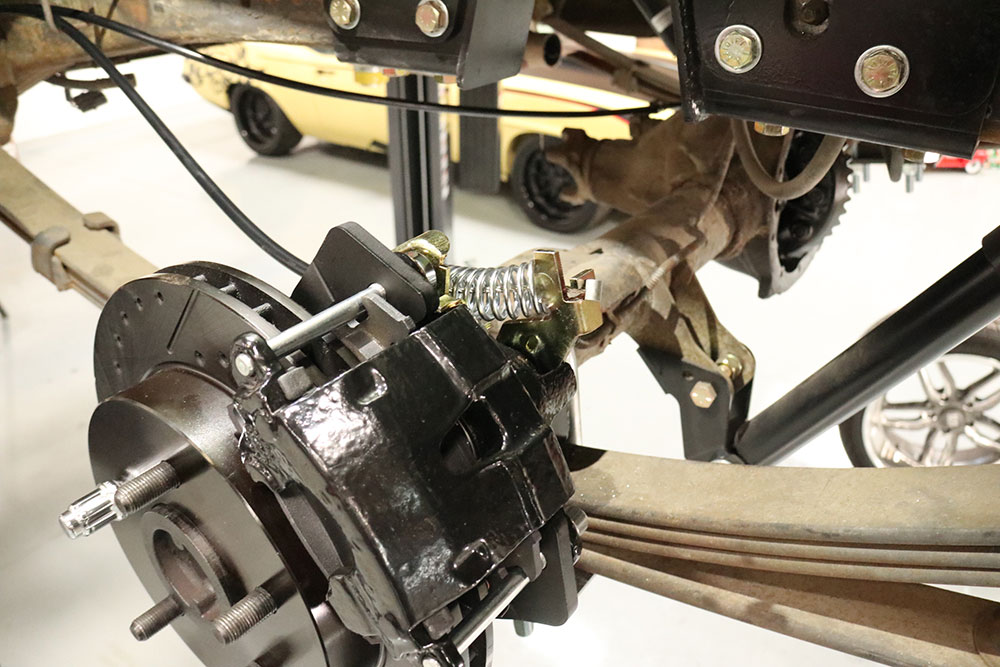
The supplied rear-facing caliper brackets, which mount to the factory flanges vacated by the backing plates, are L/R oriented so that the “dogleg” goes in toward the frame.
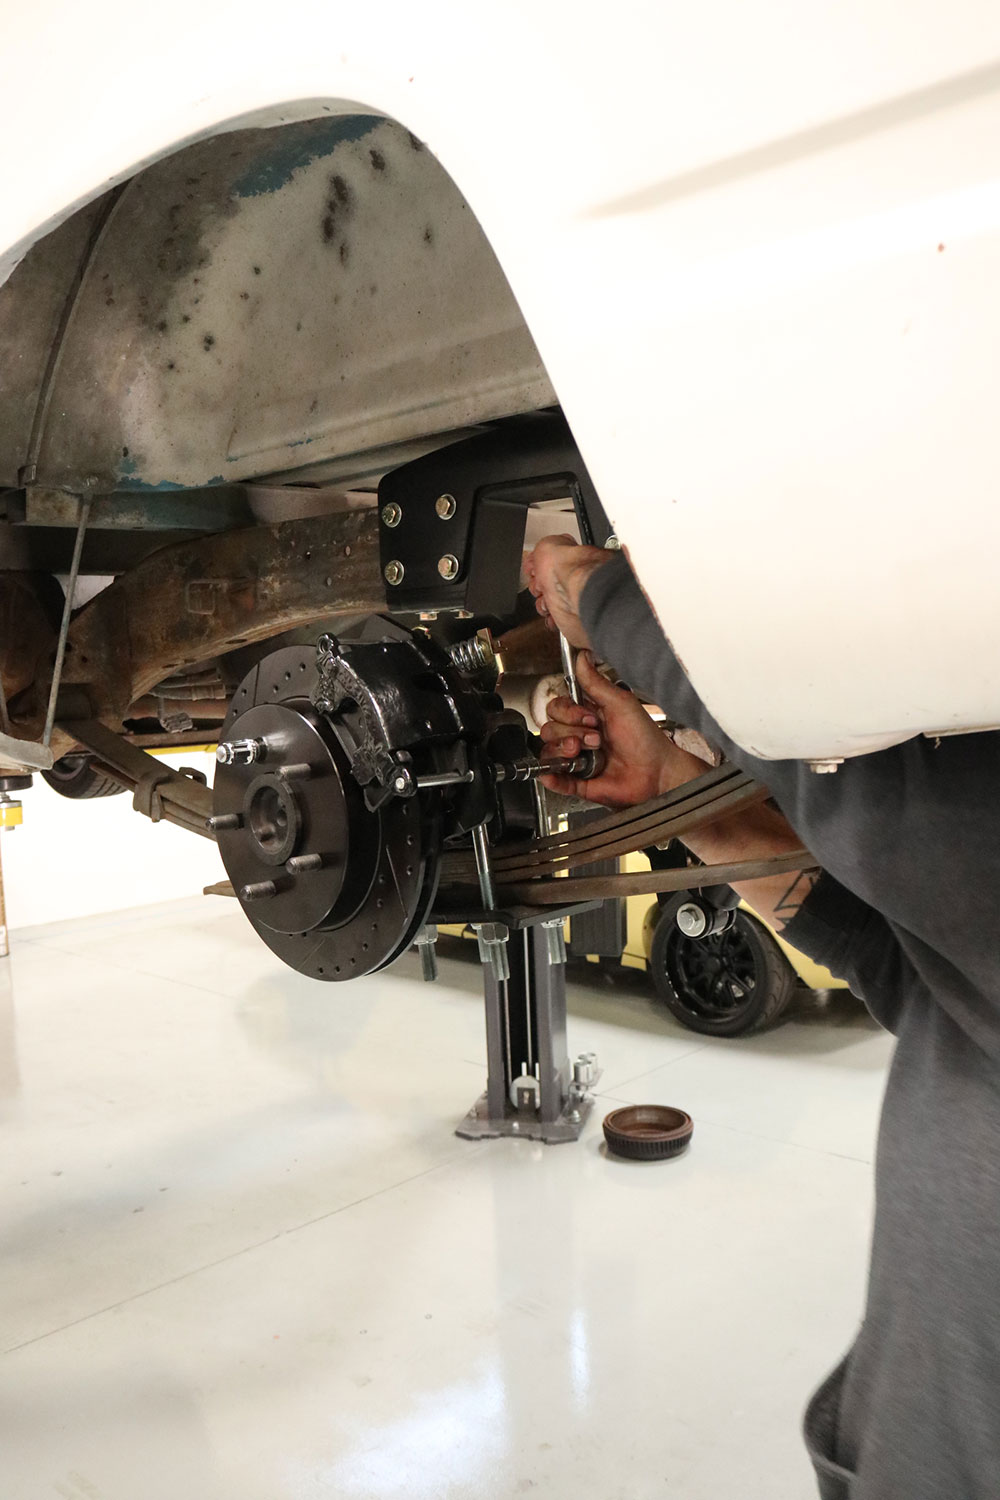
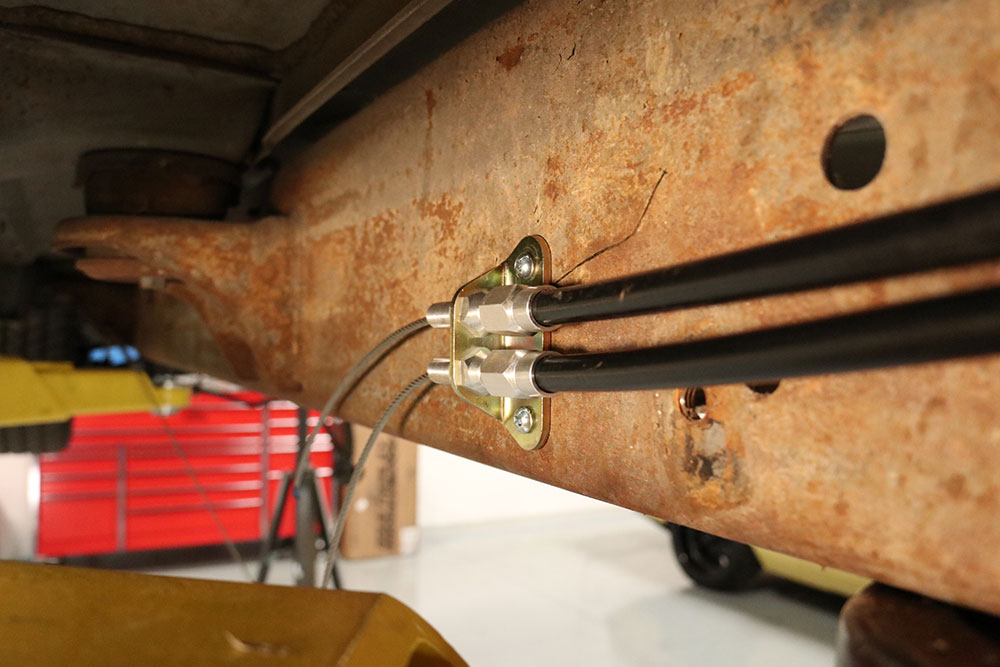
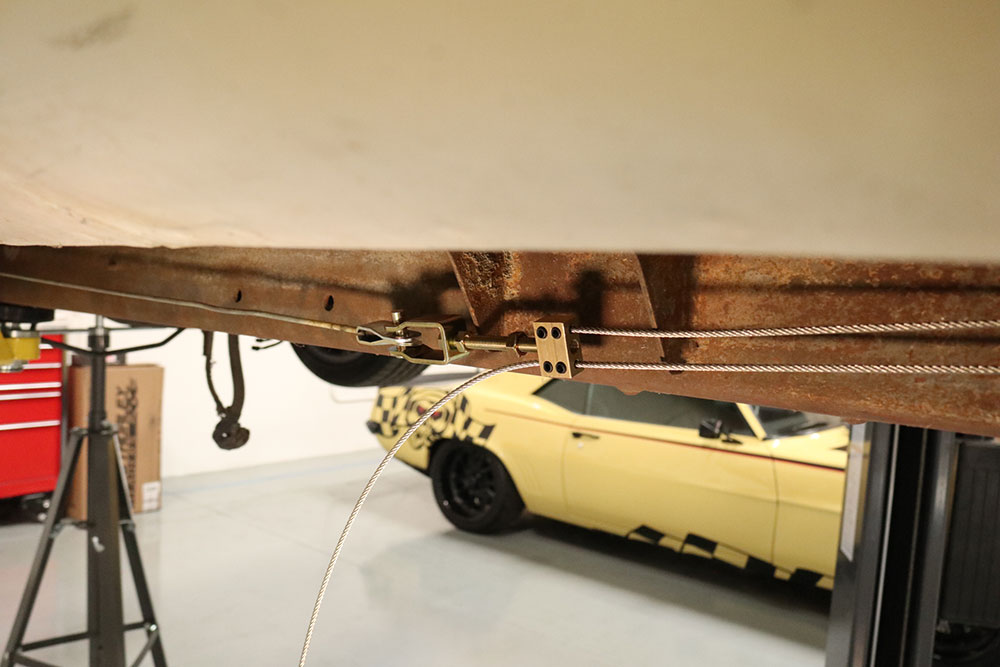
The Grade 8 hardware supplied should be installed with the nuts/lock washers on the backside of the mounting flange; torque to 20 lb-ft.Now that the caliper bracket is in place, the axles can be reinstalled. Be sure to use the OE-recommended fluid as well as a new differential cover gasket and/or high-temp RTV sealant.The 11.75-inch drill and slotted rotors are L/R directional—the slots should point “down” toward the front of the truck. Use a couple lug nuts to hold the rotors onto the axle while you’re preparing to install the calipers.Randy is making sure everyone remembers another important disc brake logistical aspect: bleeder valves always point “up”!With the caliper piston compressed and the new brake pads installed, slide the caliper over the rotor and into the opening in the bracket, aligning the ears on the caliper with the mounting holes on the bracket. Attach the caliper with the new pins and torque to 30 lb-ft. (Note: refer to your instructions for proper parking brake mechanism adjustment before proceeding.)When installing the new parking brake cables, first feed the assembled kit (with the bulkhead bracket forward) up along the driver side of the frame and guide each individual cable to the calipers; the housings can be cut to the desired length.Since the supplied parking brake cable kit is adjustable, there is no specific mounting location for the bulkhead bracket for the new dual cables that will attach to the stock mechanism, however, you will want to remove the factory cable bracket on the driver side framerail.
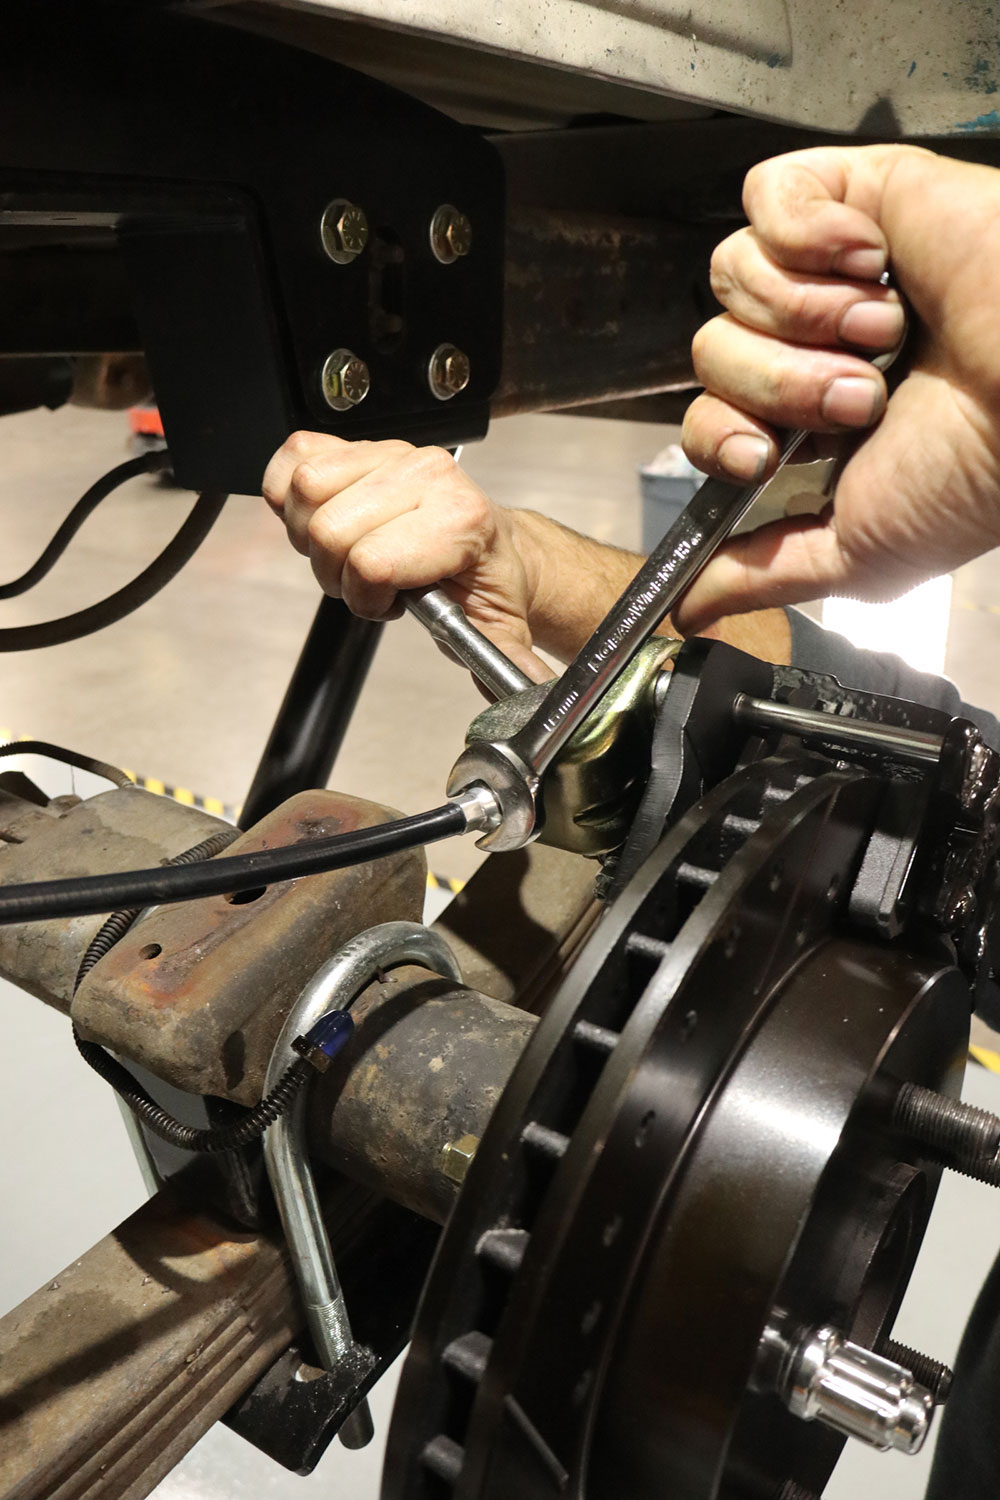
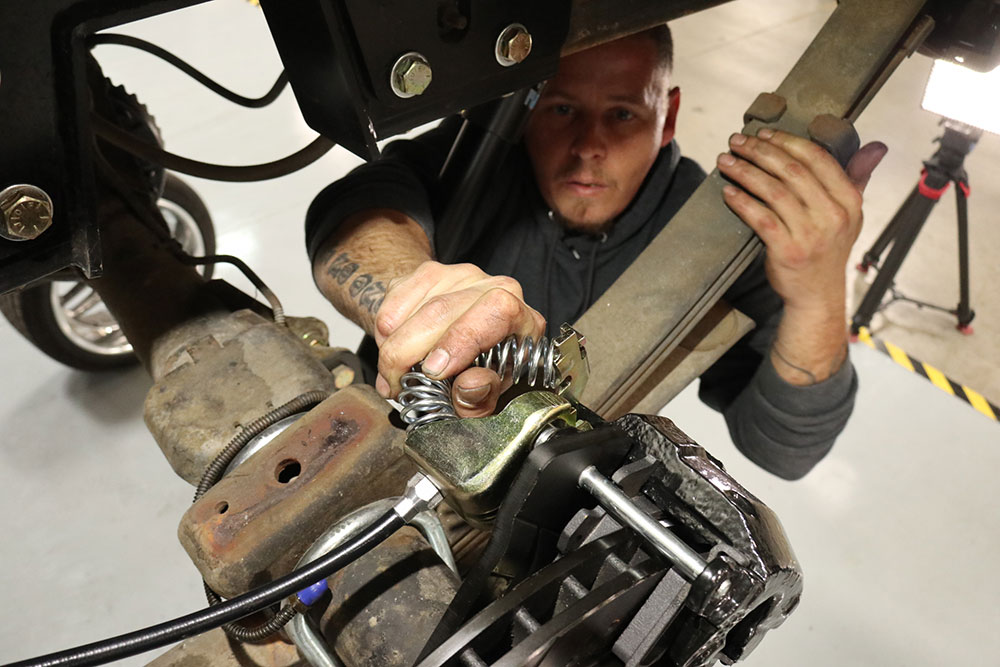
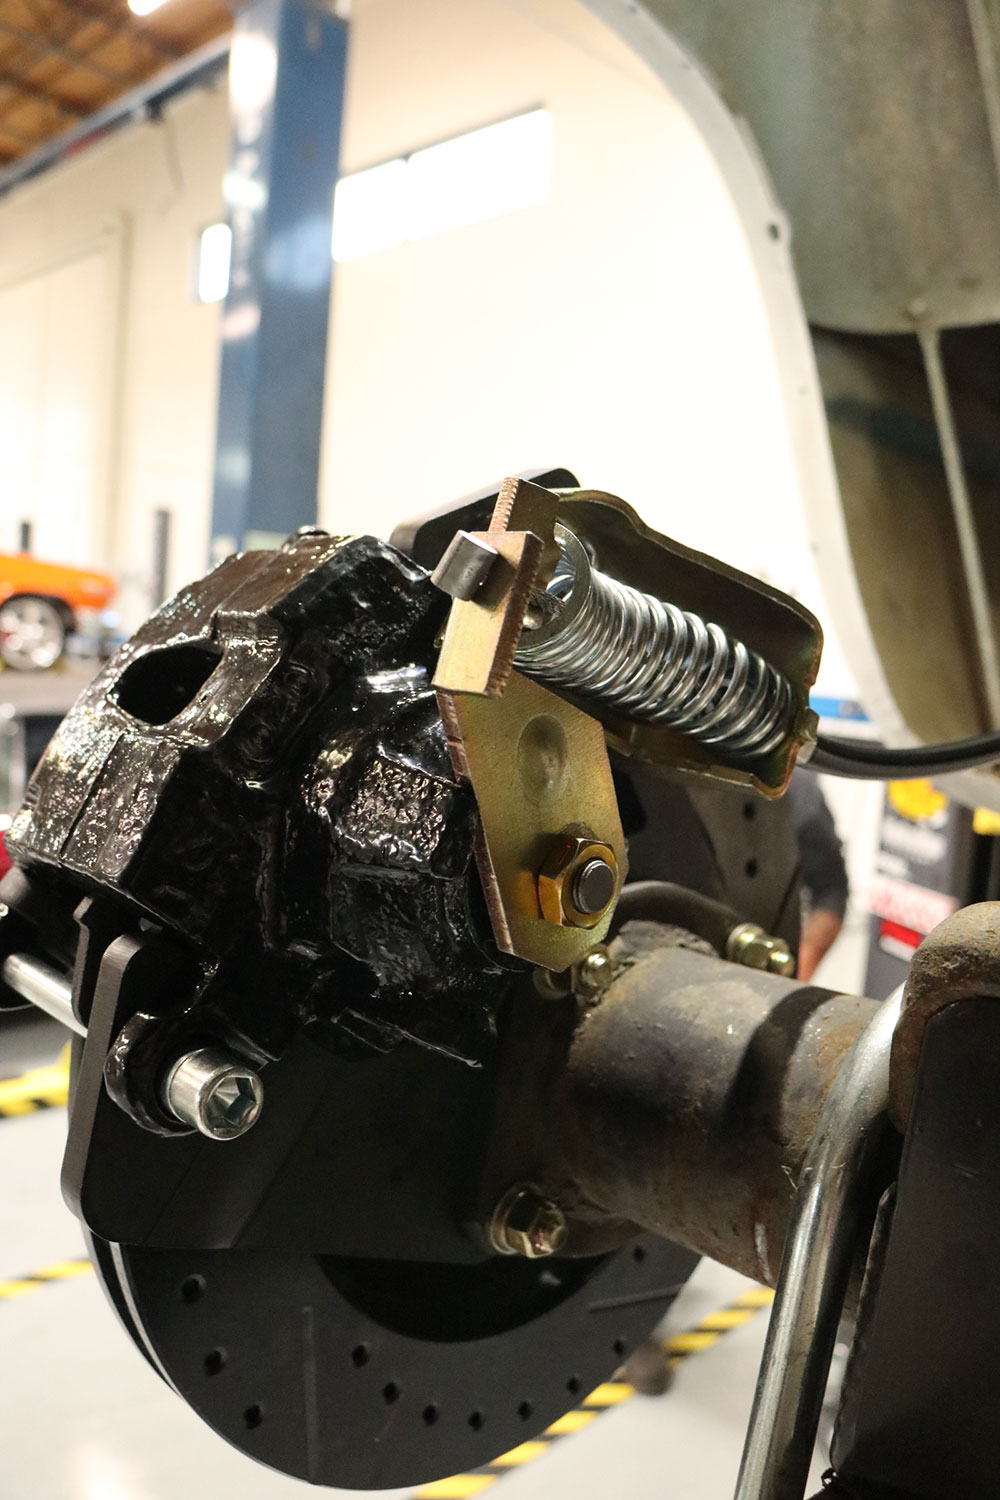
Once the cable housing is sized and refitted with the adjustable ends, install the rear ends into the caliper’s parking brake lever with the return spring “removed” (for access to adjuster nut).
Reinstall the return spring, then feed the “lubricated” parking brake cable back through the cable housing.
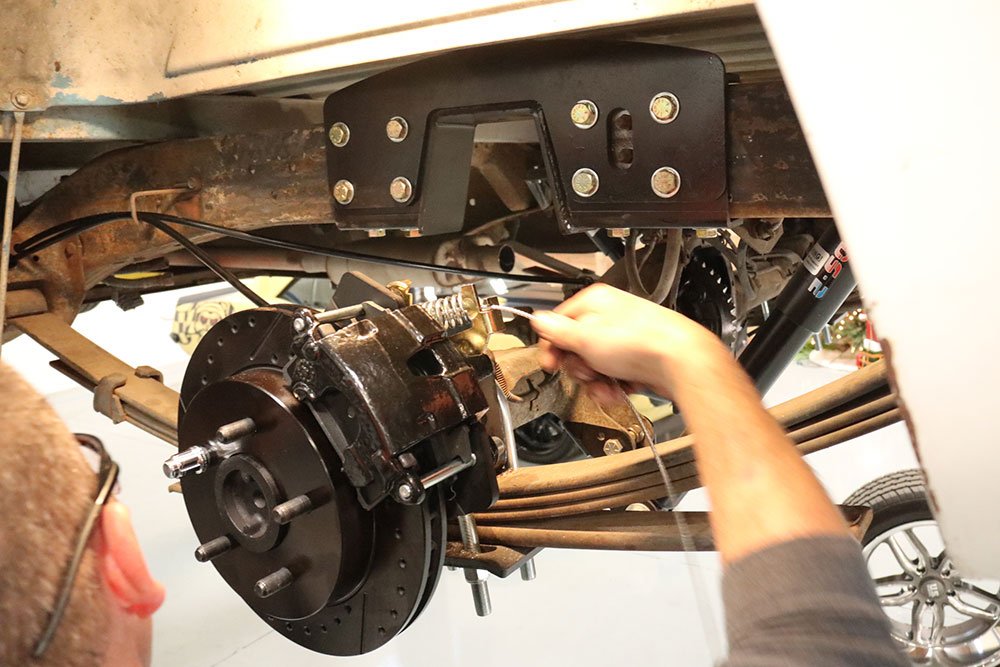
Reassemble the forward adapter section of the cable that attaches to the remaining OE parking brake cable (use Loctite on all Allen setscrews); adjust your cable tension and ensure parking brake functions properly.That concludes the caliper and parking brake cable installation. Once again, make certain your parking brake is properly adjusted before bleeding your brakes, as you will not get a firm pedal if it’s not correctly set.
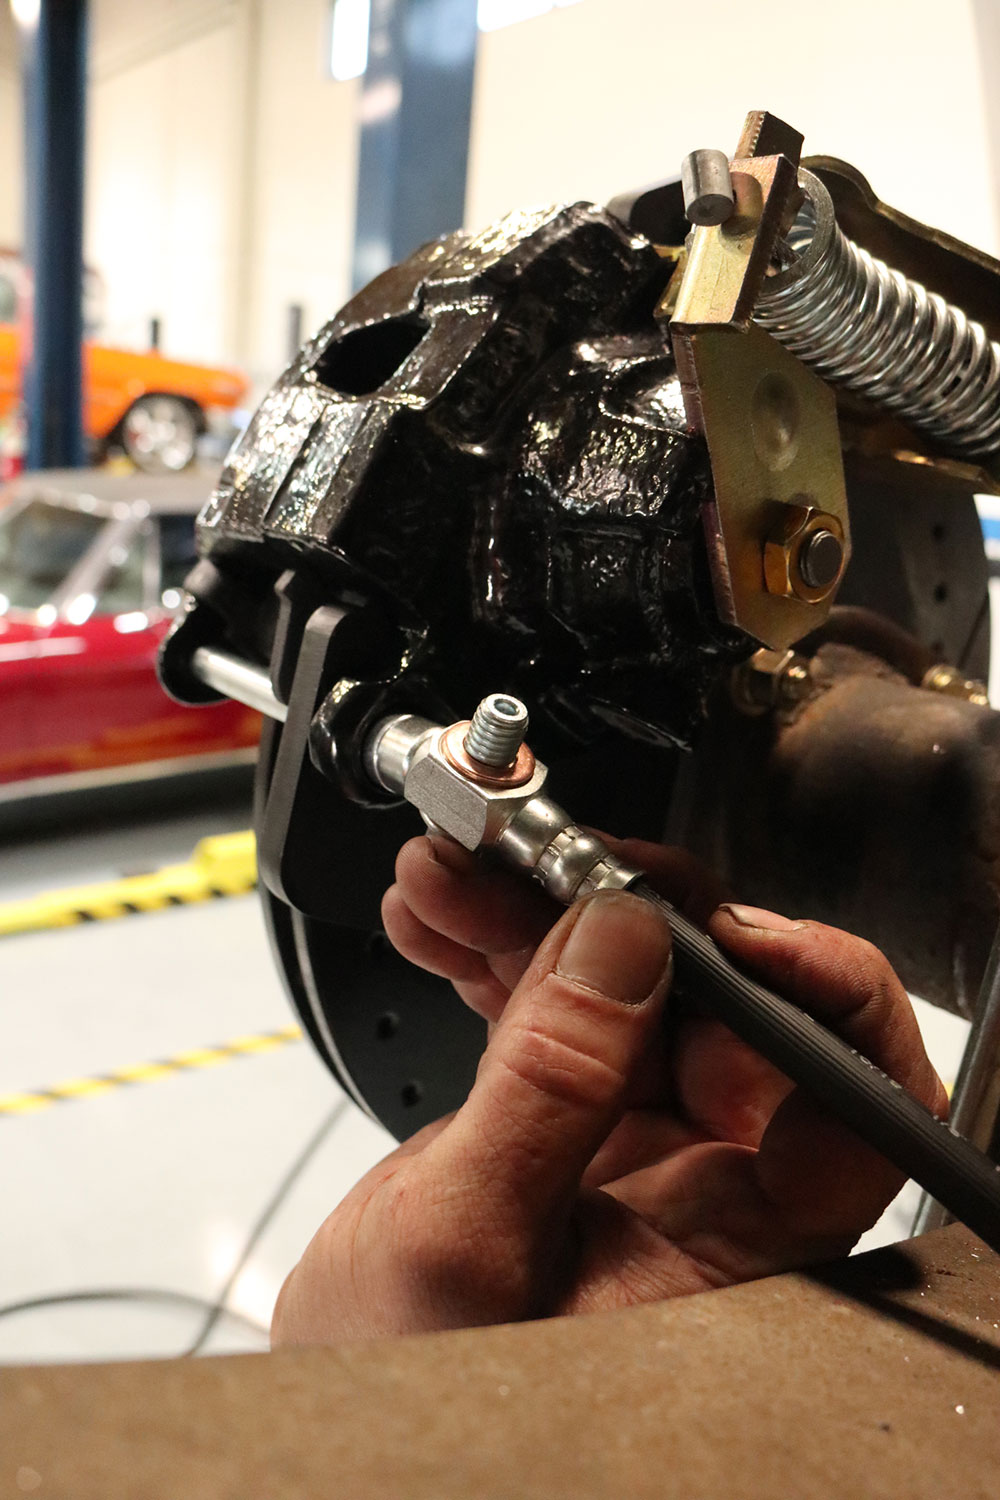
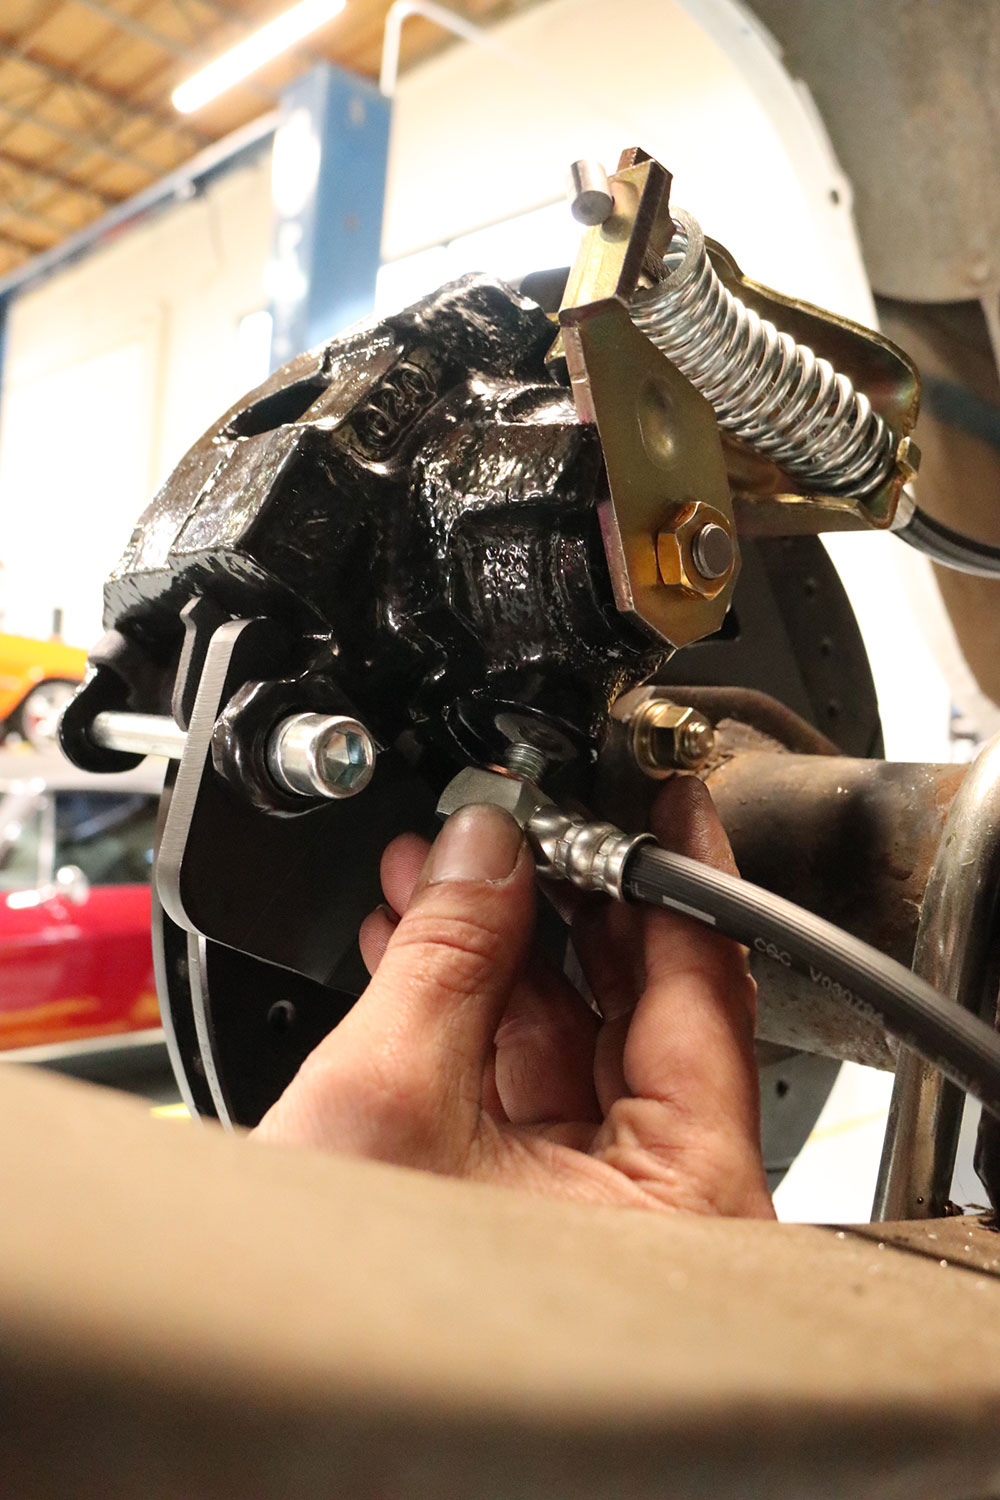
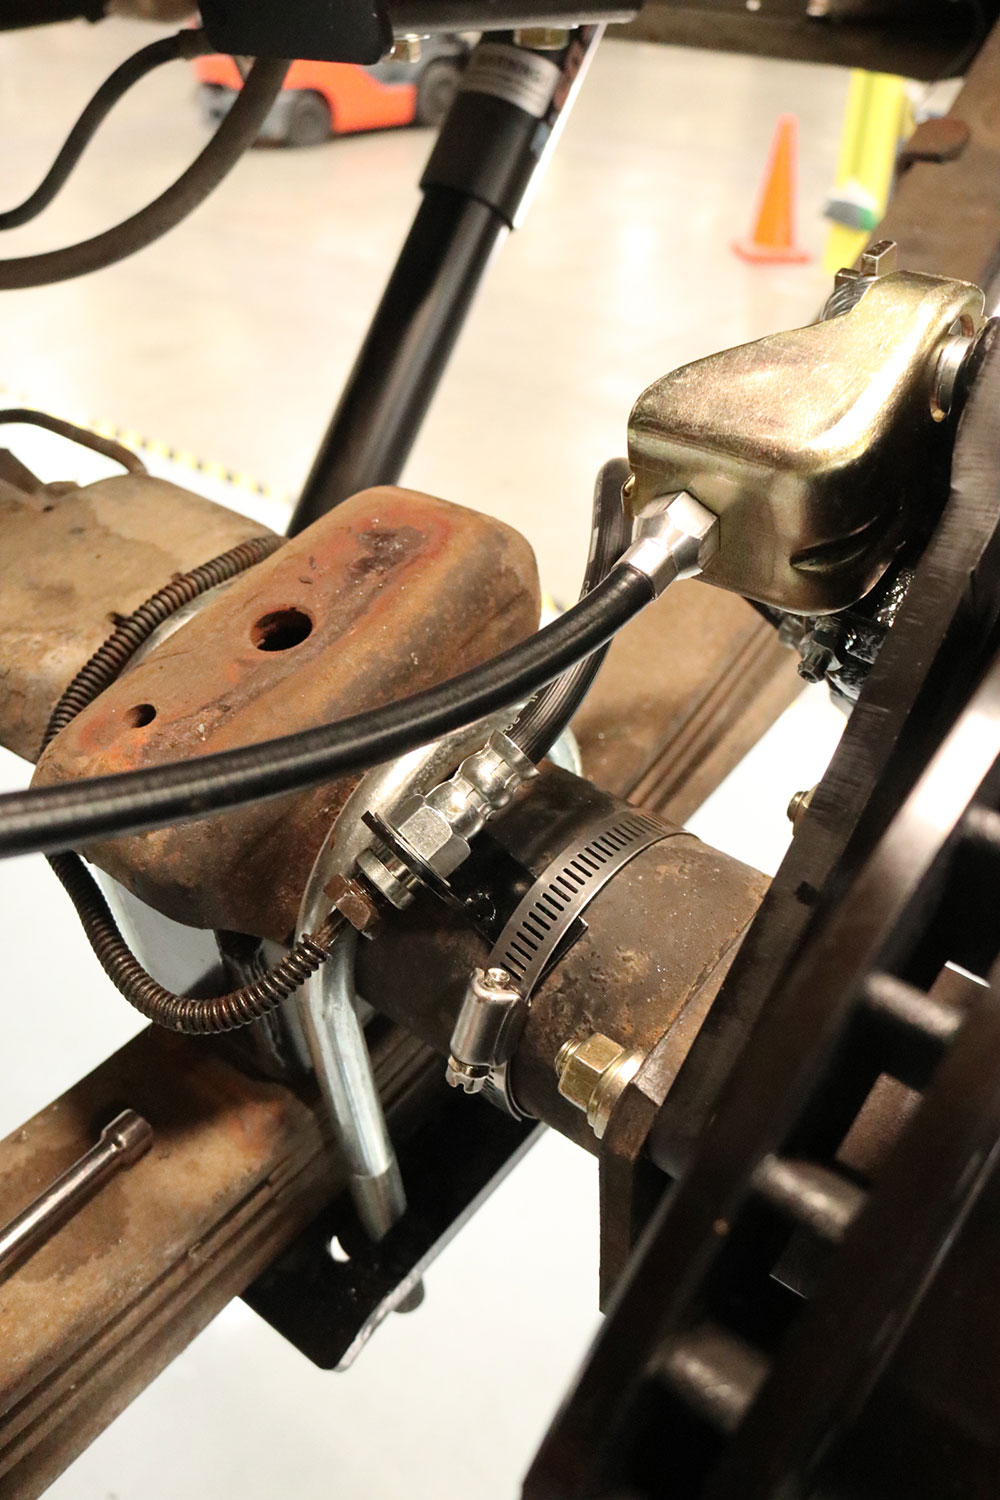
Next, install the supplied brake flex hose using the copper crush washers and banjo bolt—ensure the hose end orientated correctly (the stepped side faces outward).
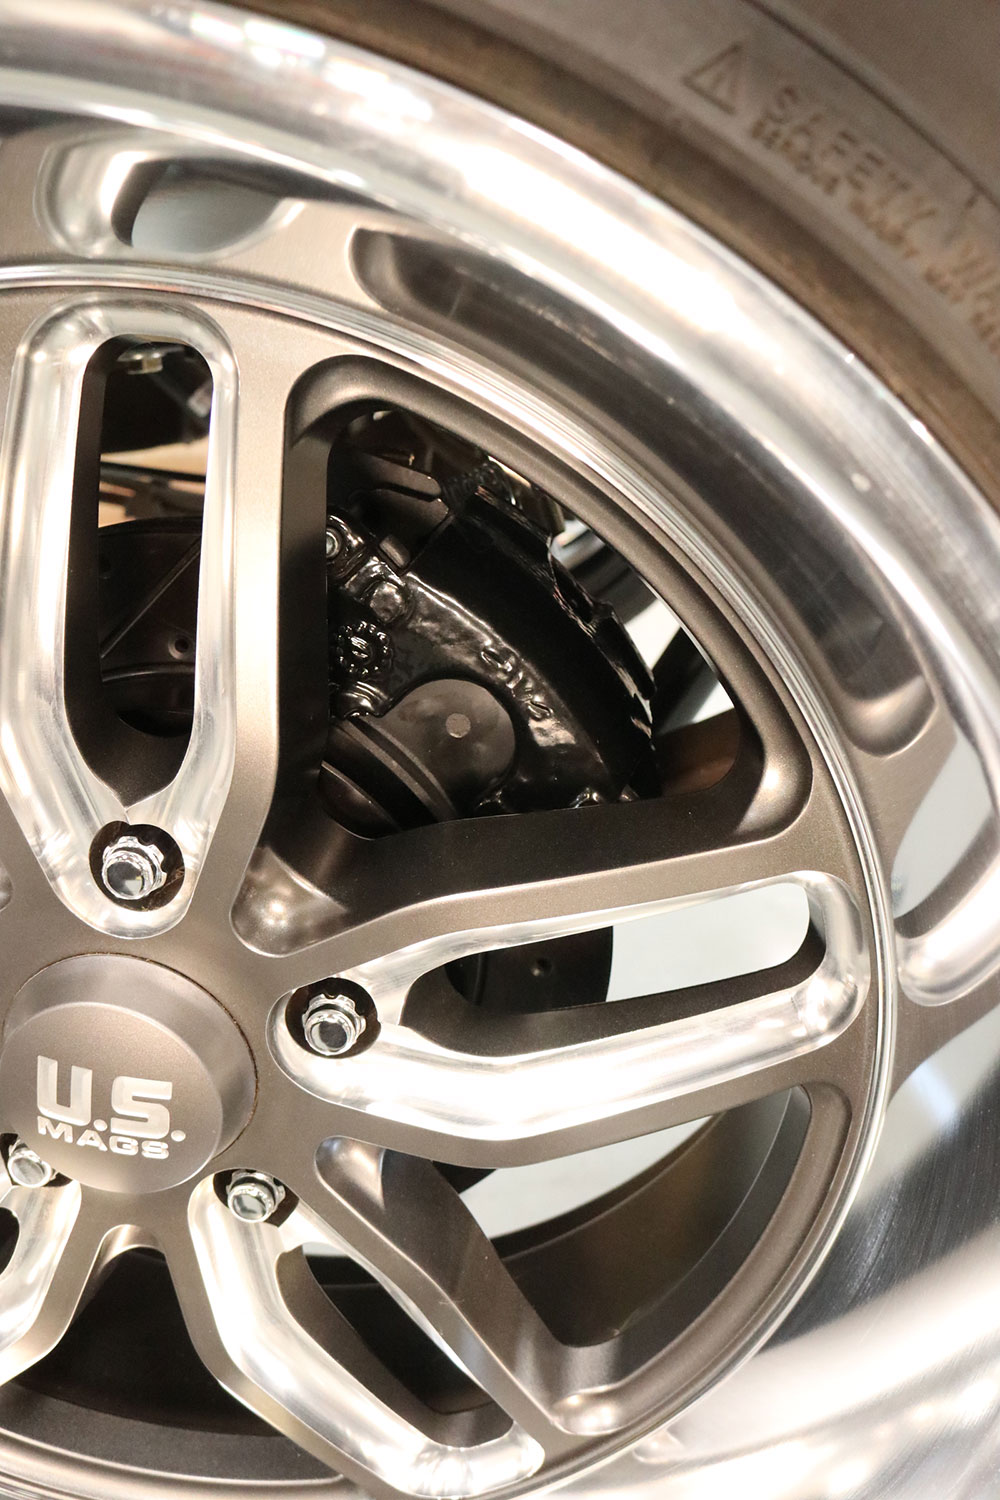
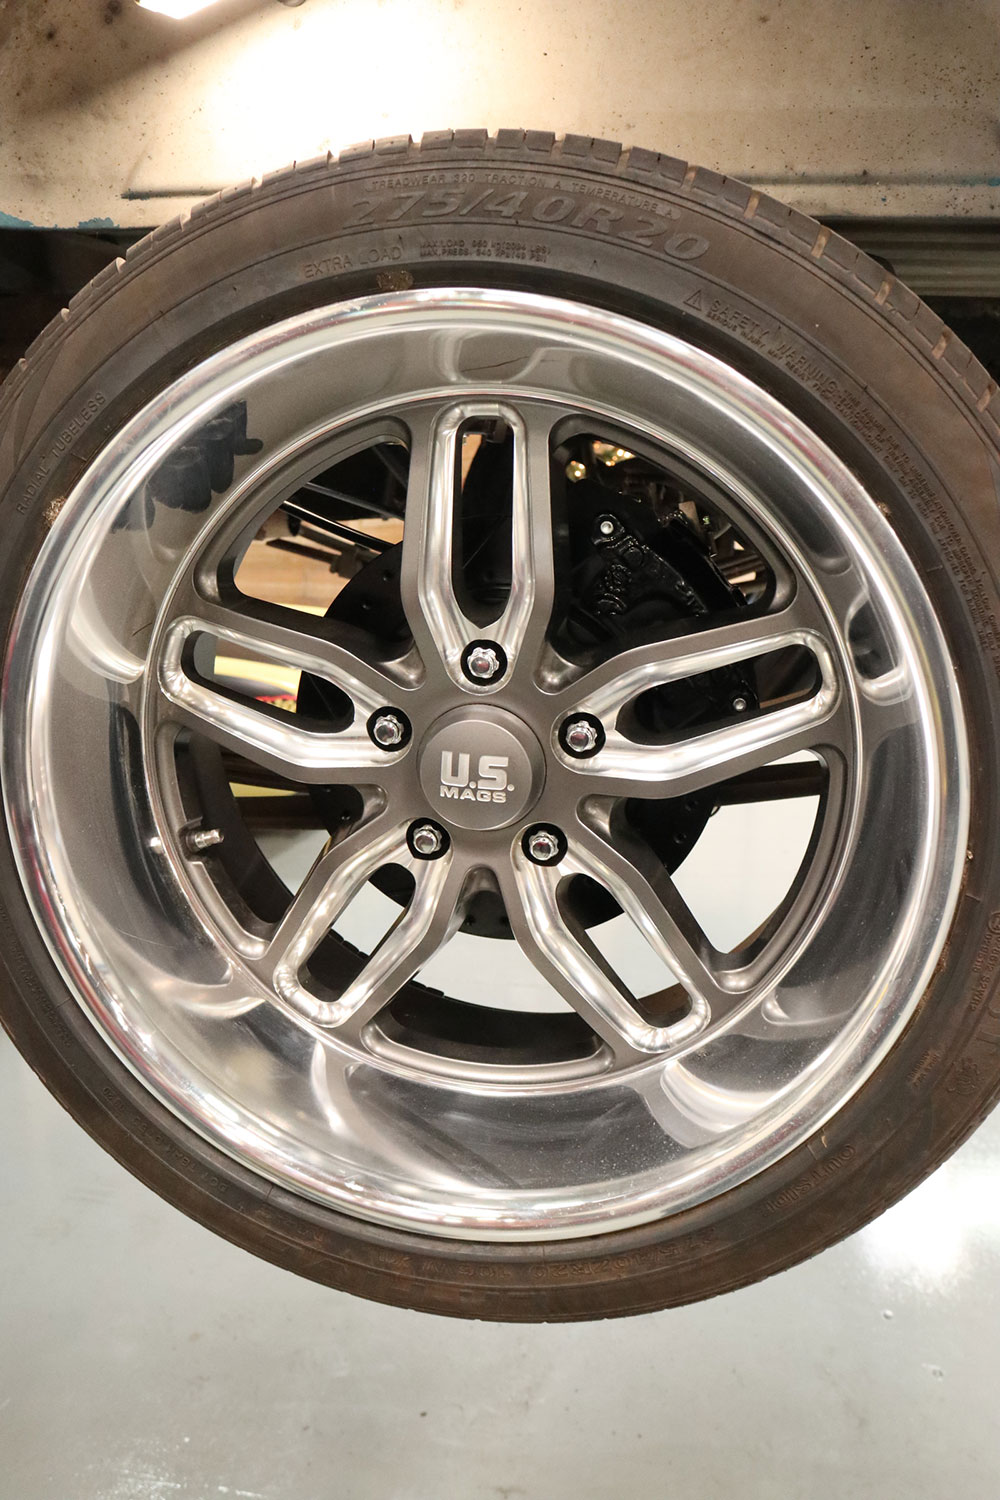
Carefully reshape the stock brake line and attach to the new flex hose (with the axle housing hold-down tab in place); secure with the provided band clamp. After addressing your fluid supply upgrade with a disc/disc brake proportioning valve (available from POL), add “new” brake fluid, and bleed your system road testing the truck.It’s a shame to cover up the newly installed brakes, but in order to take the Silverado out for that aforementioned test we had to do so—at least the 20-inch contrast-cut U.S. Mags five-spokes have large enough windows to see the new brake ware!
We use cookies to ensure that we give you the best experience on our website. If you continue to use this site we will assume that you are happy with it.