How To Restore a Classic Car Radiator

Cosmetically Restoring a Good, Used Radiator

By “Rotten” Rodney Bauman – Photography by the Author

- Advertisement -

Just about a month ago, while sorting out a coolant recovery system for our ongoing second series 1955 Chevy truck build we painted up some pieces—and they turned out real nice. Ordinarily that’s a good thing, but we were hoping to illustrate clever ways to fix minor imperfections, too. This time around it looks as though we’ll have our chance to do that.

01 Reynolds Radiator provided radiator that was clean but dented top tank
Straight from the Reynolds Radiator shop, we could go ahead and paint this thing. The top tank, however, is beginning to bug yours truly.

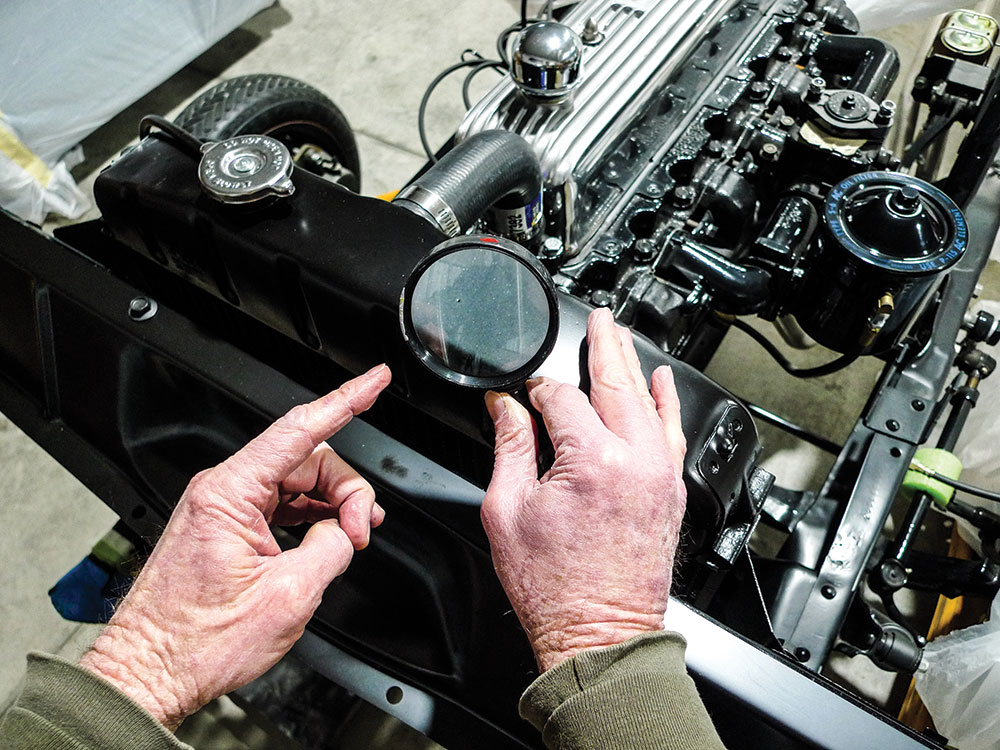
With a little help from nearby Reynolds Radiator we’re wrappin’ up the truck’s cooling system. When we first received the job, it came with a functioning used radiator. It wasn’t much to look at, but at the time it seemed to fit in with its surroundings just fine. Now that those surroundings are shiny like-new, the radiator needs a little attention.

Read more:1955 Chevrolet Task Force Hood Emblem Upgrade

- Advertisement -

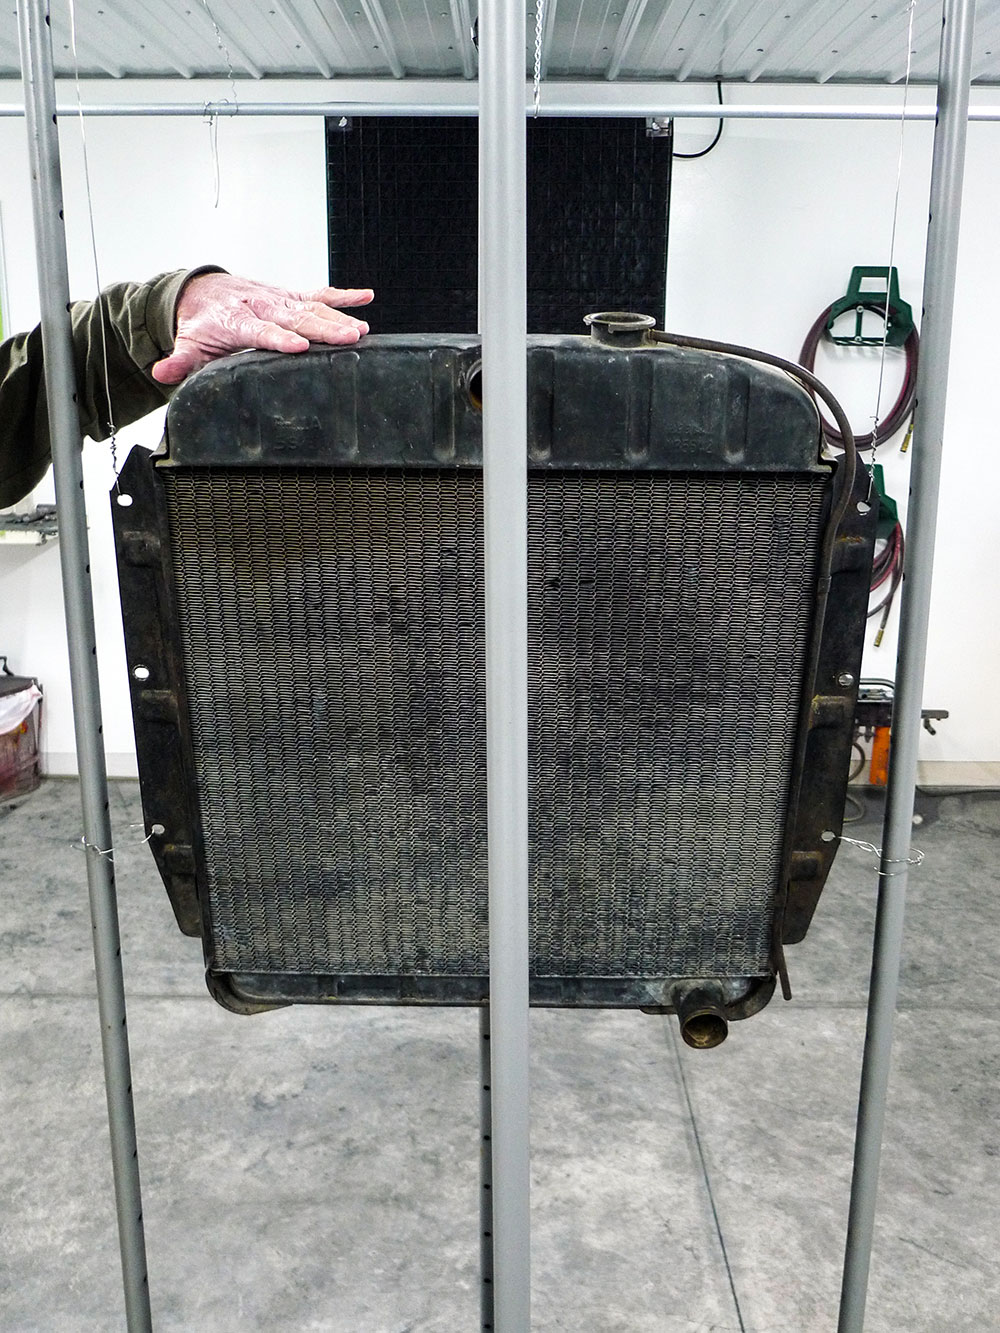
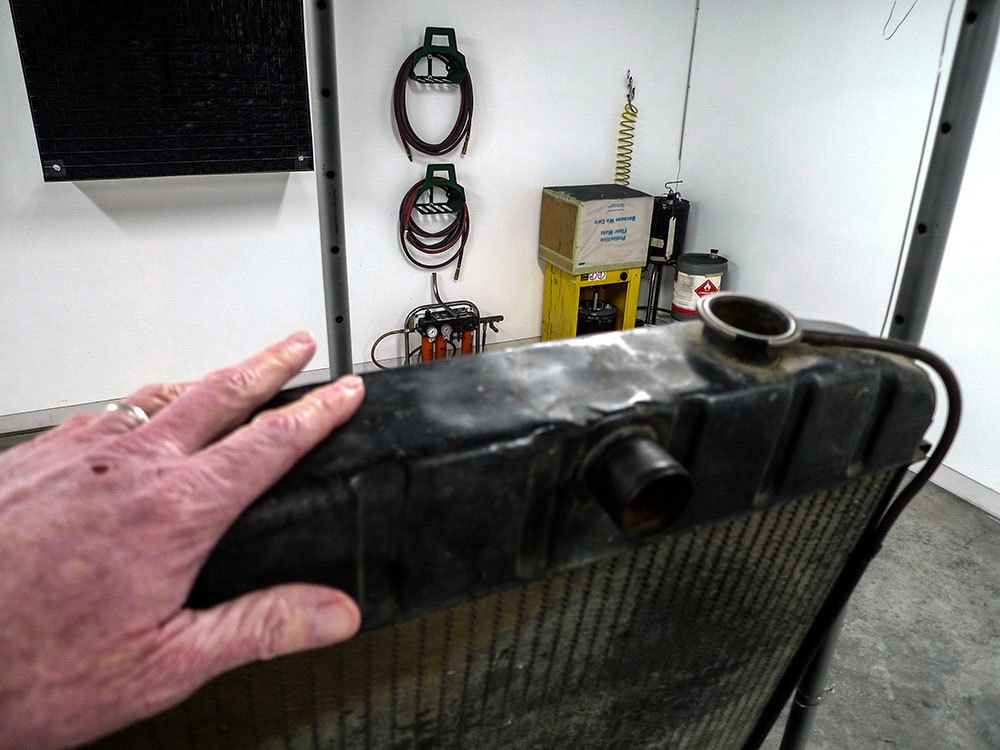
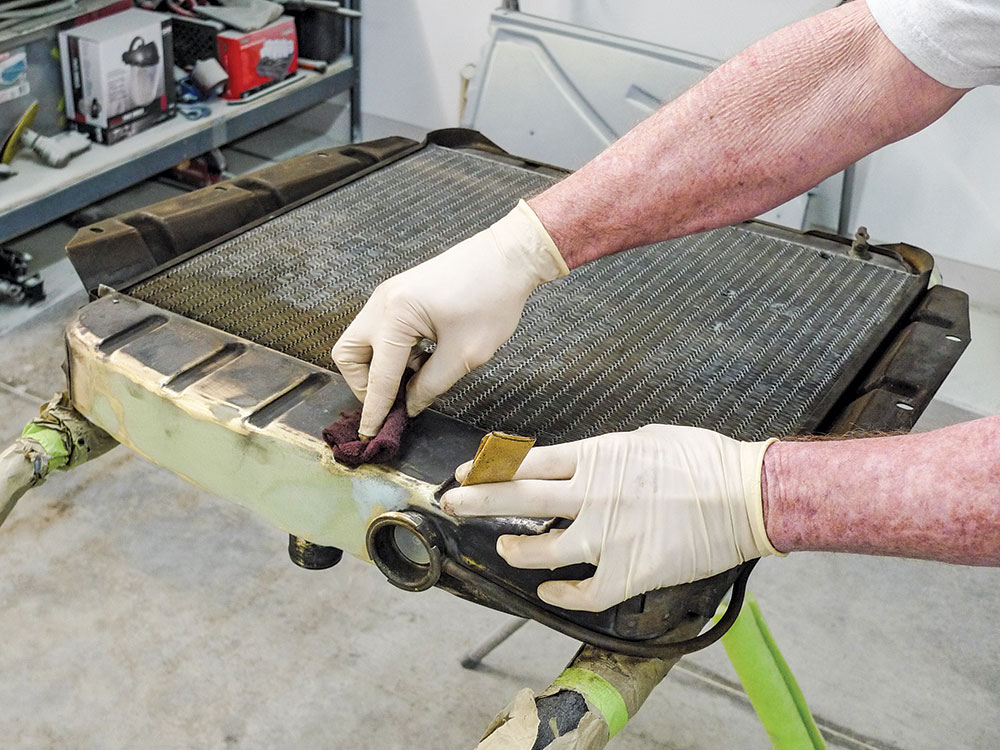
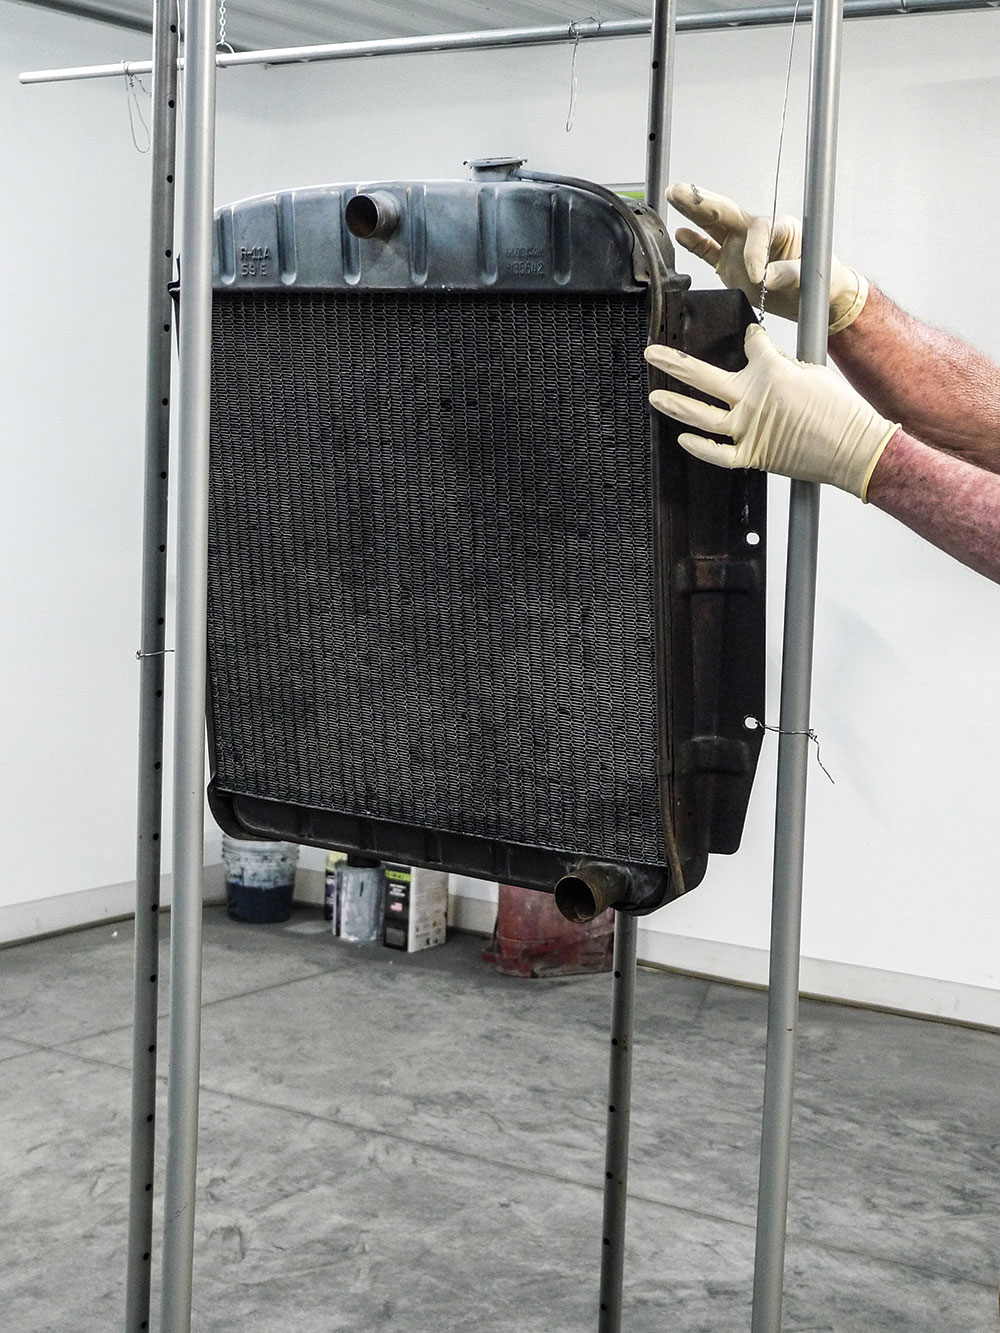
Just to catch us up, the truck’s OE style used radiator has already been flushed, pressure-tested, and pronounced healthy to run. Our radiator guru, Howard Lilly, offered to paint it with a waterborne coating, but we opted to pass on that. Then sure enough, back at our own shop, we began to notice a number of cosmetic hiccups, like a dented top tank and mangled copper fins.

02 top tank with lumps and dents before radiator paint
Here’s a closer look. It looks pretty lumpy now. Just imagine how lumpy it’ll look in semi gloss black radiator paint.

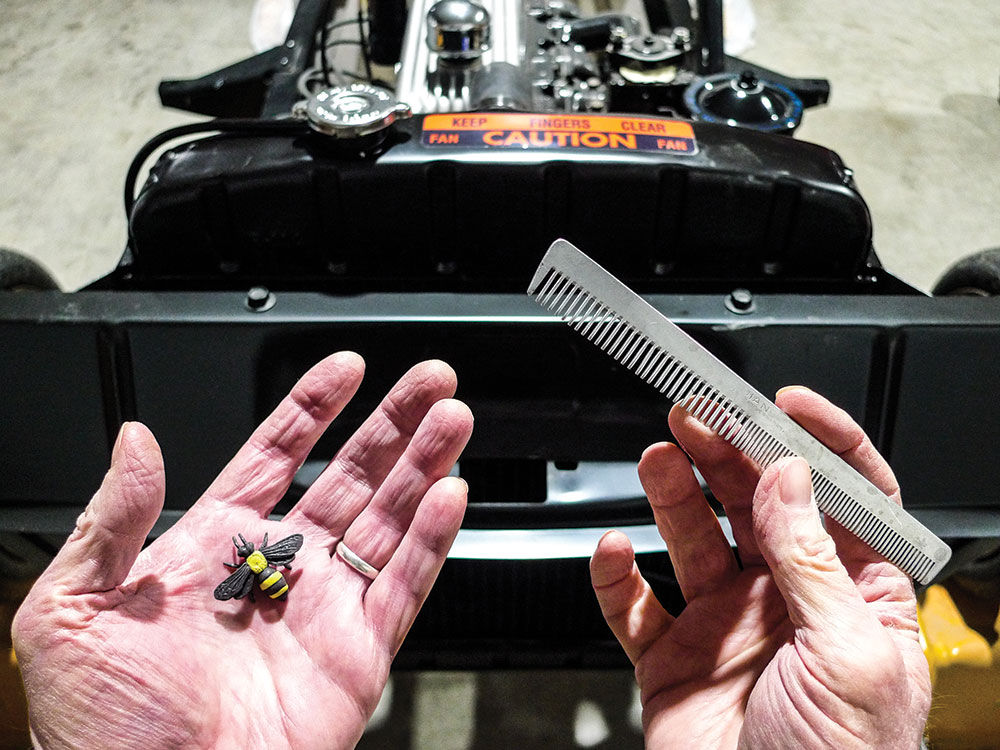
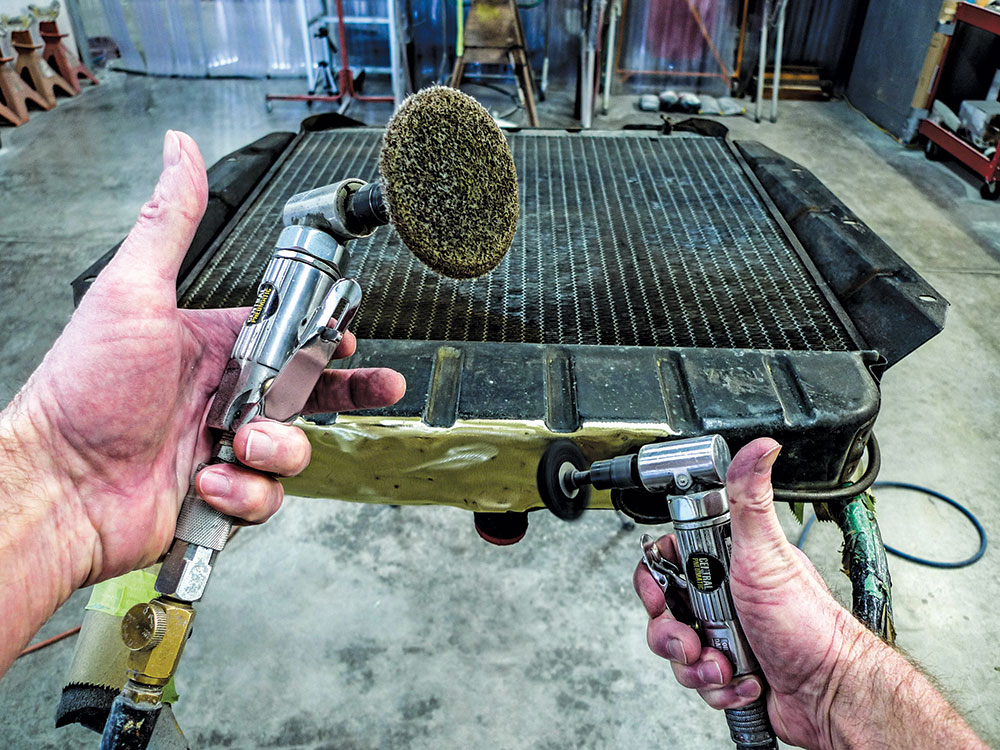
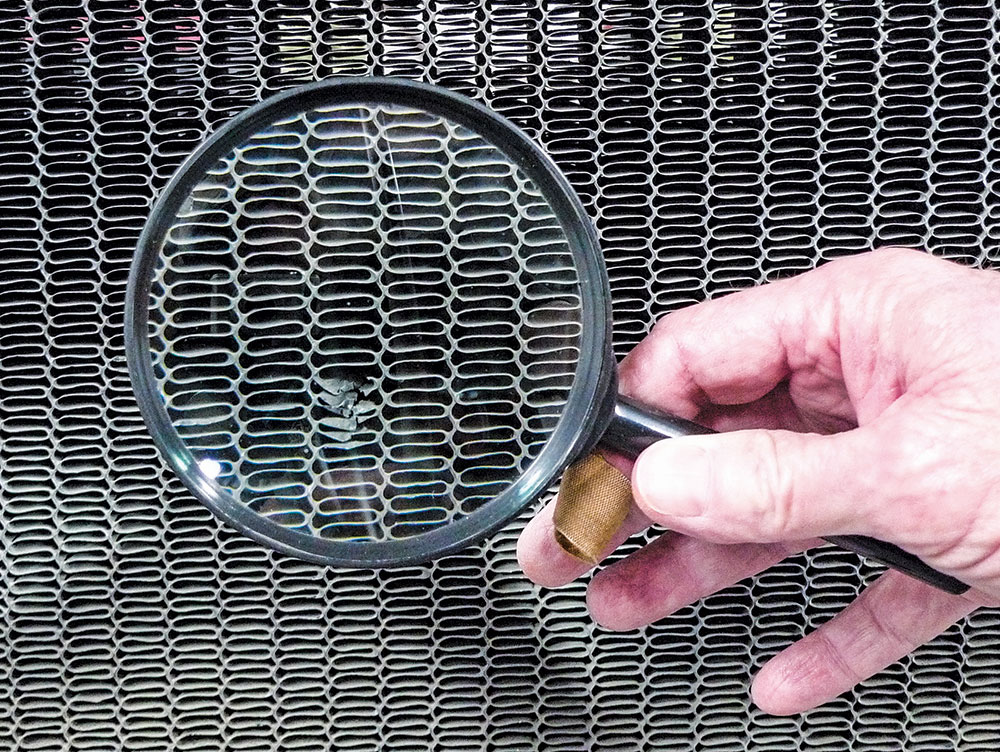
For straighter rows of fins (like most AC condensers) a radiator fin comb could be handy. Through Summit Racing we’ve seen four types available. The trouble is here we’re not working with straighter rows of fins. We’ll be on our own to test and determine which of our sharp, pointy instruments are best suited to restoring the convoluted type of fins this radiator came with.

Read more: How To Repair a Cowl on a ‘55 Chevy Truck

To properly repair this radiator’s top tank, it should be removed, metalfinished, and then soldered back into place. Considering the amount of attention that other parts still need, that radiator repair doesn’t seem like a good use of time. For situations such as these, cheatin’ comes to mind.

- Advertisement -
03 cleaning core radiator fins by blowing air through them
Backing up a bit or two, let’s begin again by blowing bits of crusty crud from the radiator’s core.

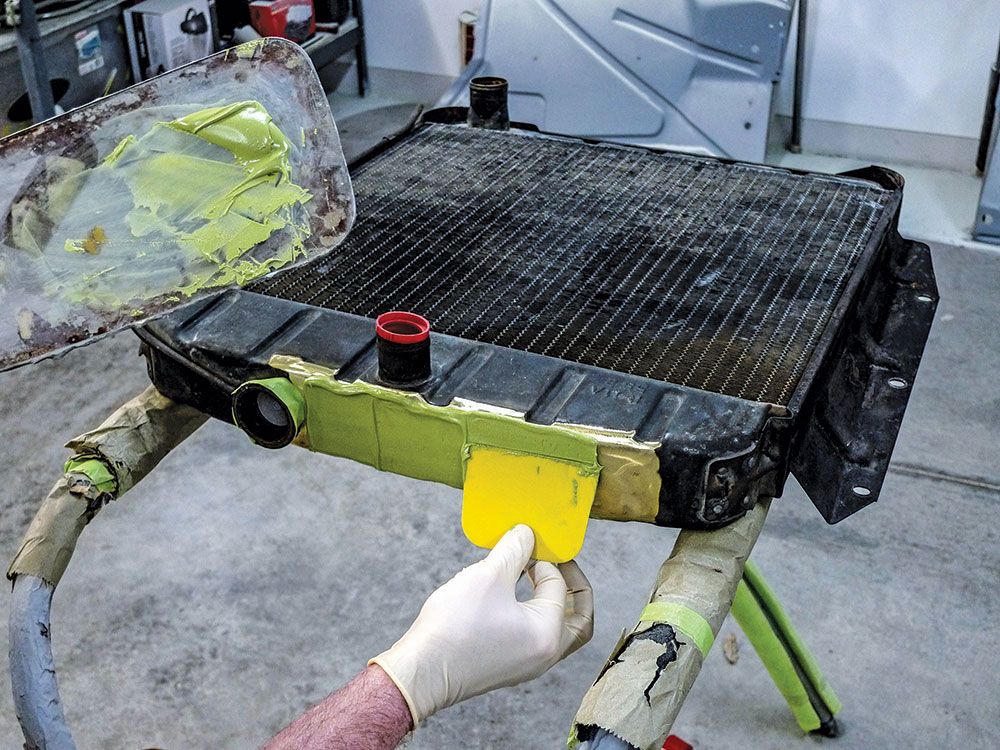
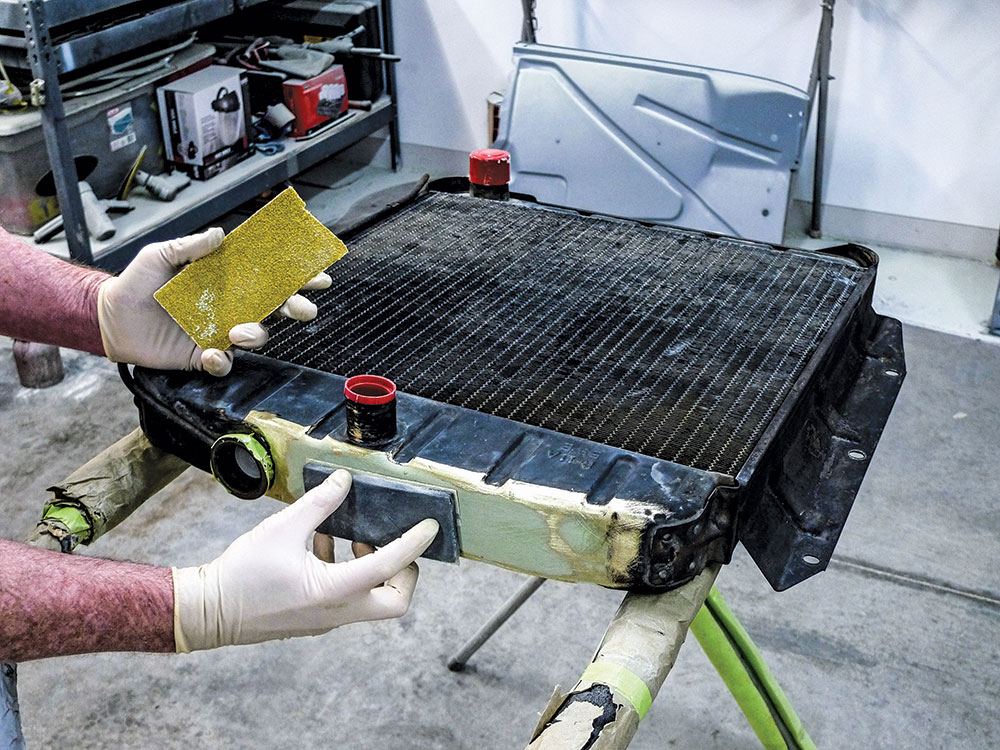
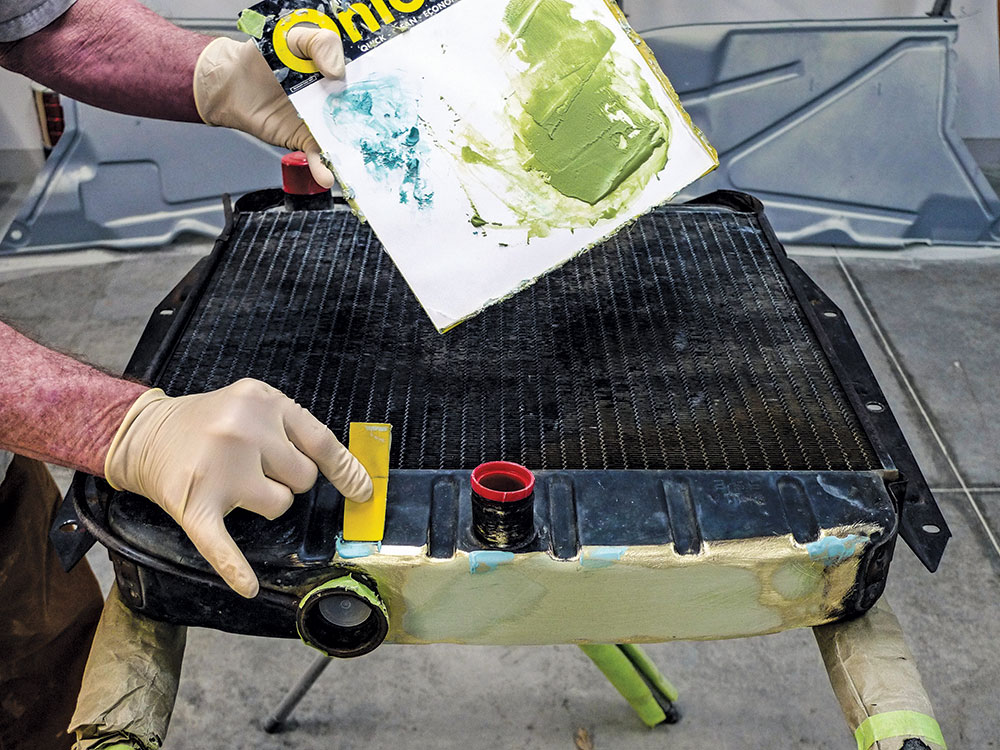
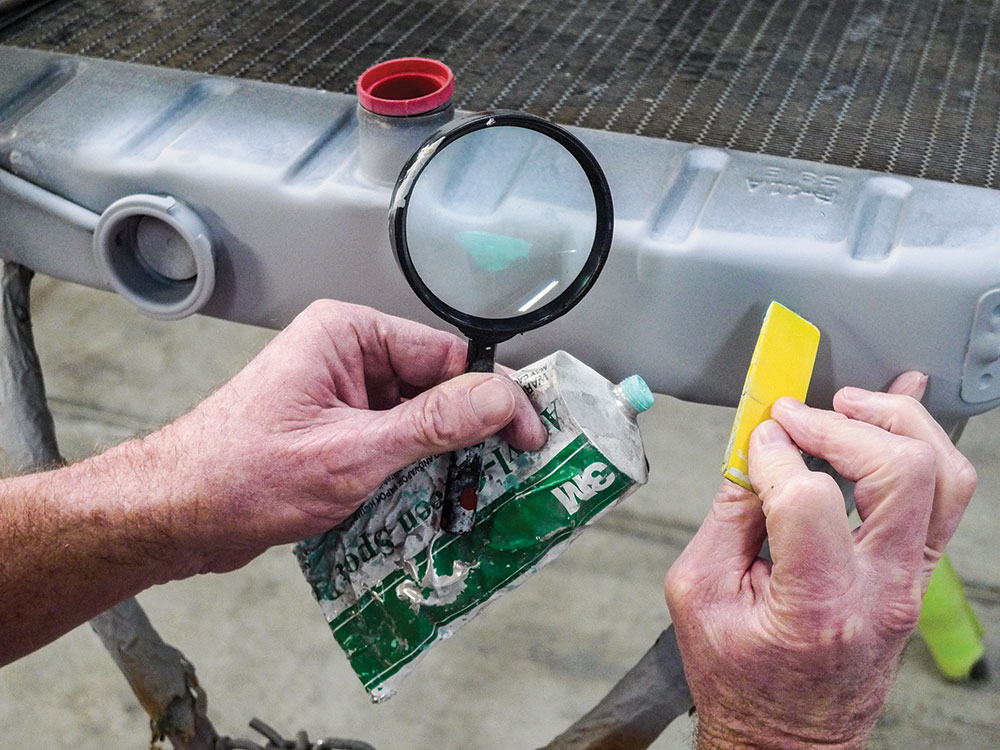
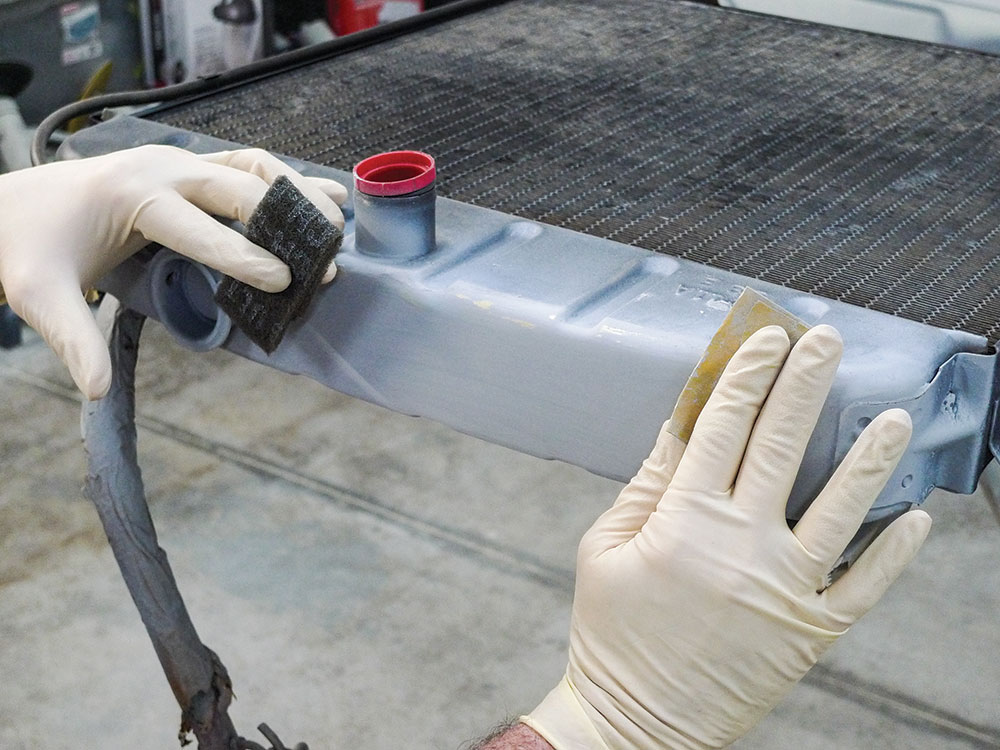
If you’ve been with us you may have noticed that we keep polyester auto body fillers on hand at all times. Through the years such fillers have come a long way, but would a 1/8-inch (or so) smear hold up to cooling system temperatures? Since we know the same fillers would hold up under black exterior topcoats, even in the blisterin’ summer sun, we’d hazard a guess that ours will hold up well right here.

Read more: Skim Coat Tips and Tricks on a ‘55 Chevy Truck

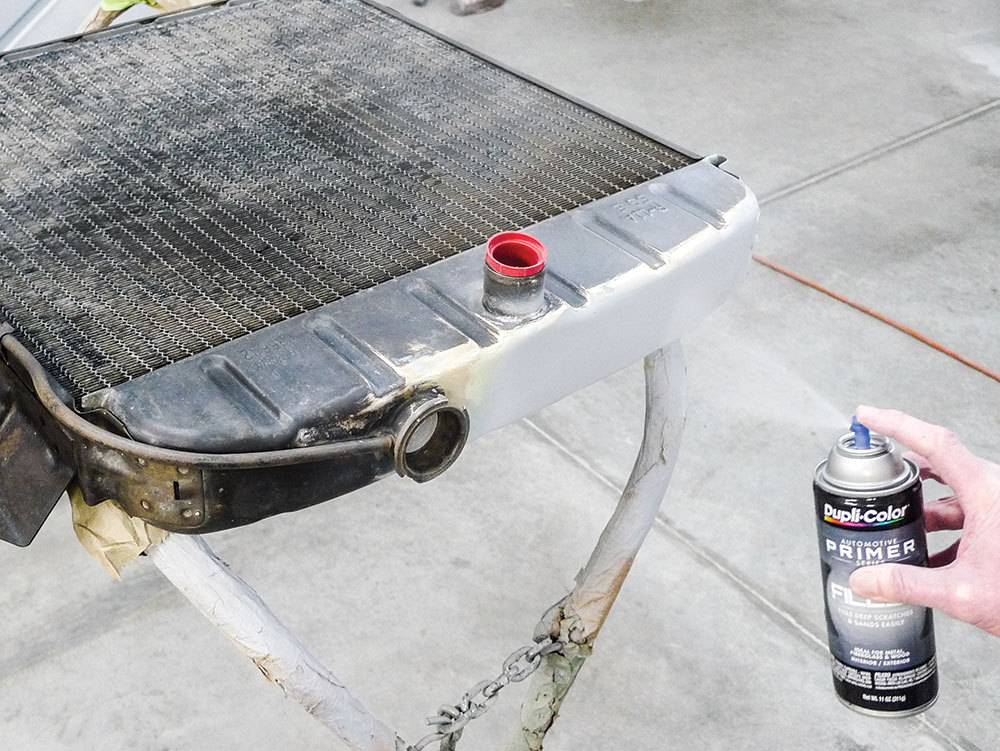
What our good, used radiator needs now is a good ol’-fashioned cosmetic restoration. For that we’ll use whatever’s in stock along with the Evercoat autobody fillers that we routinely order through Summit Racing. As a timesaving measure we’ll try out a convenient Dupli-Color aerosol Filler Primer, which coincidentally (like most of the materials we’ll use here) comes from Summit Racing as well.

04 spray with grease and wax removing solvent then wipe clean with paper towel
Treating this like any other part to be painted, grease ’n’ wax remover comes into play. With clean disposable toweling it’s dried off before solvent can evaporate.

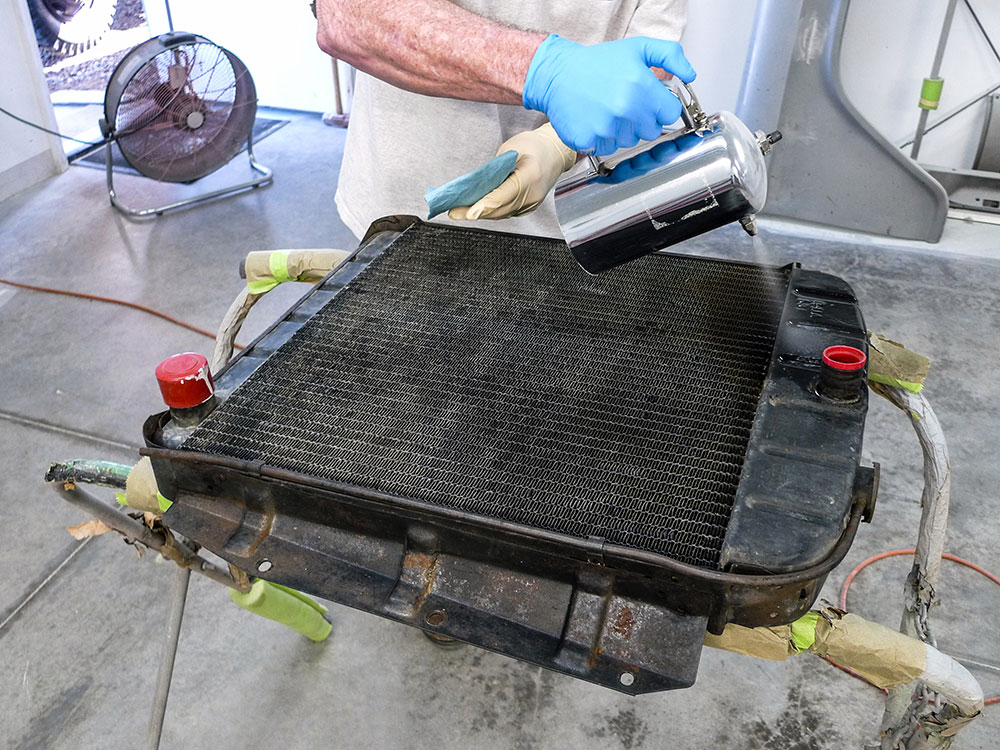
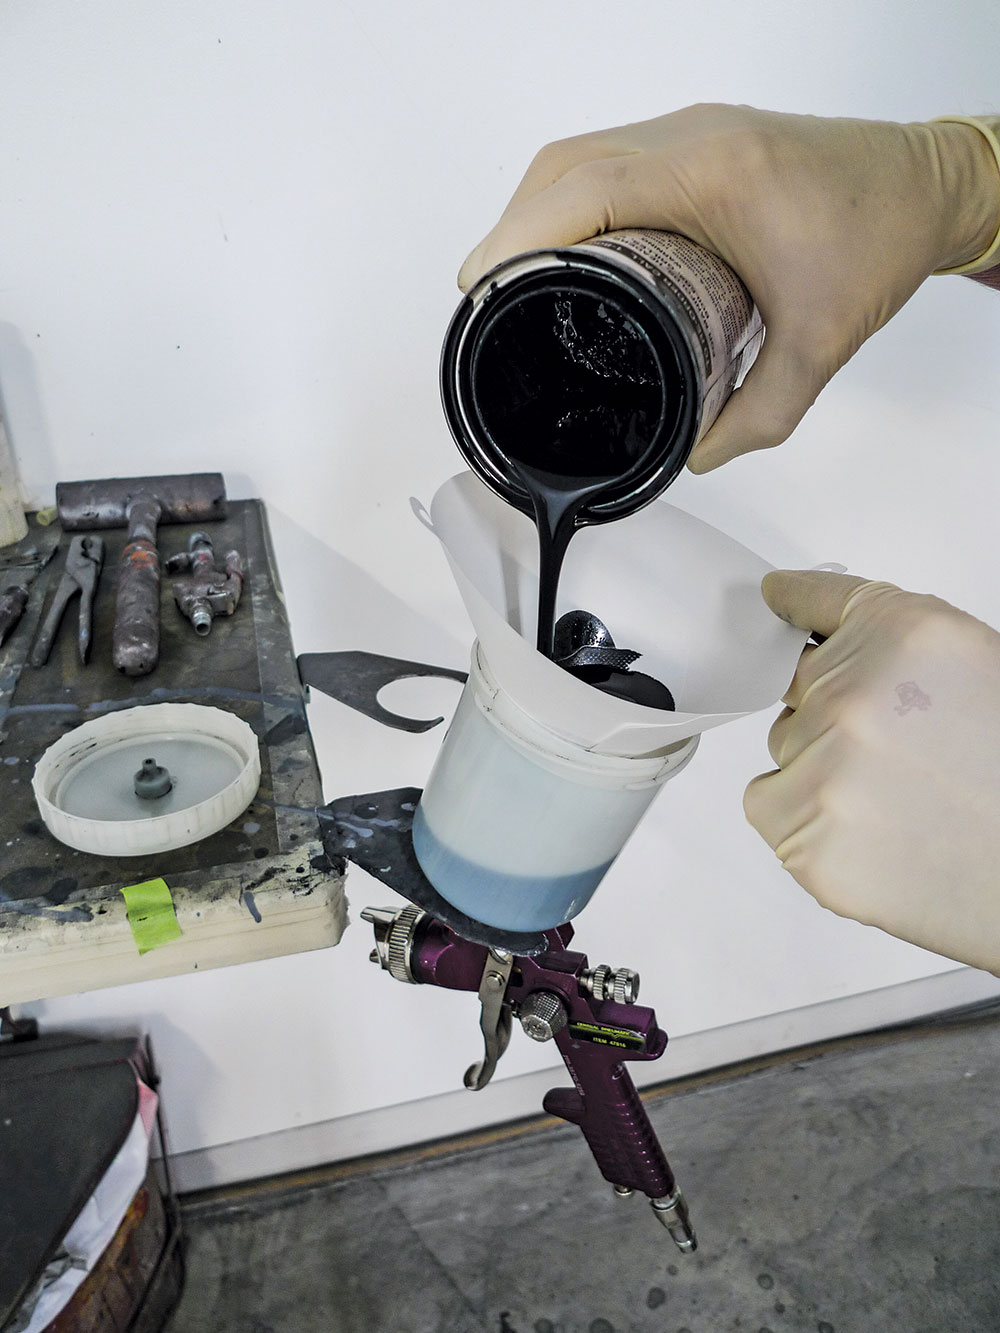
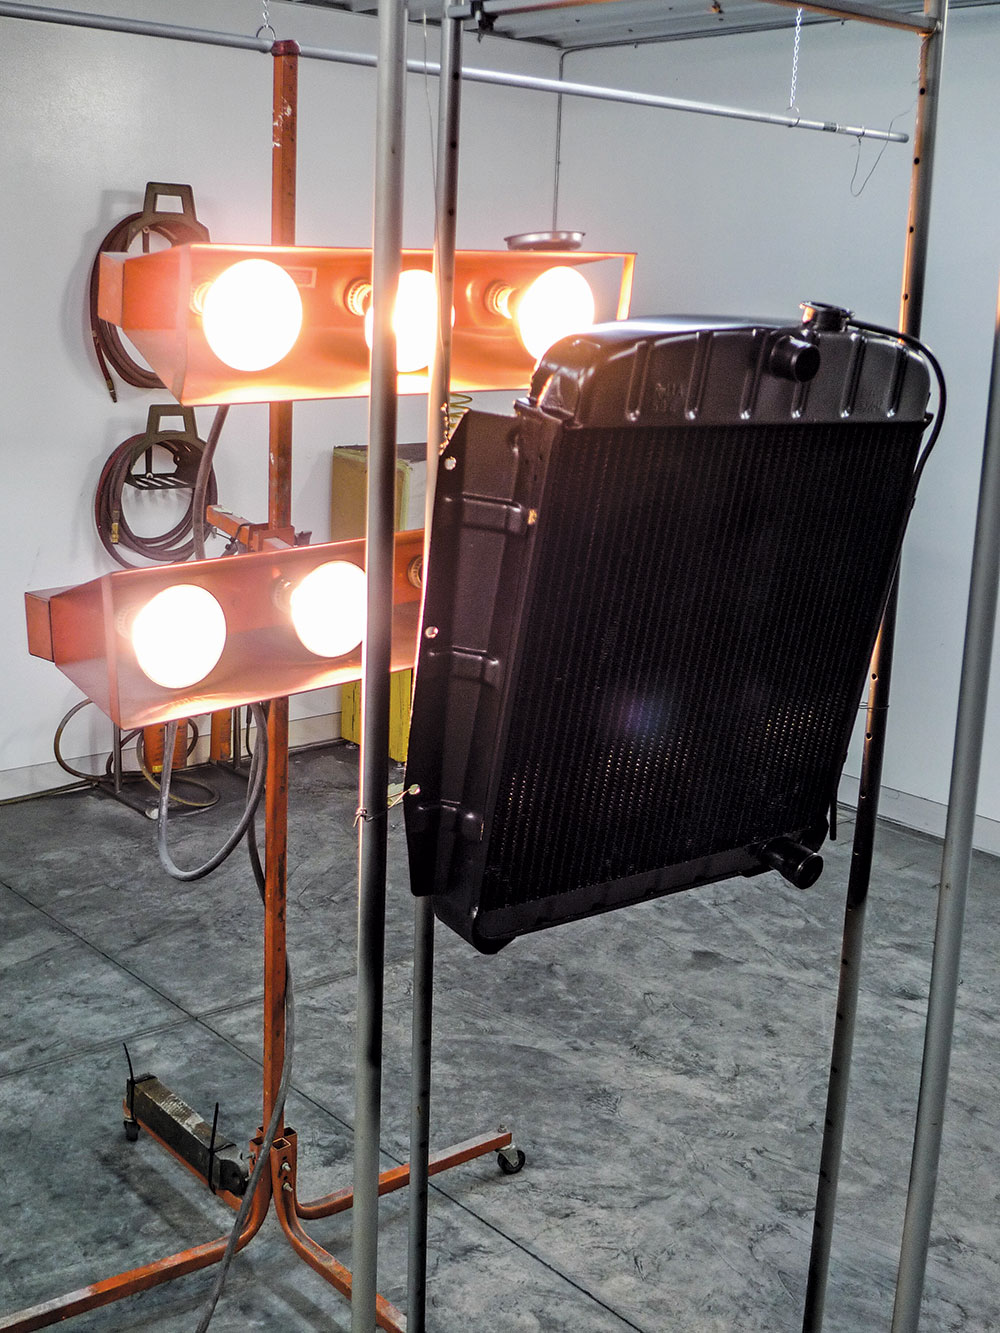
Toward the end of our story we’ll load up a ’gun for a spray application of our favored high-temp coating as a radiator paint. If things go our way, we’ll have the minor imperfections we’ve been hoping for.

Read more: Patch-Up ‘55 Chevy Pickup

05 3M Scotch-Brite discs on a Harbor Freight angle grinder abrade brass for autobody filler
For autobody filler to adhere paint must be removed and brass below must be abraded. For this we’ll use 3M Scotch-Brite discs on Harbor Freight’s angle die grinders.
06 apply Evercoat Rage Gold autobody filler to prepared brass
We’ve seen these steps before, but probably not on a radiator, right? Over prepared brass we’re smearing stock-viscosity Evercoat Rage Gold.
07 Sand autobody filler with flexible sanding block
A proper-dimension flexible sanding block should fit the bill here. Like we would for body panels, we’ll begin with 40-grit, switch to 80, and then 120.
08 Evercoat 416 Metal Glaze to smoothly transition undercut edges
In a few places undercut edges could transition a little smoother. For this bit of fine-tune feathering we’re using Evercoat 416 Metal Glaze.
09 Evercoat 416 Metal Glaze used as blending putty sands easily
Used as a blending putty, Metal Glaze sands very easily, so we’re able to do this without much effect on the previous smear. This tank is now ready to prime.
10 bent and torn fins in an otherwise good radiator core
So what about the radiator core? Fins are bent and some are even torn. There’s no specific-purpose tool for this bit of repair, but we can try some things we have.
11 when a radiator fin comb won_t work, various picks and tools can be used
A small pick tool is helpful to get things started if a radiator fin comb wont work. Sandwiched between screwdriver blades the fins straighten right out.
12 Dupli-Color Primer Filler is used on the top tank before paint to save time
Now we can spot-prime the tank as necessary. Let’s also try skippin’ the ’gun-cleaning step. With aerosol Dupli-Color Filler Primer we’re thinking we might save some time.
13 two light wet coats of filler primer allow heat expansion and spot putty fills pinholes
So it’ll tolerate expansion, we’ve gone light with only two wet coats of filler primer. For the pinholes we can see, we’re using good ol’-fashioned 3M spot putty.
14 prep for paint with 320 grit sand paper and red Scotch-Brite pad
Let’s consider this prepped at 320-grit. The small chunk of red Scotch-Brite pad is a close equivalent to 320, so for deeper reach we’ll use it in crevices.
15 hung and ready for semi gloss high temperature paint that cures with heat
Back where we started we’ll finally be painting this thing. We’ll be using a type of high-temp coating that ordinarily requires engine heat to cure.
16 Harbor Freight HVLP paint gun is inexpensive but applies good paint job
In this instance a nice radiator paint job won’t require an expensive spray gun. From Harbor Freight this HVLP was under $10. This would be a good time to get some fresh air.
17 apply two wet coats of high temperature radiator paint then cure with heat lamps
By this time we’ve applied two wet coats of our high-temp coating. We’ll need to handle the radiator, so we’re attempting to force-dry the fresh finish.
18 Successfully installed radiator restoration reveals a minor pinhole
Right about now this is feeling like a win. The restored radiator is installed, but what’s this? Somebody’s missed a pinhole! Now, finally, we get to fix a minor imperfection.
19 Sticker applied over radiator top tank hides pinhole
A rummage through our sticker stash has rendered a solution. Up to our fairly high standards, the top tank is finished but what about the radiator core?
20 damaged fins can be hidden behind fake bugs
Remember a little earlier, when we were straightening fins? That turned out pretty good! If it hadn’t, we’d have been ready—with another solution.

Sources
Harbor Freight Tools
(800) 423-2567
harborfreight.com

Summit Racing Equipment
(800) 230-3030
summitracing.com

- Advertisement -

Related Articles

Search Our Site

More Classic Truck Performance

Our Pick of Performance Parts For Your Classic Truck 2023

Aeromotive’s New Gen II Stealth Fuel Tank for ’67-72...

Stretch Marks

Extended Cab ’56 Ford Fits Tasso Romnio Just Right By...

Presto-Chango!

Old Anvil Works Their Magic on an International Fender By...

Loose Change

A Hill’s Hot Rods–Crafted ’74 K5 Blazer By Fuelish Media Owning...

CHANGES FOR THE BETTER

Joe McGlynn’s “Dream Stude” By Ron Covell   -   Photography by...

Fully Loaded

Leslie Moore’s Slick Suburban Hides a Surprise Underhood By Tommy...
More Classic Truck Performance

This 1971 Chevy C10 Comes Back to Life

Rutterz Rodz Revitalizes the Shop Project Truck By the CTP...

F100 Grand Nationals 2023

Ford Truck Enthusiasts Takeover Pigeon Forge, Tennessee By Solomon Lunger  ...

Legacy Series: Pat Ganahl’s ‘56 Ford F100

The History Behind Pat Ganahl & His Iconic 1956...

The 2023 C10 Fall Revival

Photos by Jesse Kiser Gather round, and let's hear the...

Tre5 Customs-Built OBS Chevy Truck

Former NASCAR Driver Wendell Chavous’ Rosa Red Slammed Silverado By...

Premier Street Rod Shop Tour

Road Trip for Chevy Task Force Truck Parts By “Rotten”...