When it comes to rewiring a classic Chevy, oftentimes other items need to be rehab’d, restored, or otherwise modified to make the restoration job complete. These can include new bulbs, headlights, lenses, gauges, or even entire climate-control systems. Recently, we were plugging along on a rewire job on a ’55 Chevy Bel Air when it was decided that our heater system as well as the gauge cluster could use a little love. Simple enough. With a Danchuk catalog in hand, we ordered up the appropriate parts from their website, and in short order had what we needed to complete the job.
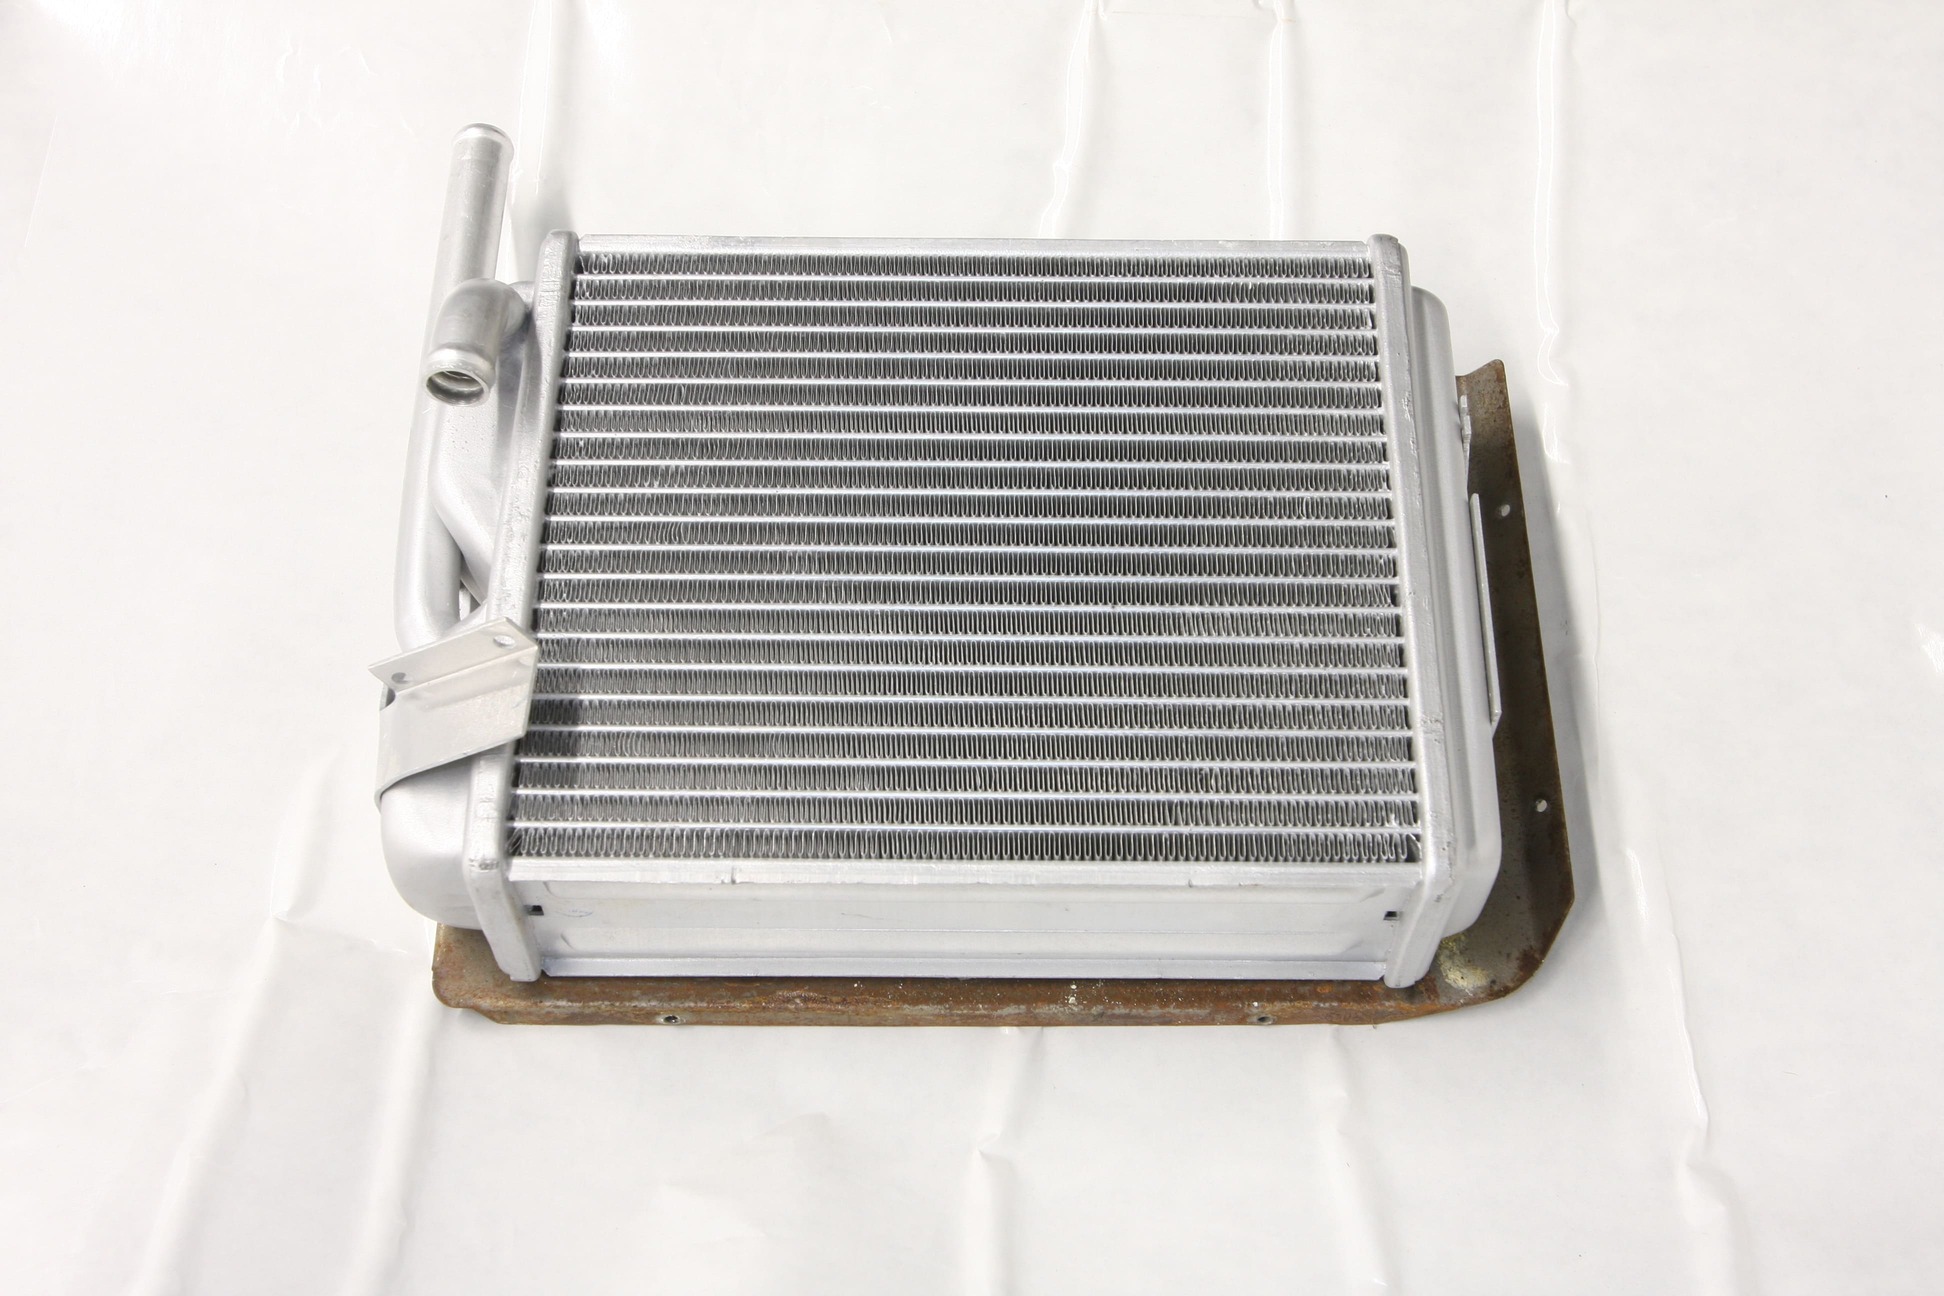
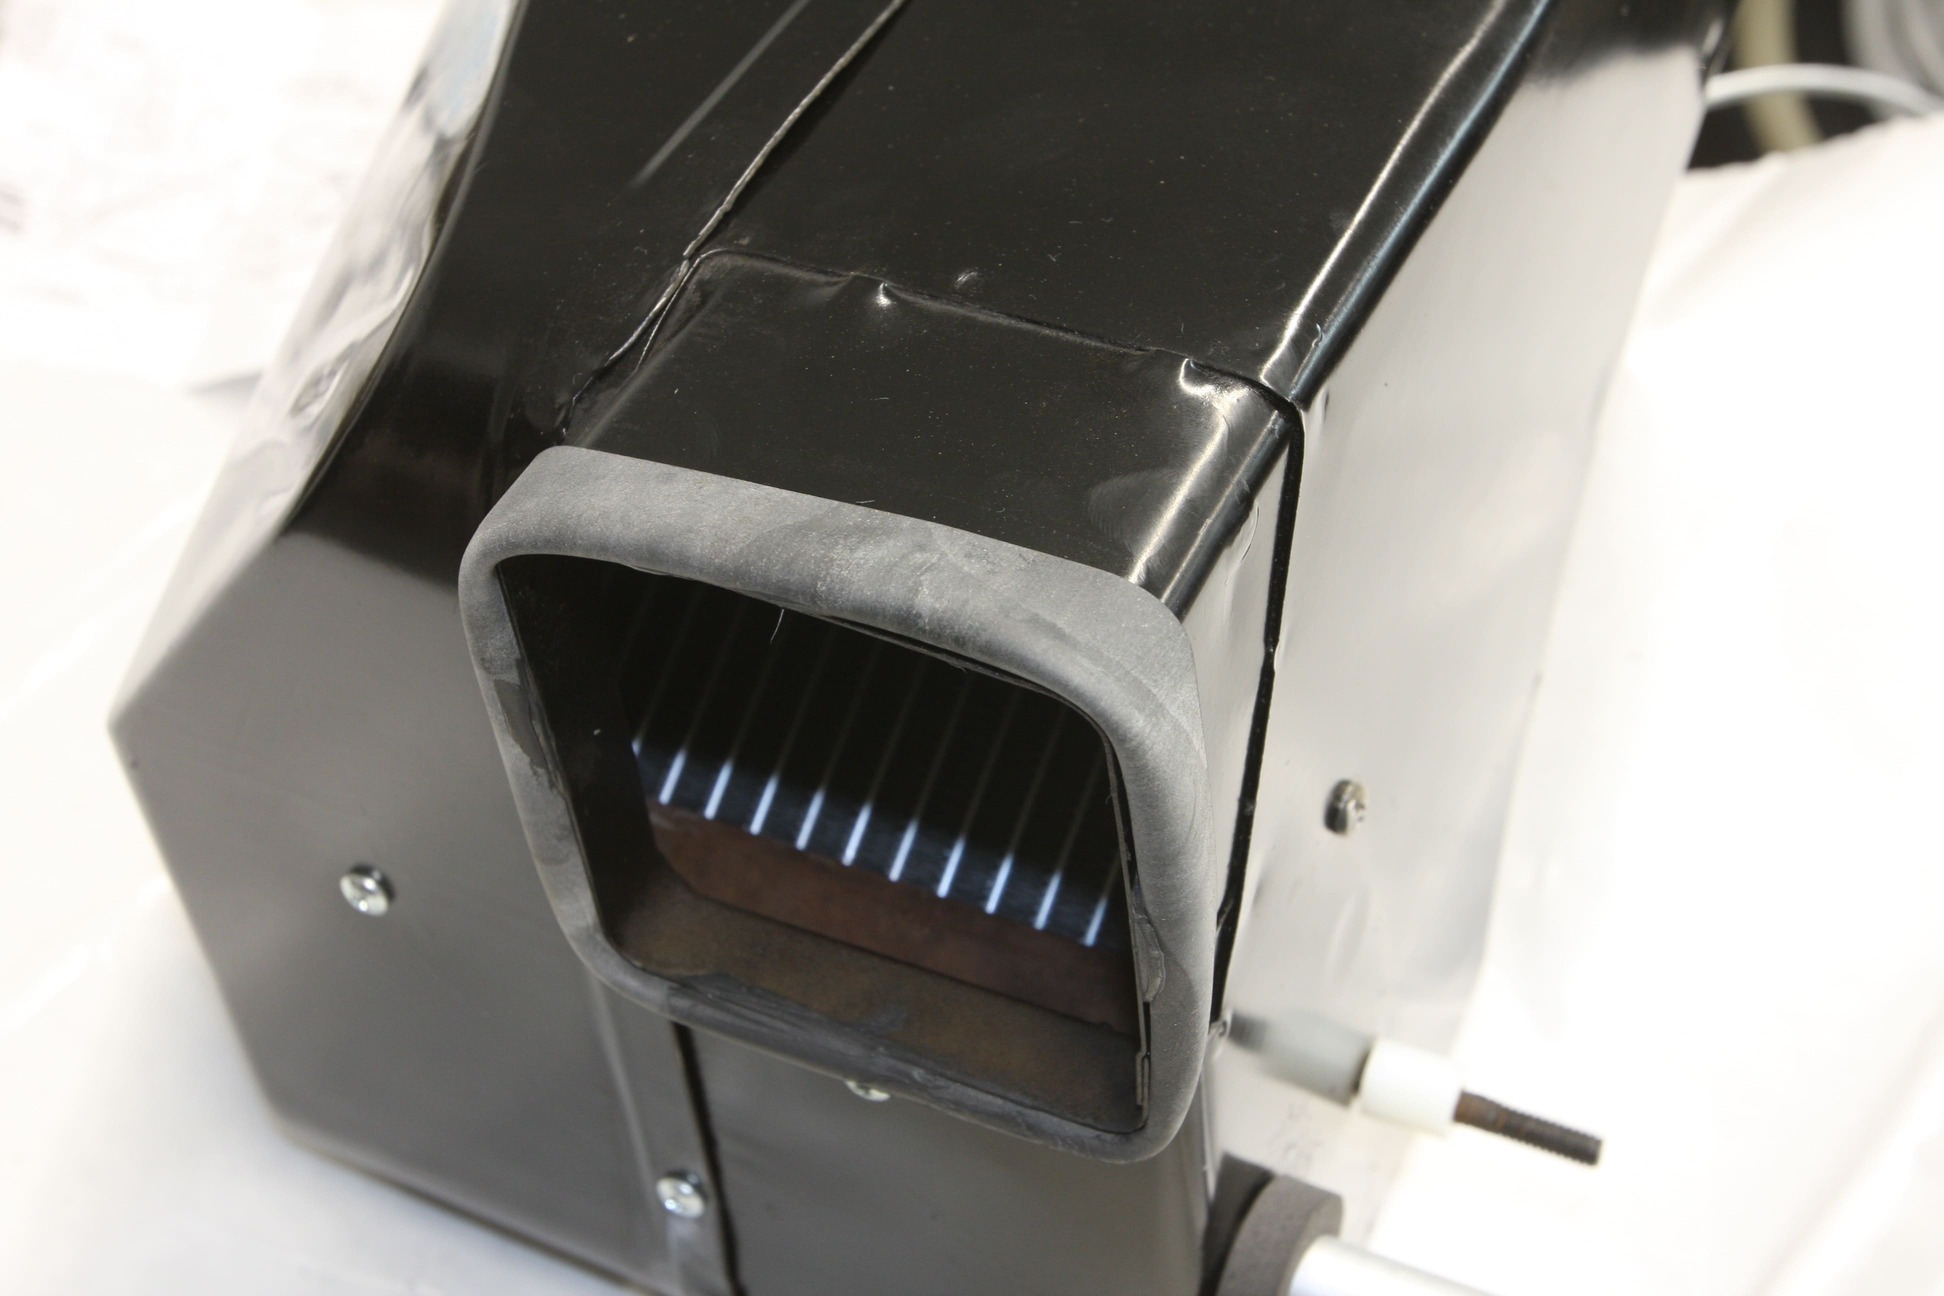
Our dash restoration will begin inside the heater box with the installation of a new aluminum heater core from Danchuk (PN 17706). It should be noted that this part has been superseded by an improved design (PN 12407).
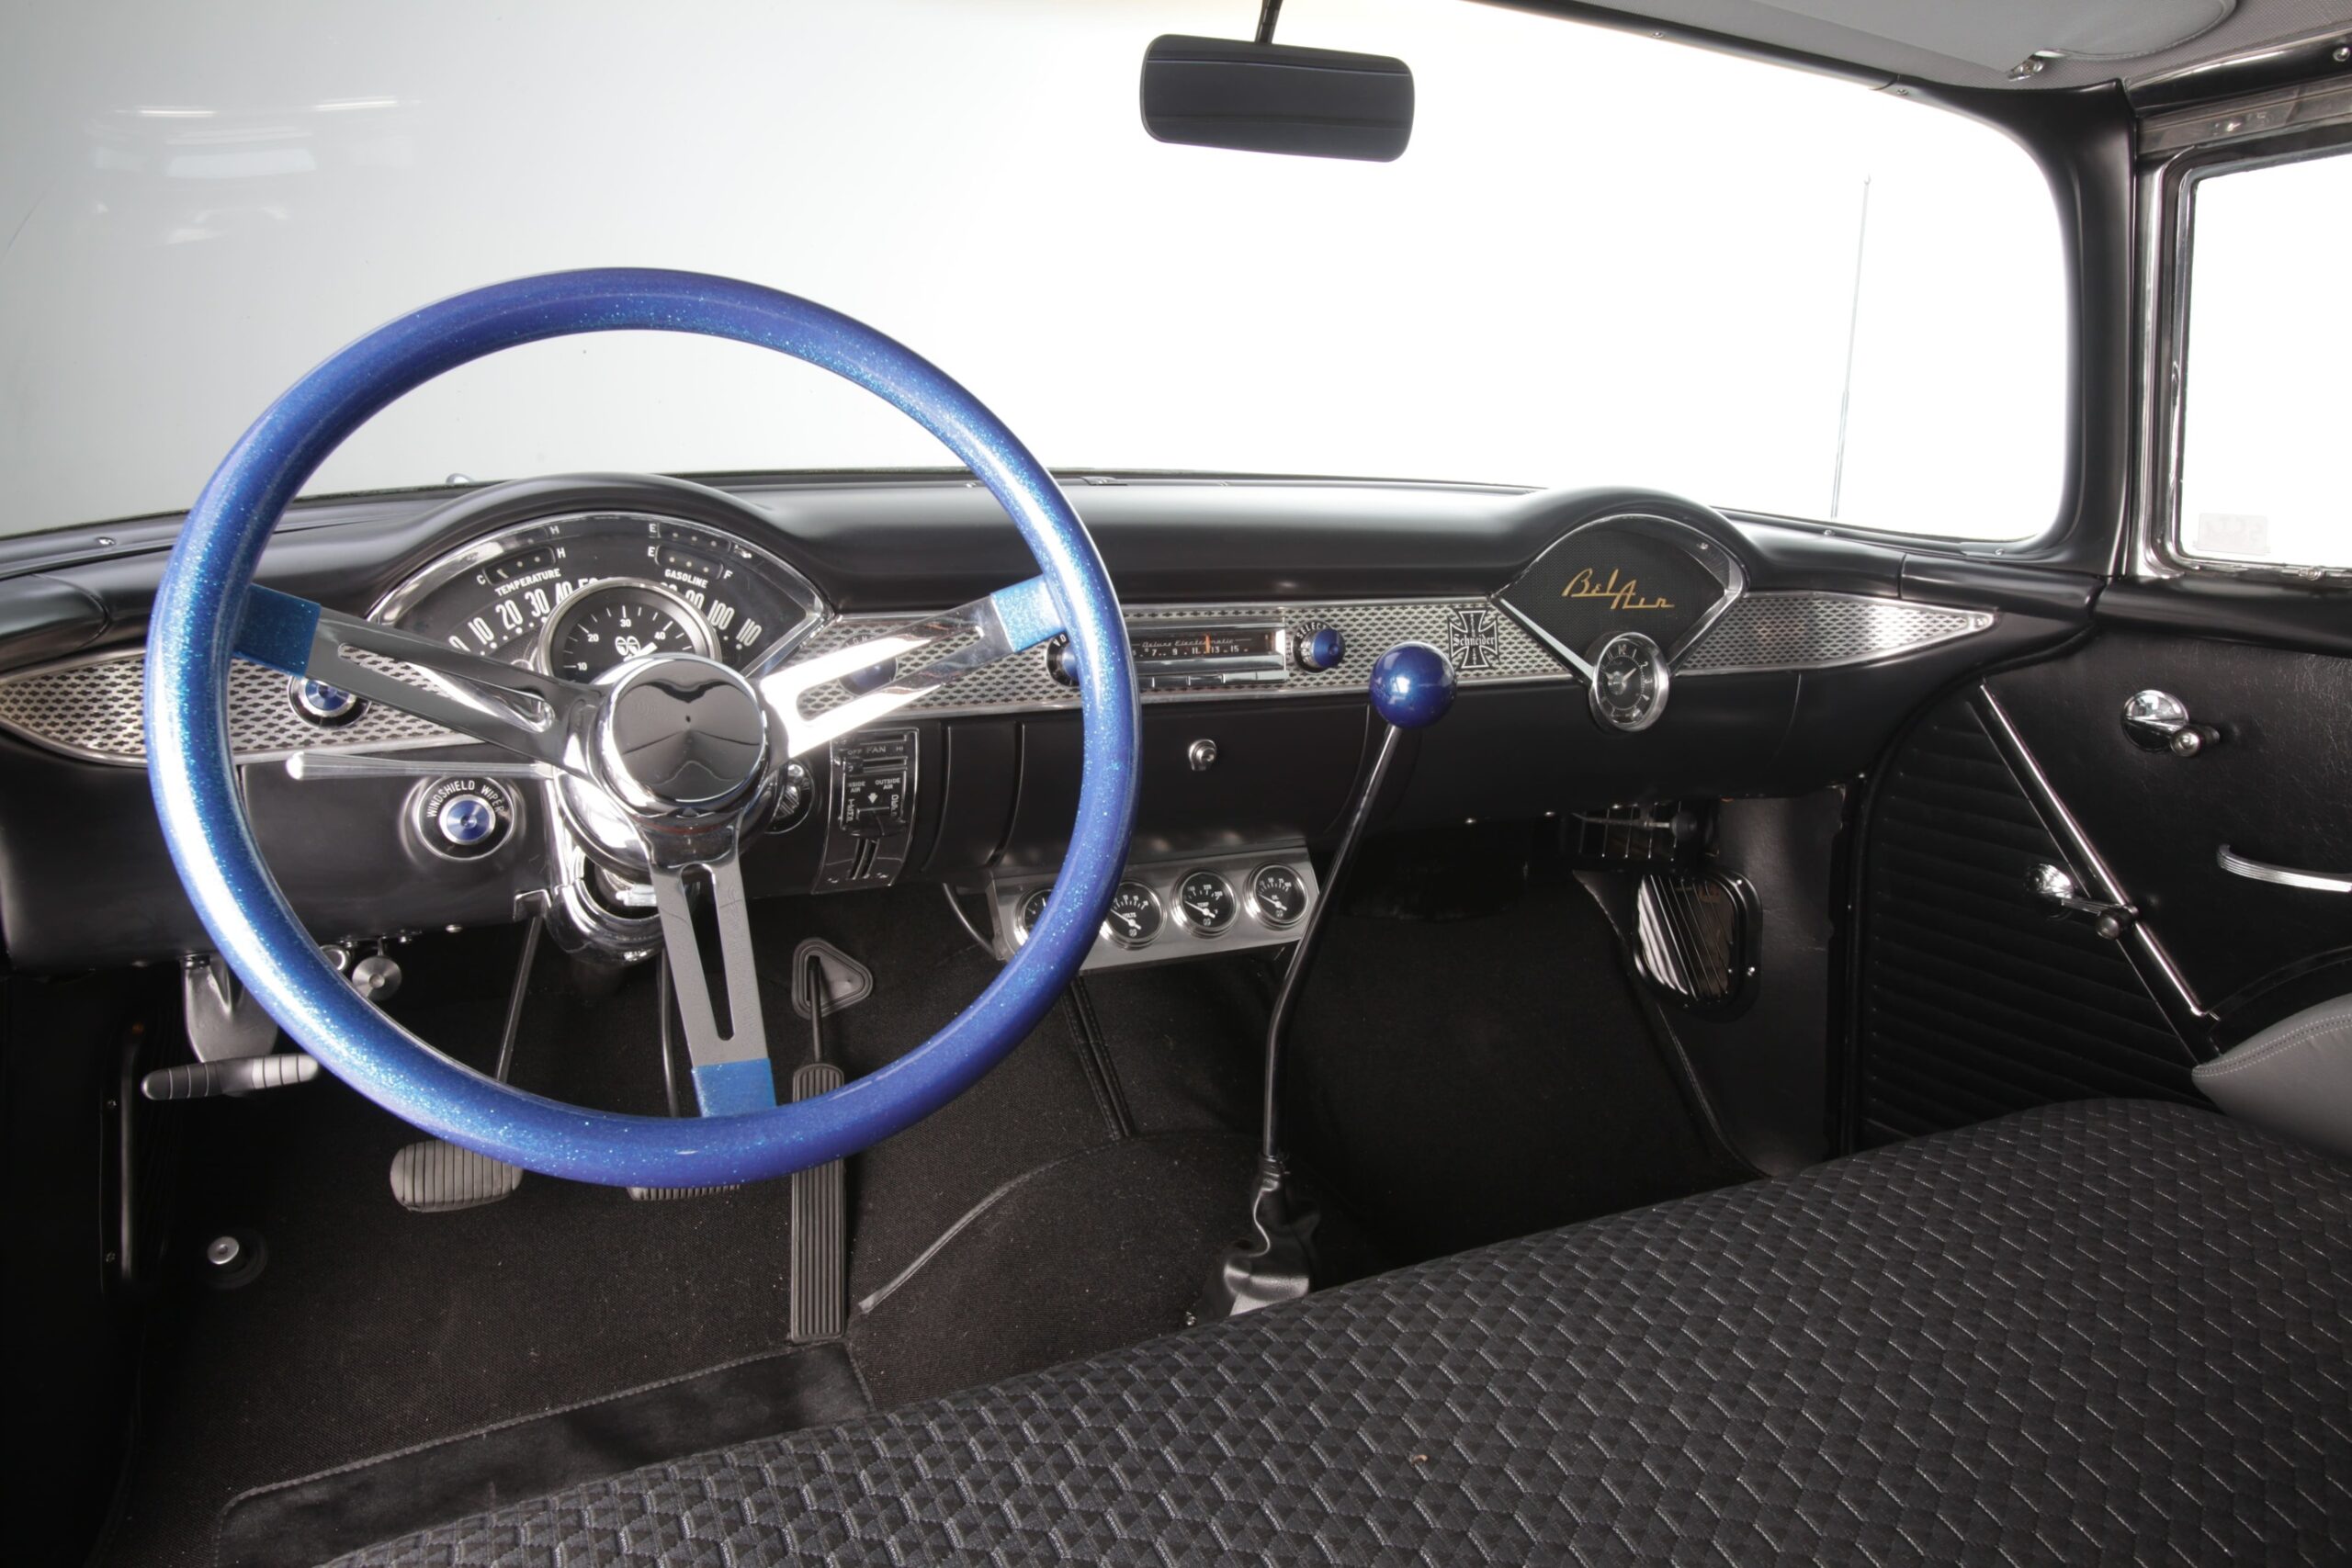
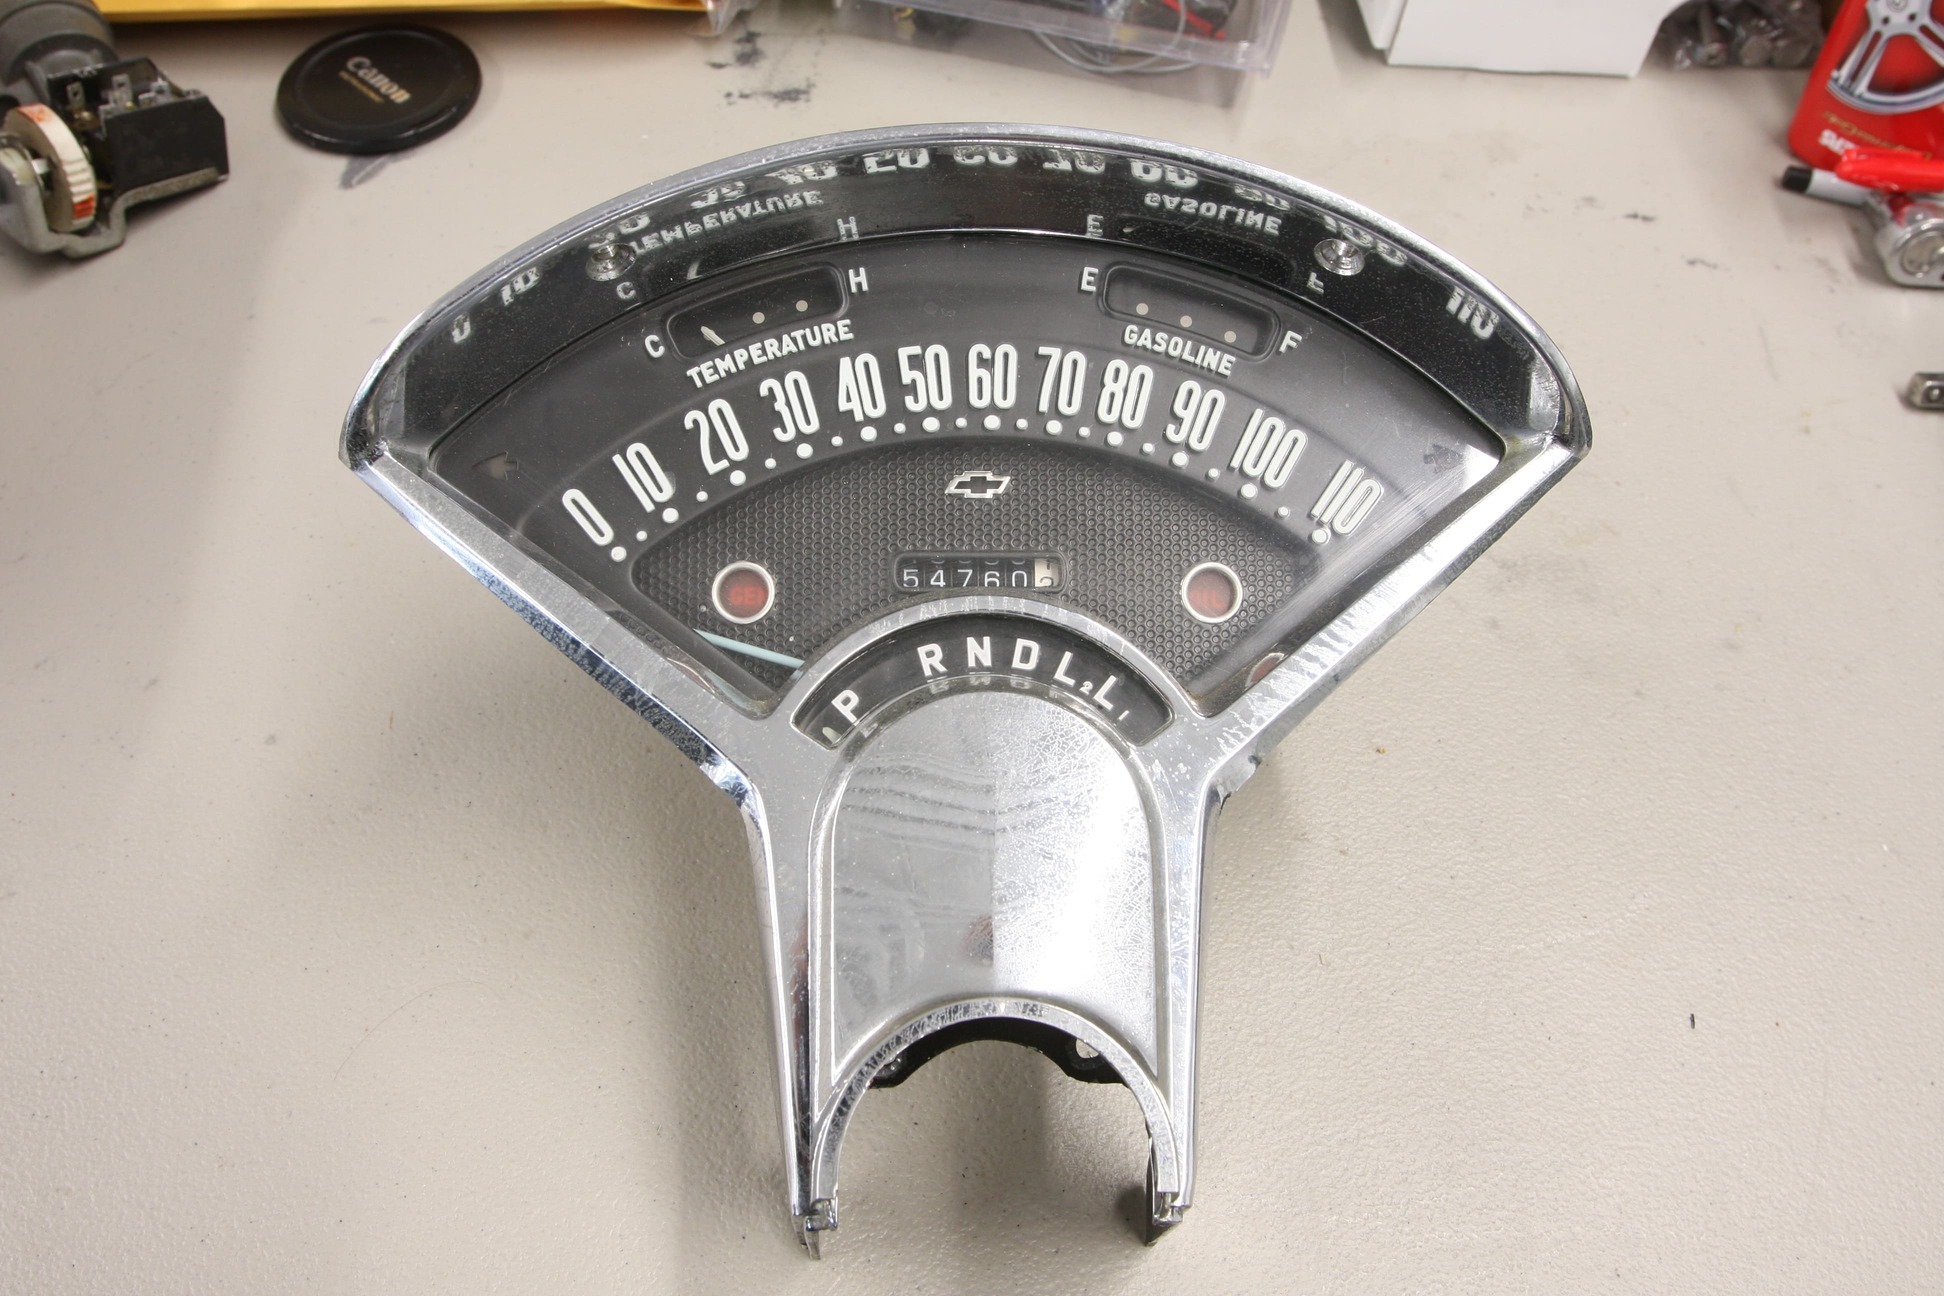
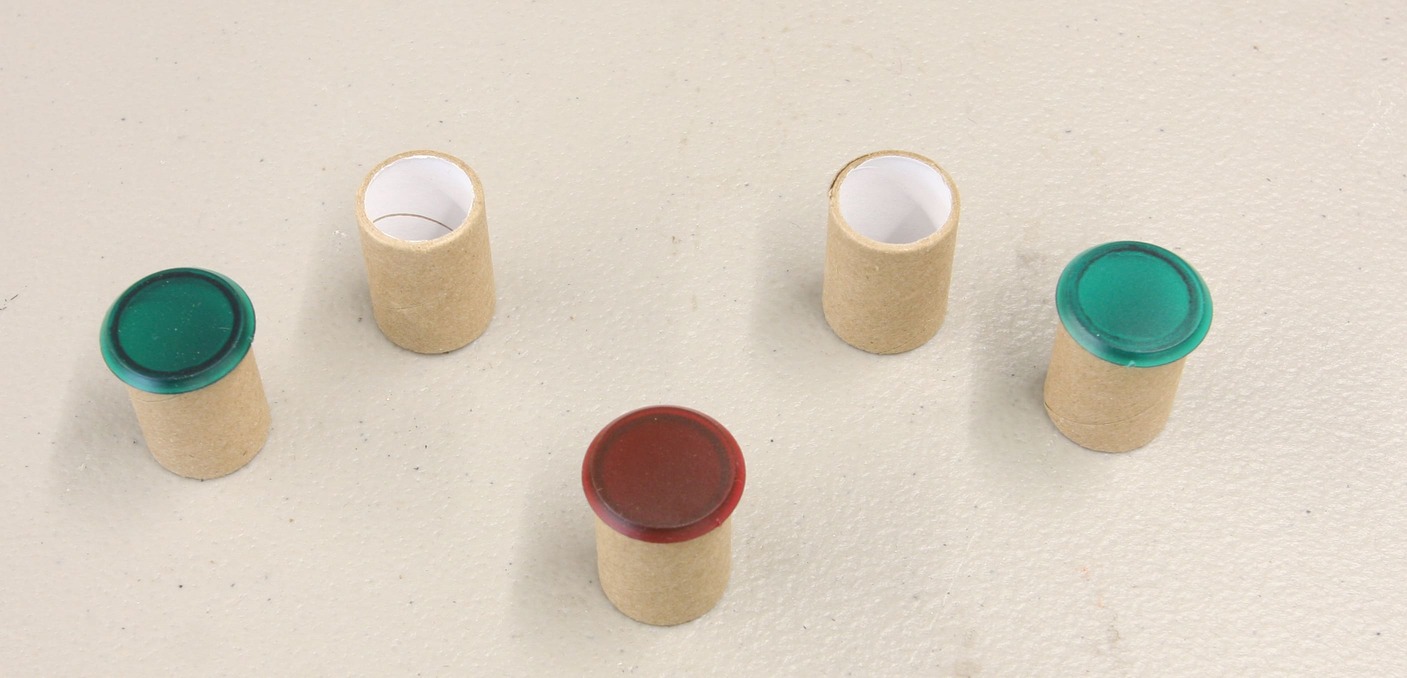
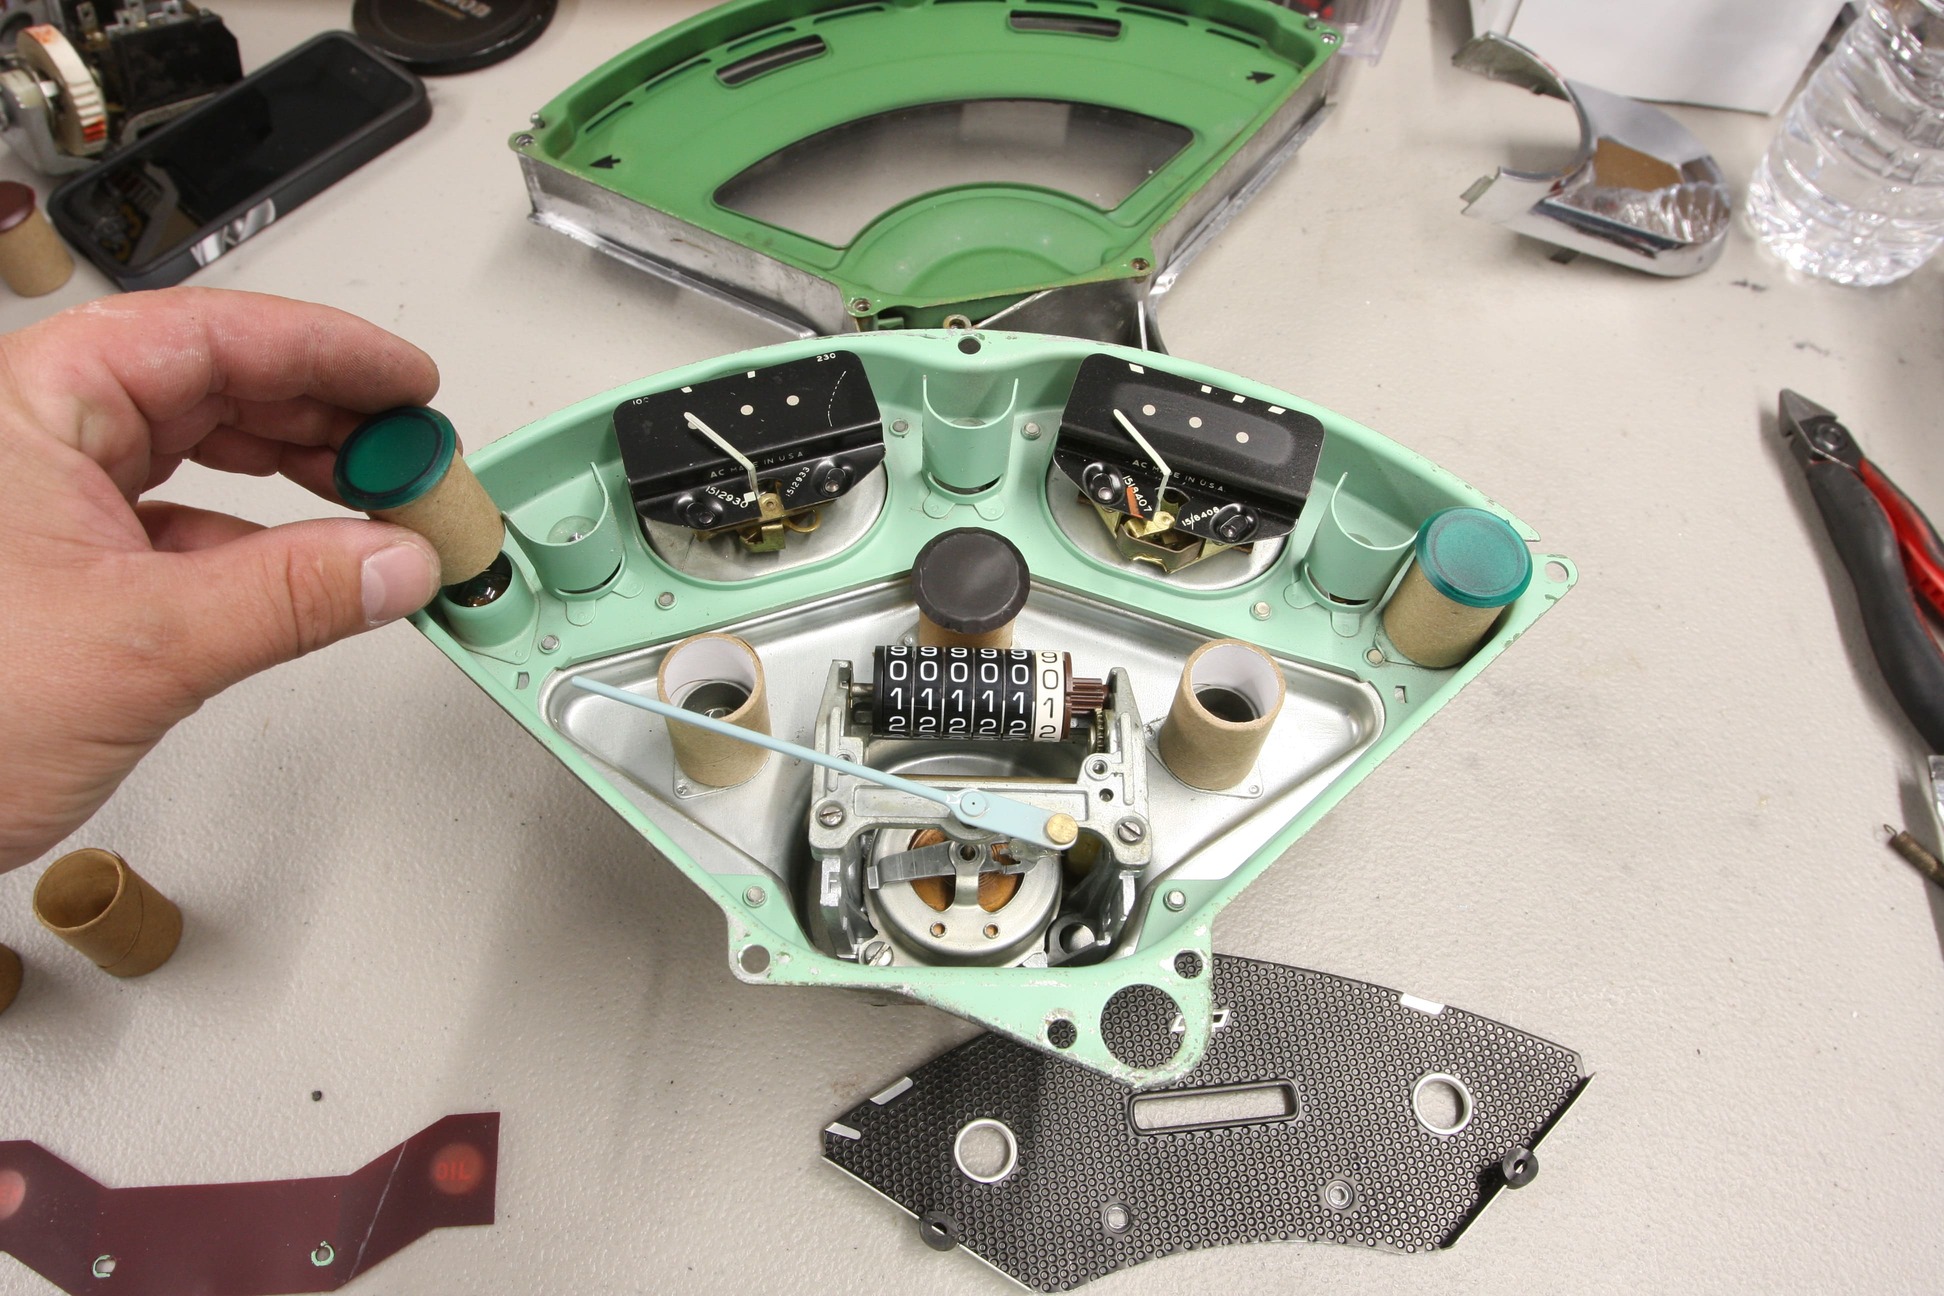
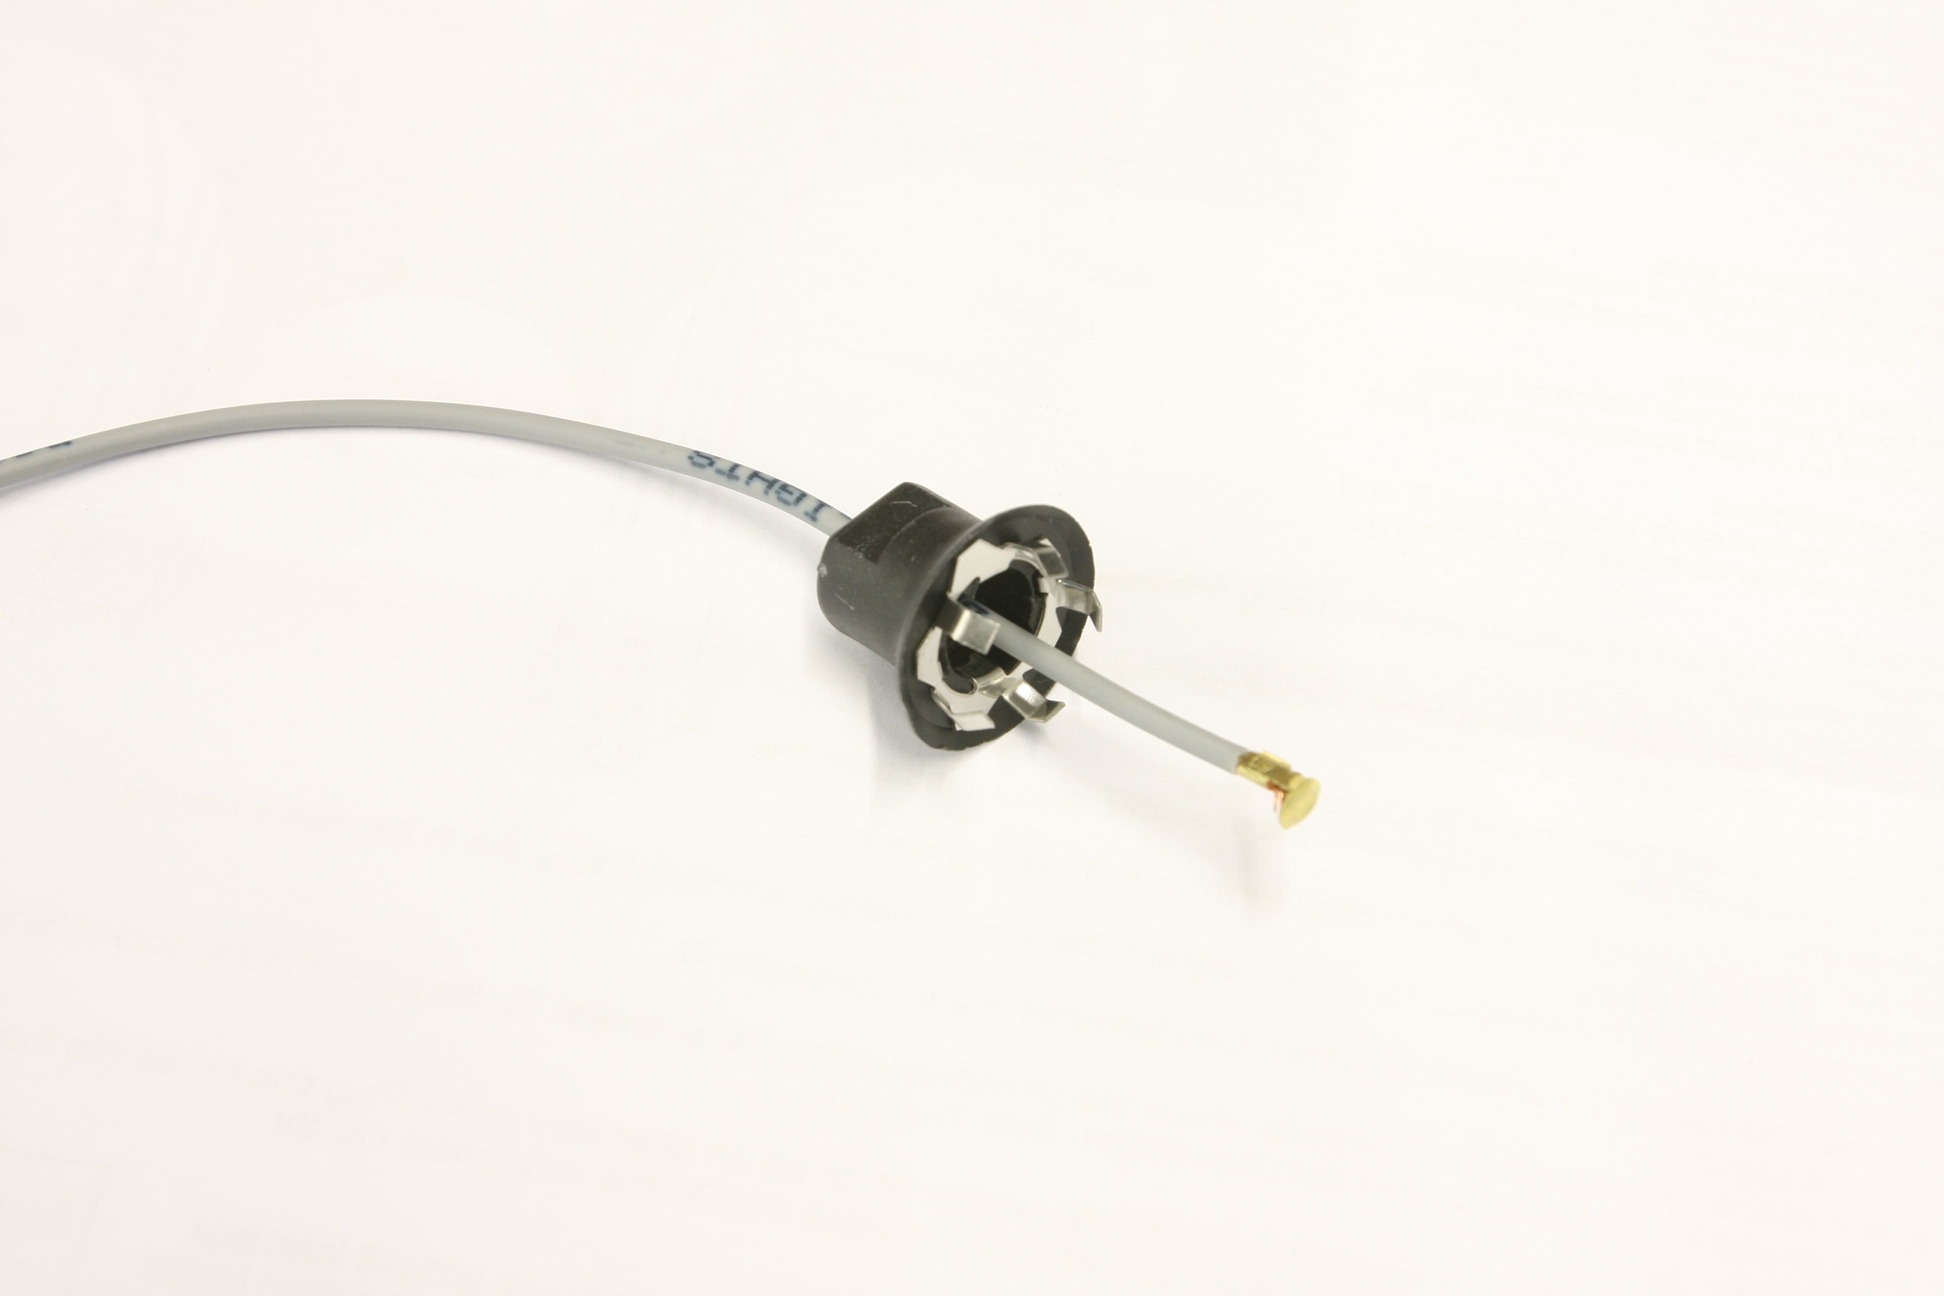
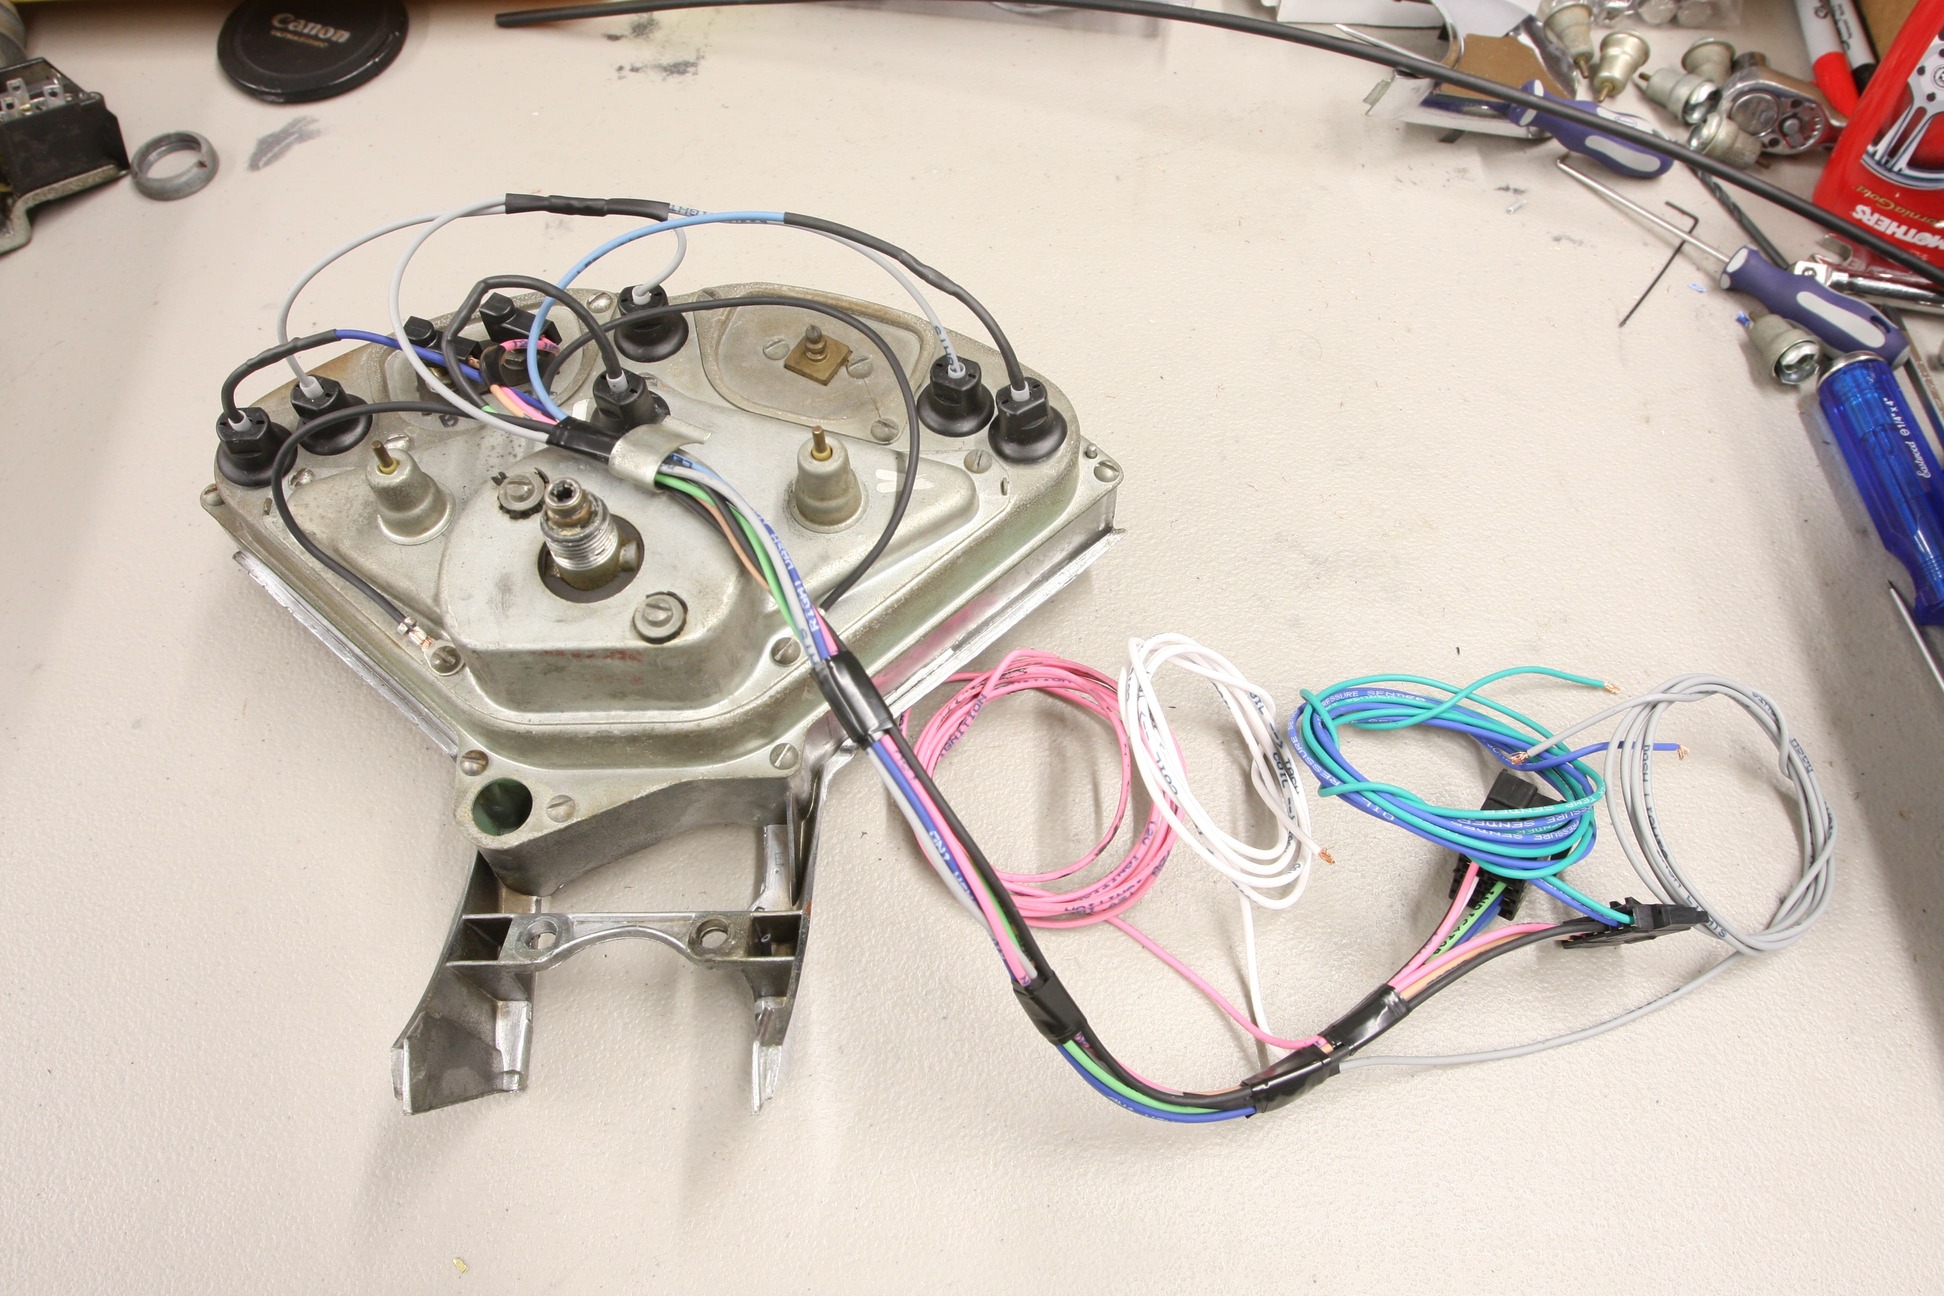
Restoring our gauge cluster turned out to be a pretty simple affair as all it needed were some new lenses and light tubes. Once that was complete, we buttoned it back up and proceeded to wire the back side of the cluster using the provided harness and pigtails provided by American Autowire as part of their Classic Update Kit for Tri-Fives.
The new heater core is attached to the original heater core bracket (also available new as PN 16951).
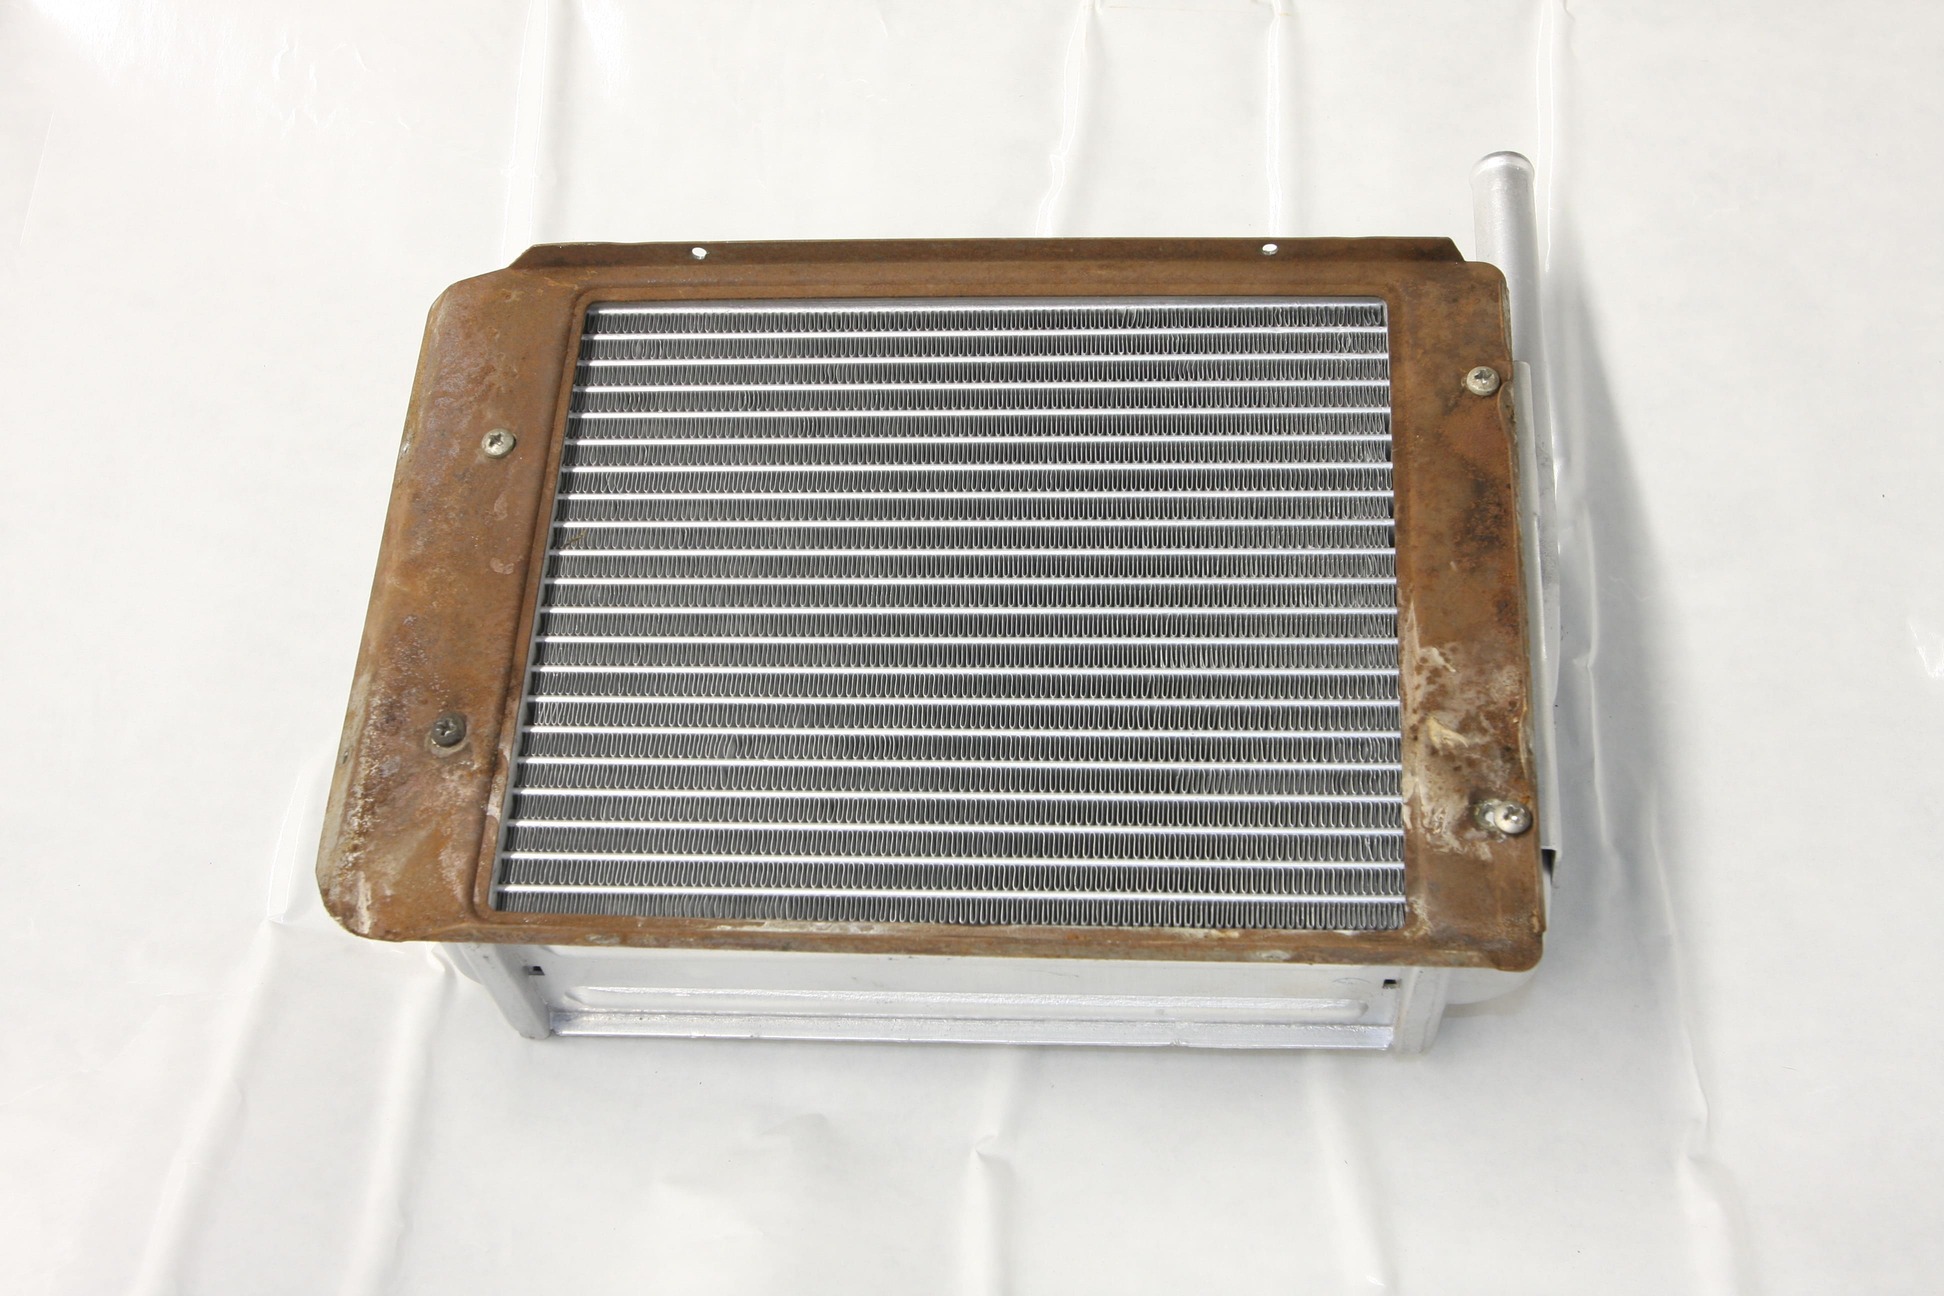
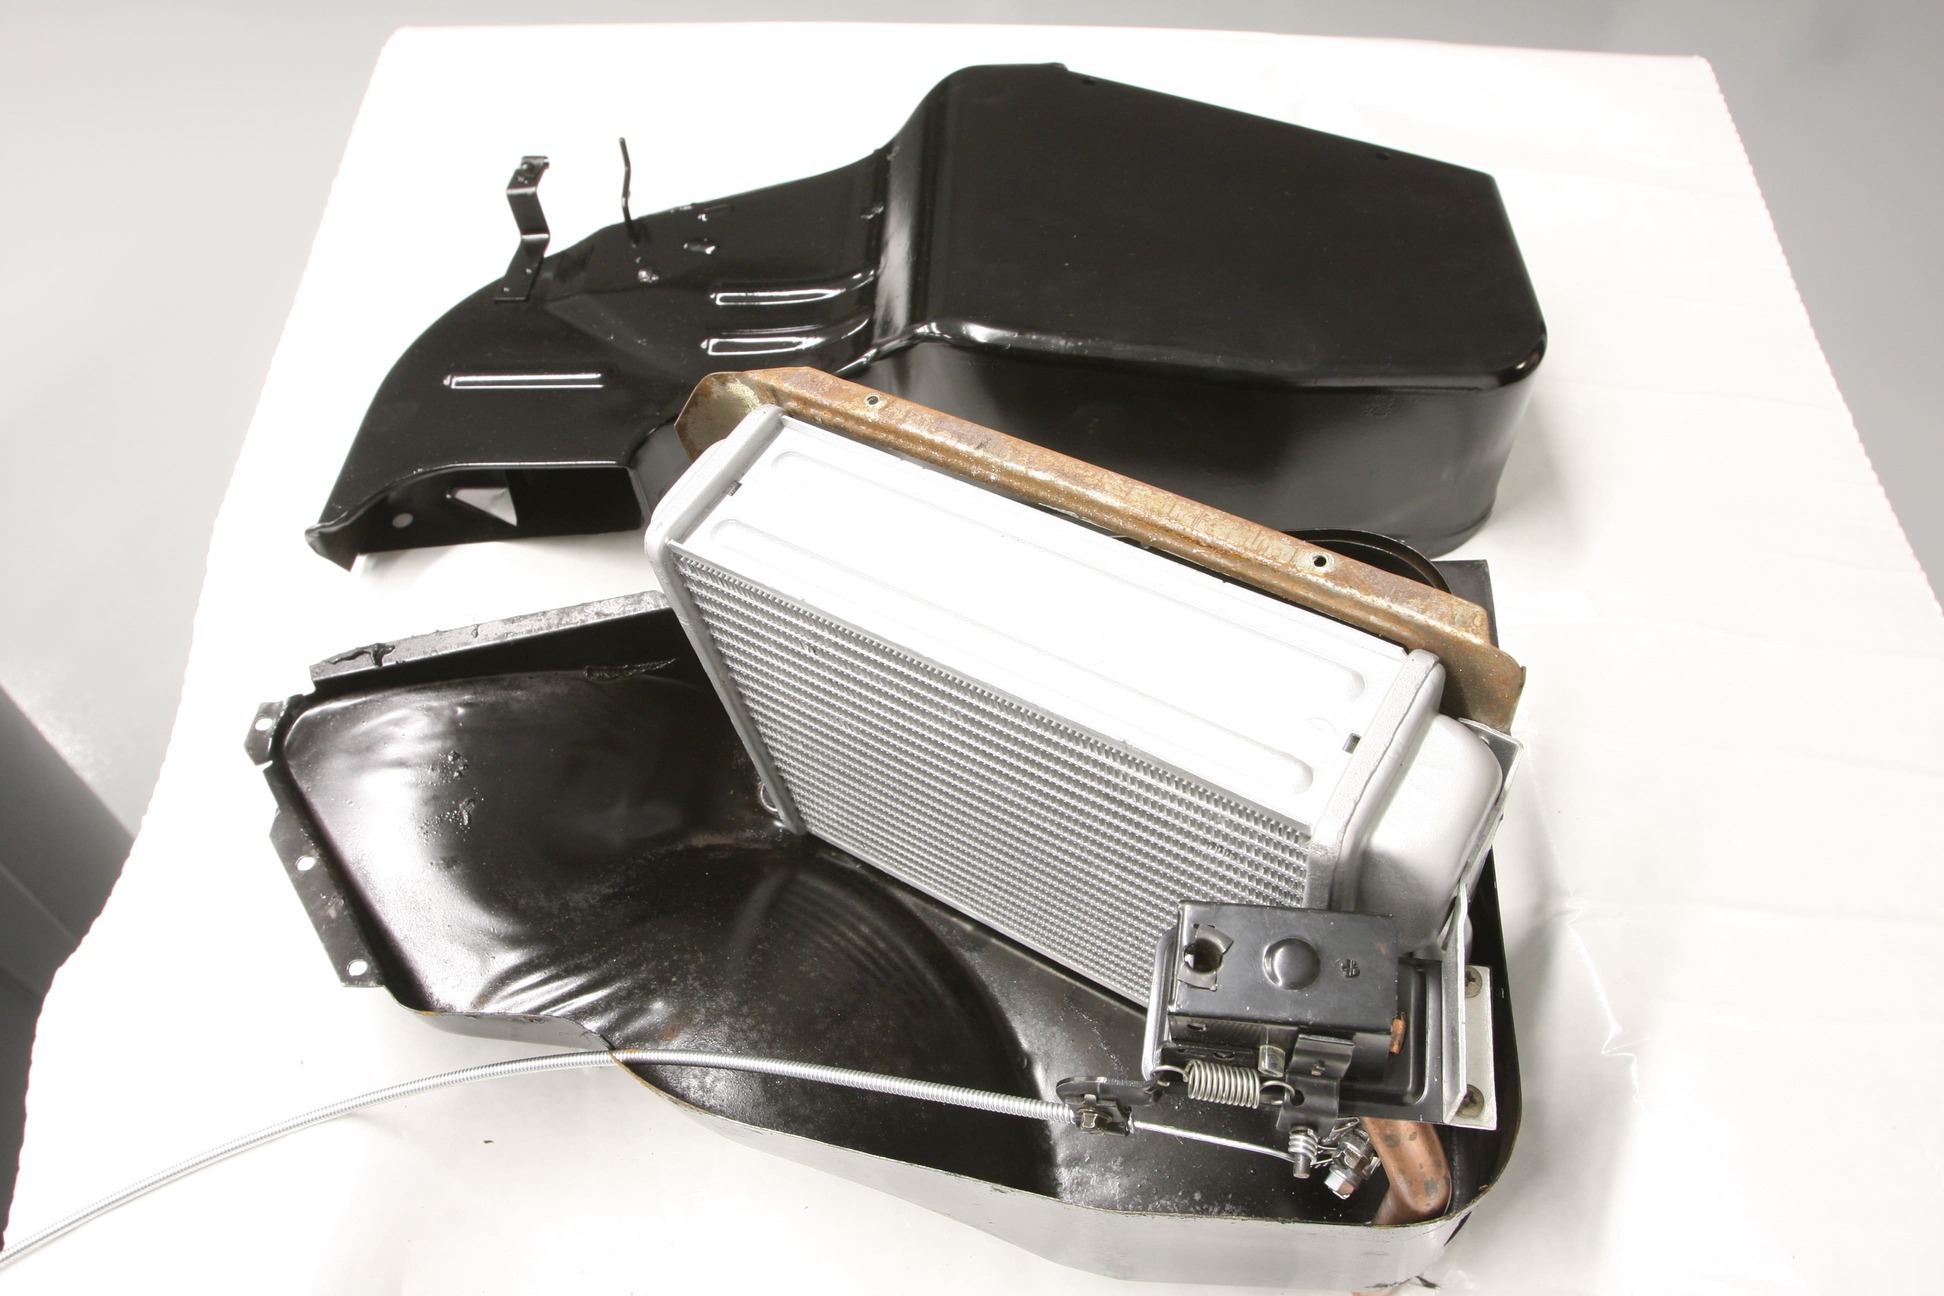
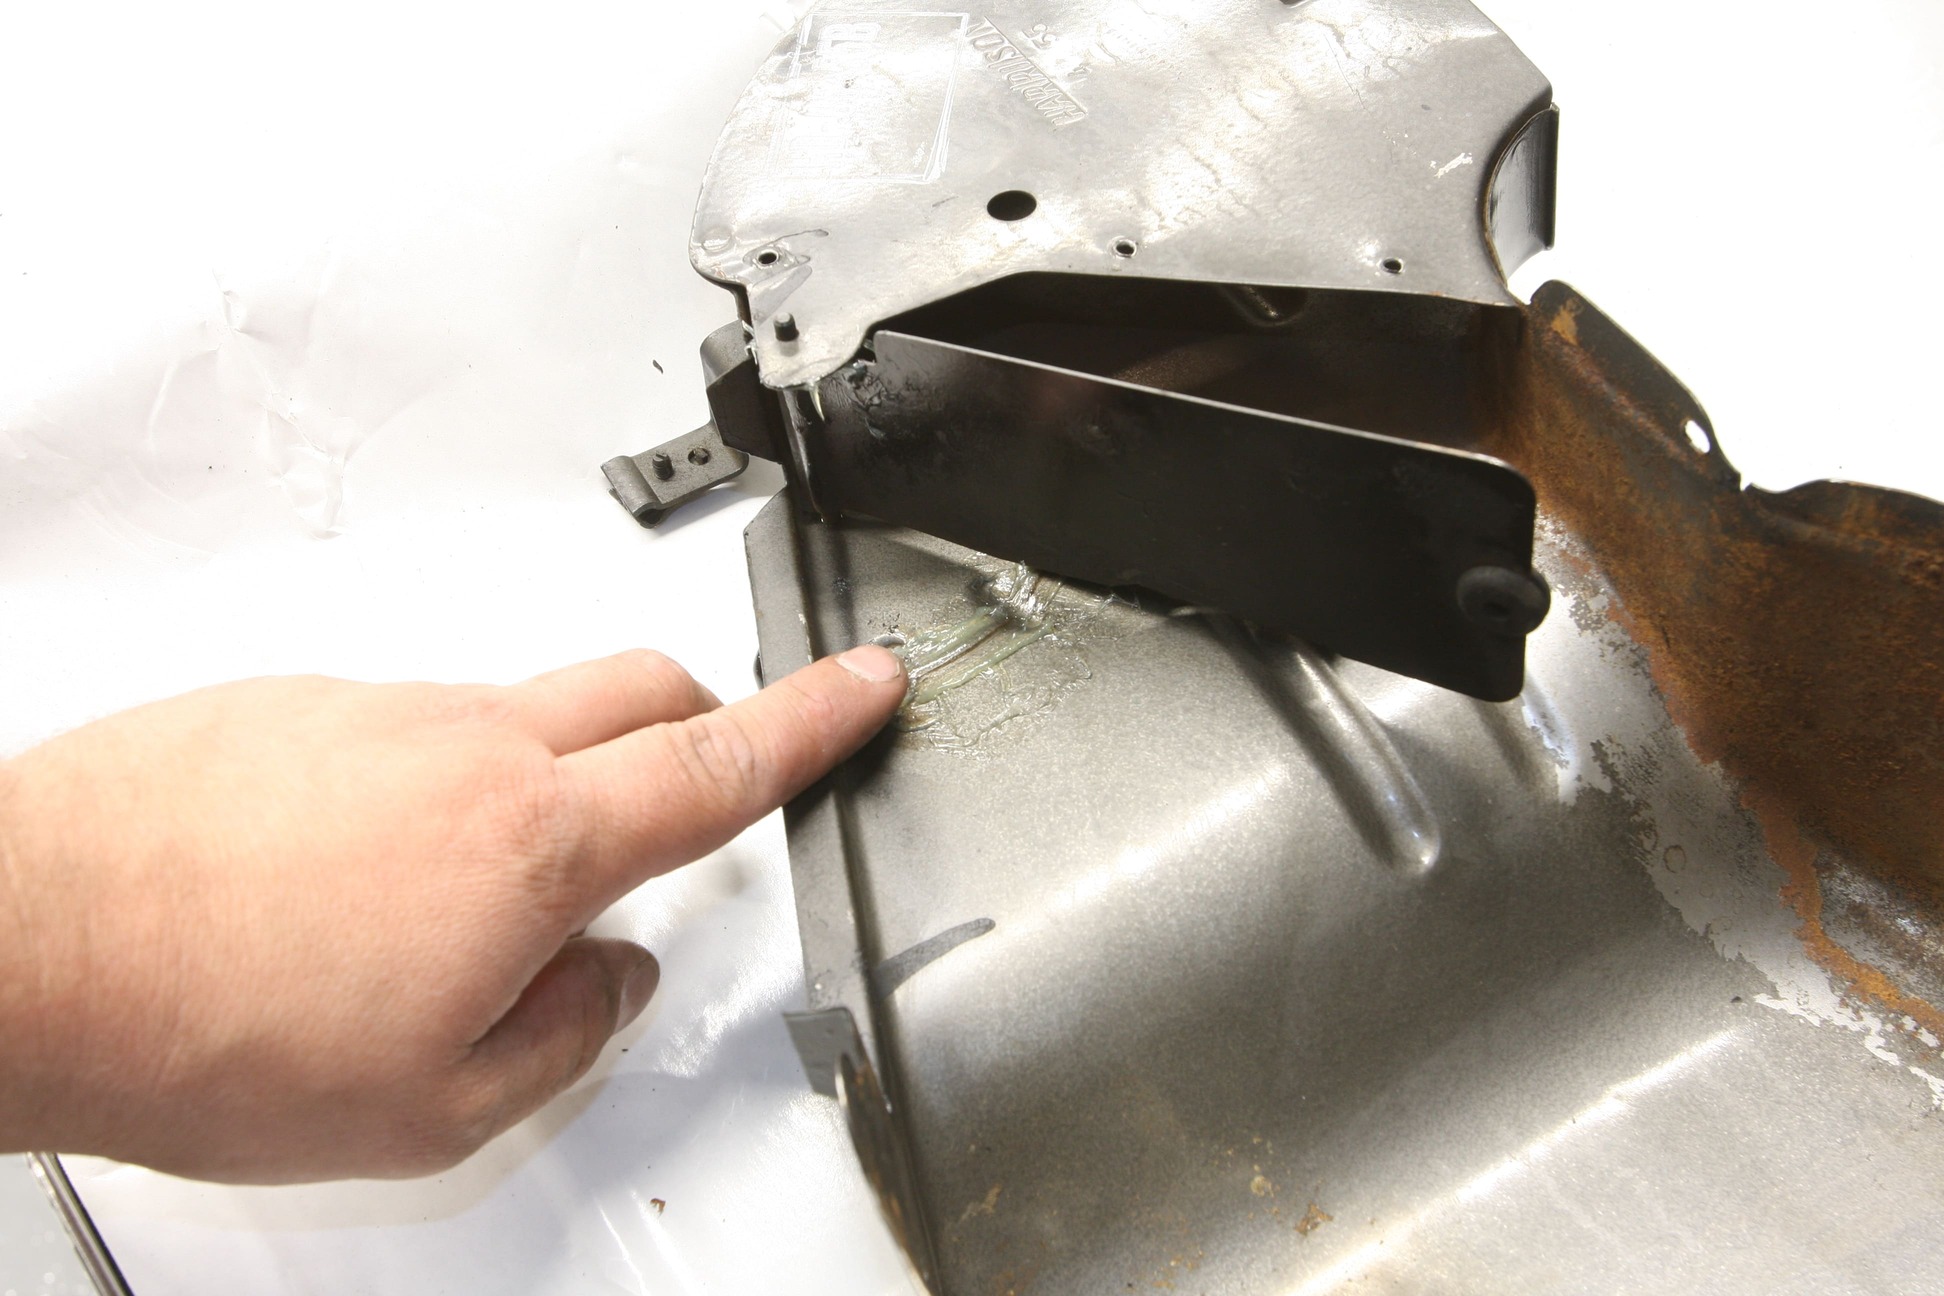
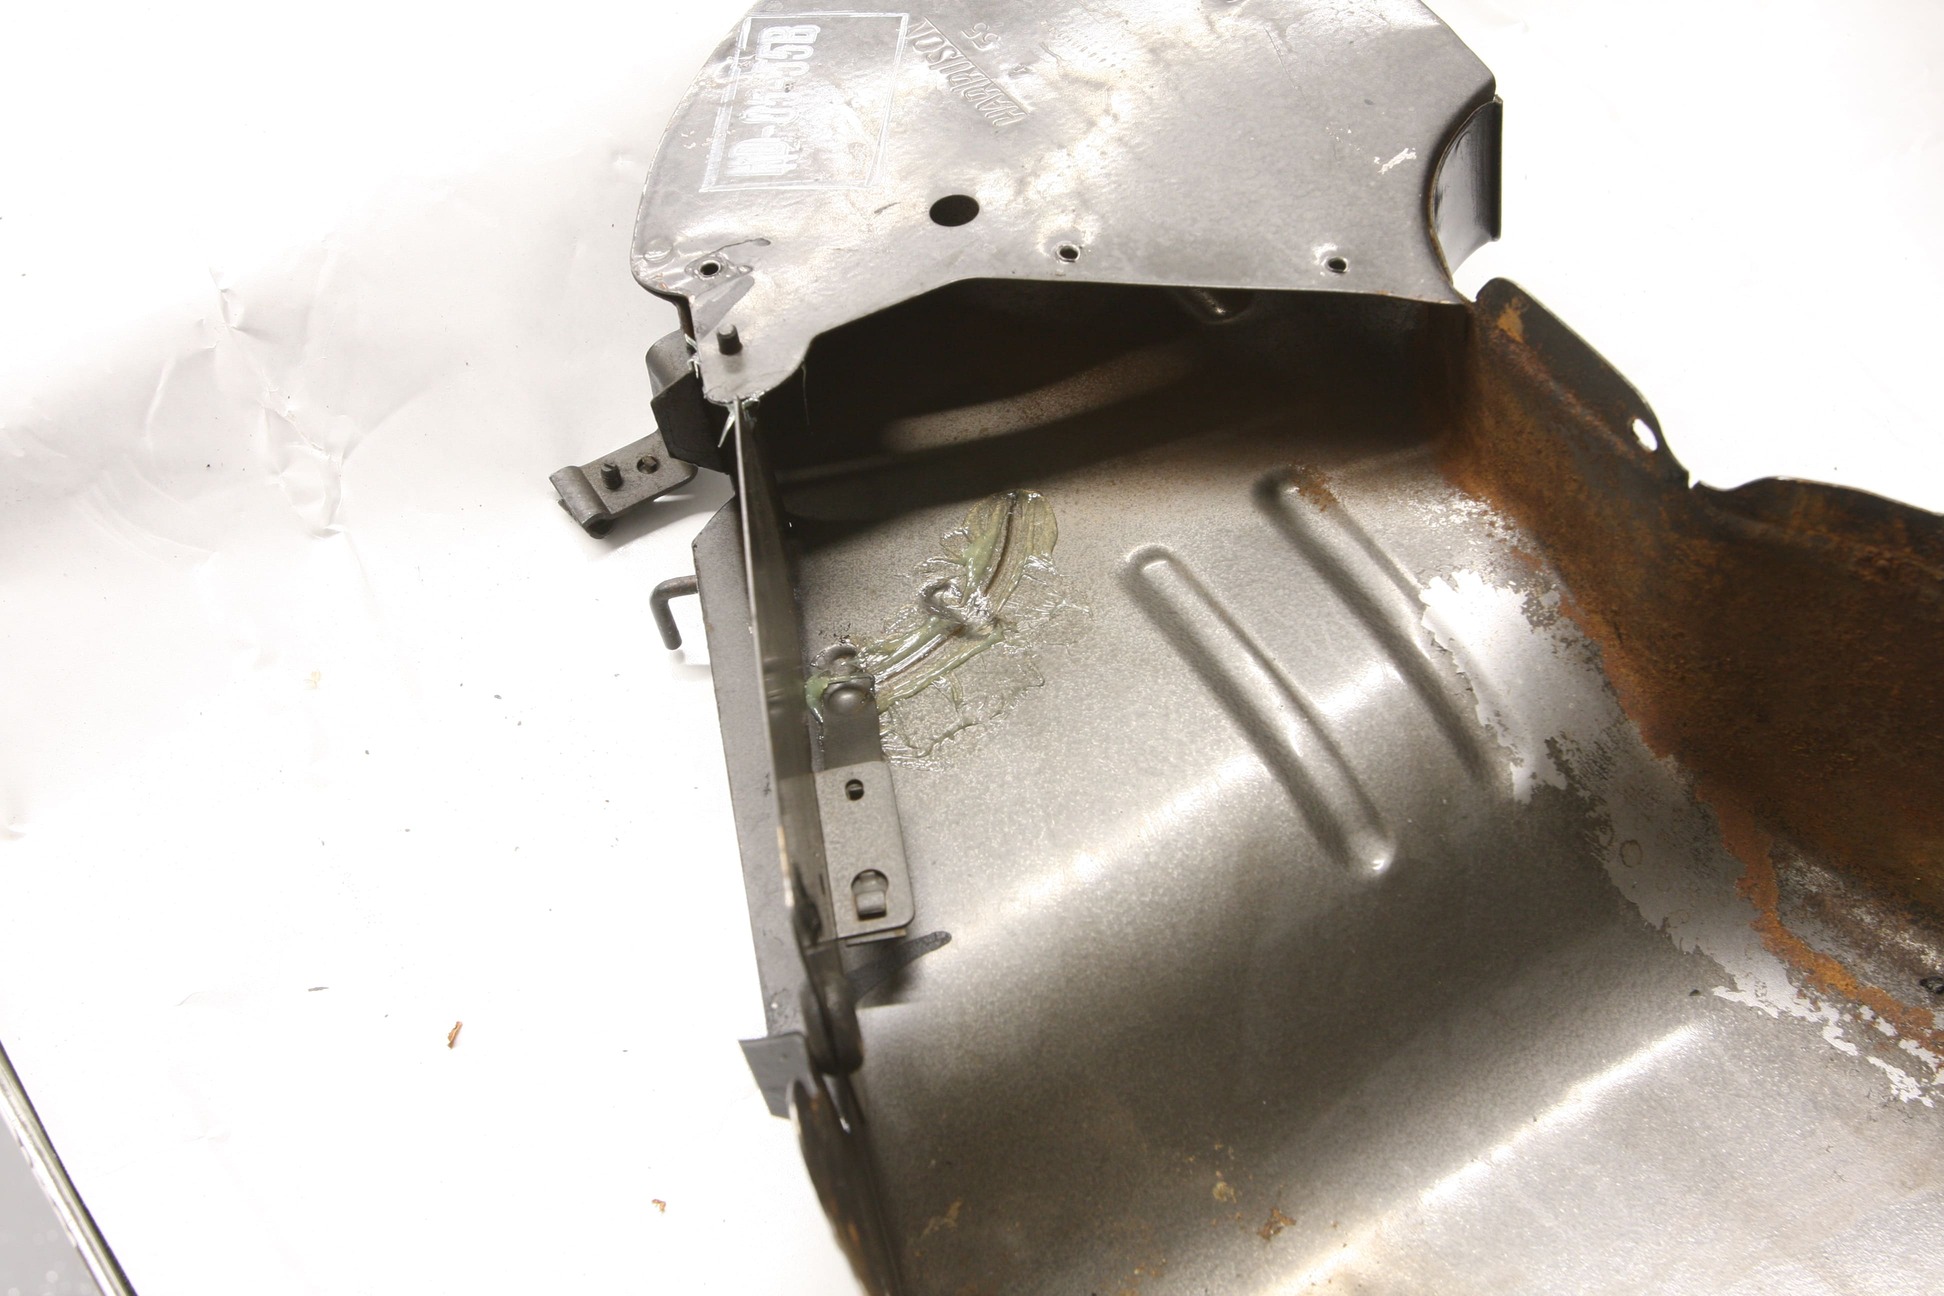
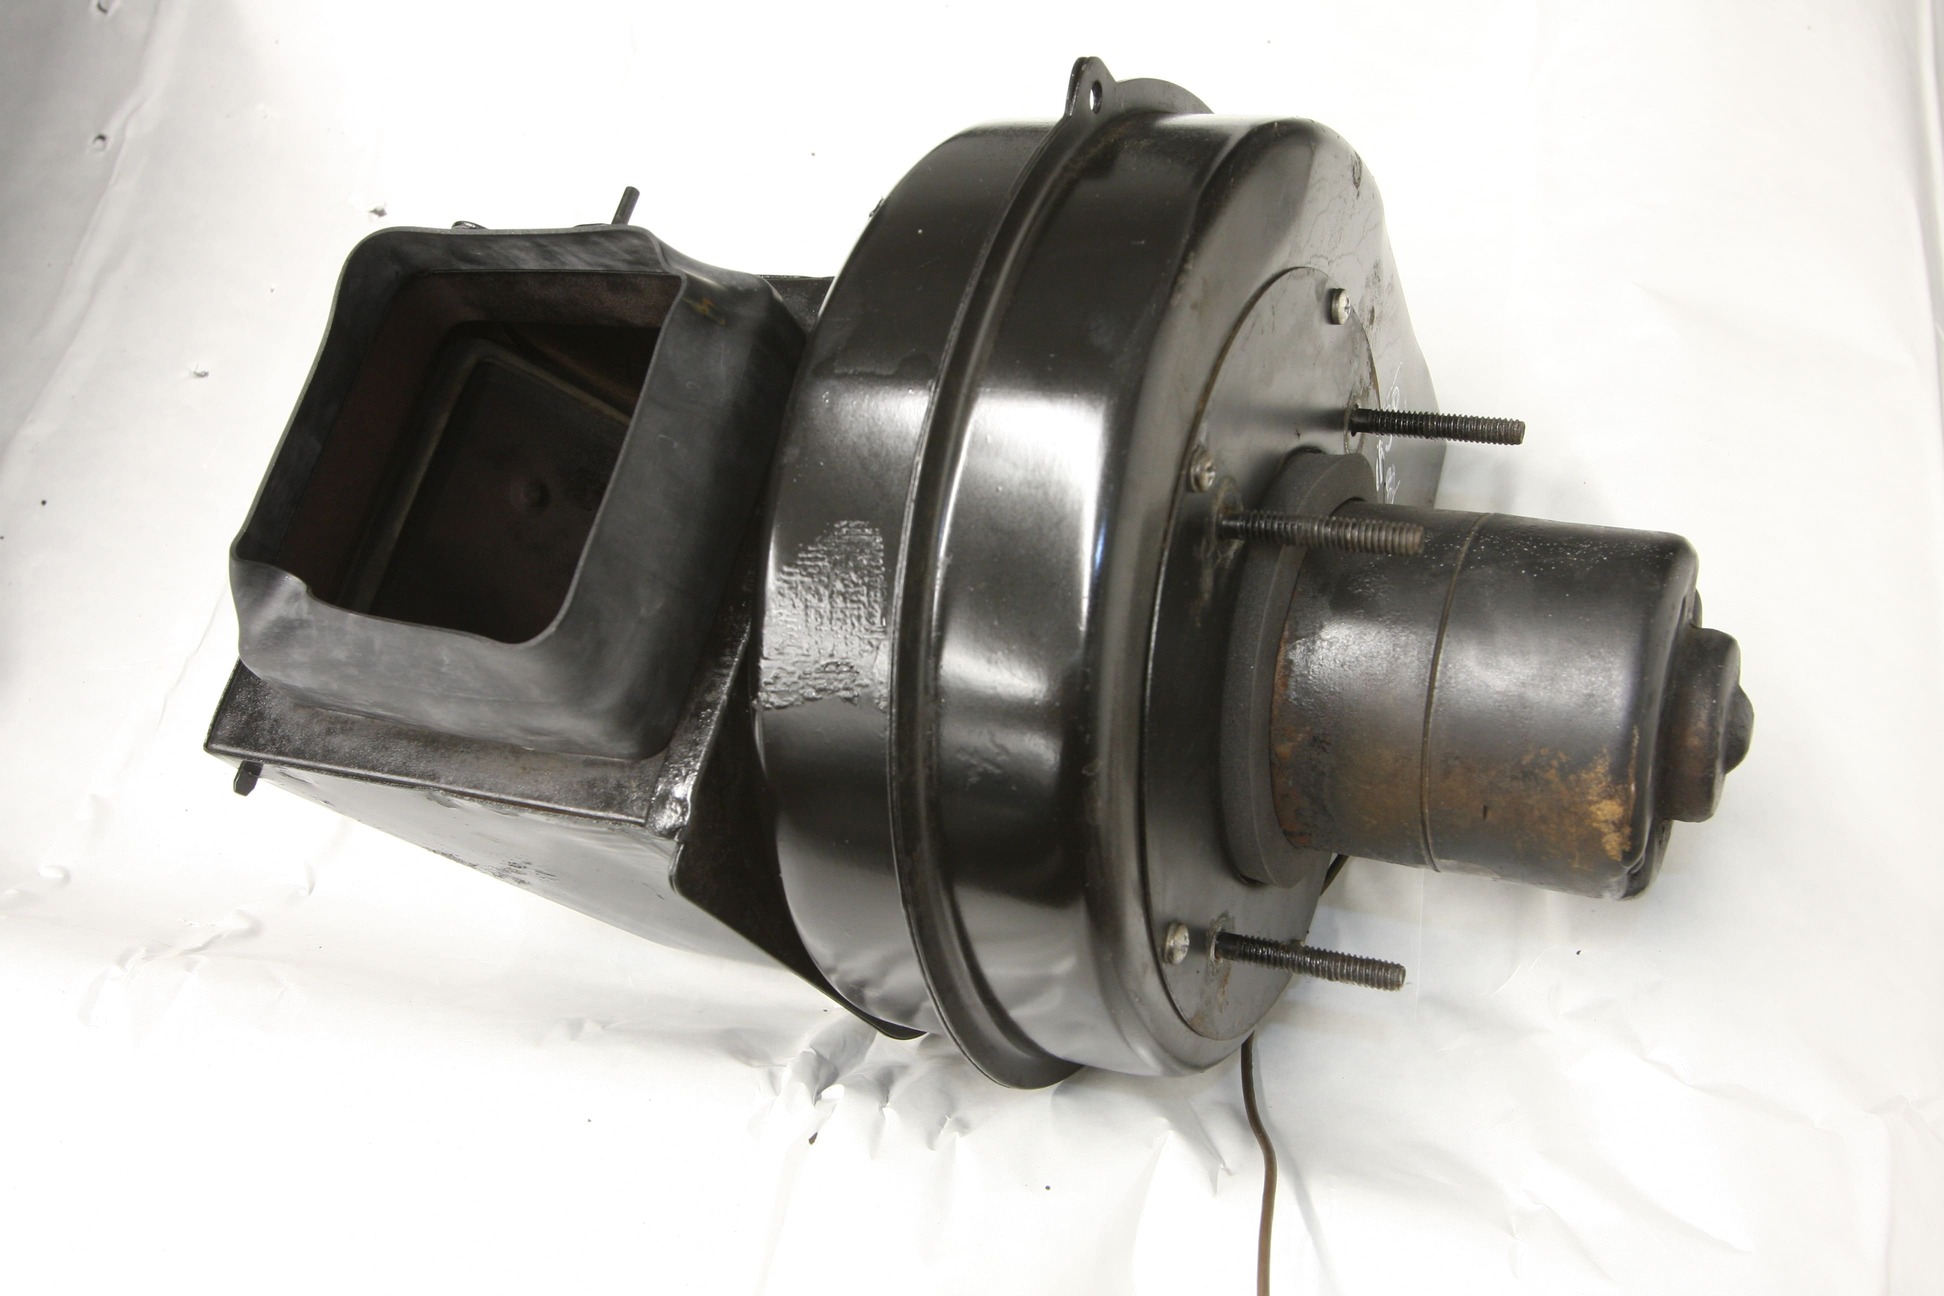
The heater unit, on the other hand, was a bit more labor intensive. Not to say that it was difficult, there’s just a lot more going on. The first step is to drain the coolant and then disconnect the heater hoses, followed by the control cables that run from the control panel to the heater assembly. All electrical connections should be disconnected at this time as well. Next, the heater box, blower assembly, and air inlet housing can be removed and separated from each other. A careful inspection of our heater core revealed a small leak that luckily hadn’t yet reared its ugly head. While we’re revamping the heater system, we’ll take the time and replace the core as well.
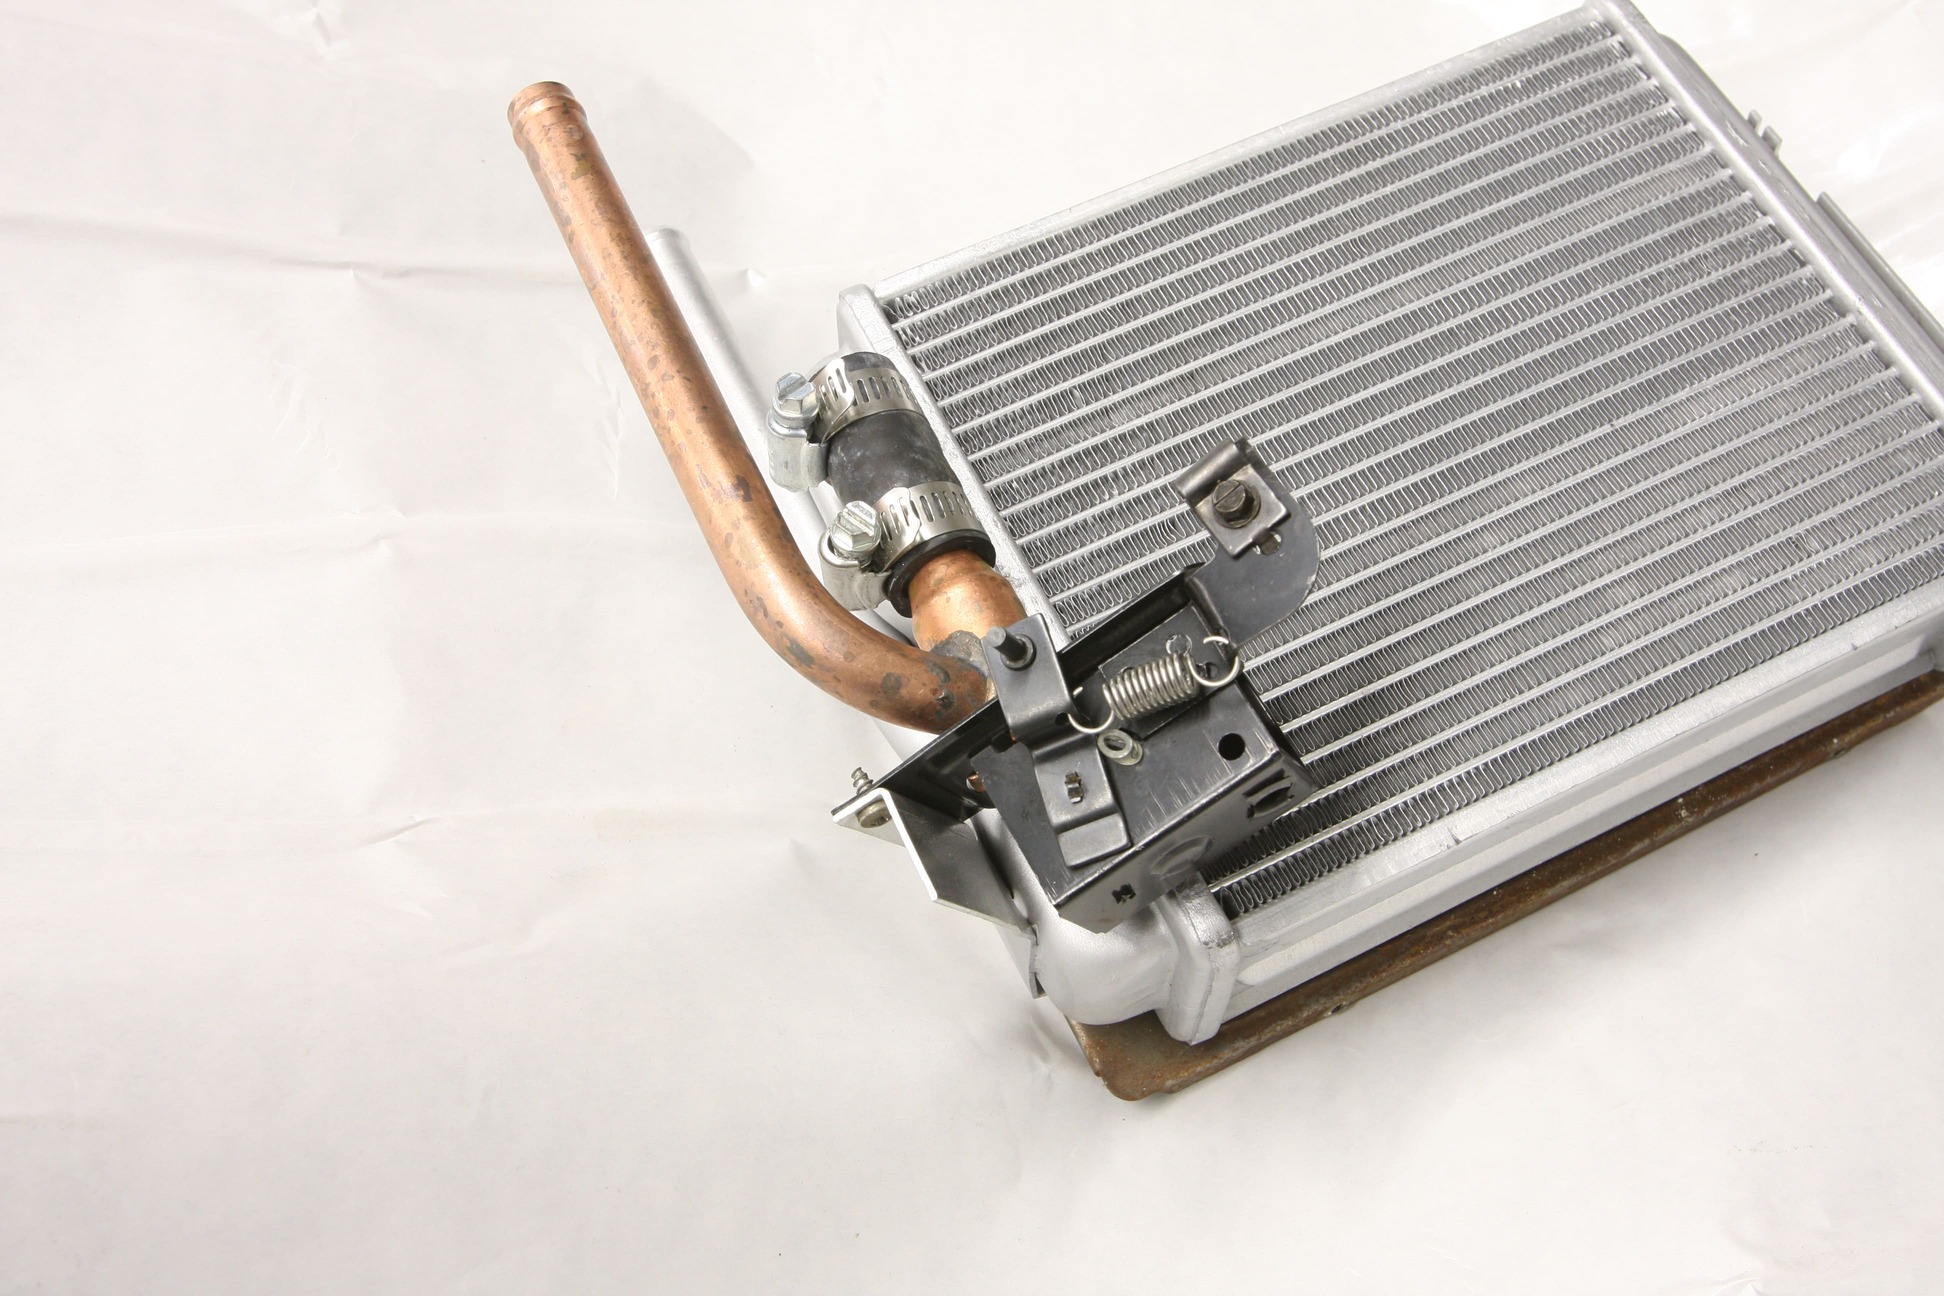
A new Deluxe Heater Control Valve (PN 014) is installed next.
Since we had the dash torn apart for wiring and paint, it only made sense to go through all these components while we had the chance. As previously mentioned, it turned out to be a blessing, as our original heater core was just about to bust loose and would have probably done so after our brand-new interior was installed. That would have been a huge bummer, not only for the mess it would have made but also for the fact it would have required taking everything apart after the car was finished as opposed to doing it now, while the car is relatively bare. As the saying goes, do it right or do it twice!
ACP
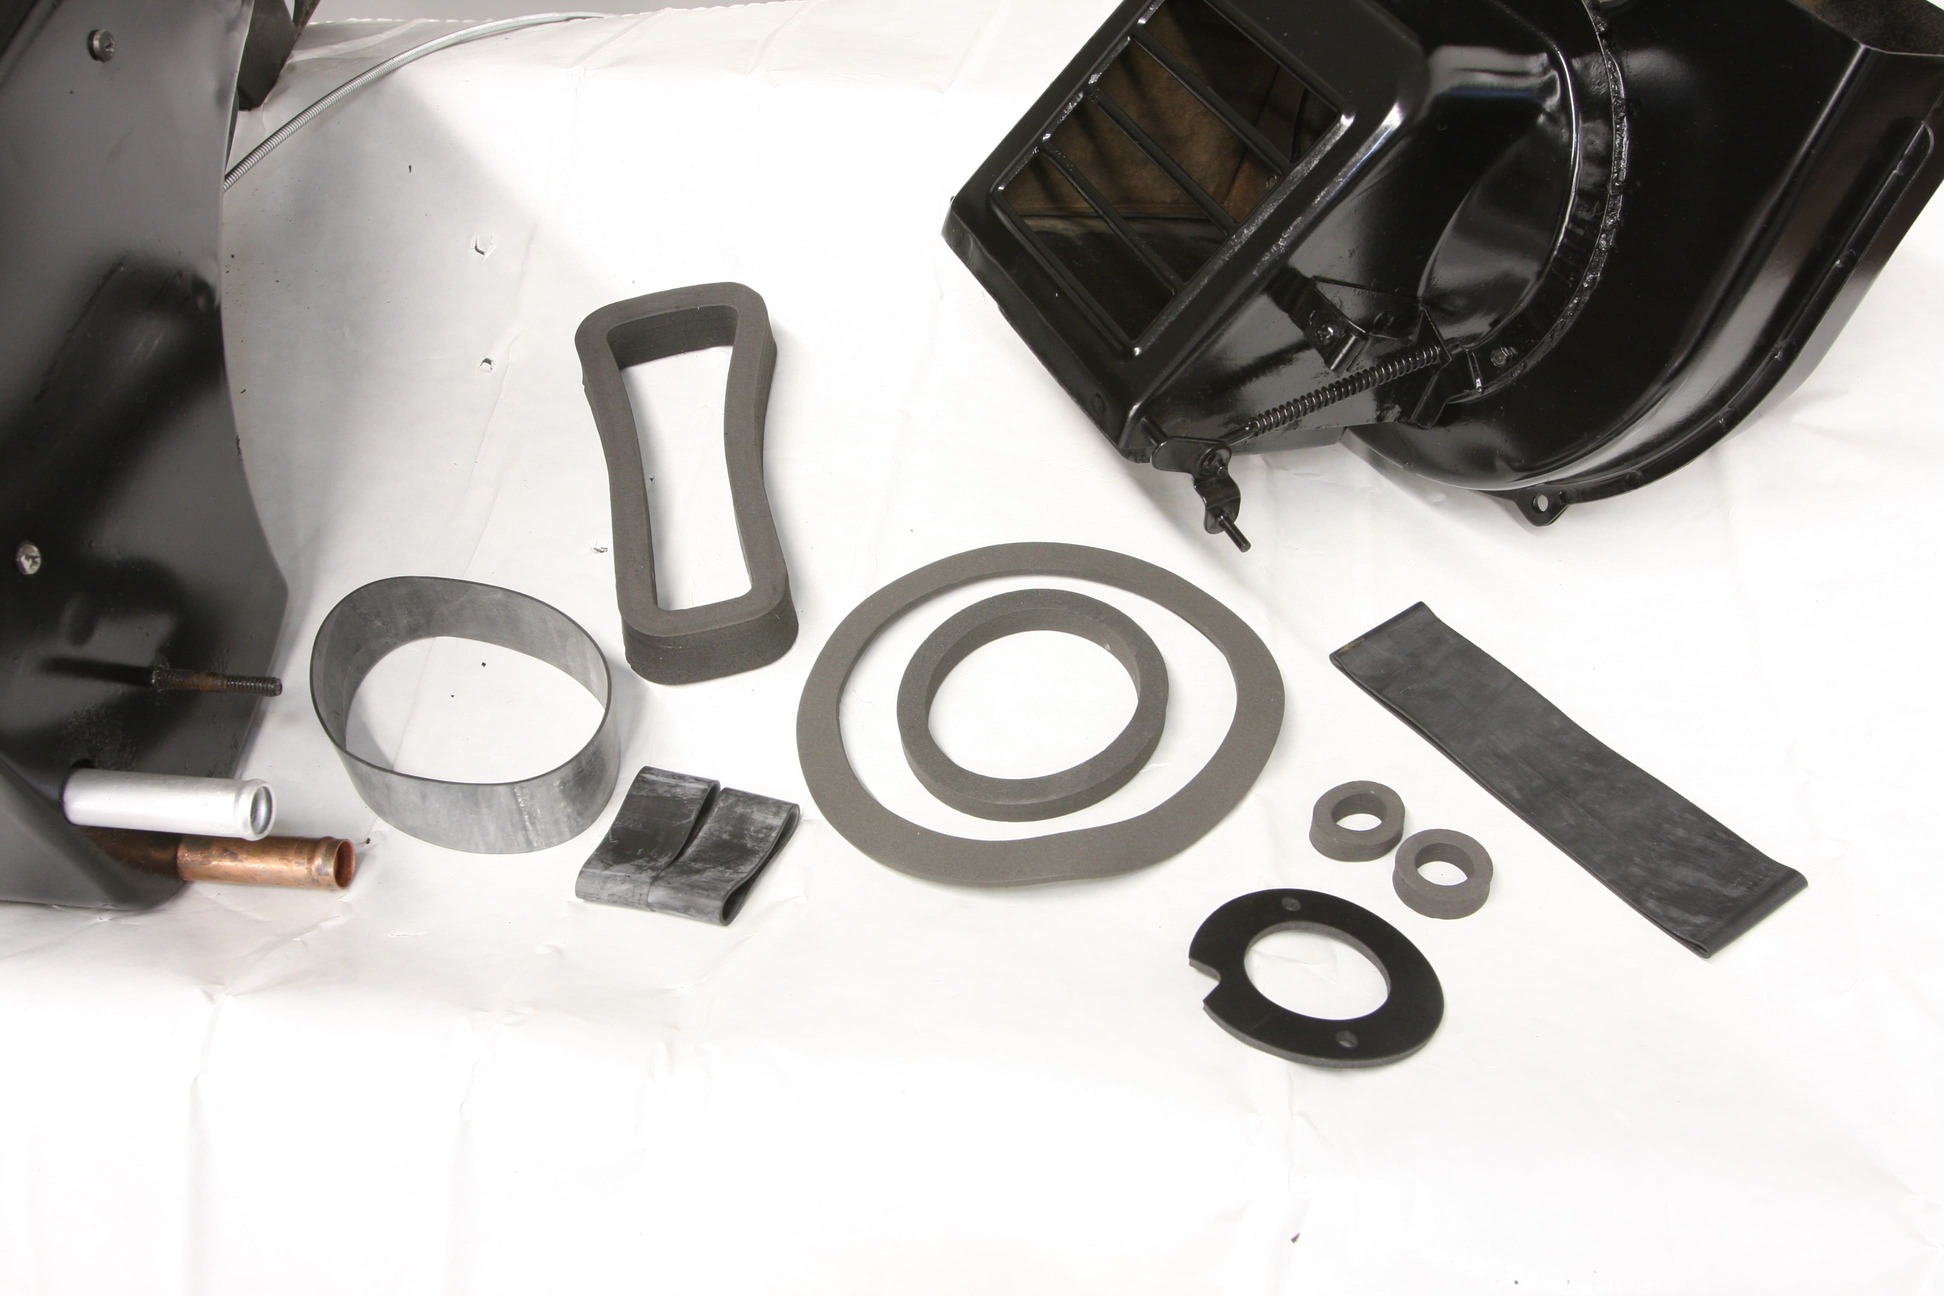
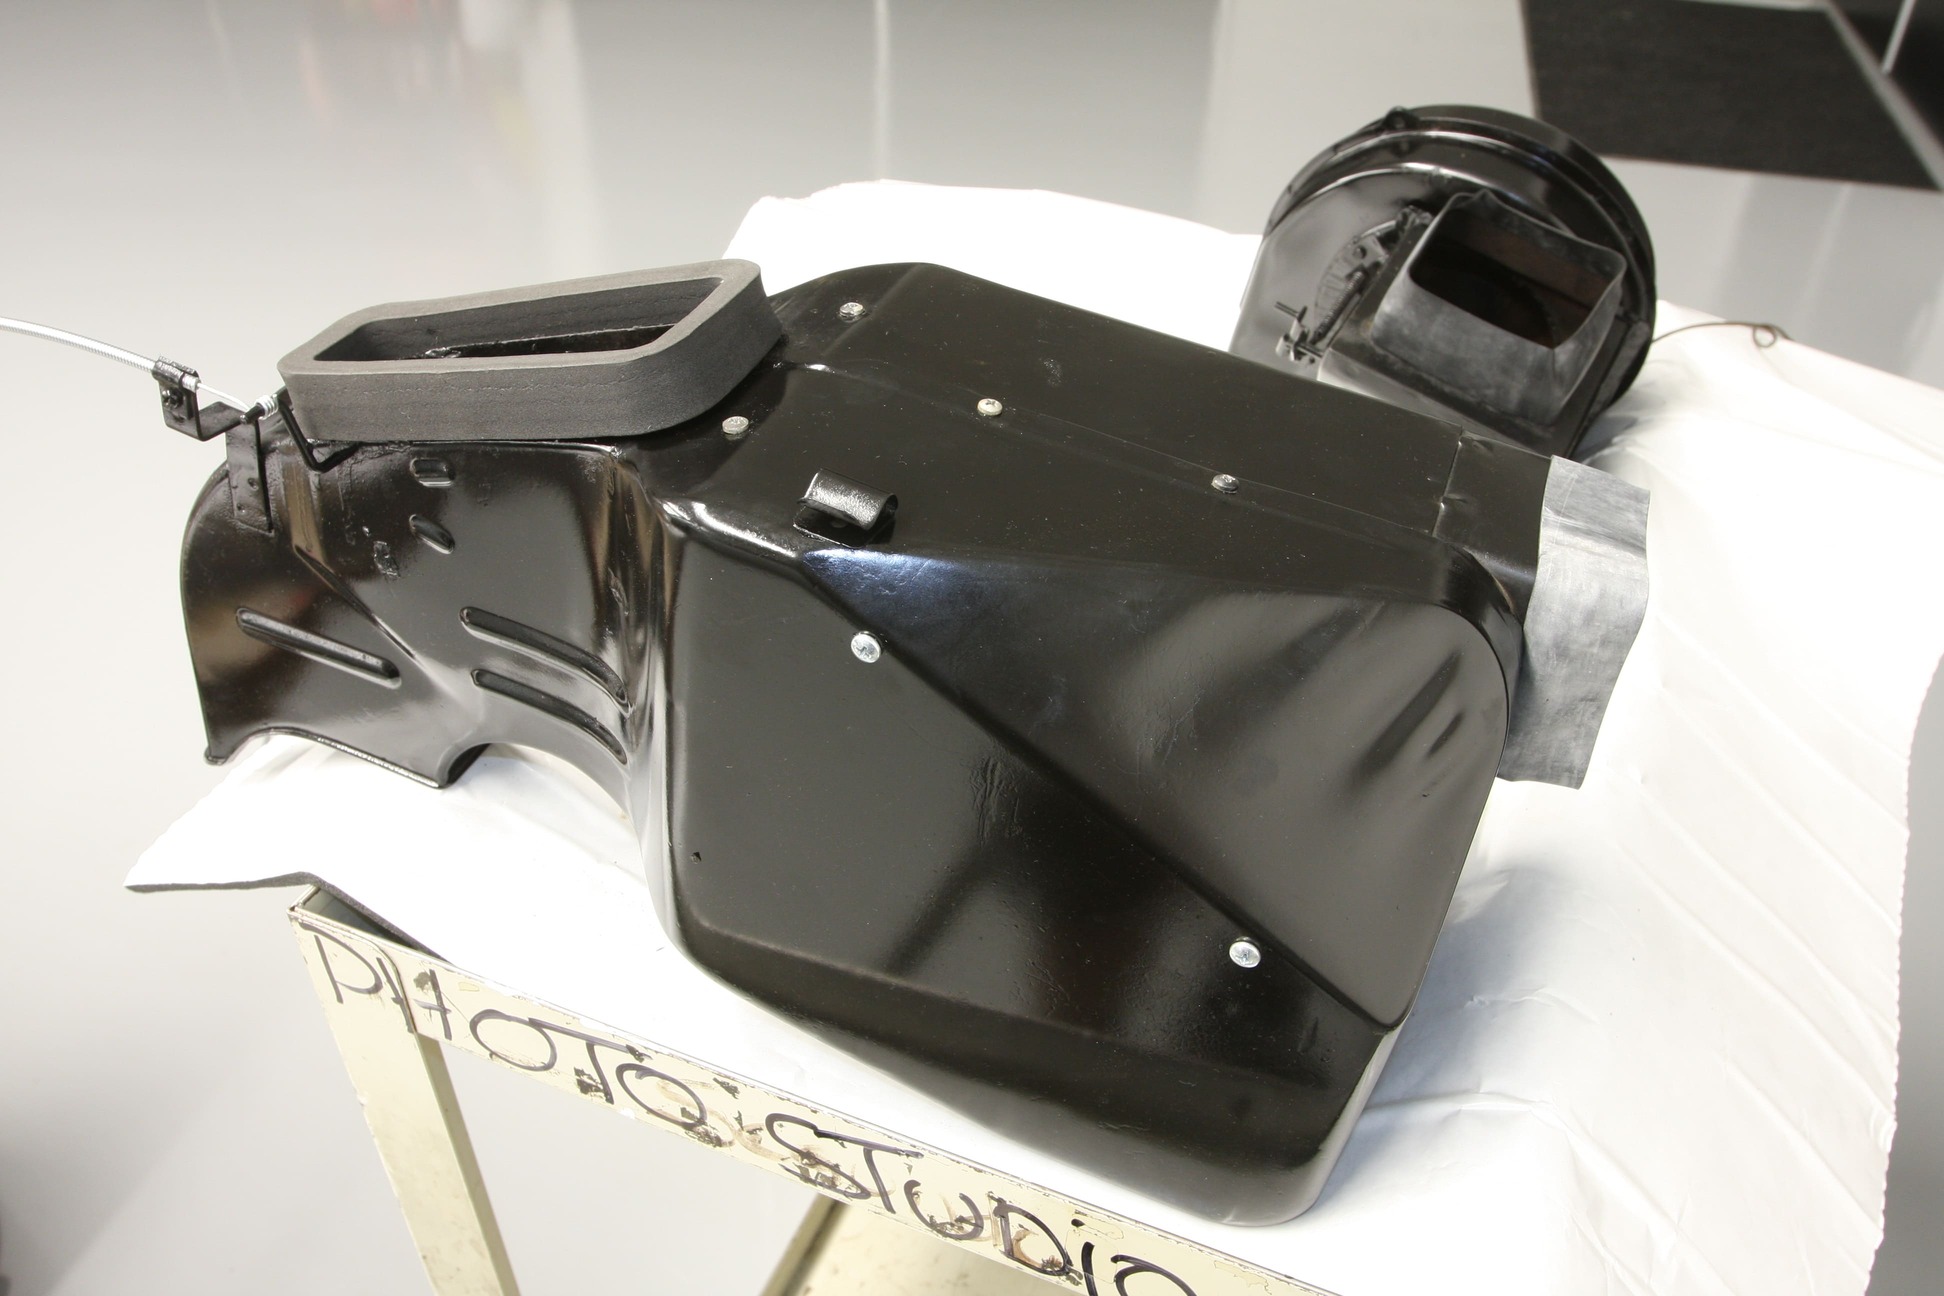
The heater core assembly is then attached to the inner housing of the heater box and the water control cable is connected to the Deluxe Heater Control Valve. The water control cable is part of the Heater Control Cable Set (PN 462) and attaches to the temp lever on the control panel.The air diverter or blend door attached to the outer housing diverts air between the main outlet of the heater and the defrost ducts.A little grease on the housing ensures ease of operation once the housing is closed. The defrost lever on the control panel attaches to the rod on the diverter door via another control cable.Buttoning up the heater housing requires a new seal kit to ensure the heat goes where it’s supposed to. All the seals required are part of Danchuk’s Deluxe Heater Seal Kit (PN 322), including the defroster seal.Buttoning up the heater housing requires a new seal kit to ensure the heat goes where it’s supposed to. All the seals required are part of Danchuk’s Deluxe Heater Seal Kit (PN 322), including the defroster seal. The blower assembly contains the heater fan and blower motor and mates to the air inlet housing using one of the round gaskets found in the Deluxe Heater Seal Kit. Another round gasket is installed on the face of the blower assembly on the firewall side. A rubber sleeve is attached to the air inlet housing that will seal to the fresh air adapter on the kick panel.
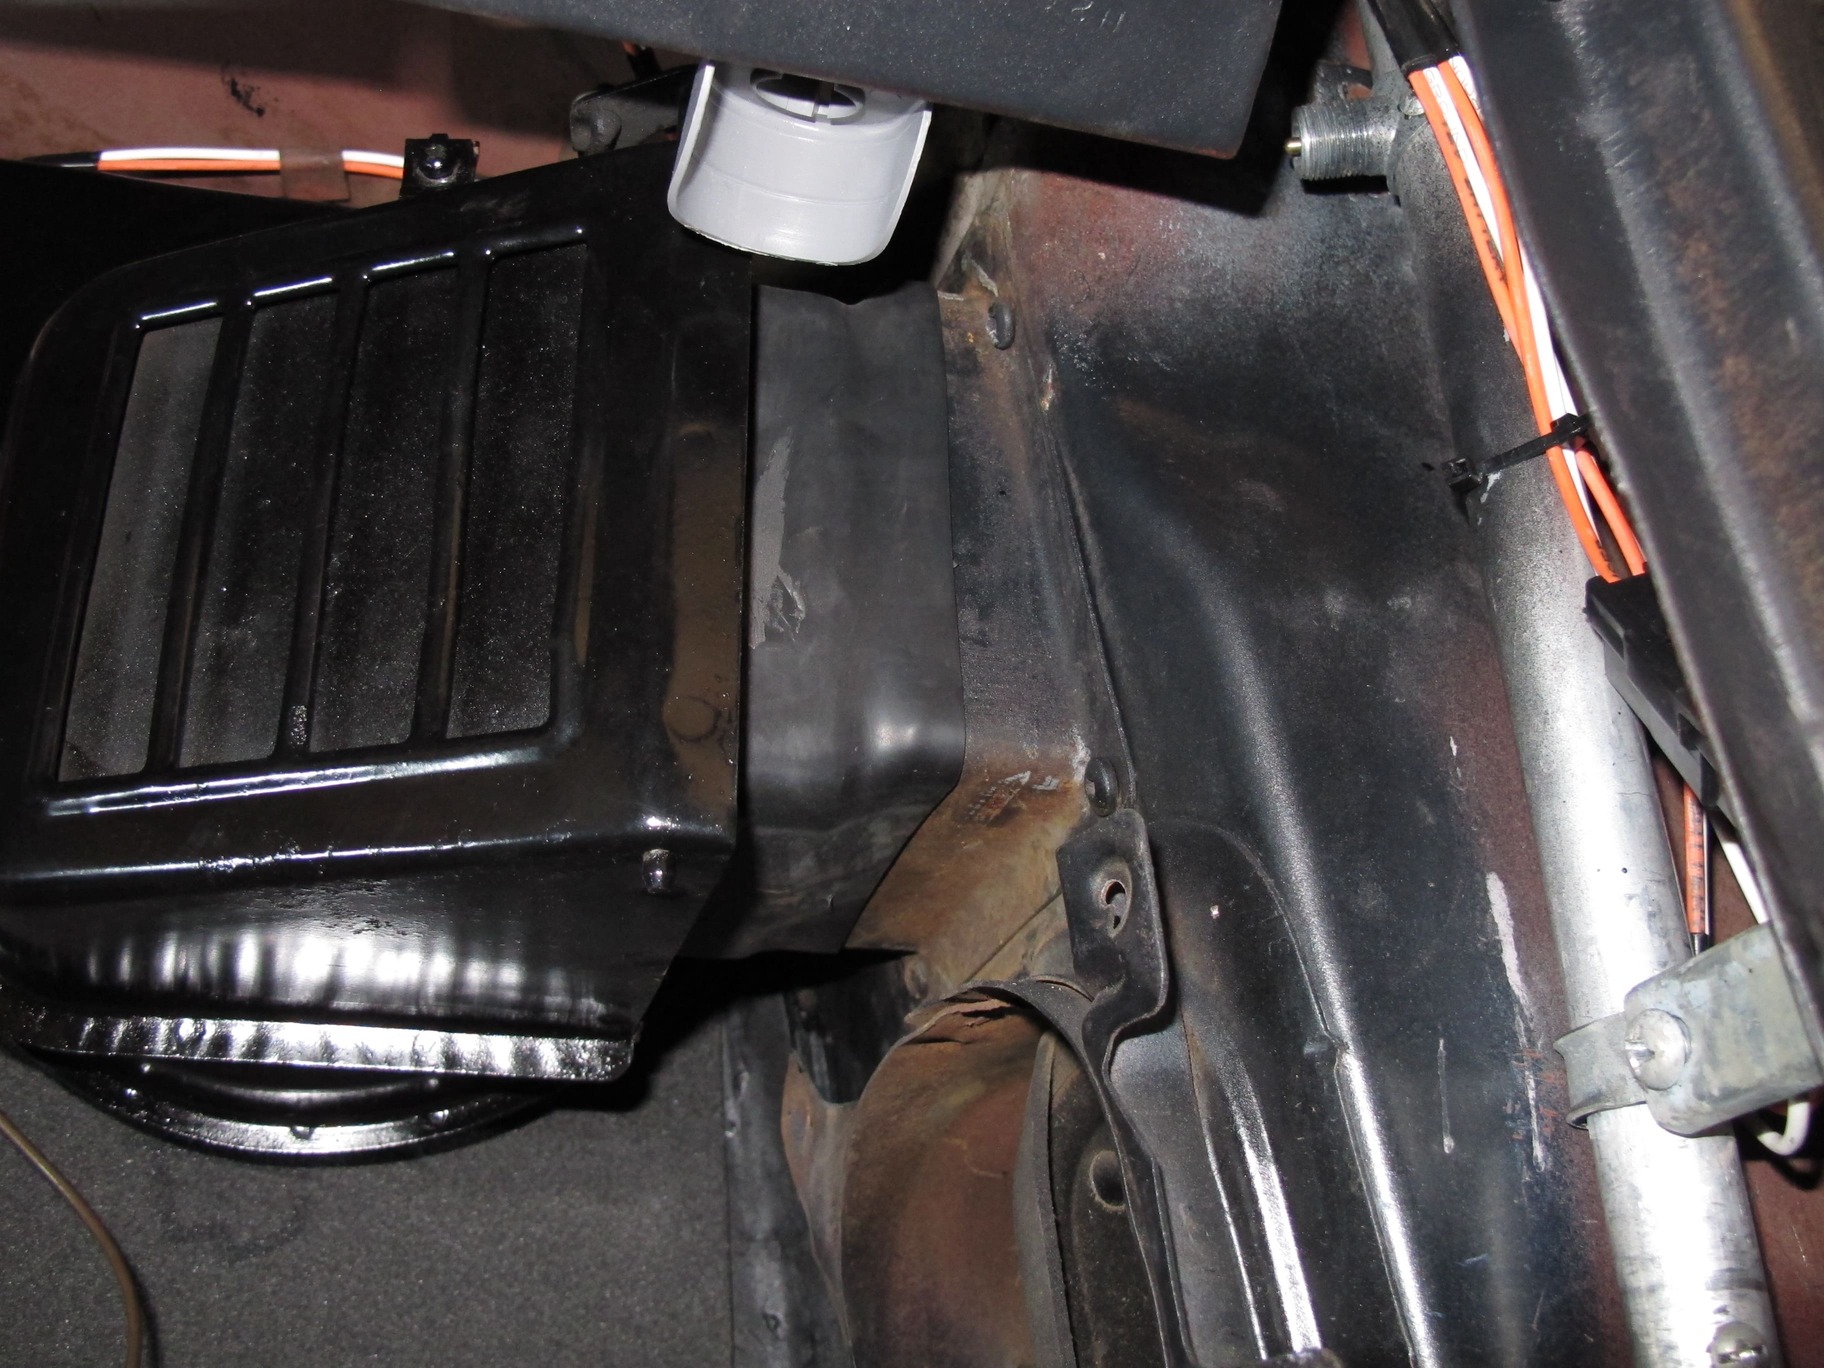
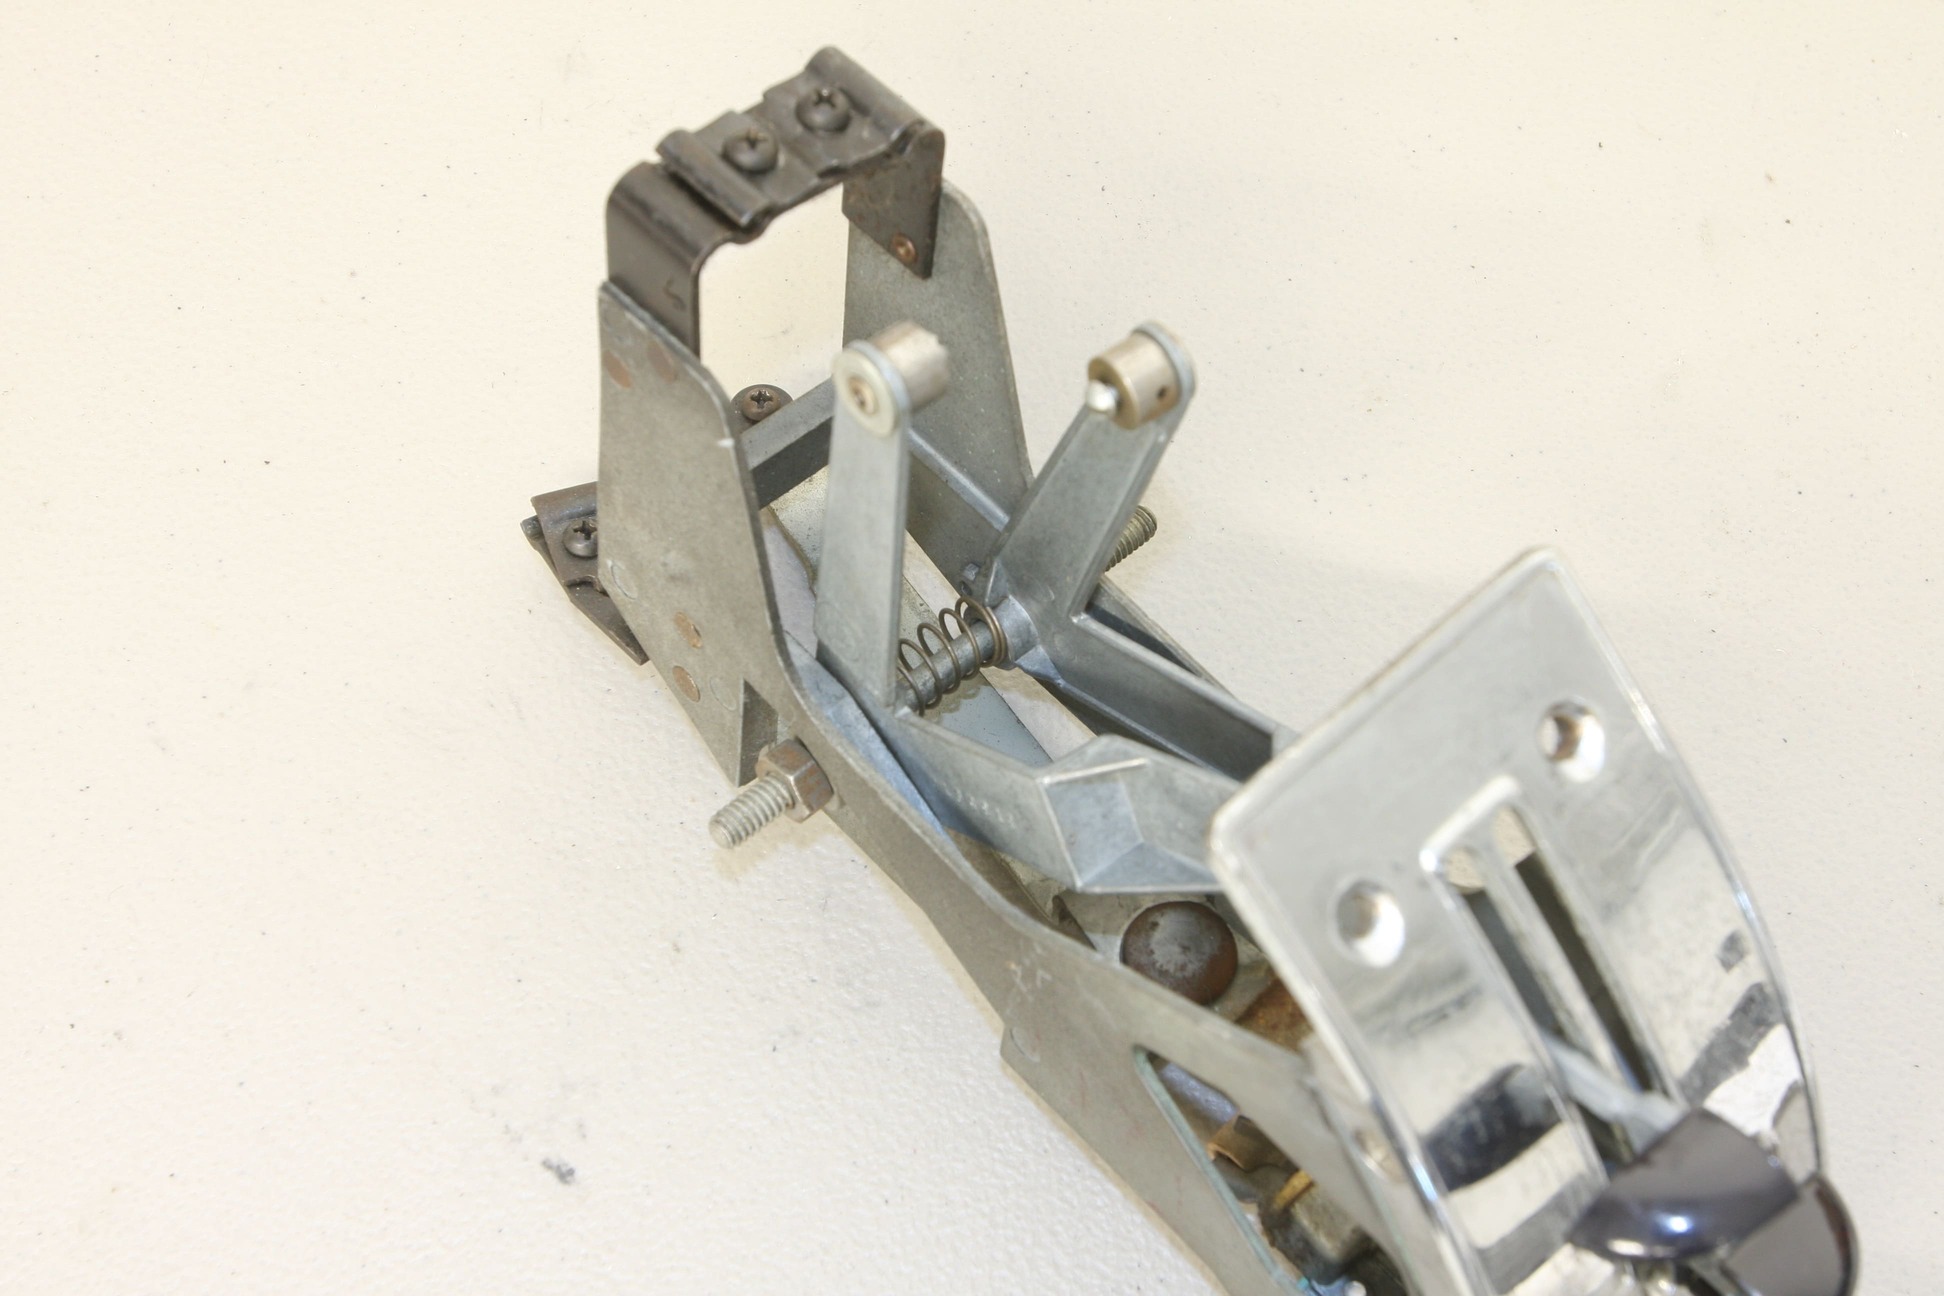
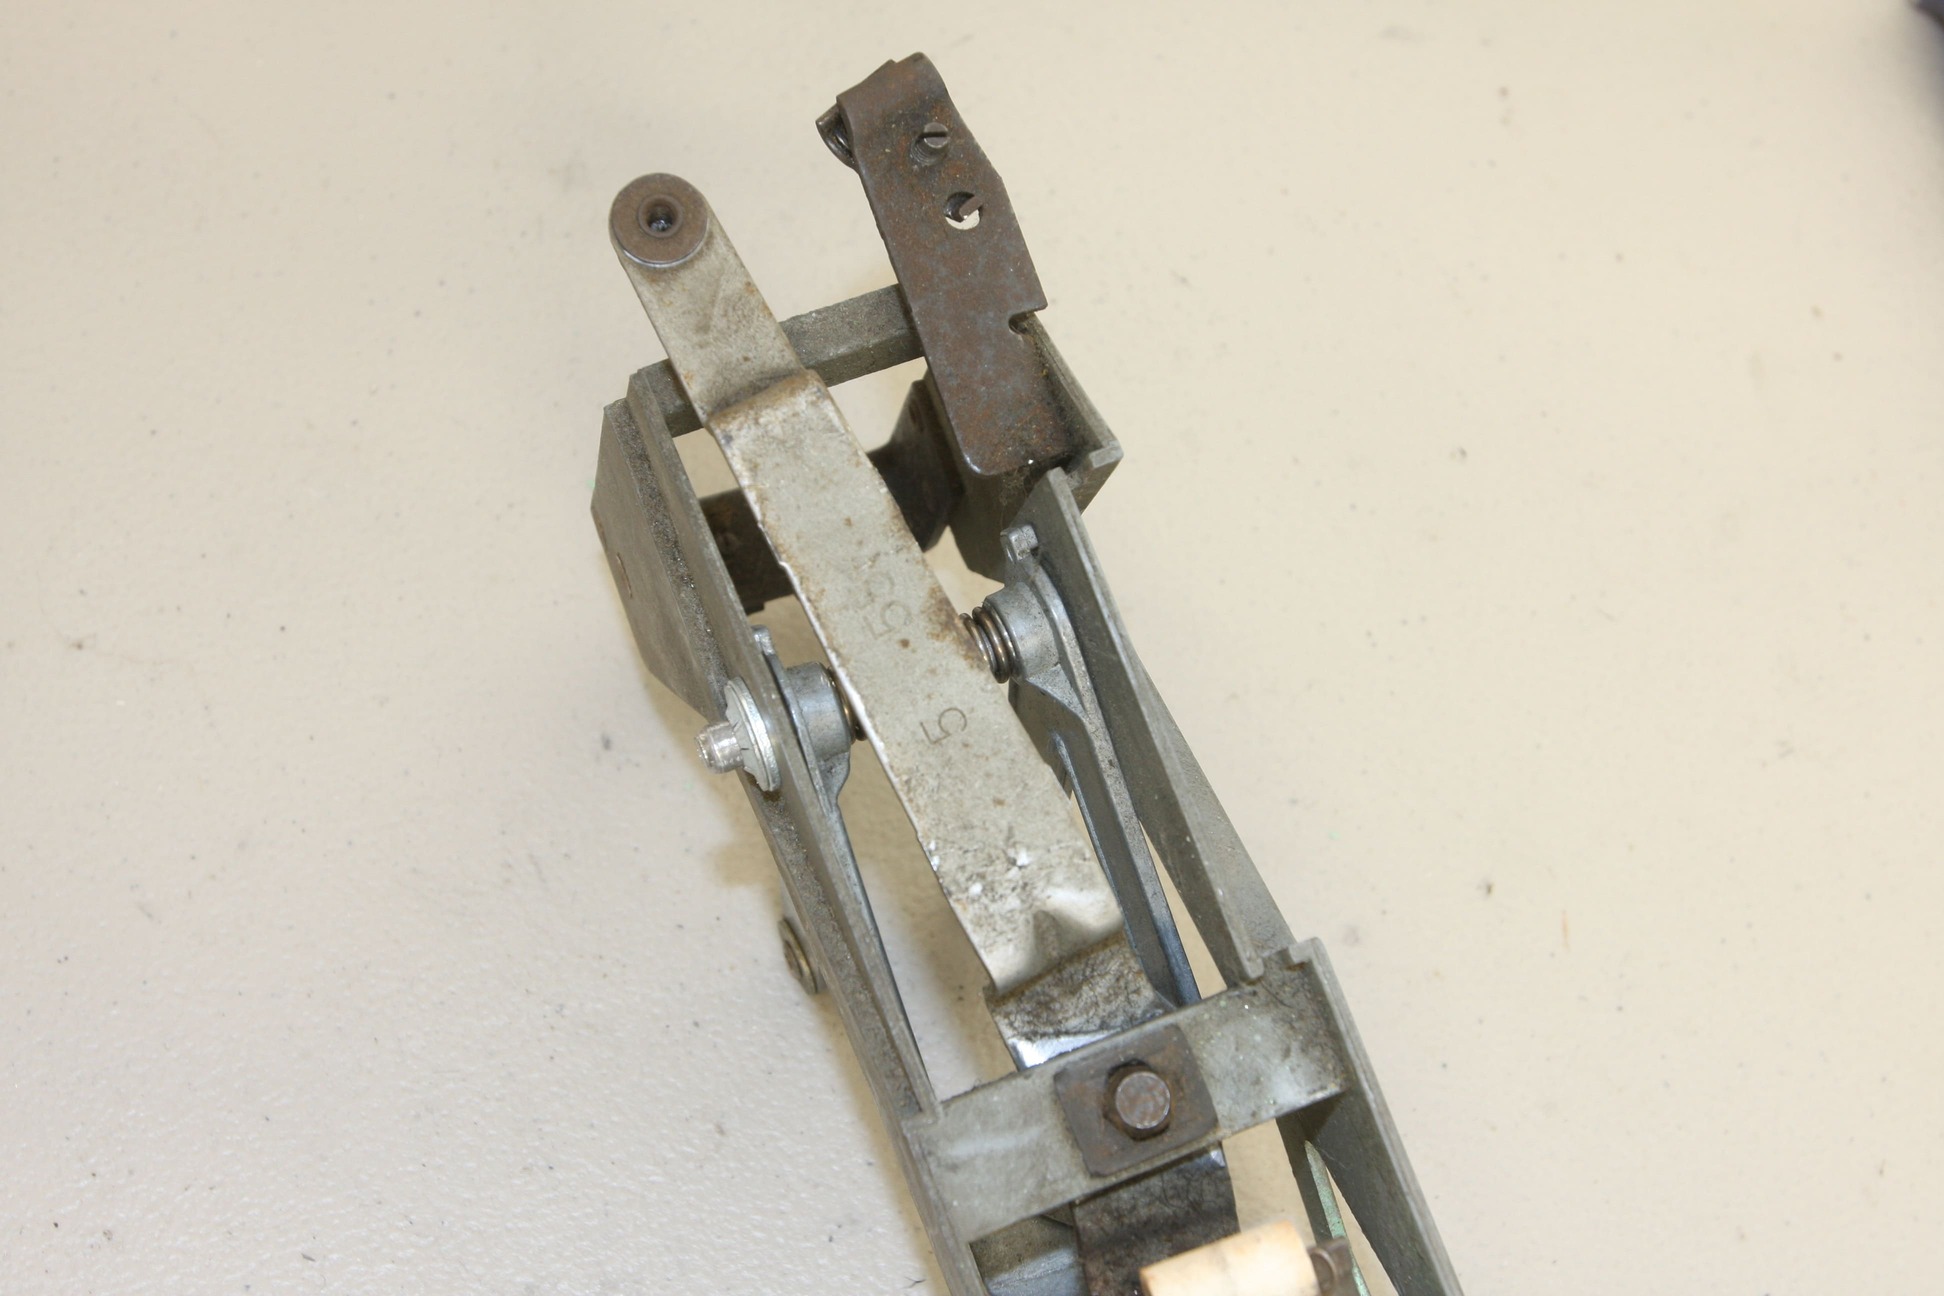
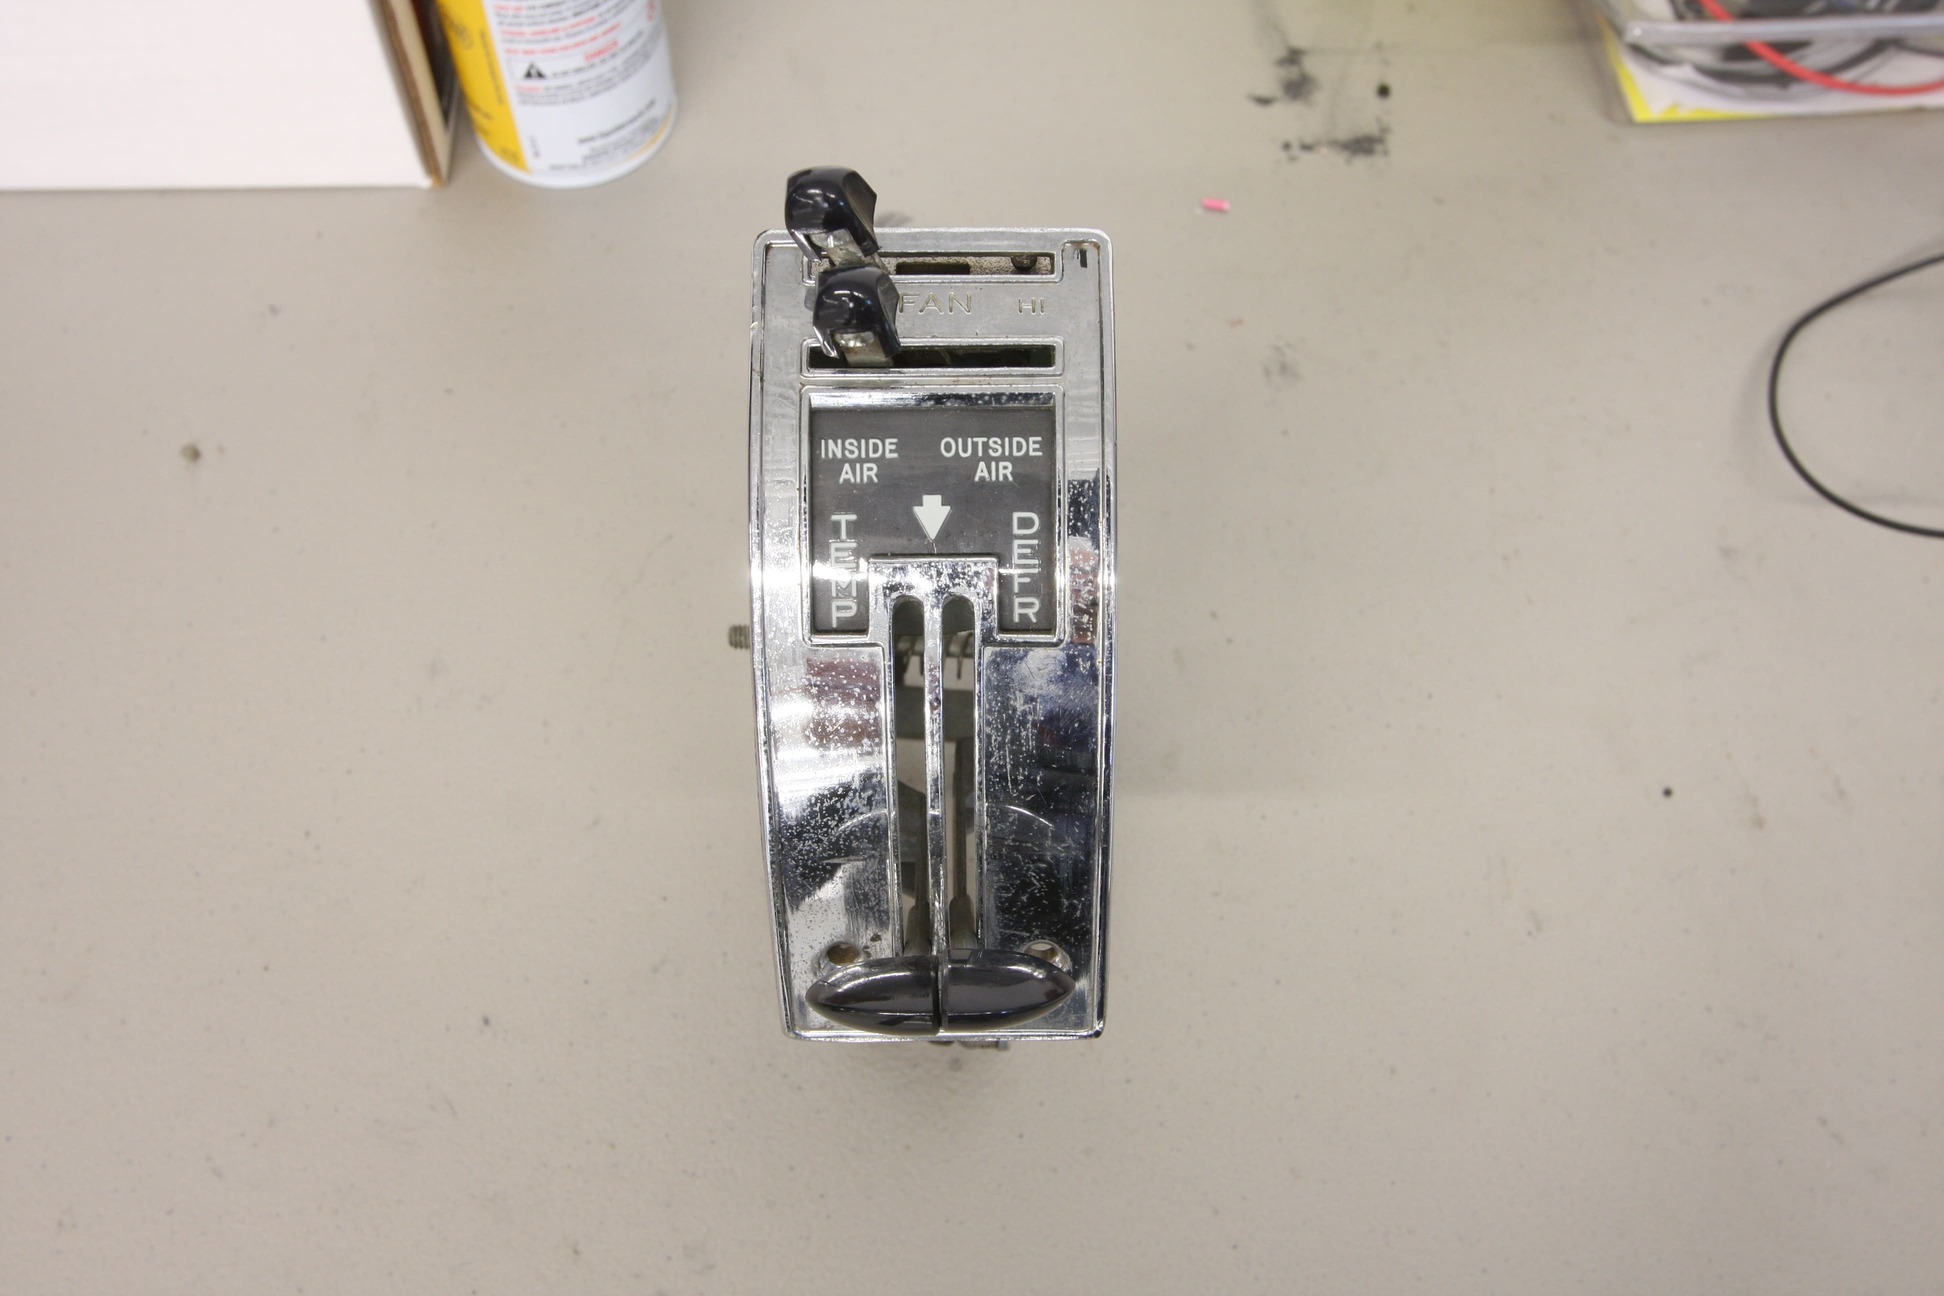
Another rubber sleeve attaches to the heater housing and seals to the opposite side of the air inlet housing. Atop the heater housing sits another gasket, the defrost seal that will secure against the defrost vents upon installation.The air inlet housing/blower assembly is installed first against the fresh air adapter. The air inlet housing diverts either inside or outside air through the heater housing via another diverter door activated by a cable attached to the inlet door lever on the control panel assembly.Next, the heater housing assembly is mated to the air inlet housing using another rubber sleeve to seal between the two assemblies. The heater housing assembly hardware is then tightened to firmly hold the unit in place. Folding the seals back on themselves allows the assemblies to be installed and then the seal can be folded back flat, snapping into place.One of our control levers was broken, so we opted to replace both using Danchuk PN 465 along with a new spring and pin kit (PN 15447). The lever on the left is the defrost control lever and attaches via cable to the diverter door on the heater housing assembly. The lever on the right is the temperature control lever and attaches via cable to the heater control valve mounted on the heater core.The inlet door control lever mates to the door on the air inlet housing via cable and diverts either inside or outside air through the heater housing.The original heater blower switch in our control panel was looking pretty rough, so we opted to replace it with a new unit from Danchuk (PN 10213).With the new blower switch mounted in the control panel, the last piece to our heater system rebuild is a new knob set (PN 612).
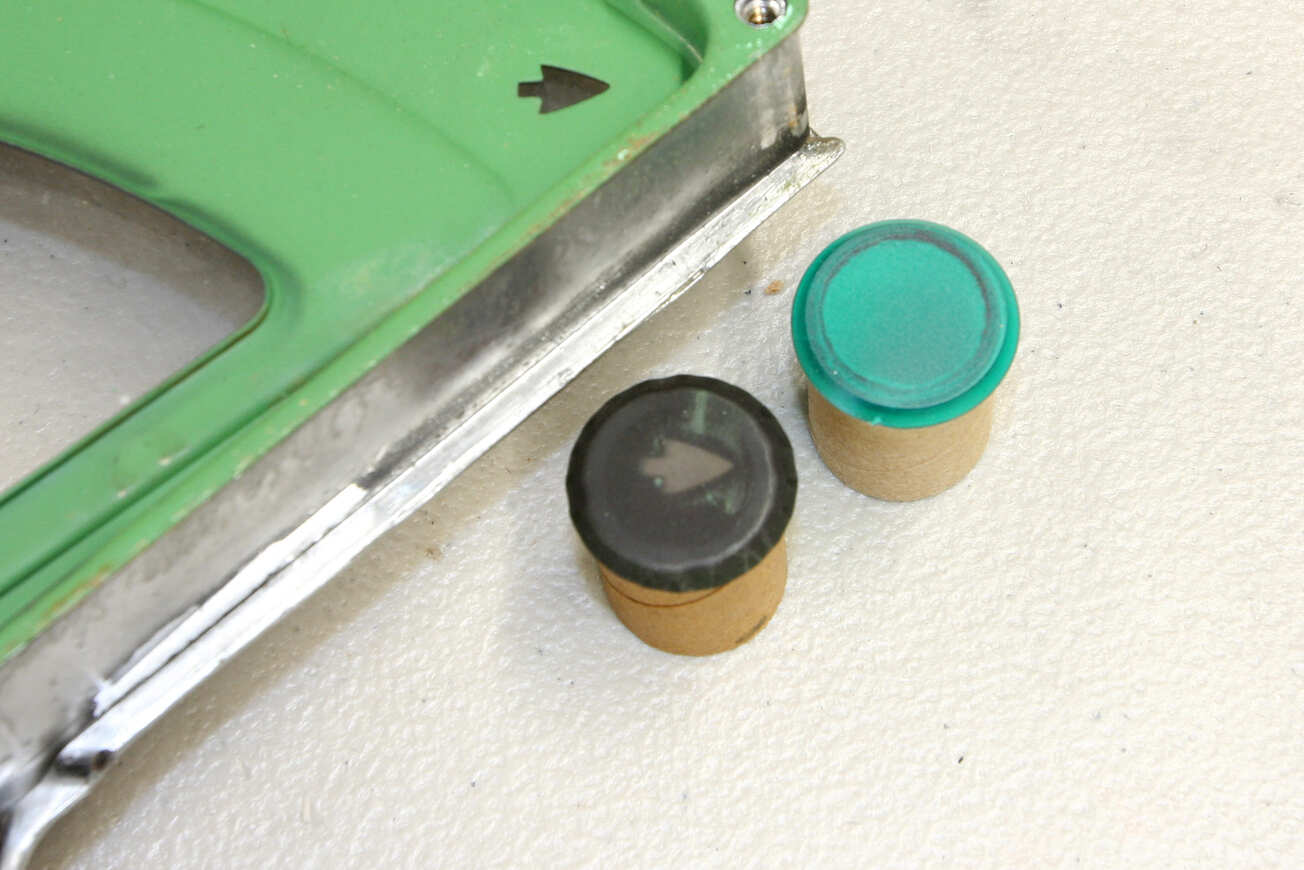
While our attention is concentrated on the dash, we thought it’d be a good time to go through our original gauge cluster as well. The turn signal indicator lenses were nearly burned through with hardly any green tint left.To brighten up our cluster, we’ll be installing a dash lens and insert kit from Danchuk (PN 609C), which includes both turn signal and high beam lenses and new cardboard tubes.With one of the old turn signal lenses against one of the new, the difference is significant.New turn signal lenses and tubes are installed as well as a new tube and lens for the high beam indicator. New tubes under the OIL and GEN lights complete the cluster rehab.Our new American Autowire wiring harness included new pigtails for the gauge cluster lights, so we’ll be updating the stock sockets with these.Wiring our cluster included a couple dash light and ground connections, power and signal wires for the fuel level gauge, high beam indicator, and turn signal connections. We’ll be using an external oil pressure gauge and voltmeter, so the OIL and GEN lights won’t be used. The car has a manual trans, so the shift indicator is moot, as is its light.
We use cookies to ensure that we give you the best experience on our website. If you continue to use this site we will assume that you are happy with it.