In the past, I never put a whole lot of thought into having parking brakes (at least not fully functioning ones) in my old trucks. Most of the time, the rear ends were equipped with drum brakes to begin with, so the presence of one wasn’t crucial to the performance of the older parking brake mechanism themselves … or at least that’s what I assumed. It wasn’t until I started dealing more with updated rear disc brake setups that I became aptly aware of the importance of having properly performing parking brakes—and it’s not for use in “emergency” situations!
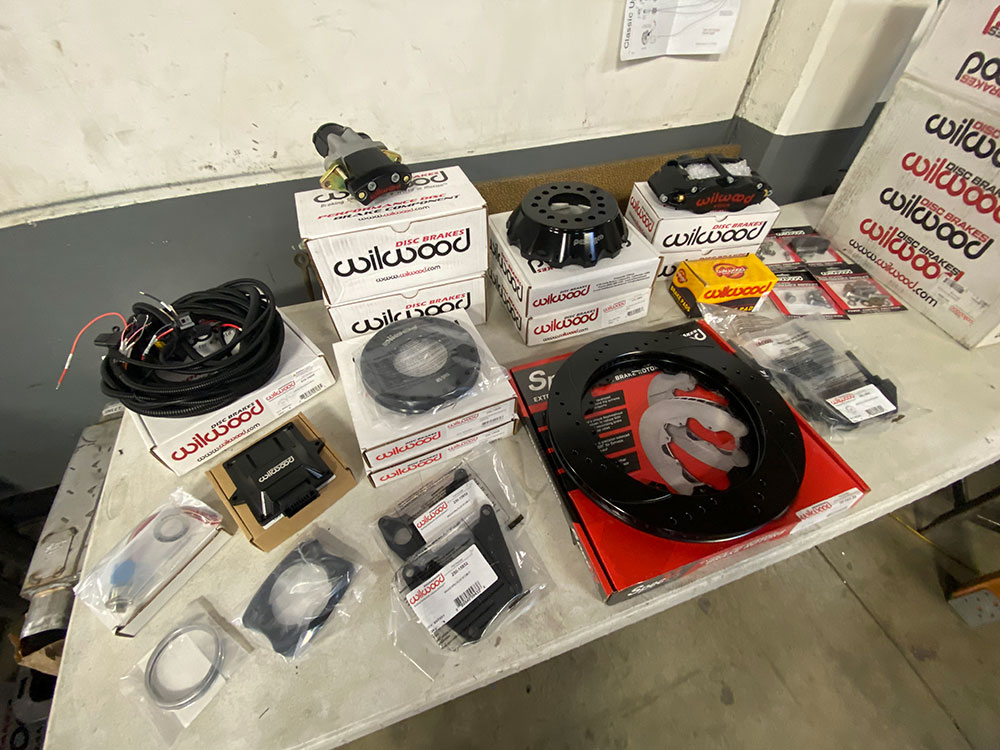
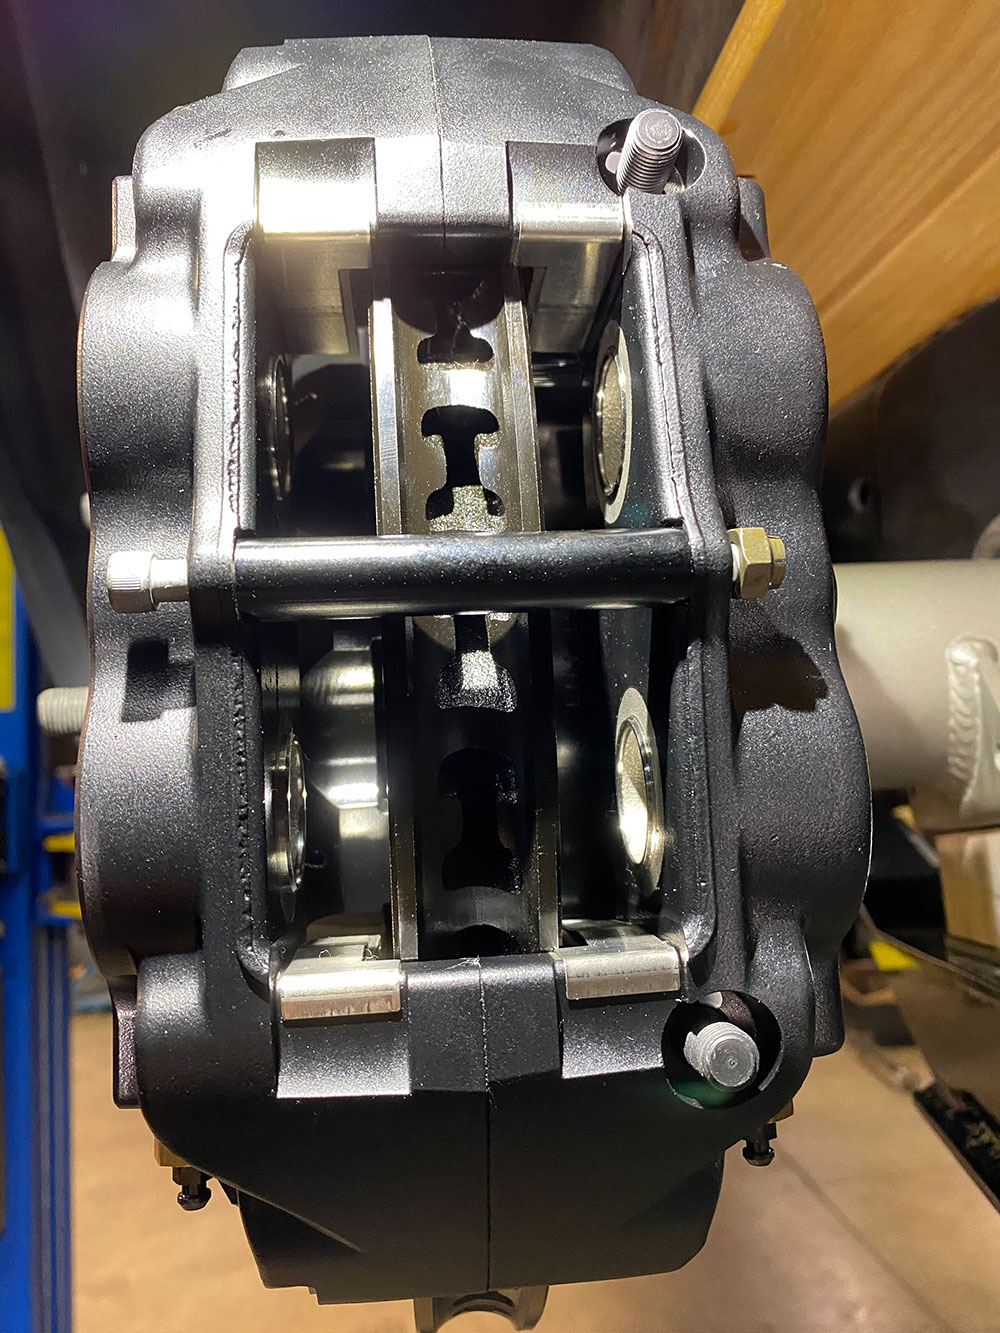
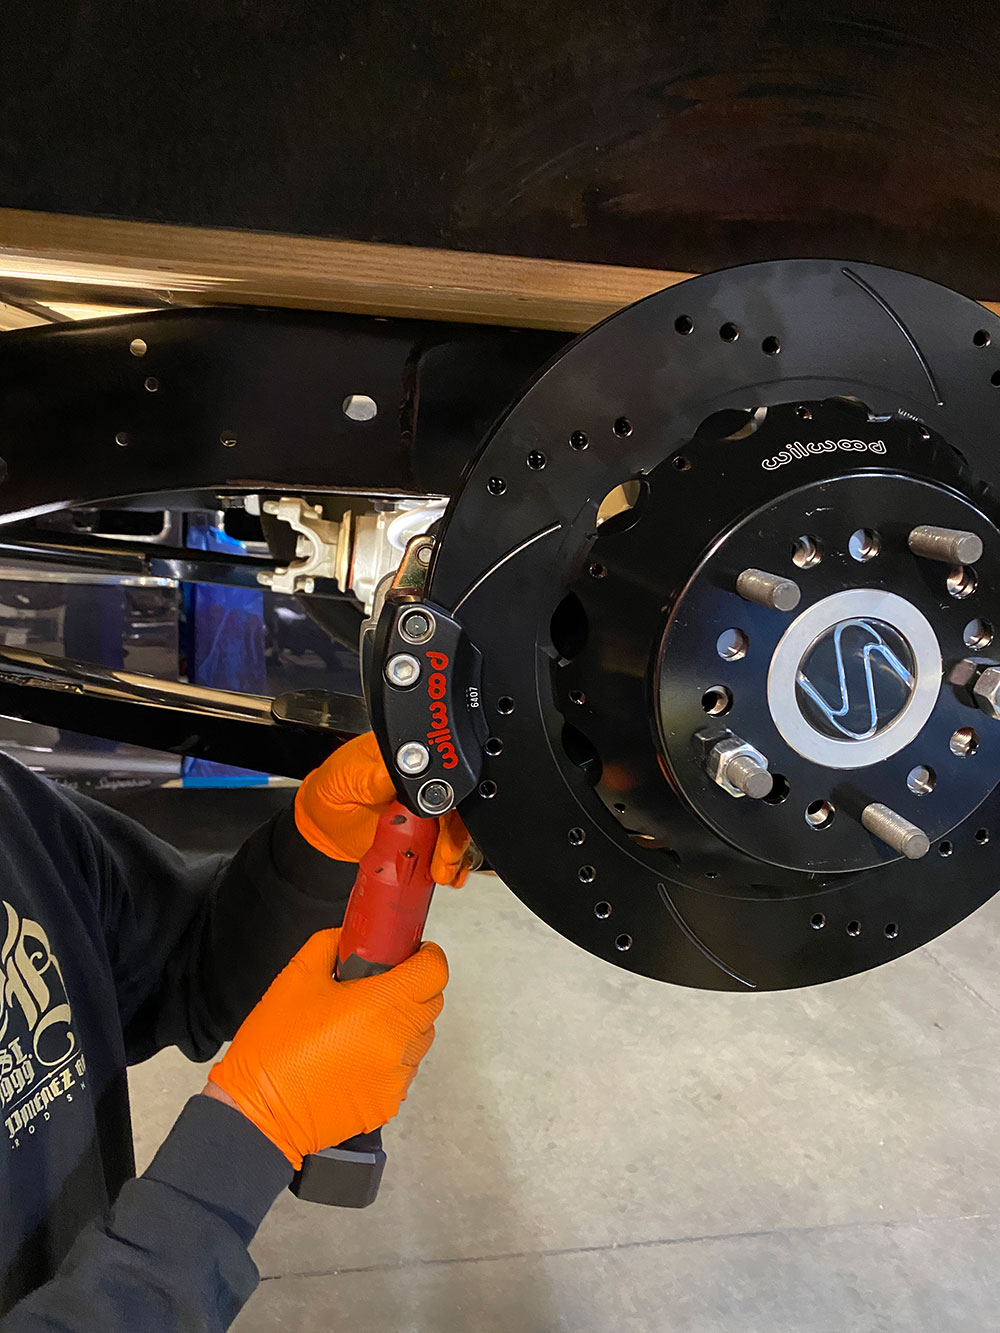
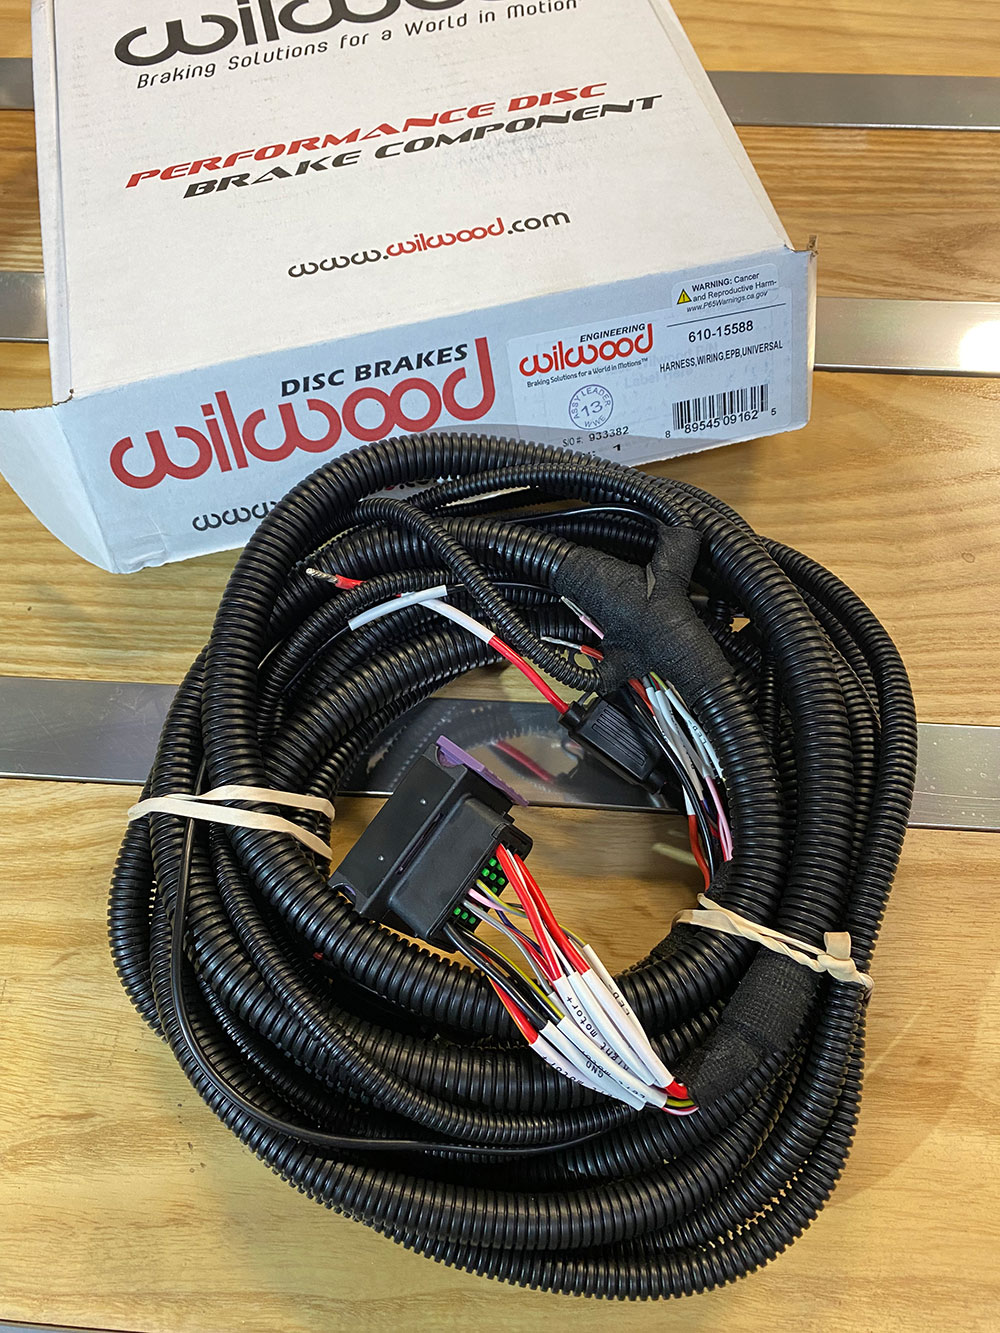
Here’s what we’re about to install on the 1969 C10’s Strange Engineering 9-inch rear end: Wilwood’s Forged Narrow Superlite 4R kit complete with four-piston calipers (using BP-10 high-performance compound brake pads), 14-inch two-piece rotors, anodized brackets, hardware, spacers, and so on, and their newfangled Electronic Parking Brake (EPB) option. Of Wilwood’s 24 color options offered for the calipers, the choice was made to go with satin black complemented by red logos.
Ironically, one of the main things that always bothered me in the back of my mind about my 1969 C10 ever since I thought I got a smoking deal on it a couple years back (I did not—I’ve spent the entire time practically redoing the entire truck!) was having to deal with and facilitate the factory parking brake setup. Even though I’d swapped out the stock 12-bolt for a Strange Engineering 9-inch rear end and had acquired a new set of cables, the original lever mechanism was completely missing—and I’d already designated the space immediately behind under the dash for the forthcoming fuse panel setup.
Well, my worries were no sooner put to rest when I got a call from my buddy Mike Hamrick at Wilwood Engineering asking me what kind of brakes I had on my newly installed 9-inch rear end. It just so happened that Wilwood was releasing their new Electronic Parking Brake (EPB) equipped rear kits for C10s, and for the first time in my life, I didn’t need to be persuaded into switching to something with the word “electric” in it! Ever better, with Wilwood’s expanded customer customization options, I was able to choose not only the color of my calipers, but the color of the logos as well!
As mentioned, the new Strange engineering axle had yet to be equipped with brakes, so the process of removing pre existing components was not on the to-do list. And since this is a 9-inch rear end, pulling the axles entailed doing just that—simply pulling the axles without having to touch the differential or mess with any clips.
Ultimately, I obtained Wilwood’s 14-inch Forged Narrow Superlite 4R rear kit with their sleek yet beefy FNSL4R four-piston calipers (all finished in black, with the calipers done in satin black with a contrasting red Wilwood logo). And in lieu of the integrated mechanical mini-drum parking brake most are familiar with, they supplied their new Electronic Parking Brake kit with color-matched calipers!
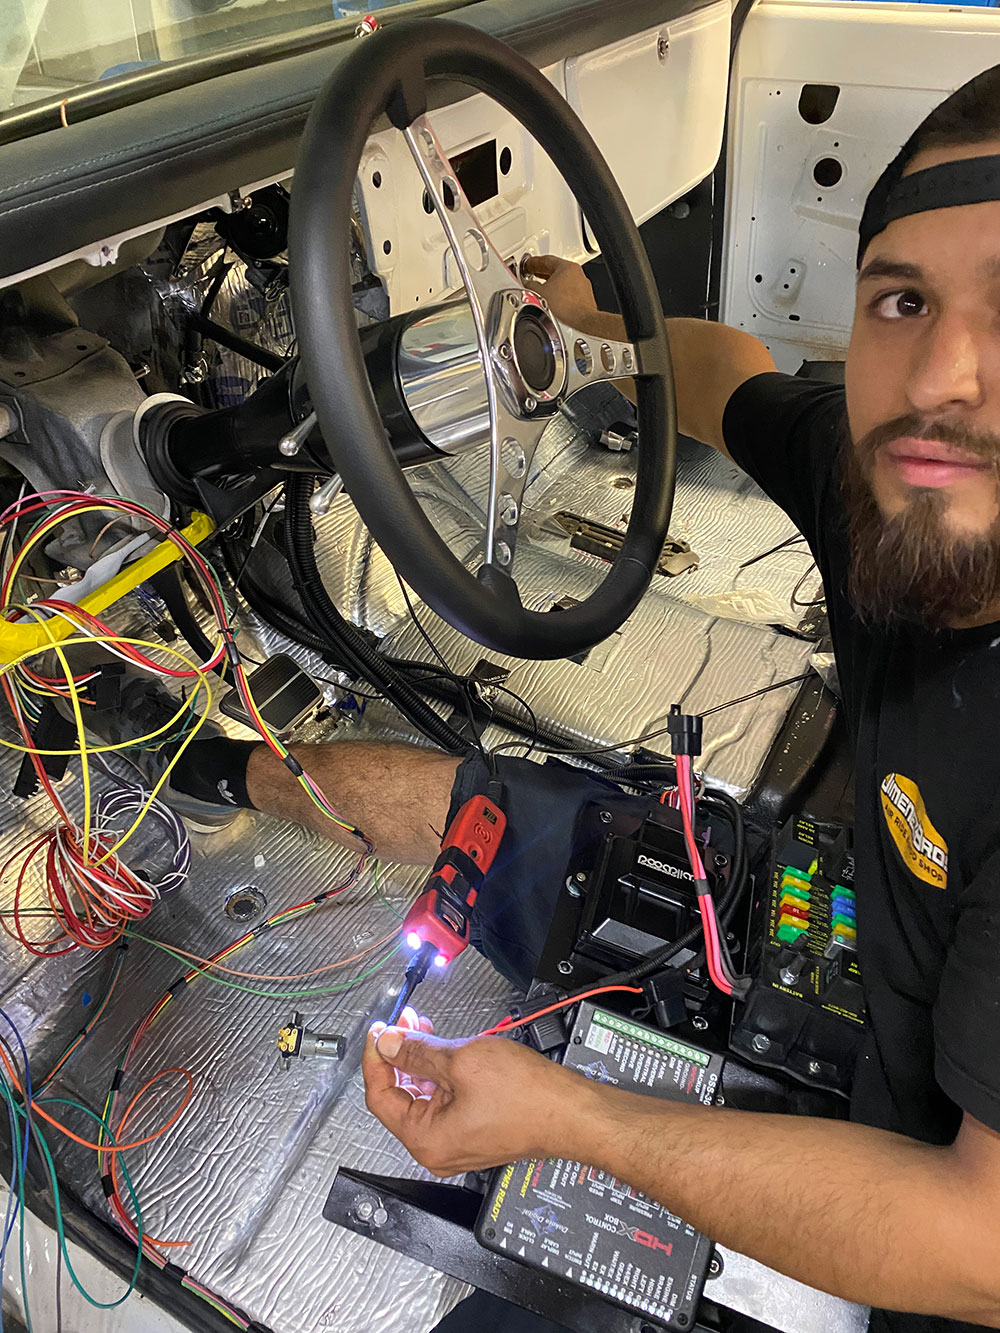
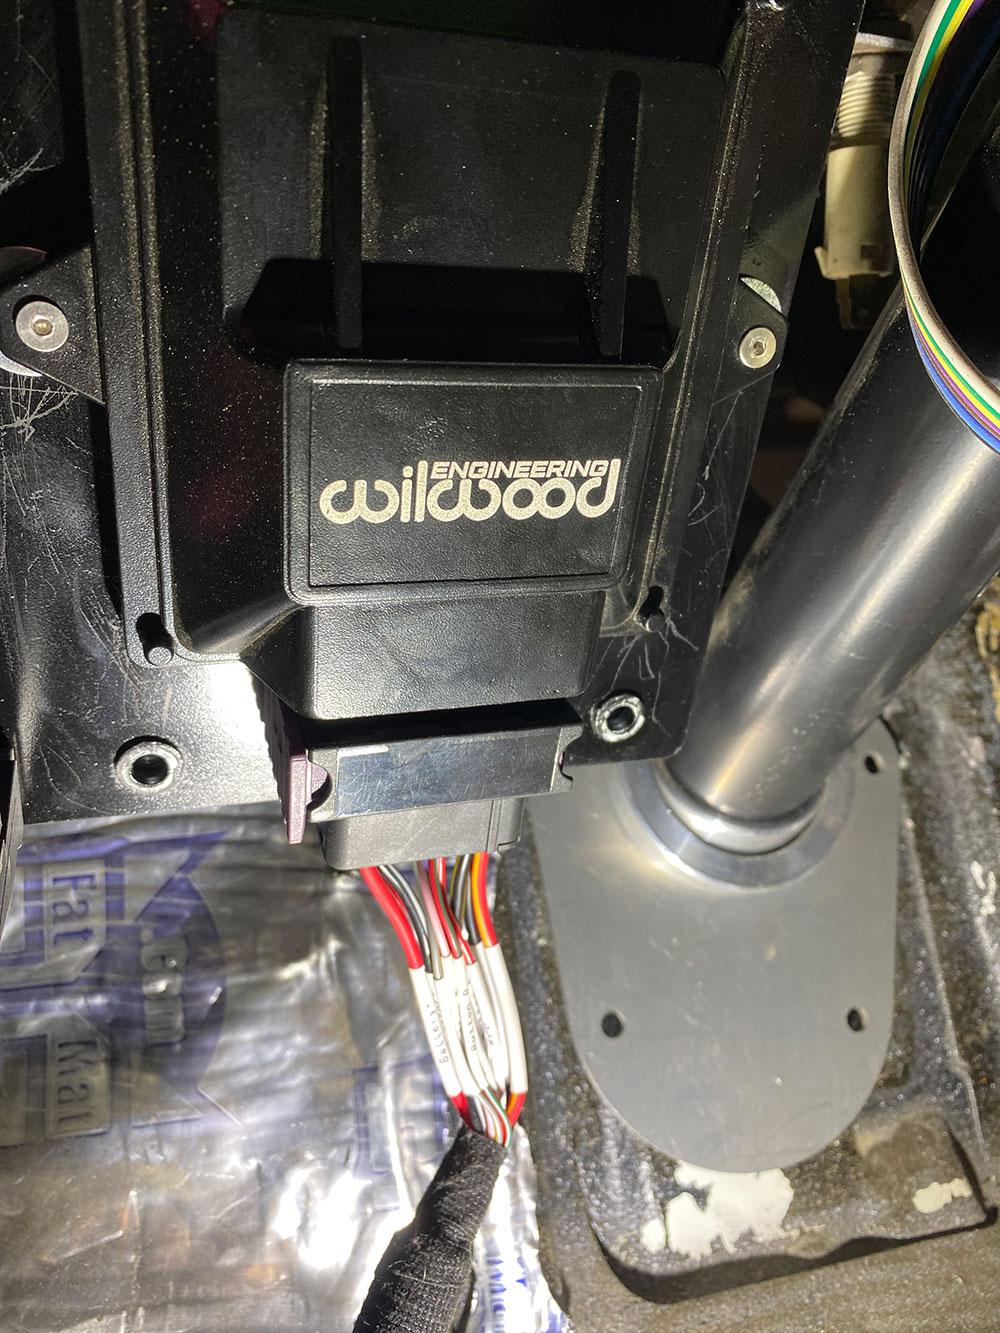
Now, while my days of wiring are pretty much behind me for the most part, in this situation I was more than happy to string the truck with Wilwood’s Electronic Parking Brake harness, mount the control module beneath the dash (right where the old mechanical parking brake lever would’ve been!), and find a nice suitable spot for their activation switch versus dealing with the cables.
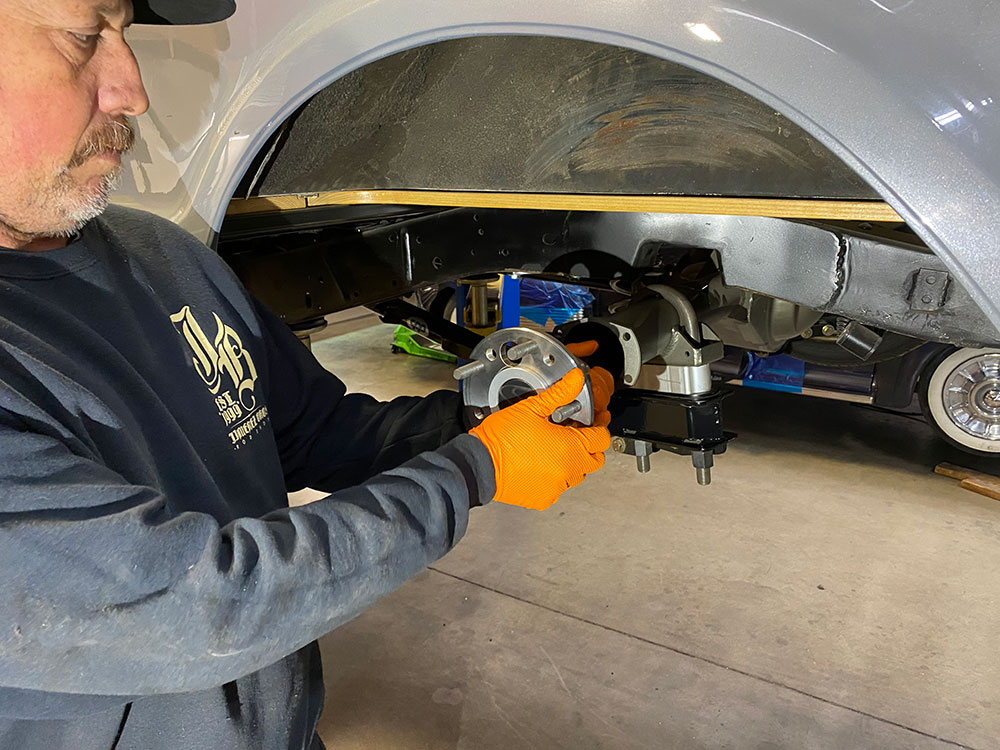
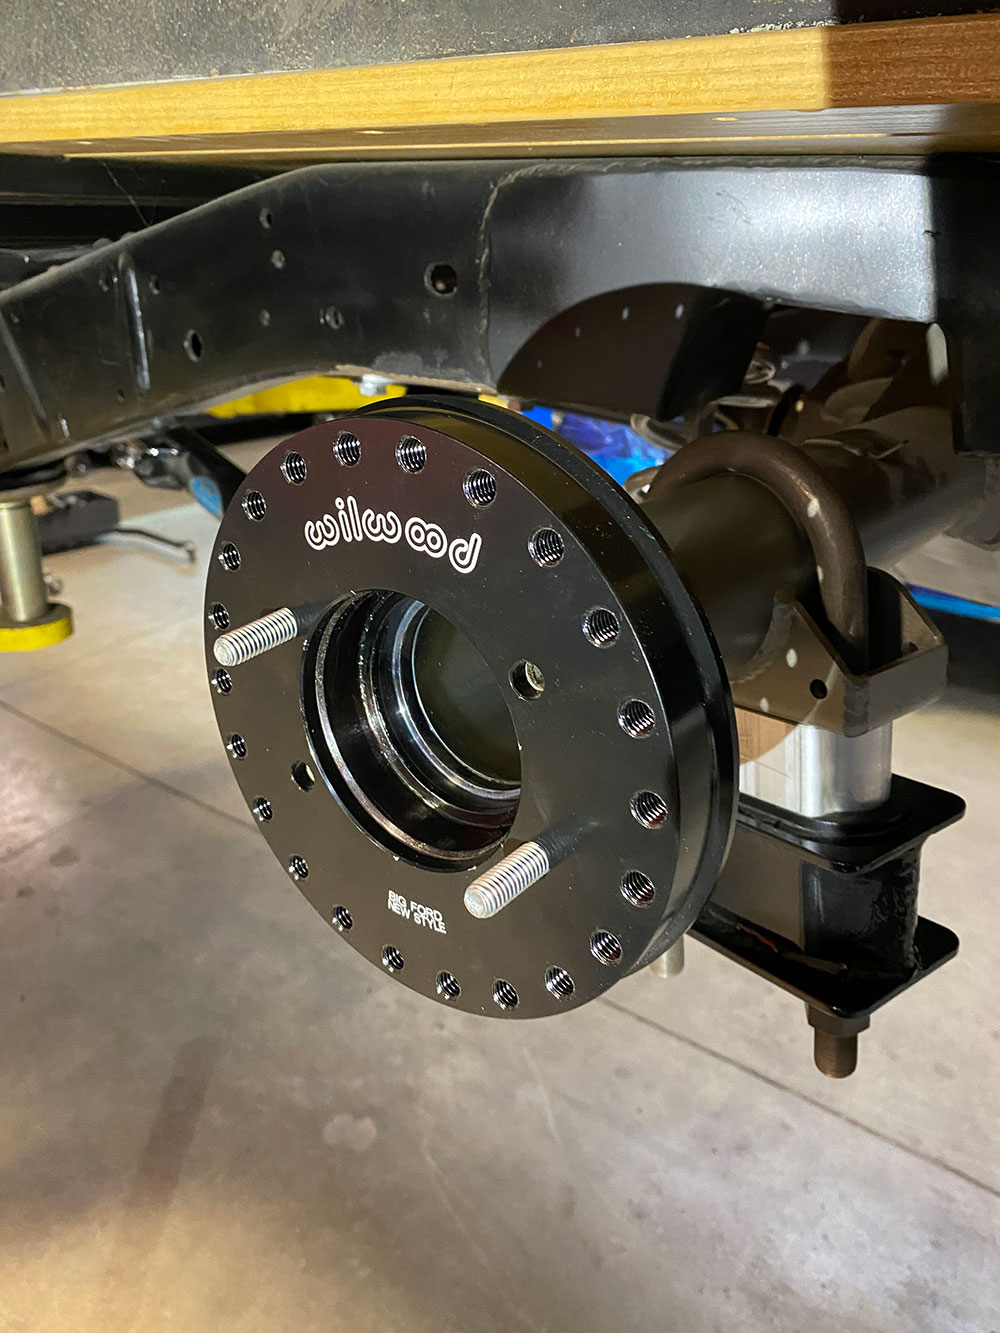
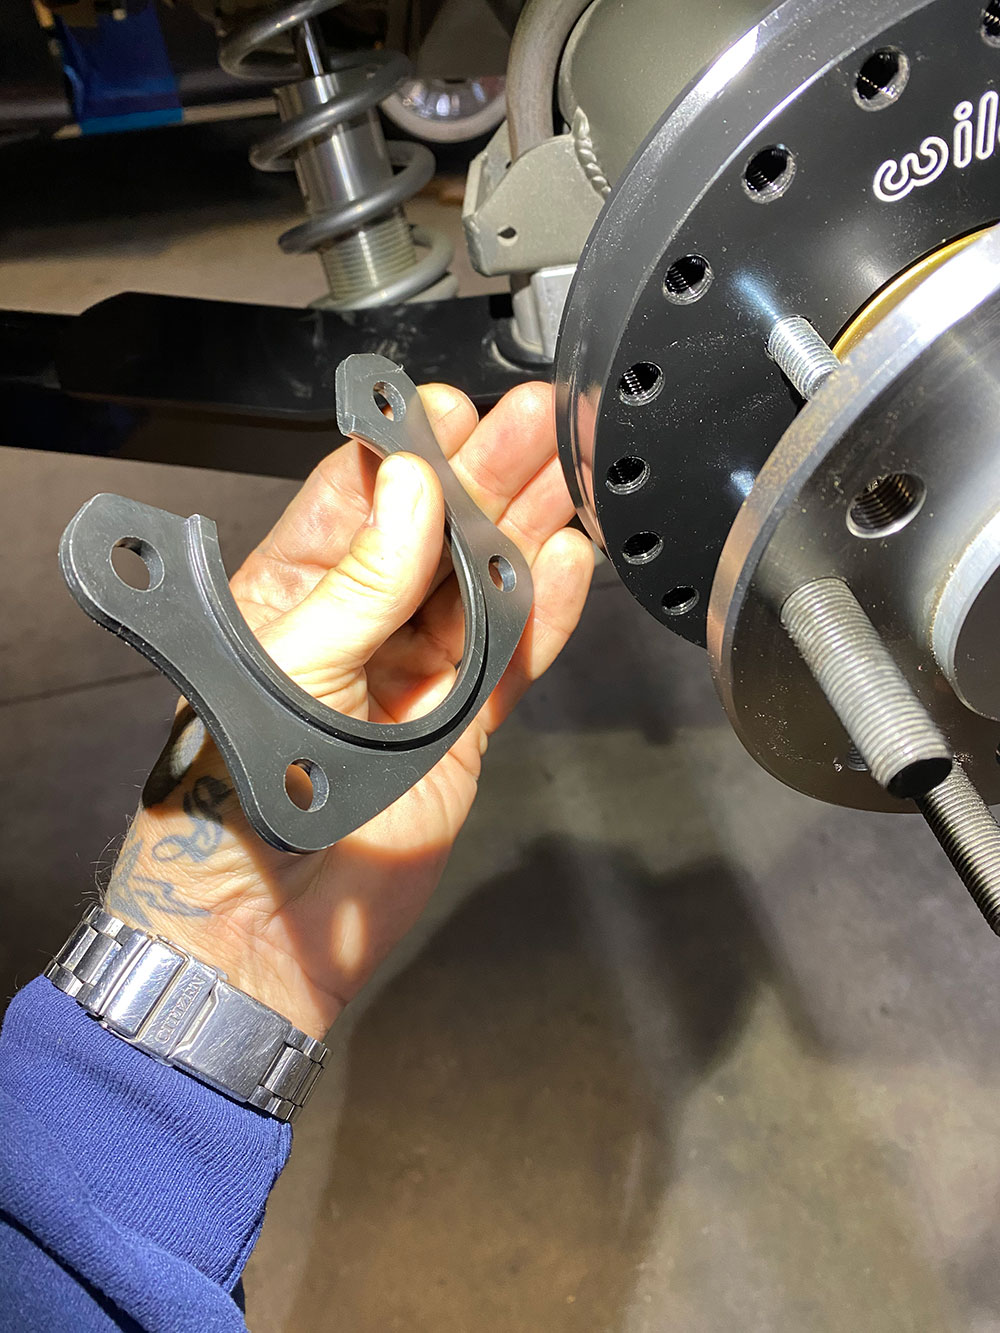
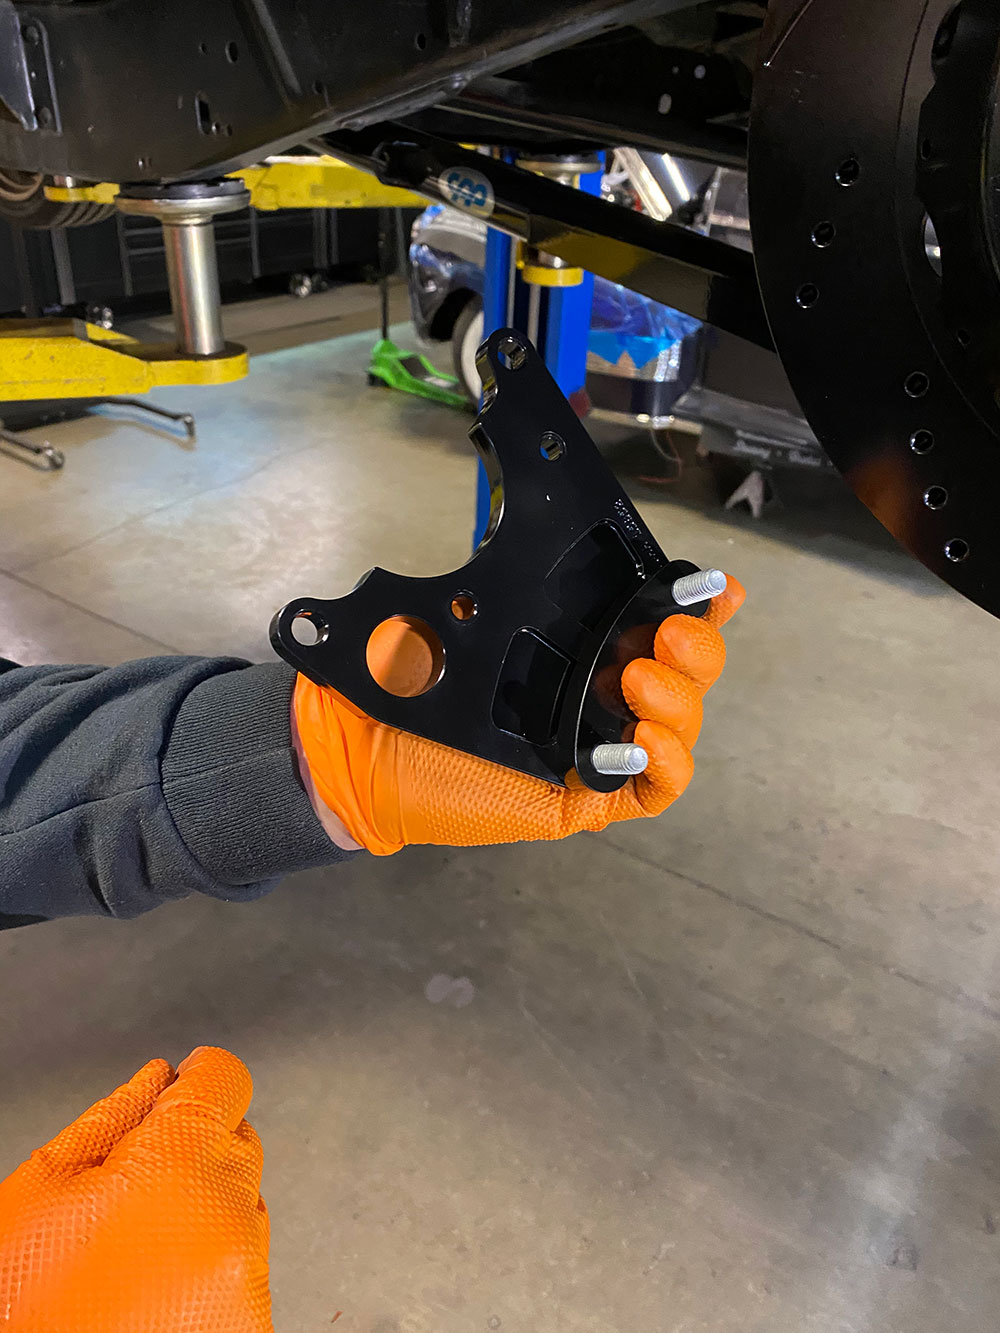
In lieu of the traditional mechanical parking brake assembly, the electronic kit uses a basic backing plate hub that attaches to the axle housing (just as the mechanical version does). The external perimeter of predrilled holes allows you the ability to clock both the brake and EPB calipers in a number of different positions.
I guess you could say I got my cake and ate the whole damn thing with the C10’s new rear disc brake kit. The brakes were as easy as could be to install (definitely helped having a 9-inch rear end as opposed to a 10- or 12-bolt as far as axle removal is concerned—not to mention the fact that there were no preexisting brakes to remove in the first place!). And because of that, I went ahead and ordered Wilwood’s forged/dropped spindle 14-inch front brake kit to match … along with their new design manual master cylinder. Stay tuned for that coming up next!
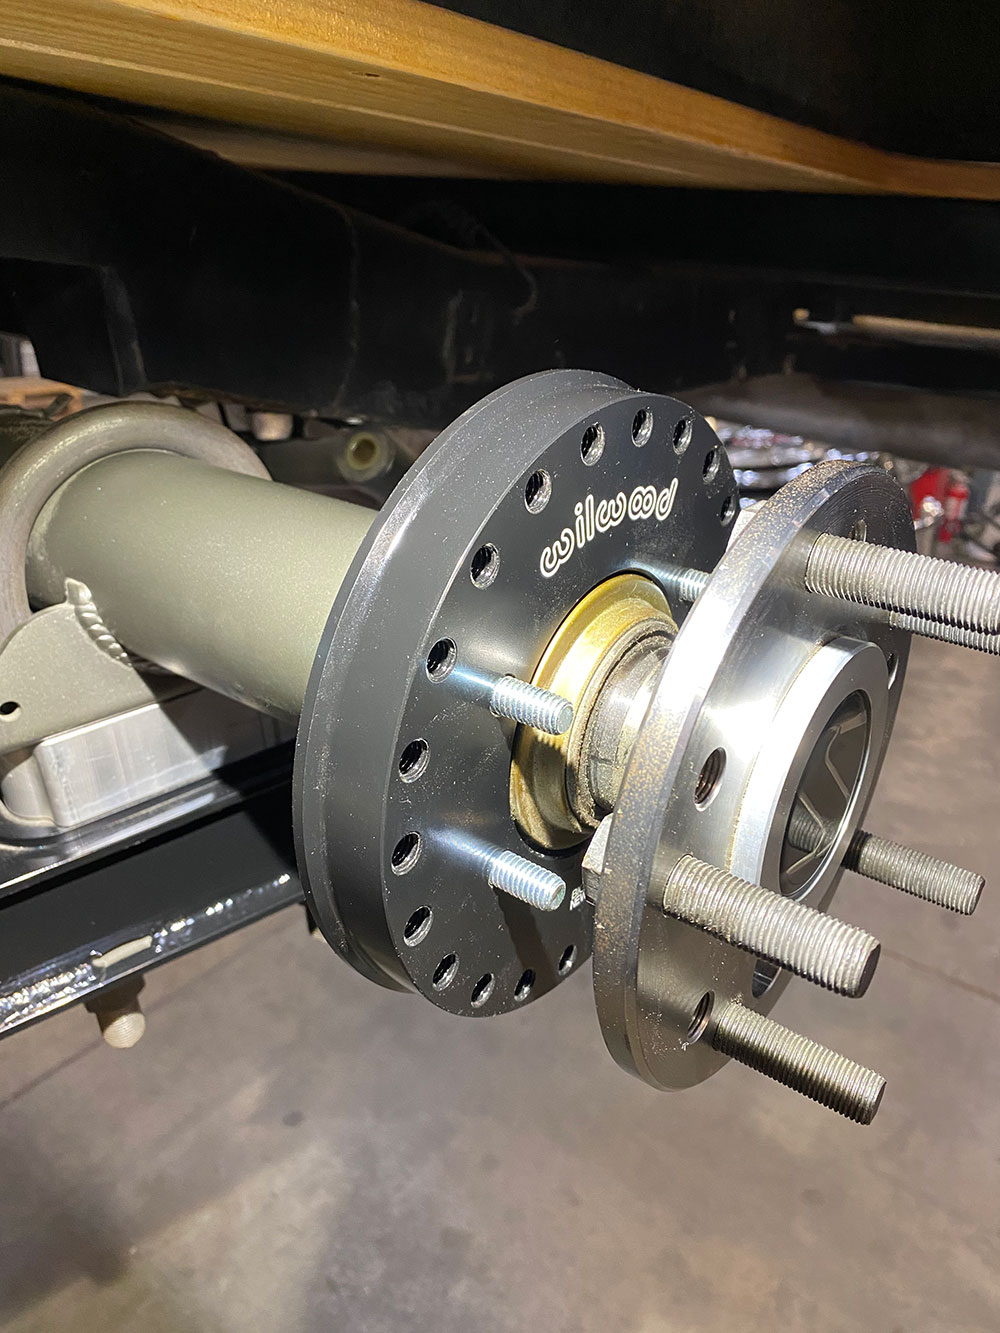
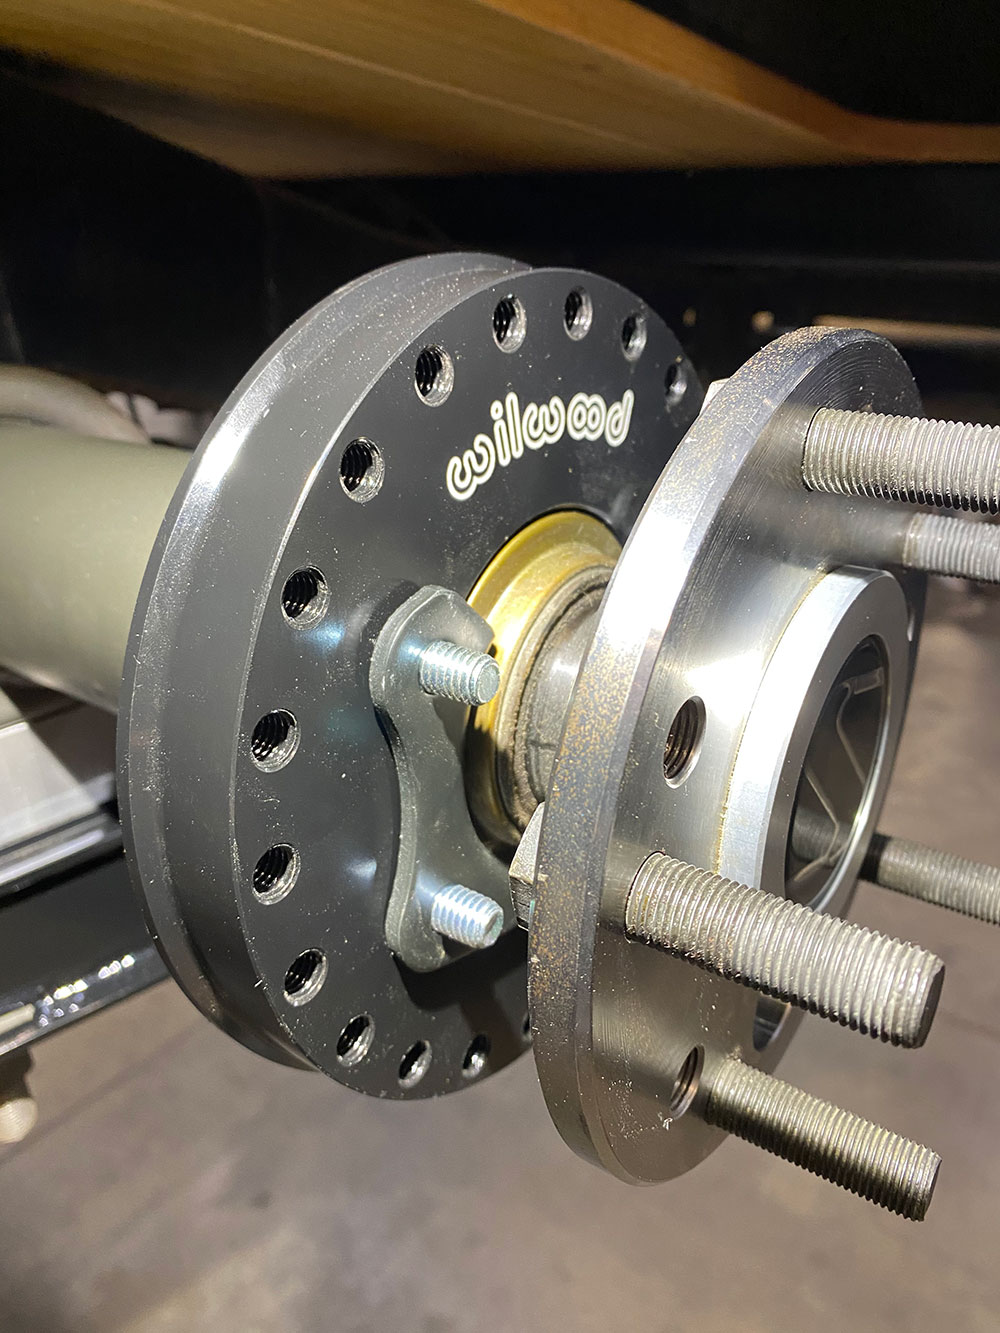
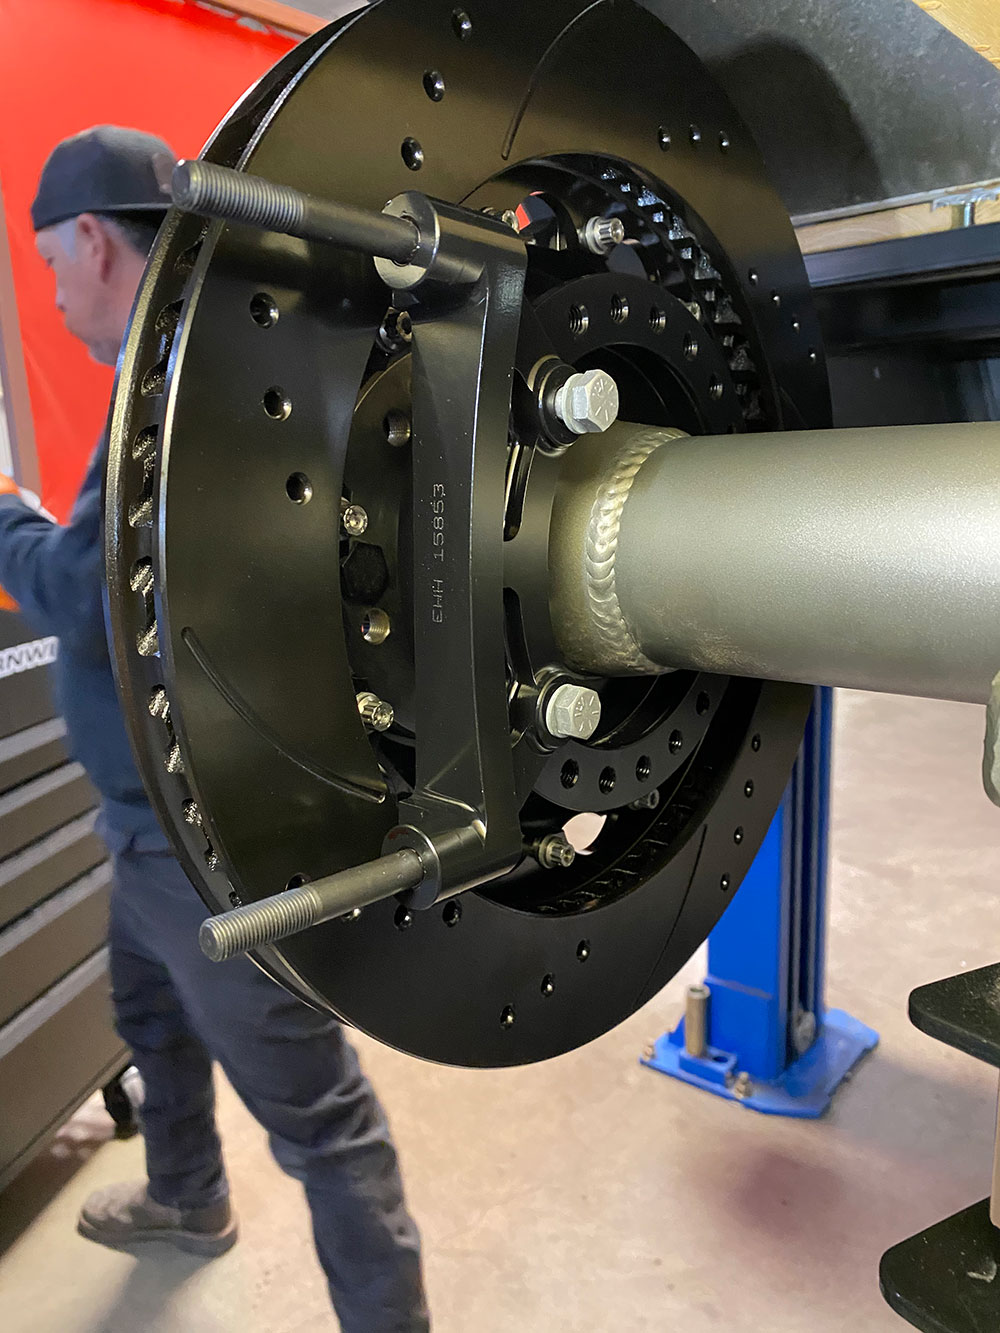
With the backing plate hubs seated on the housing and the mounting bolts installed from the backside through the flange, the axle can be slid back in place (carefully, so as not to damage the seal and potentially ruin your new friction with leaky gear oil!).The backing plate is then secured with the supplied horseshoe-shaped bearing retainers, as shown, with the raised lip facing in toward the bearing seal.
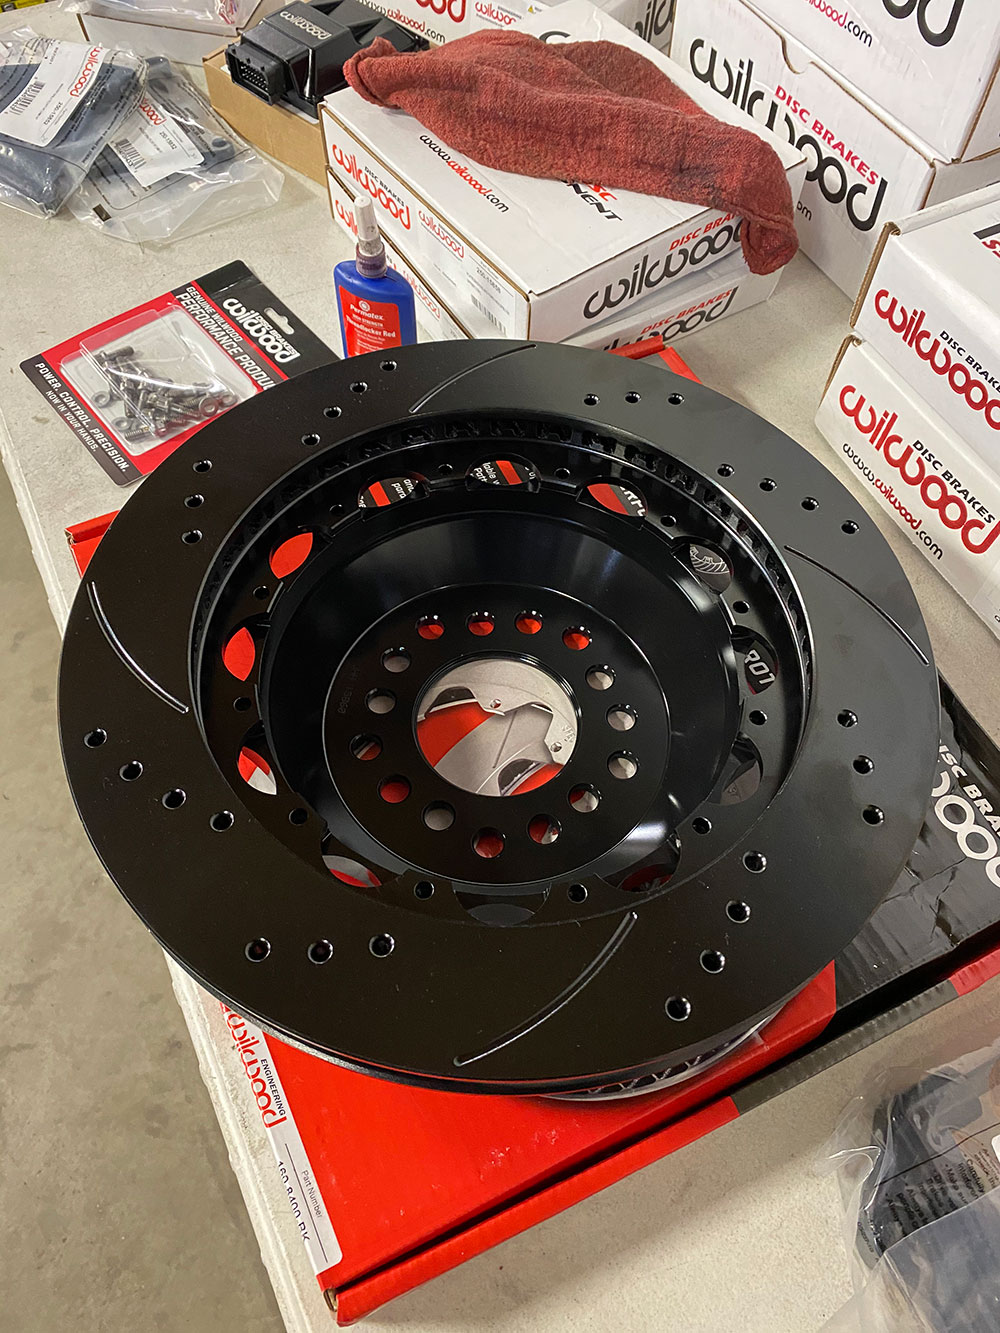
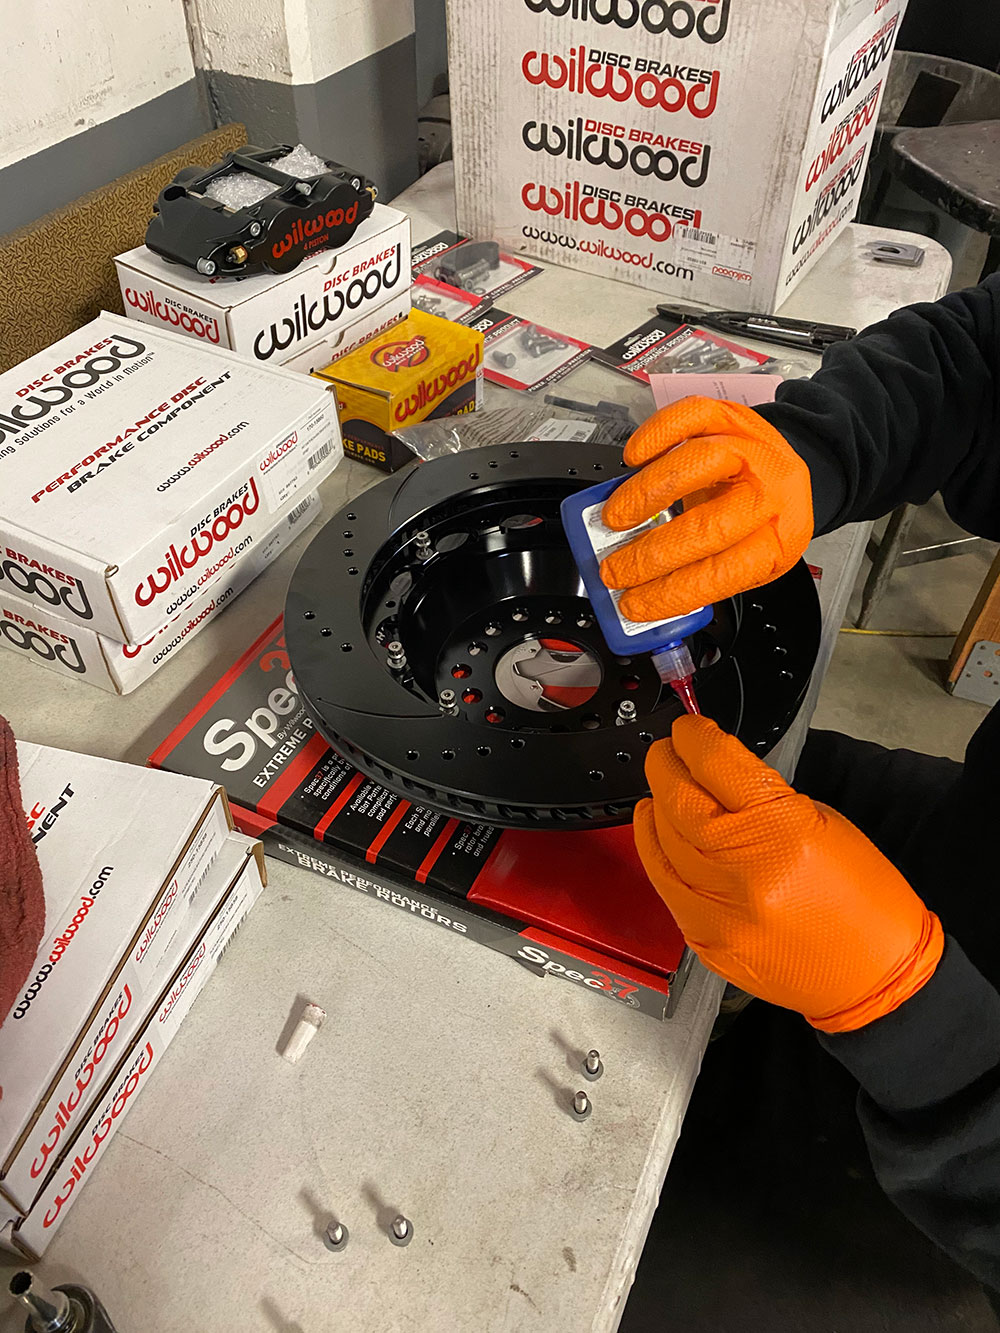
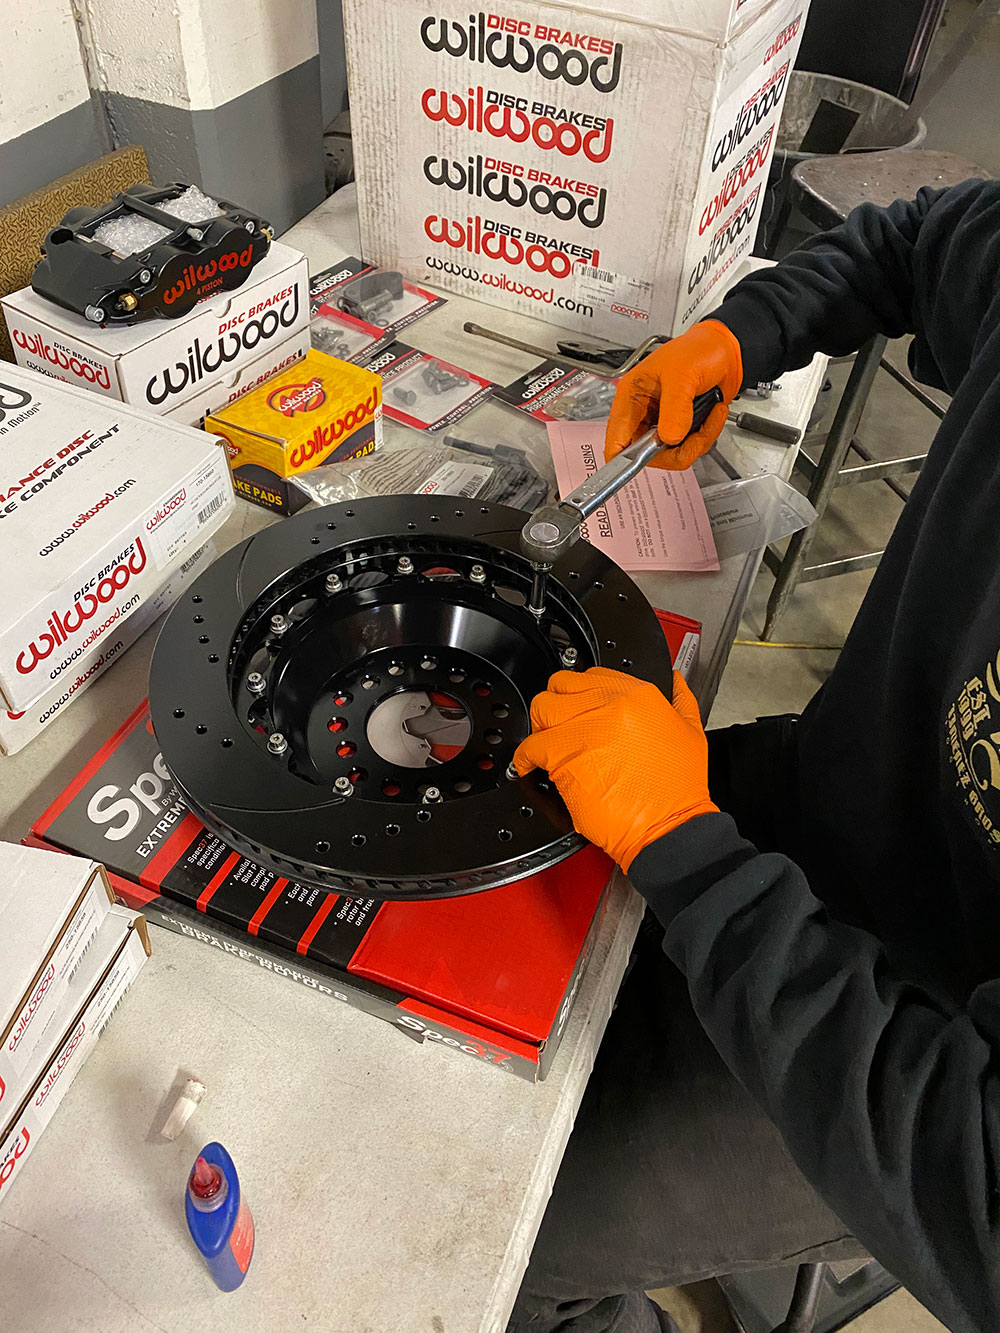
Torque the hardware down per Wilwood’s specs using that nifty little window in the axle flange.Now we can move onto assembling the two-piece rotors. With the hat lying face down (preferably on a non-marring surface), lay the rotor onto the mounting surface with the stepped side facing you (the front of the rotor is flush) and align your holes.While safety wiring your rotor hardware is recommended whenever possible, it’s not totally necessary (it was a Sunday and we were out of wire!), however, using red Loctite is not to be overlooked! Torque the bolts in sequence per Wilwood’s specs.
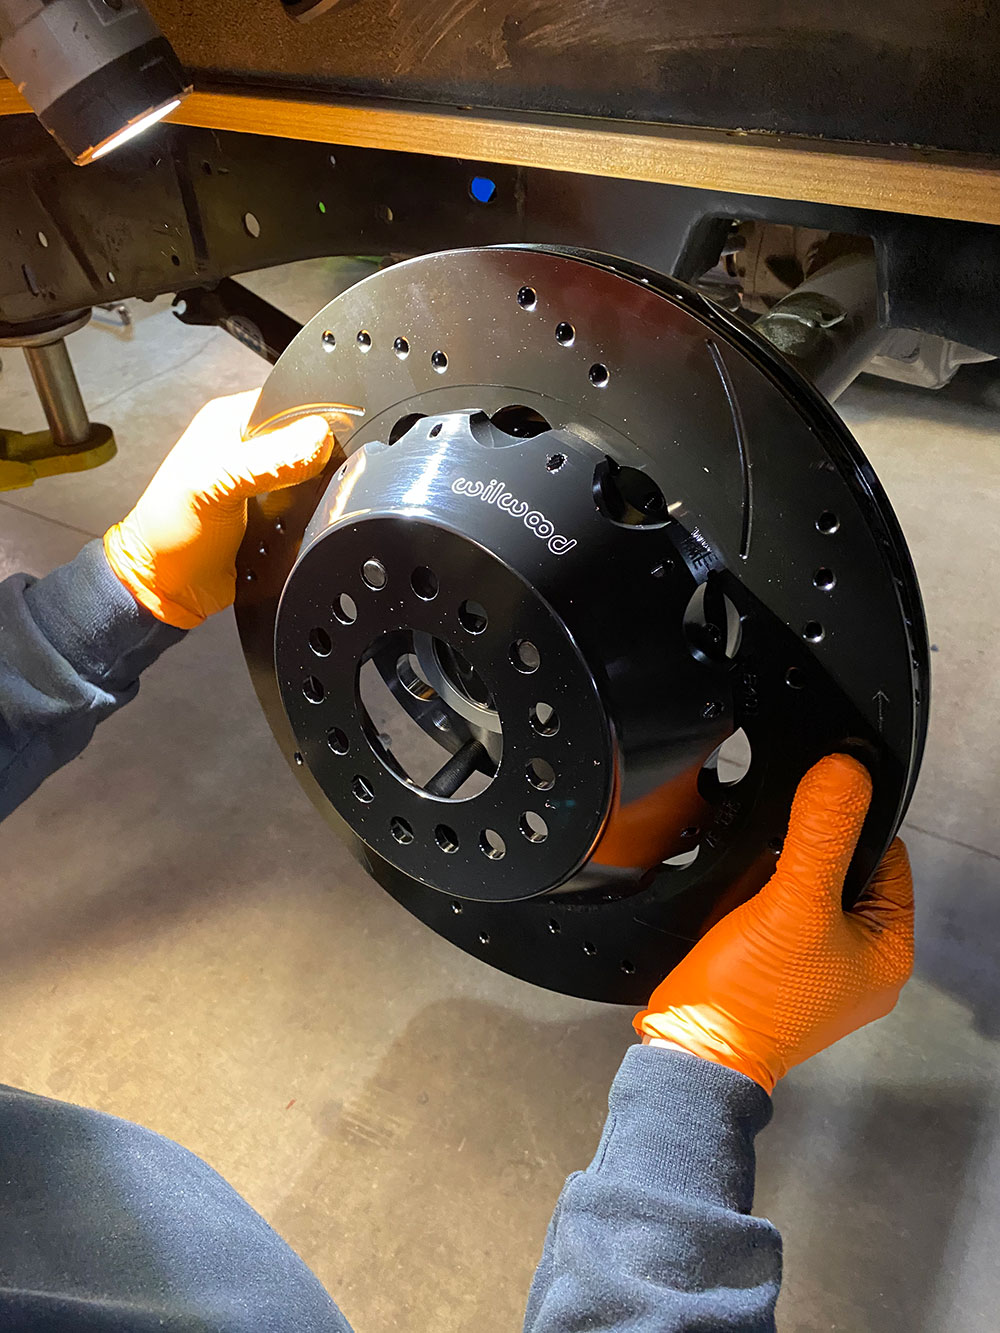
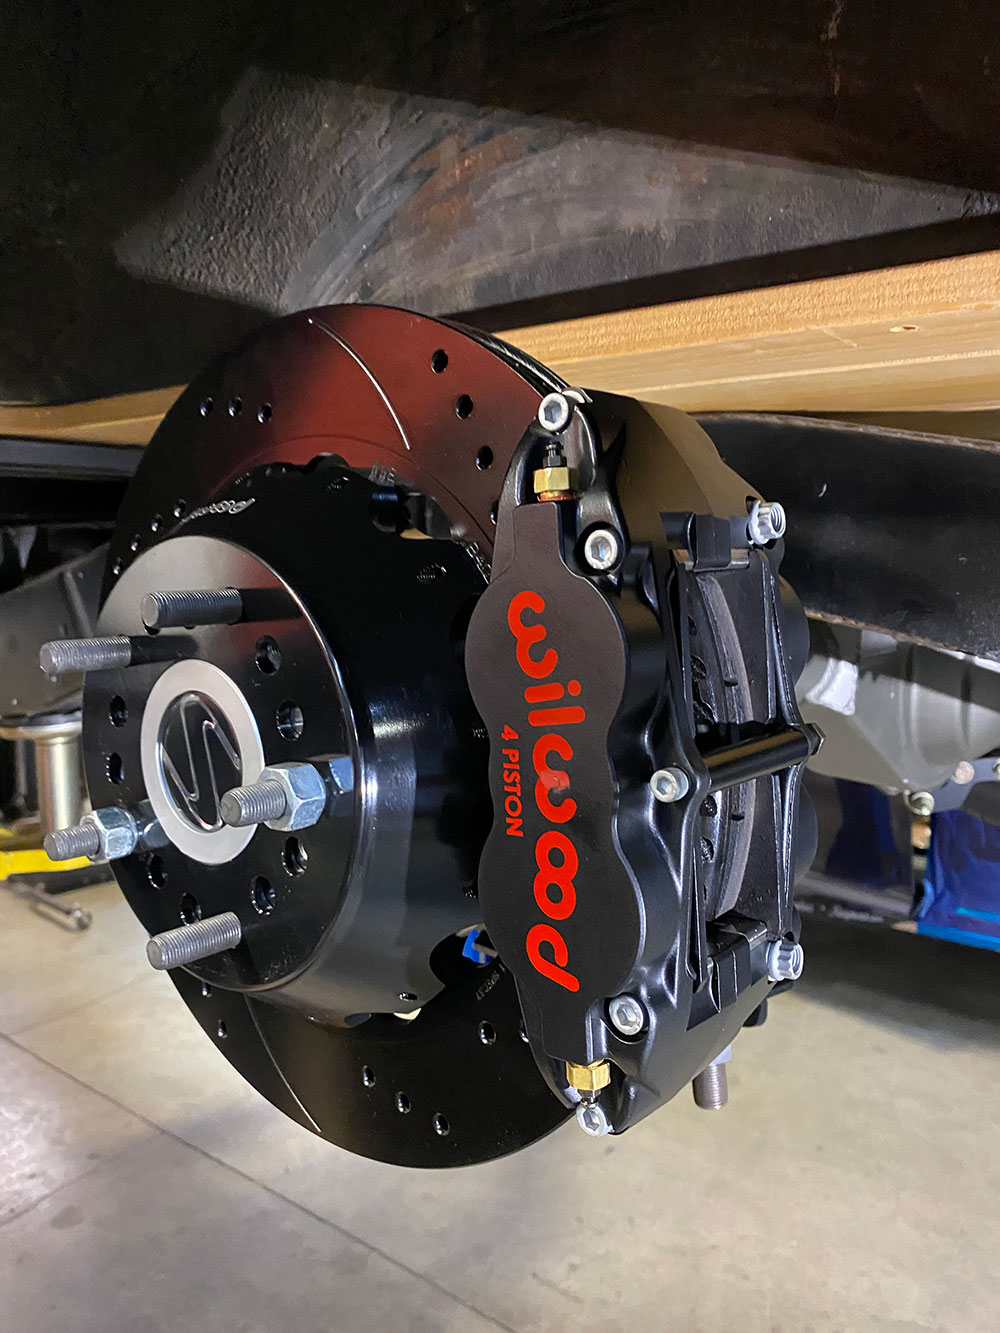
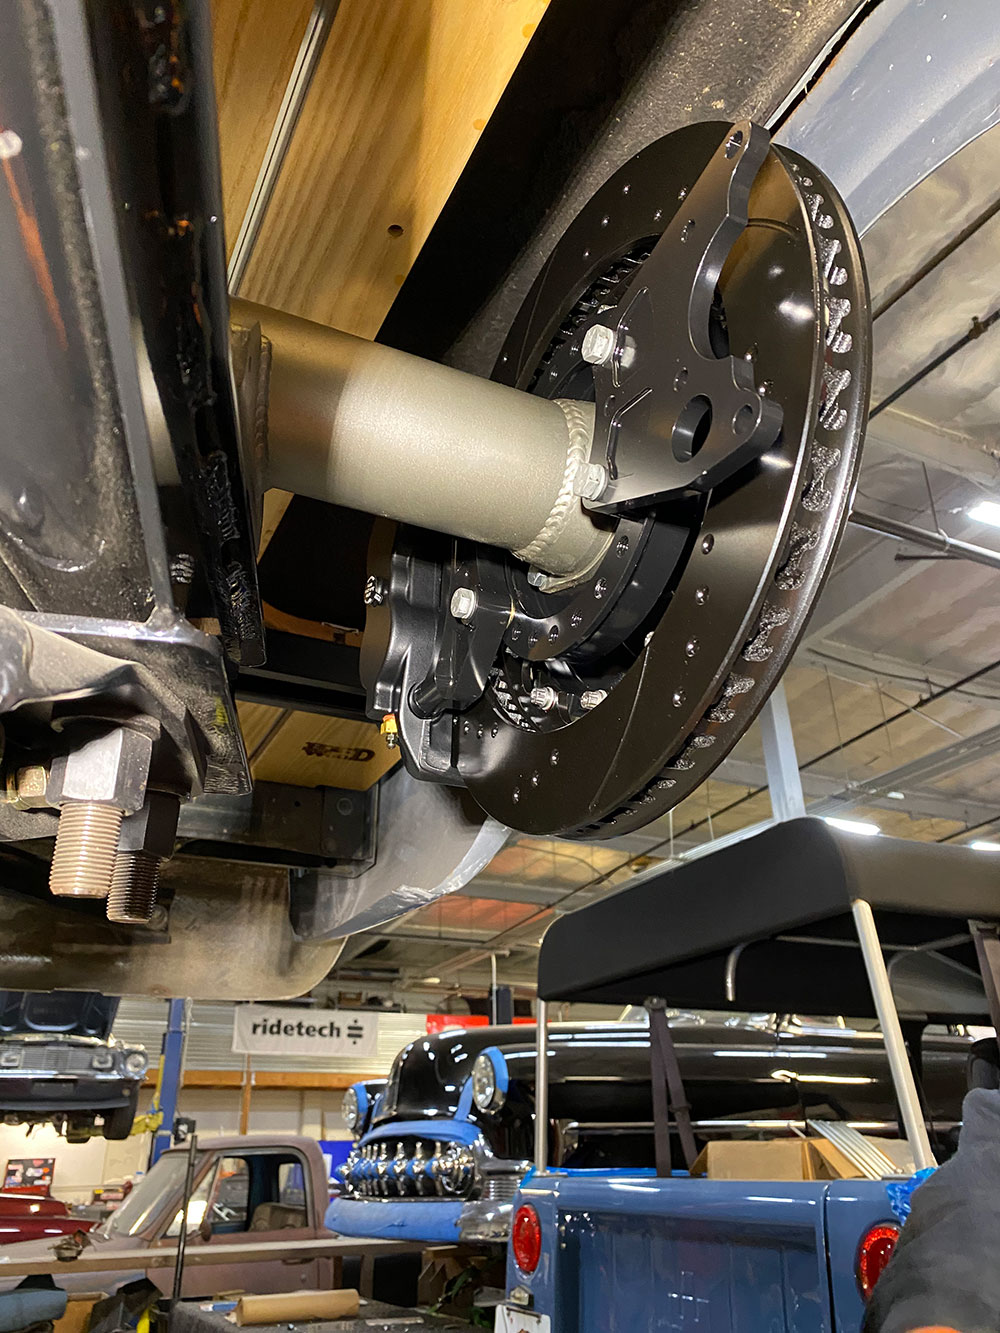
Now our freshly assembled 14-inch rotor can be installed on the axle—and with a unilug pattern we don’t have to kick ourselves for not pre-checking the lug pattern fitment!Again, the Electric Parking Brake backing plate gives you the ability to clock both calipers in different positions depending on clearance issues you may have. For the brake caliper, we went with a standard centered rear-side mount—but we still need to determine the number of shims required to center the caliper itself on the rotor.
The caliper bracket uses shims to space itself off the backing plate, while the mounting studs use spacers to shim the caliper off the rotor. Set your spacing accurately before torquing down any of the mounting hardware and leave the brake pads out during the fitting process.
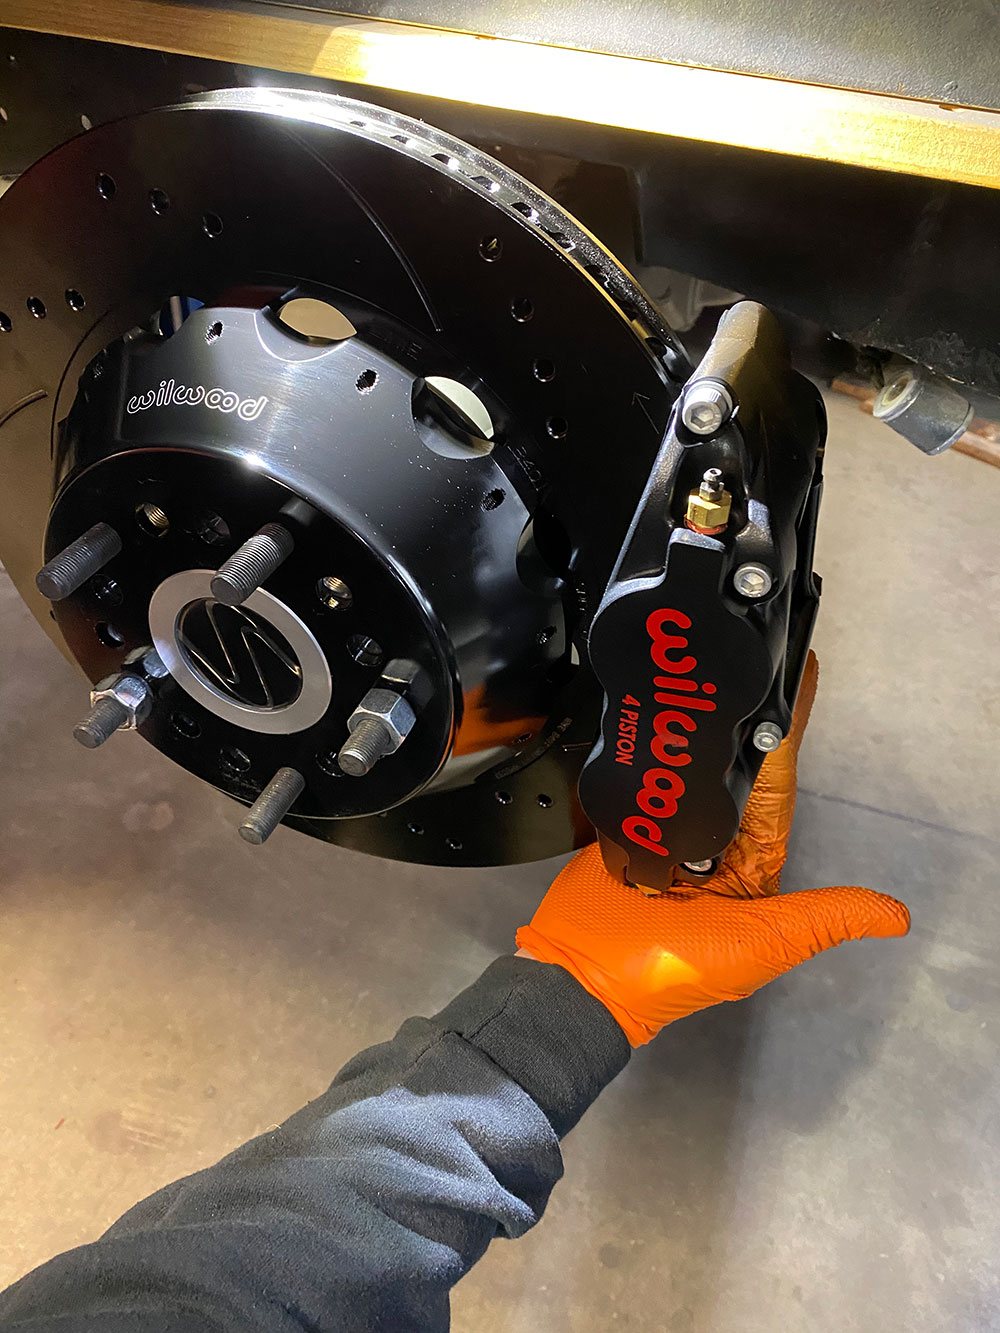
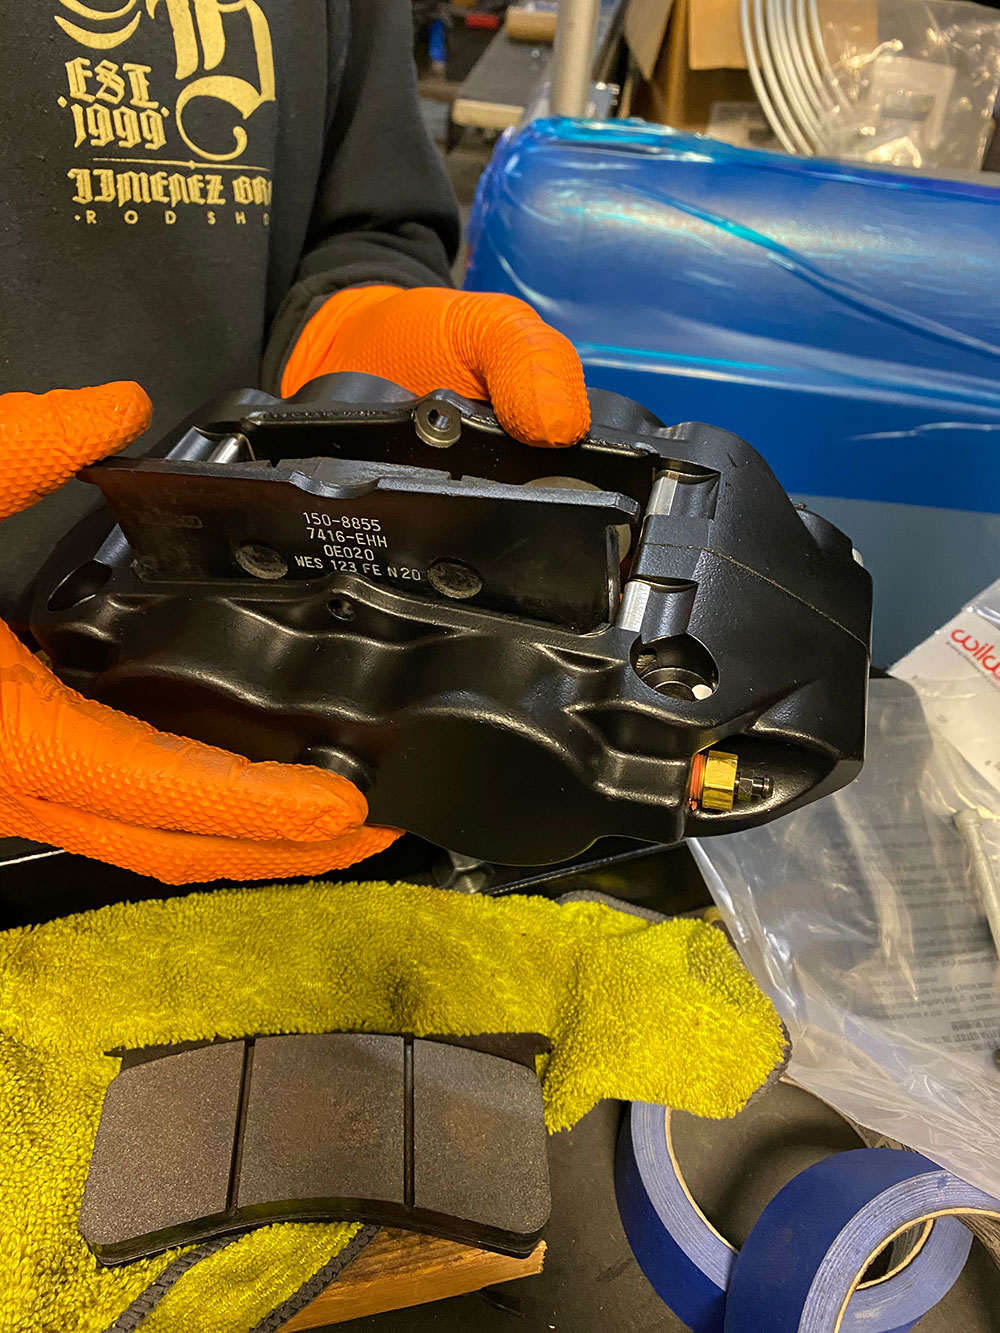
With everything aligned and spaced accurately, load the calipers up with the provided brake pads and secure them on the brackets once and for all. The BP-10 friction should have equal contact/pressure on both sides of the rotor surface—if not, recheck your shims and adjust as needed.
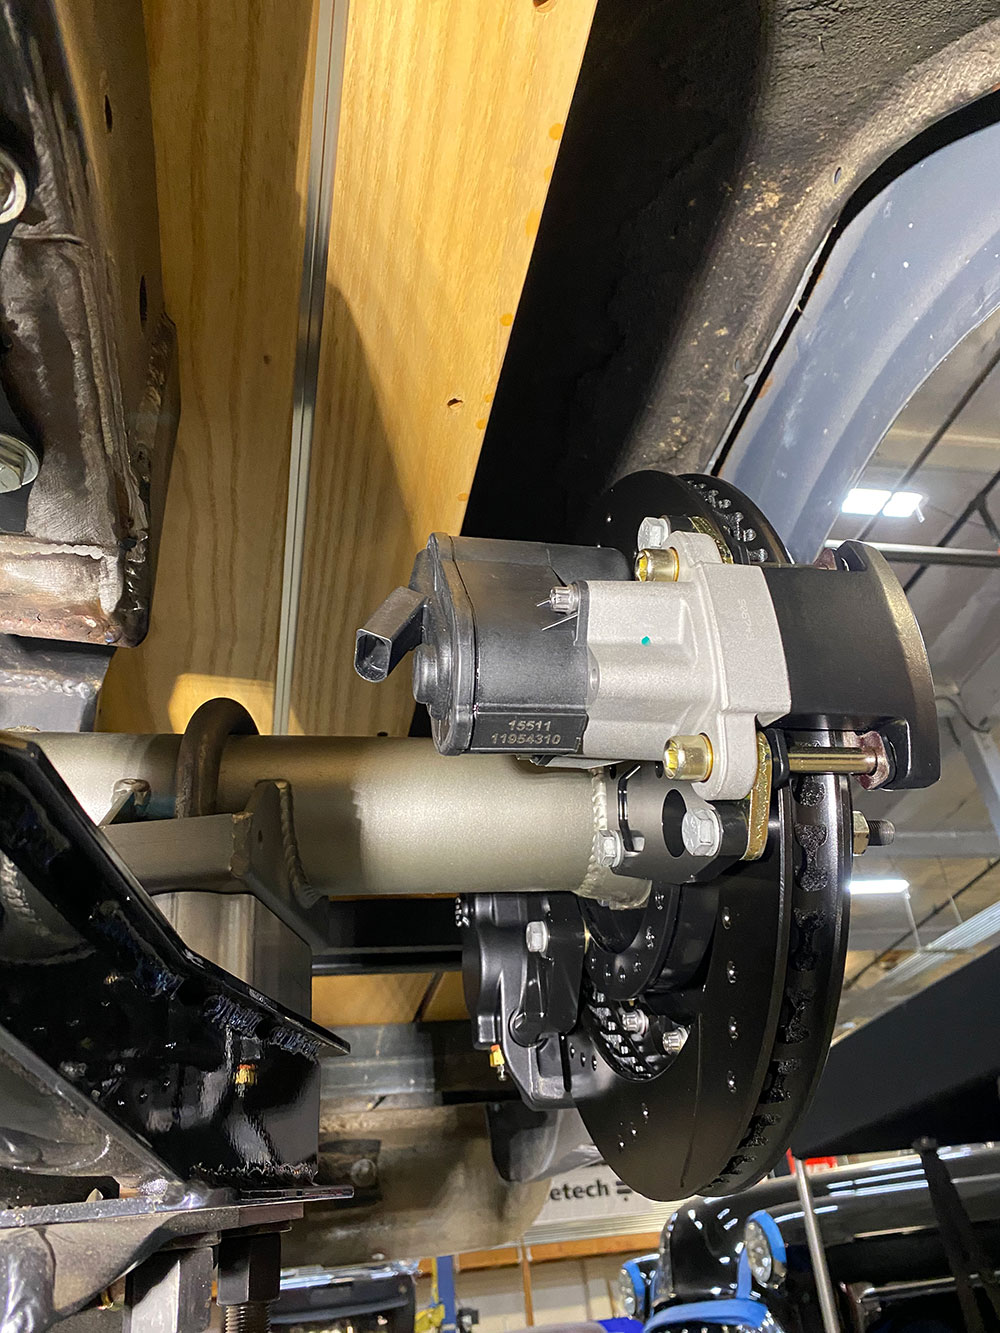
Just as we did with the brake caliper, we can now do the same clocking setup with the parking brake calipers. Now, due to their integrated motors, they will protrude inward toward the frame more so than the brakes, so when positioning, keep in mind the articulation of the rearend to avoid any interference during suspension compression.
We found 3 o’clock position (looking from the back side of the rotor) put the parking brake caliper in a safe location, plus it complemented the brake caliper’s 9 o’clock position!
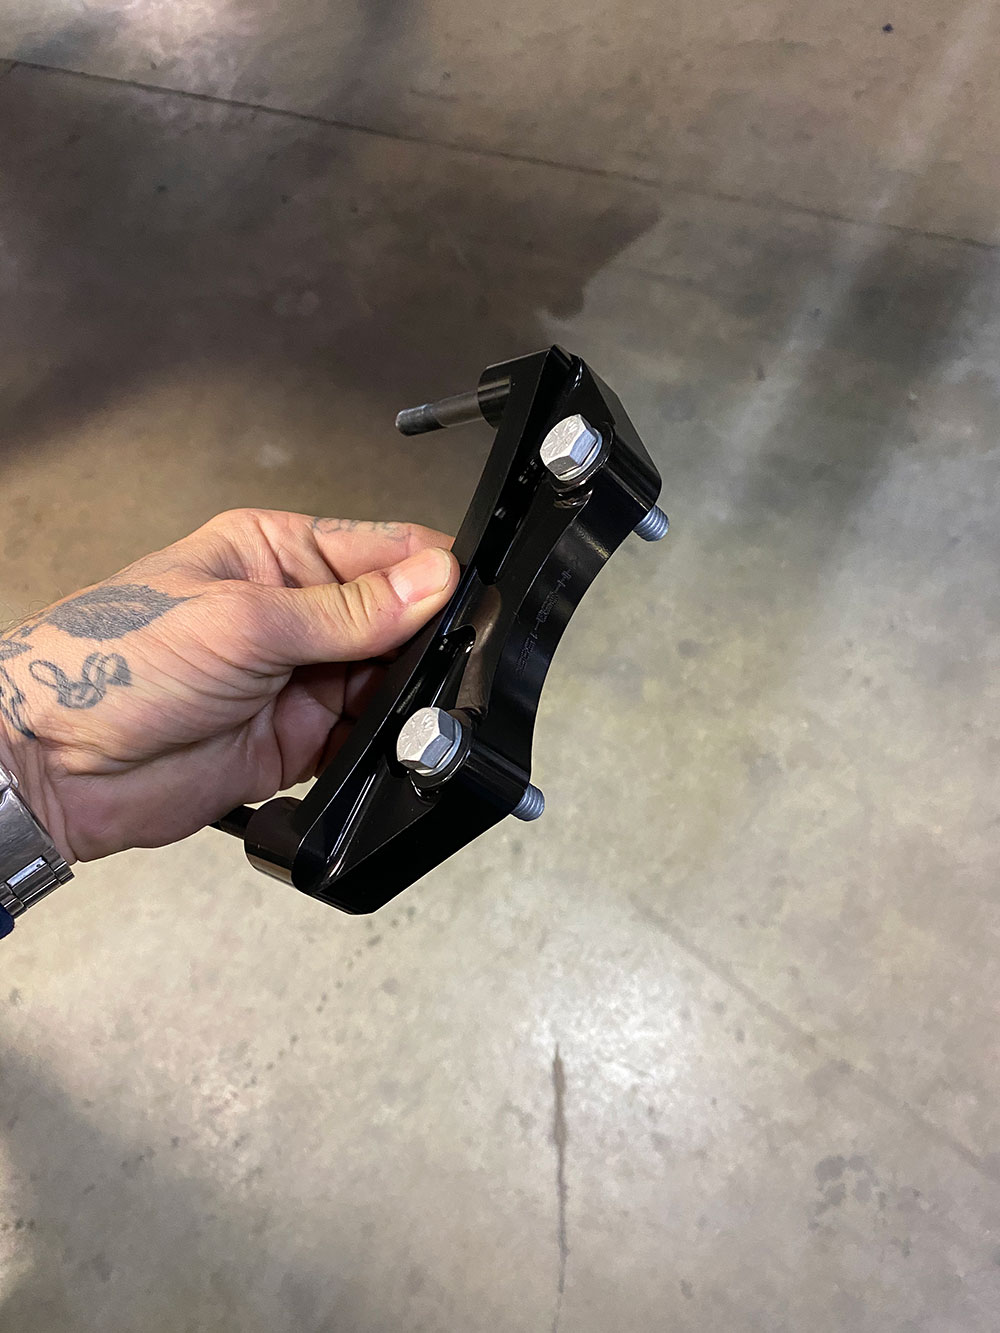
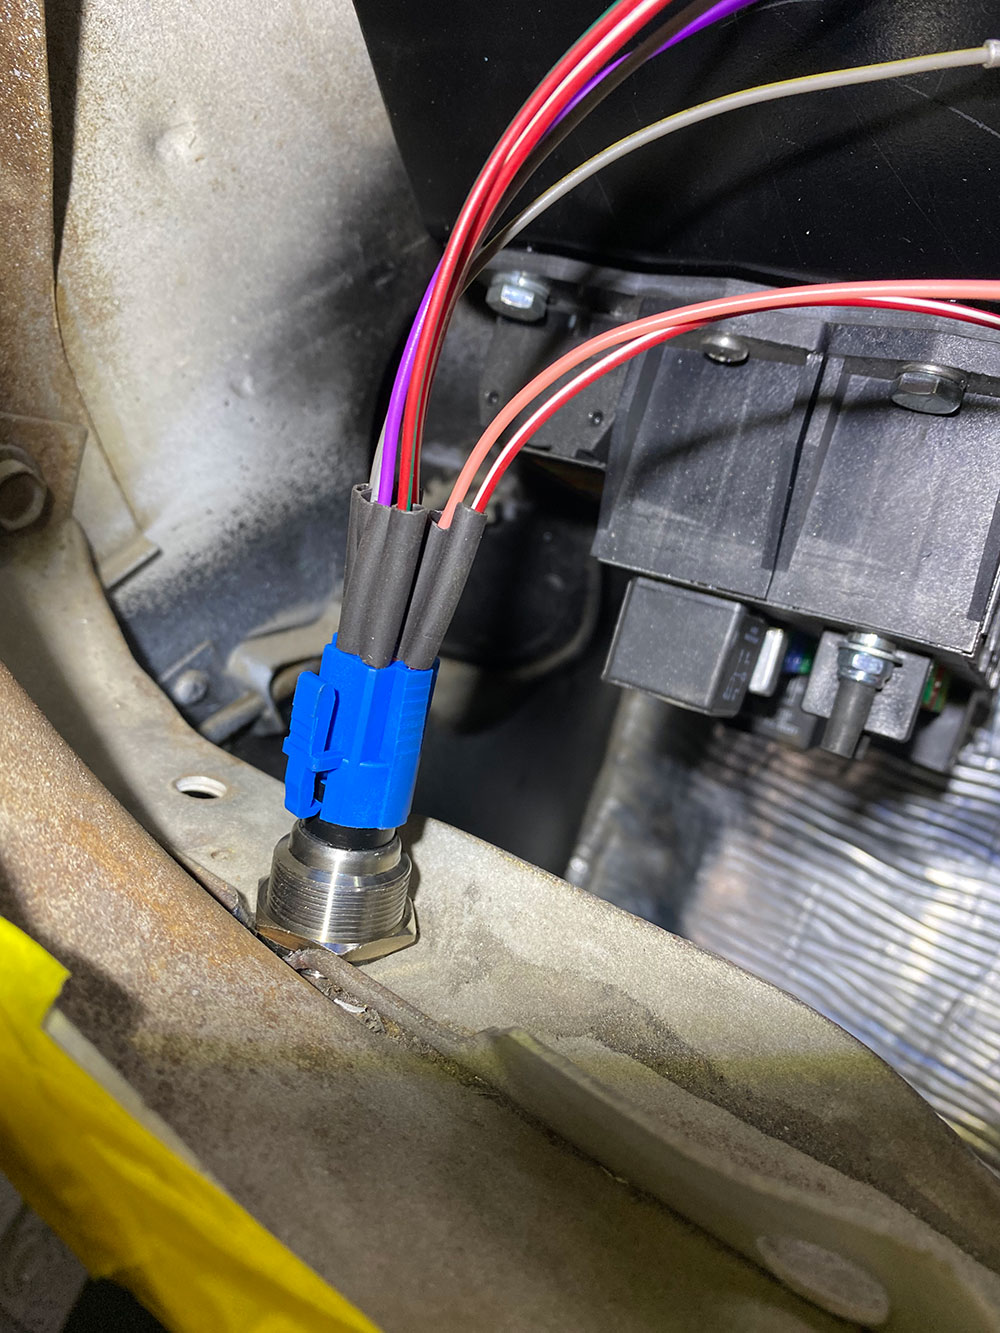
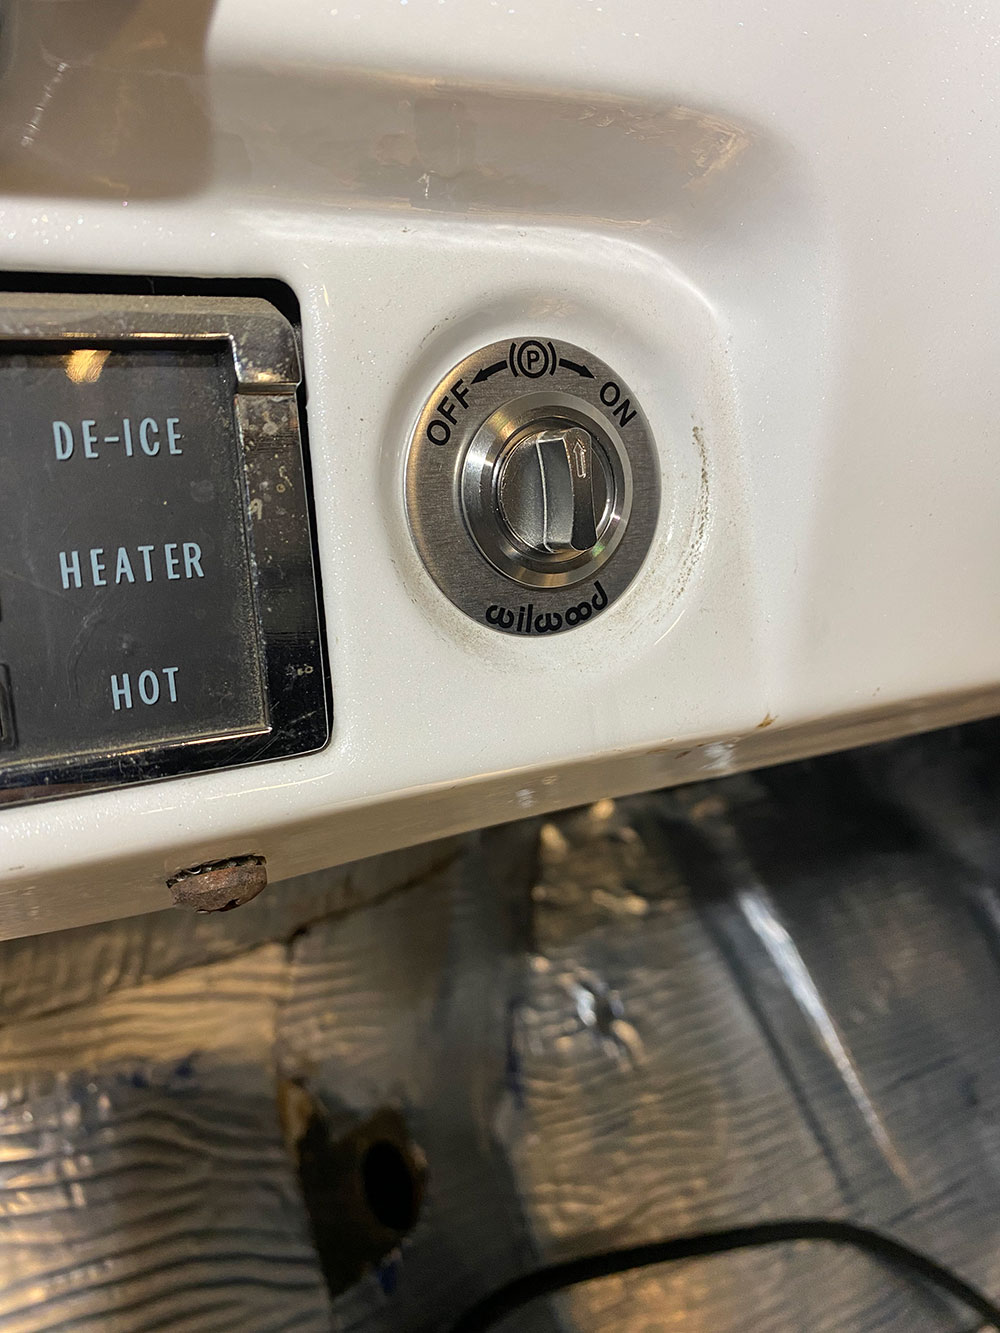
The harness for Wilwood’s Electric Parking Brake kit comes pre-loomed with leads for the switch, power/accessory, and controller set at predetermined lengths and placements. That may work out just fine for your application, however, we opted to modify the harness loom in various sections to better facilitate routing into and throughout the cab.We started at the parking brake calipers and ran each lead along the corresponding frame rail (rather than down the center of the bed, as the supplied looming would have required) and into the cab below the seat and along the trans tunnel edge up under the dash.Since our tech, Rio, was already chin deep in stringing the truck’s American Autowire harness. It only seemed natural to enlist his help with the Electric Parking Brake chores!A removable panel had previously been made to house the Highway 22 fuse panel and Dakota Digital HDX controllers, so that was the perfect place to mount the Wilwood Electric Parking Brake controller.Initially, the activation switch for the parking brake (shown with the harness pigtail attached) was mounted in the bottom edge of the dash, facing down toward the floor—but once we’d reconfigured the harness, that location ended up not working out, so …… we found a more suitable, more visible/accessible location—in the cigarette lighter location! Not only did the On/Off bezel fit the dash recess perfectly, the switch itself fit the lighter hole like a glove. Once we pulled 12 V off our new XSPower AGM battery, the electronic parking brakes worked like a dream—a non-cable actuated dream!
We use cookies to ensure that we give you the best experience on our website. If you continue to use this site we will assume that you are happy with it.