Parts You Need For A Crate Engine Swap

Prepping Our 302 Crate Engine From Ford Performance Parts

By Ron Ceridono   –   Photography By Brian Brennan

It was a great day for hot rodders when automobile manufacturers discovered there was a market for factory performance engines. It’s true that manufacturers have always seen the value of offering engines for replacement, industrial, or other purposes. That’s why even though the last Model T was produced in 1927 Ford produced the same basic Model T engine from 1908-41, which was arguably Ford’s first crate engine. But things on the crate engine scene have changed dramatically since the Model T days. Today Ford Performance Parts (FPP) offers a variety of brand-new engines in a range of performance levels; big-block, small-blocks, and modular engines are all available. To make them even more of a bargain, other than sealed race engines and those with mechanical lifter camshafts, Their Ford crate engines come with a 24-month, 24,000-mile warranty.

- Advertisement -
02 This is the starter plate that will go between the crate engine and transmission
This is the starter plate that will go between the crate engine and transmission. Its purpose is to locate the starter precisely.

Read More: Creating A Nimble Chevy Nomad

03 Flywheels and flexplates shown for externally balanced engines can be identified by an attached weight
Flywheels and flexplates (shown) for externally balanced engines can be identified by an attached weight. Current FPP pushrod engines are zero balance, so no additional weights are required.

Crate engines are an ideal option for powering a hot rod, a conclusion editor Brian Brennan came to when it was time to put a power plant in his Model A pickup. To combine performance with driveability he had Hot Rods by Dean install a 340 hp 302ci Ford Performance crate engine (PN M-6007-X302). This particular engine is from 2014 and has been languishing in the corner of his garage for some time (proving yet again that it takes Brennan longer to complete projects than the author). This was one of the last FPP crate engines that required external balancing, other than that difference installing it is the same as a current FPP small block Ford crate offerings.
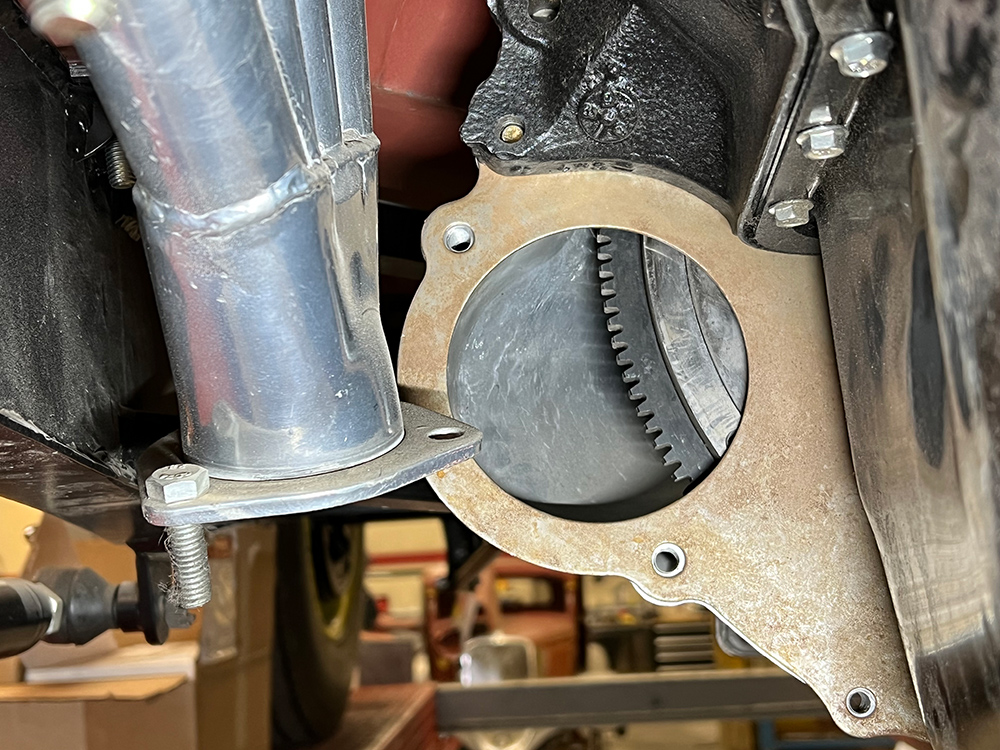
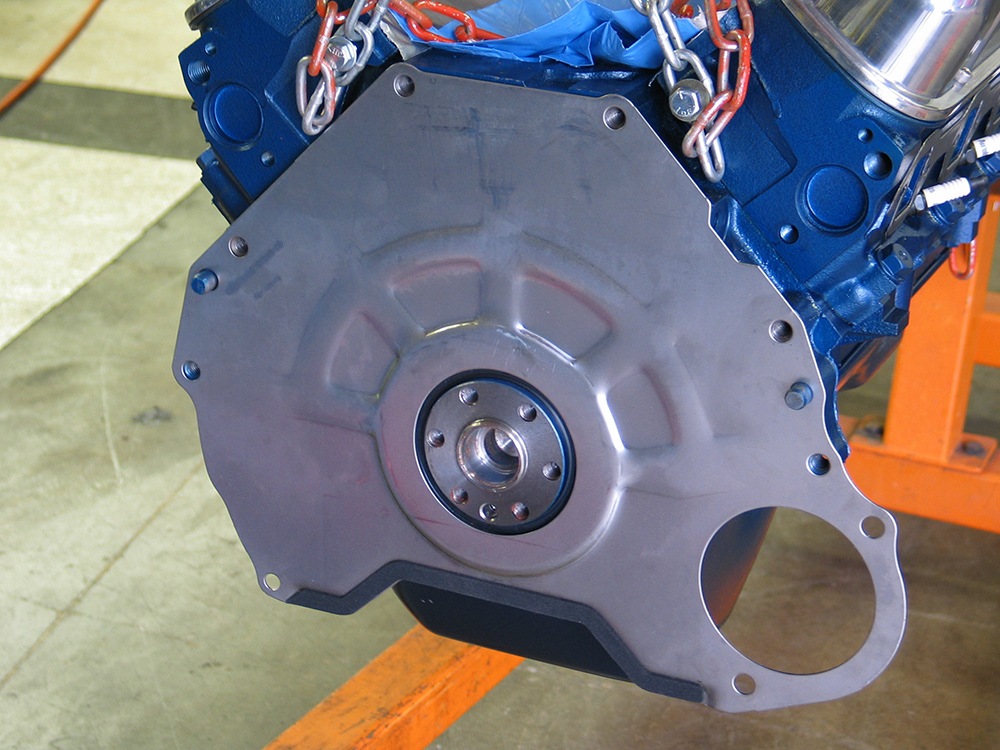
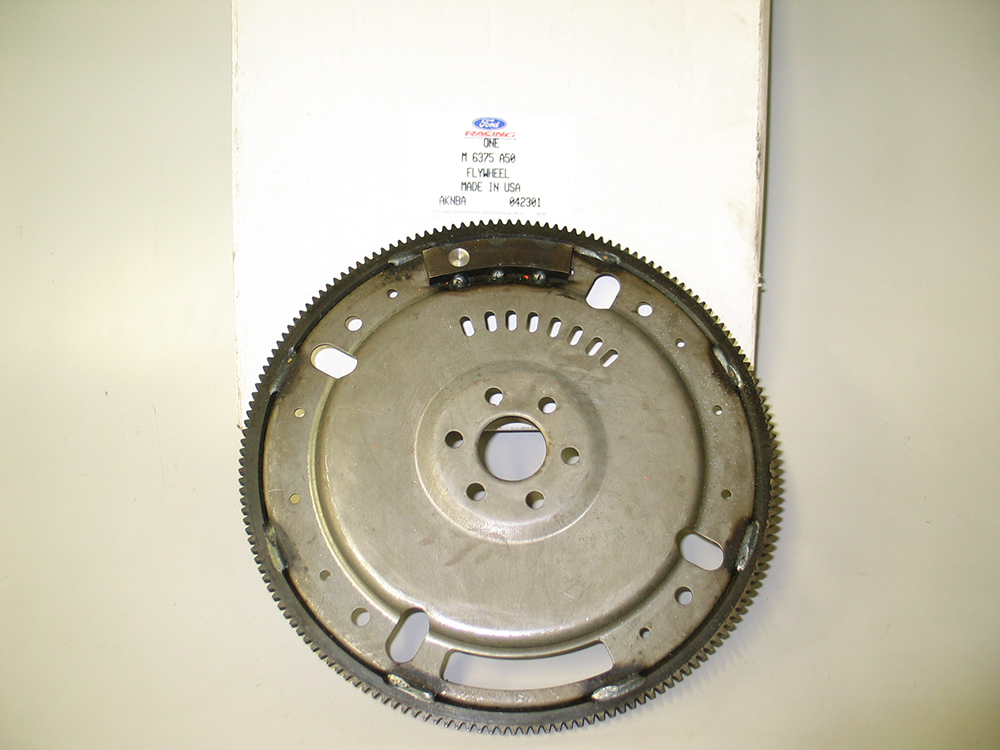
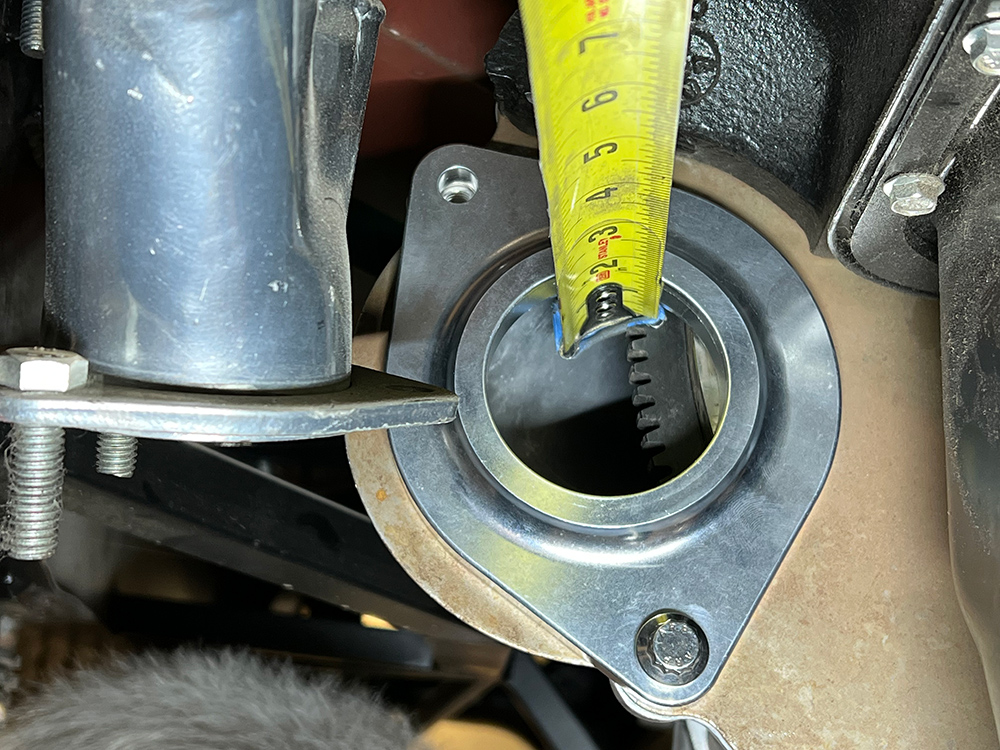
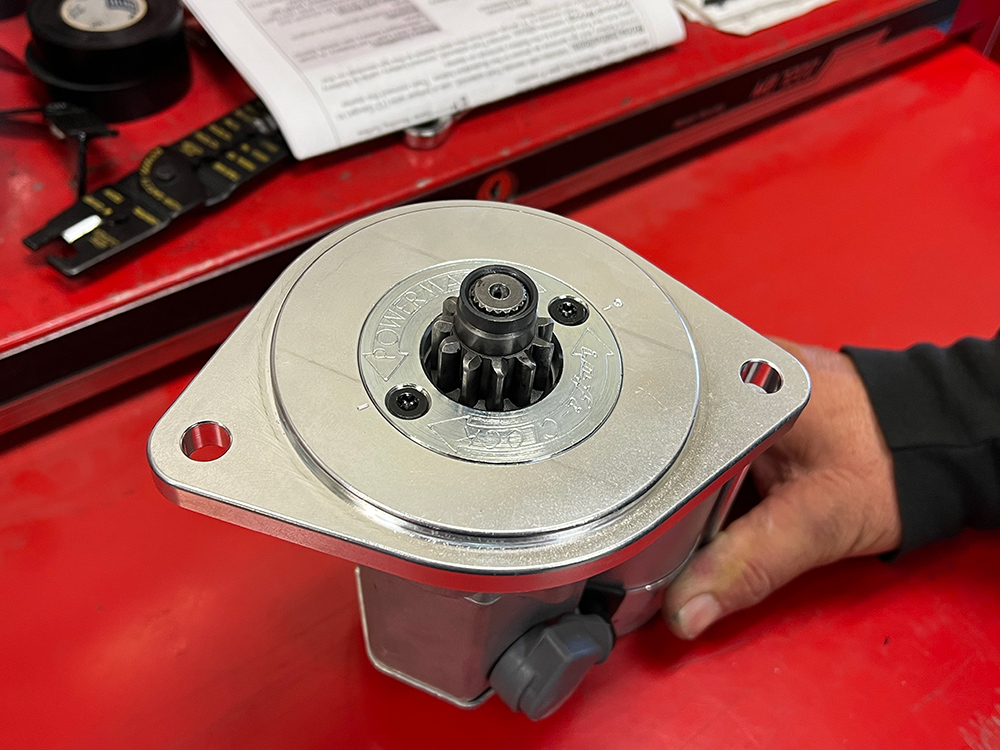
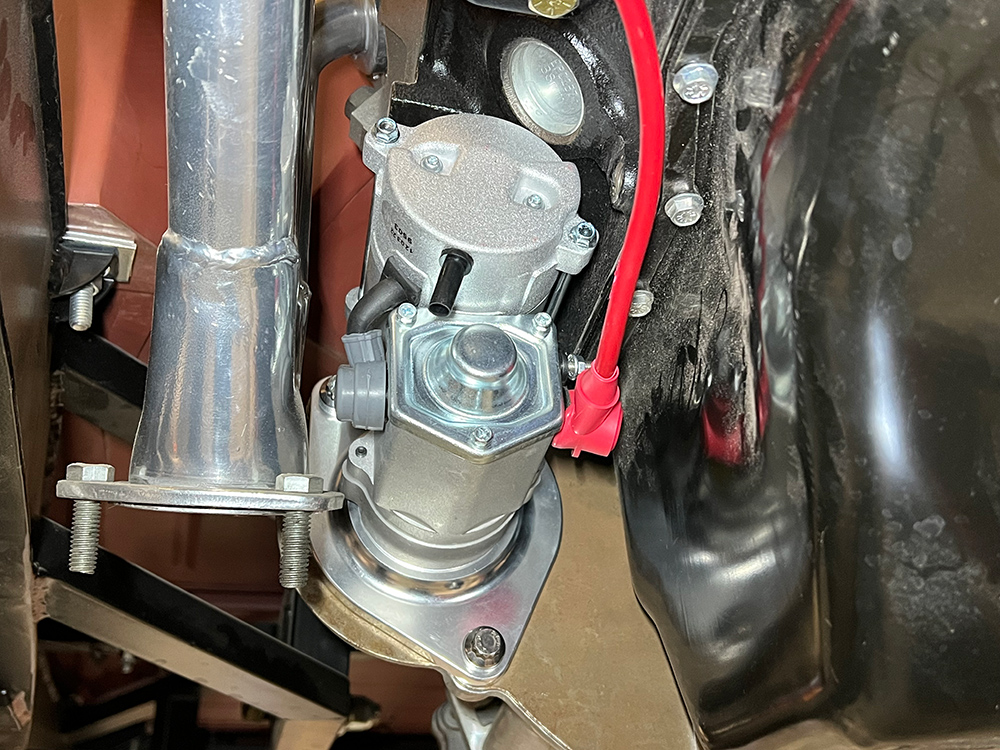
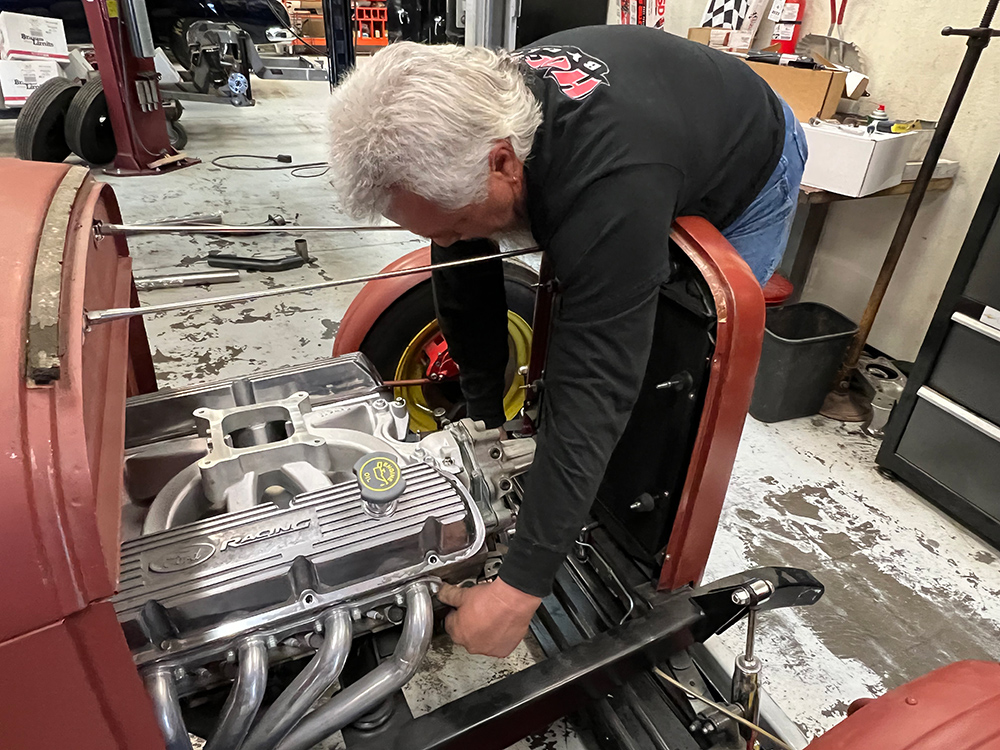
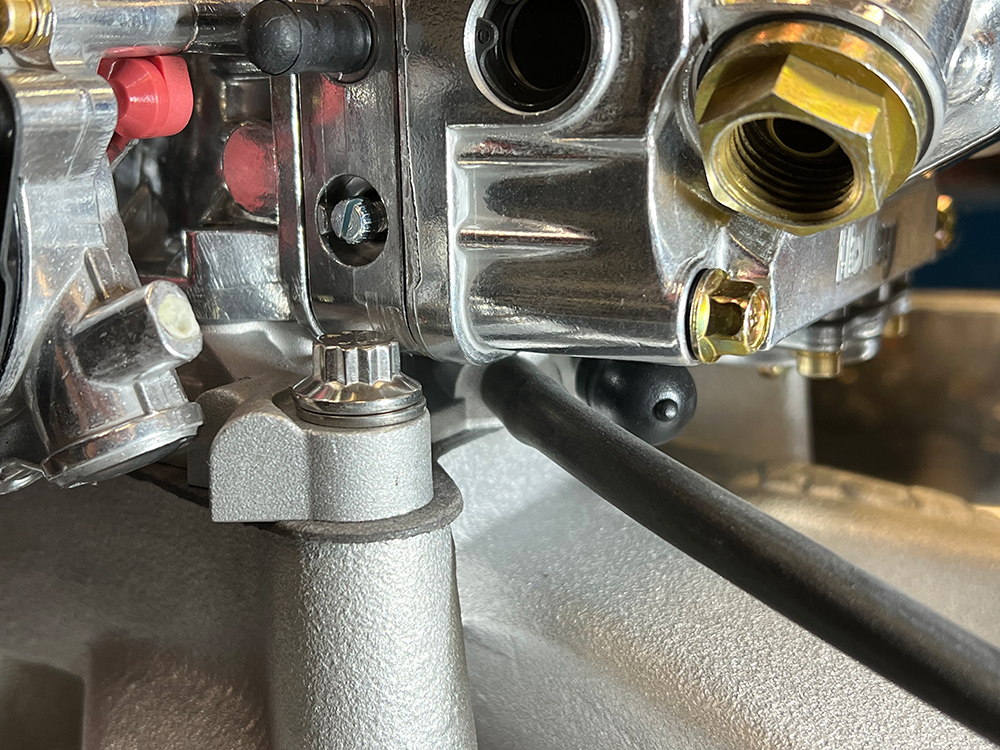
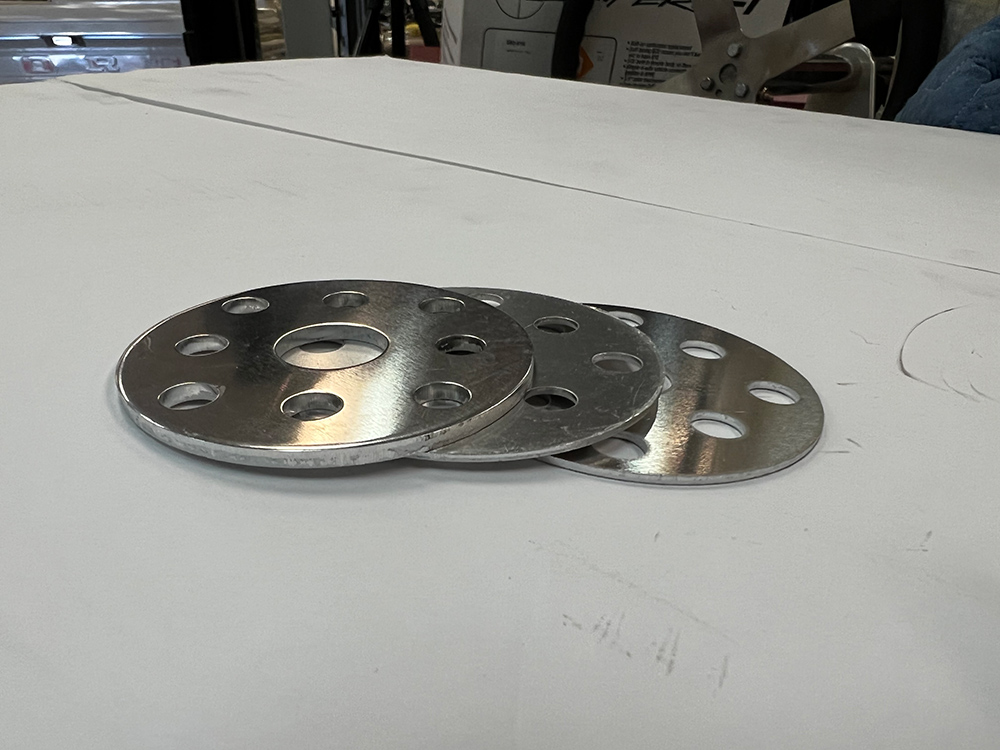
04 Here the starter plate flywheel and manual transmission bellhousing have been installed
Here the starter plate, flywheel, and manual transmission bellhousing have been installed. The two starter mounting holes are in the bellhousing.


- Advertisement -

Starter

To get our crate engine assembly up and running the crew at Hot Rods by Dean had to add some ancillary components. Beginning at the back of the block the starter plate that fits between the engine and transmission was installed. Like all small block Fords, the Powermaster starter we would be using attaches to the bellhousing, but it’s the plate sandwiched between the block and transmission that ensures the starter is located correctly in relationship to the ring gear on the flywheel or flexplate. In our case the flywheel used included a 50 oz-in weight to bring the engine into balance.
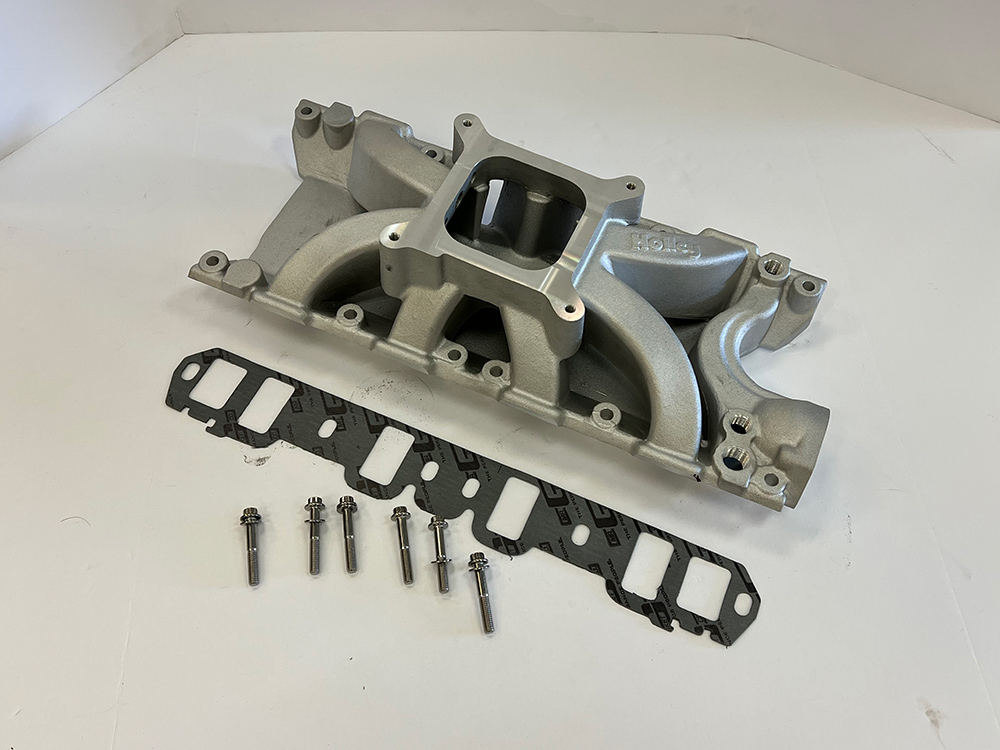
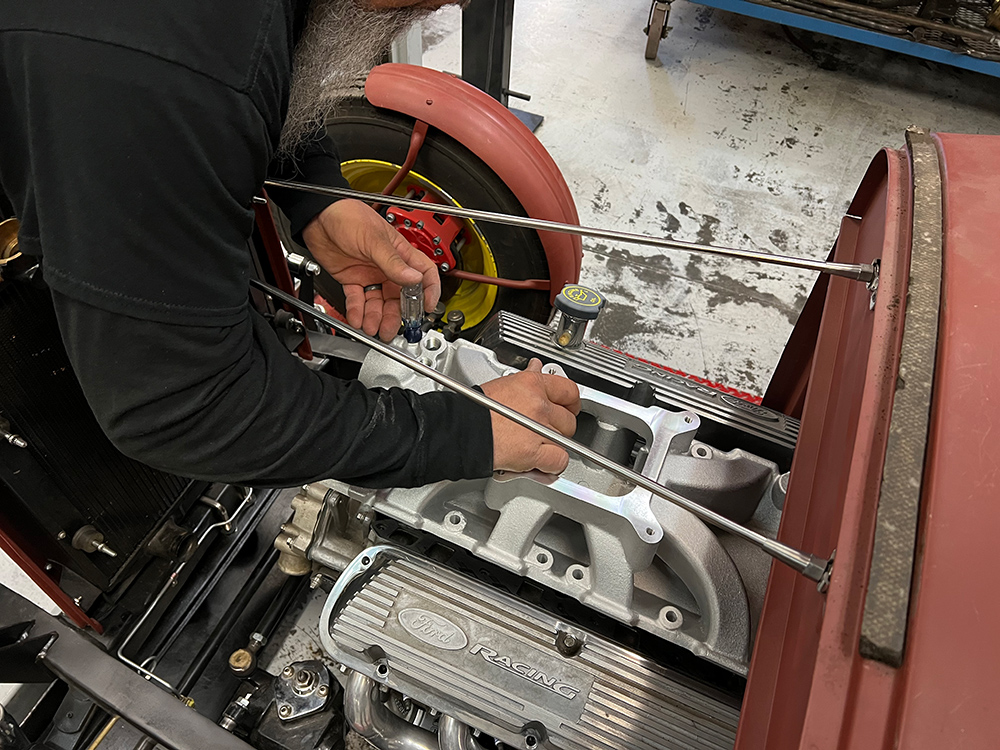
05 For proper operation Powermaster provides specifications for proper ring gear depth
For proper operation Powermaster provides specifications for proper ring gear depth. In our case it was ¾ inch from the starter plate to the flywheel.

Intake Manifold

For the intake system we chose a tried-and-true combination—a single-plane Holley intake manifold (PN 300-277) topped by a 600-cfm (the size recommended by FPP) Holley Street Warrior carburetor. Before securing the intake manifold, put it in place without the intake manifold gaskets. There should be at least a 0.040-inch gap at the end rails to ensure the manifold will not “bottom out” on the block. If this is allowed to happen it’s likely that oil will be sucked into the intake runners during operation.
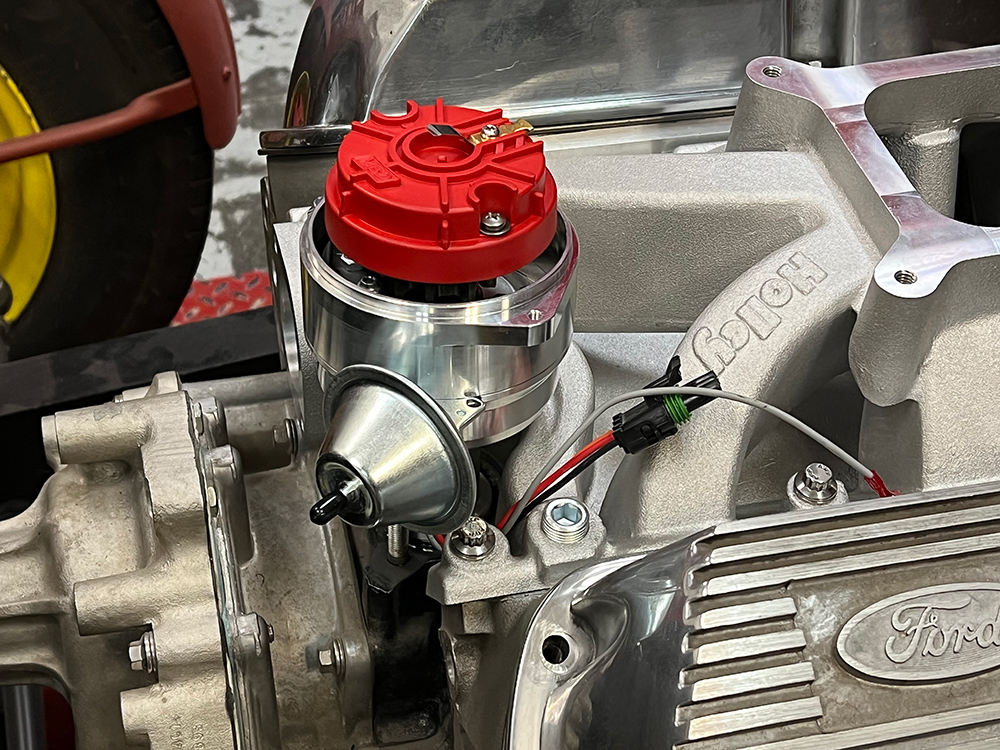
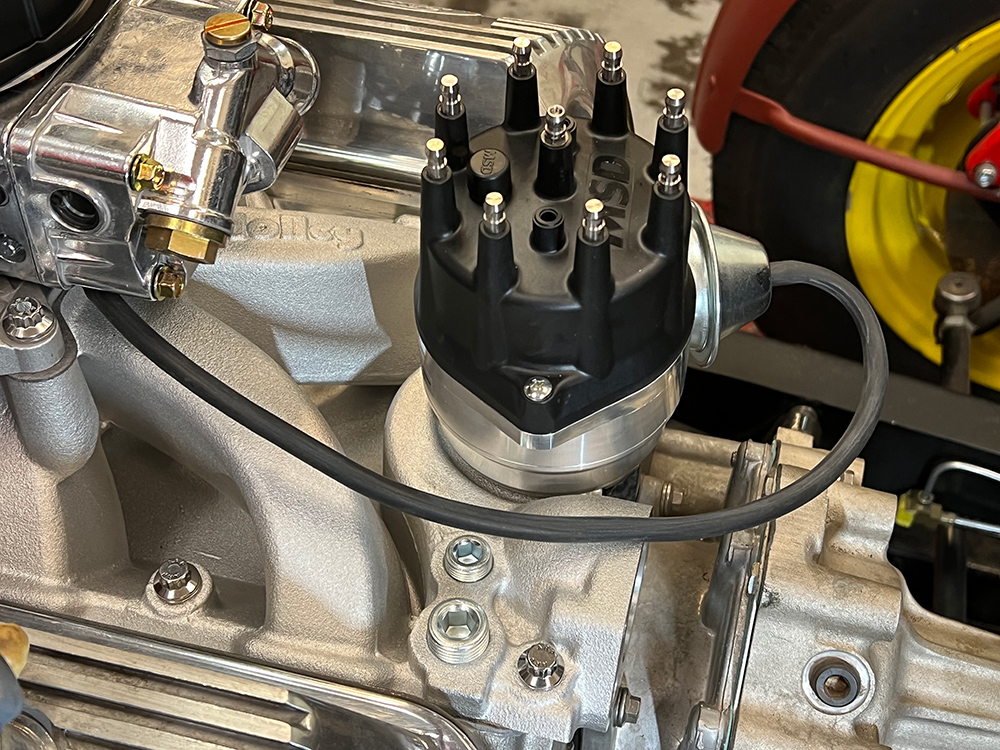
- Advertisement -
06 To adjust the pinion depth Powermaster includes shims that can be installed between the starter case
To adjust the pinion depth Powermaster includes shims that can be installed between the starter case and the mounting plate.

Distributor

When it came to selecting a distributor, one of the considerations was the drive gear; it had to be compatible with the camshaft. FPP cautions that cast-iron gears are required for cast-iron flat-tappet cams while steel gears are to be used with hydraulic roller cams like that in our engine. FPP offers a steel distributor gear (PN M-12390-B) that can be installed on most Ford distributors, however we elected to go with a Pro-Billet MSD Distributor (PN 83521). This distributor includes a built-in ignition module so no external control unit is required. It also comes with a melonized drive gear—which is an iron gear with a Melonite coating for use with either flat tappet or hydraulic roller camshafts.

07 how to make run small block ford crate motor
With the mounting plate installed the starter can be “clocked” thanks to Powermaster’s ingenious Infi-clock mounting system. The two screws lock the starter’s position relative to the mounting plate.

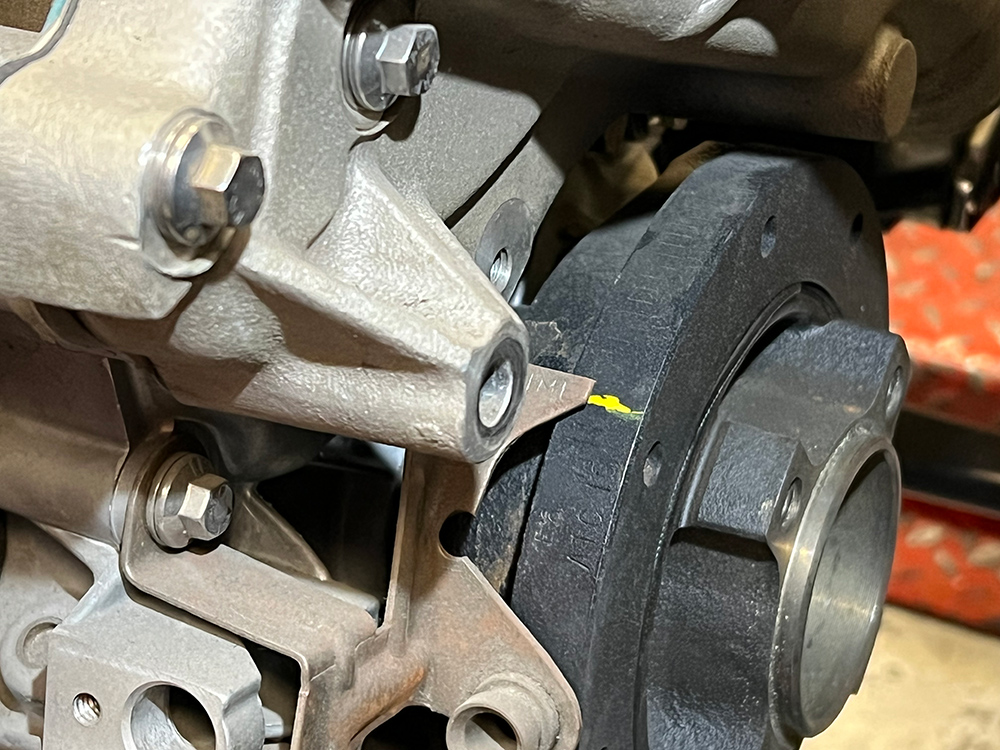
Water Pump & Pulley System

Over the years Ford has used a multitude of water pump/crankshaft pulley and water pump combinations for V-belt and serpentine drives. Early crankshaft dampers and pulleys have three attachment holes; from late 1969-on passenger car (1977-on for pickup trucks and Broncos) crankshaft dampers and pulleys have four holes. Smitty Smith at Edelbrock tells us that 1965-69 small block water pumps (PN 8841) have the inlet on the right (passenger side) and measure 5.42 inches from the block mounting surface to the pulley mounting surface. Edelbrock water pumps (PN 8843) have the inlet on the left side (driver side) and measure 5.75 inches from the block surface to the pulley flange.

08 the starter can be clocked thanks to PowermasterΓCOs ingenious Infi clock mounting system
The Powermaster starter was clocked to move the motor away from the exhaust system—it’s further away than it appears in the photo.

Read More: Latest Parts For Your Hot Rod November 2022

09 A Holley intake manifold was installed with ARP bolts
A Holley intake manifold was installed with ARP bolts. The minimum thread engagement required for the intake manifold bolts is 5/8 inch, measured from the bottom of the flat washer.

FPP offers a water pump (PN M-8501-E) with a lefthand inlet that shortens the engine 1-½ inches and is compatible with a four-bolt crank damper, but custom pulleys are required. To keep with the minimalist theme of the truck ye ol’ editor Brennan chose to stick with steel pulleys and V-belts. To that end the factory four-bolt vibration damper was replaced with a Summit Racing harmonic balancer that has both a three- and four-bolt pattern, and an early three-bolt crankshaft pulley and an Edelbrock water pump (PN 8843) was used.

10 a tube of Permatex is our choice for sealant for this project
Two different types of sealers are used during intake manifold installation. Hot Rods by Dean used Permatex Right Stuff for the end seals as it is more reliable and longer lasting than pre-cut gaskets.

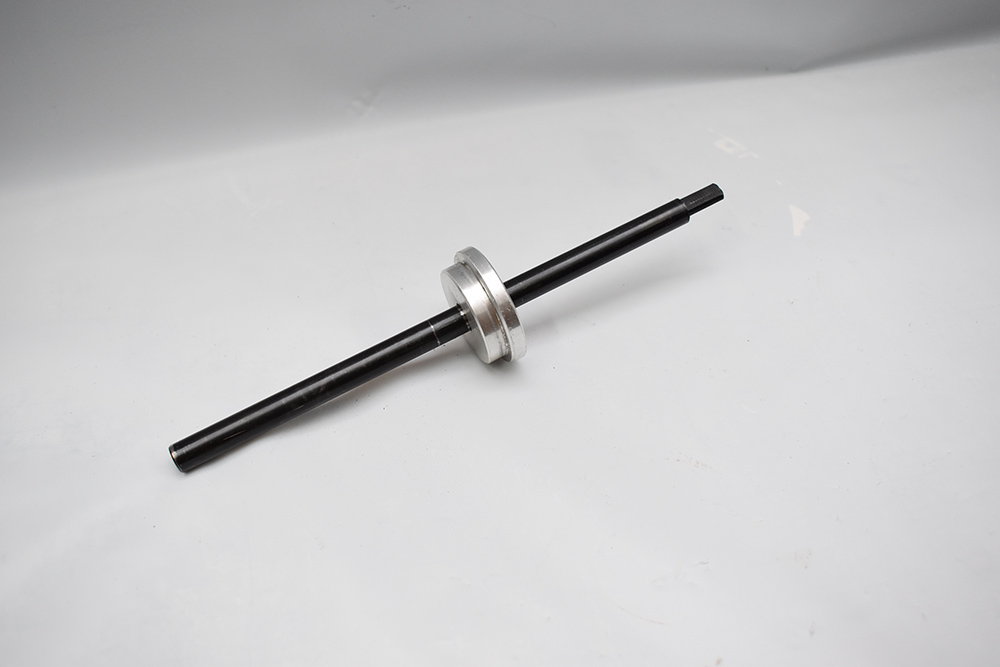
Priming The Crate Engine

One of the most important steps in the installation procedure is properly priming the engine’s oiling system (this should never be done by cranking the engine with the starter). FPP recommends filling the crankcase with 5 quarts of 10W-30 or 10W-40 oil, then installing a mechanical oil pressure gauge and removing the valve covers. Then, using the appropriate tool (Summit Racing oil pump primer PN SUM-901011), rotate the priming tool counterclockwise using an electric drill. Once oil pressure appears on the gauge, keep priming for 1 minute, making sure oil comes up through the pushrods to the rocker arms (this may require rotating the crankshaft).

Read More: How To Build An LS Engine: Short Block Assembly

11 Hot Rods by Dean used Permatex Right Stuff for the end seals
The silicone is applied to the block and around the water passages in the head in continuous beads. A sealer, like Permatex High tack, can be used to hold the gaskets in place during installation.

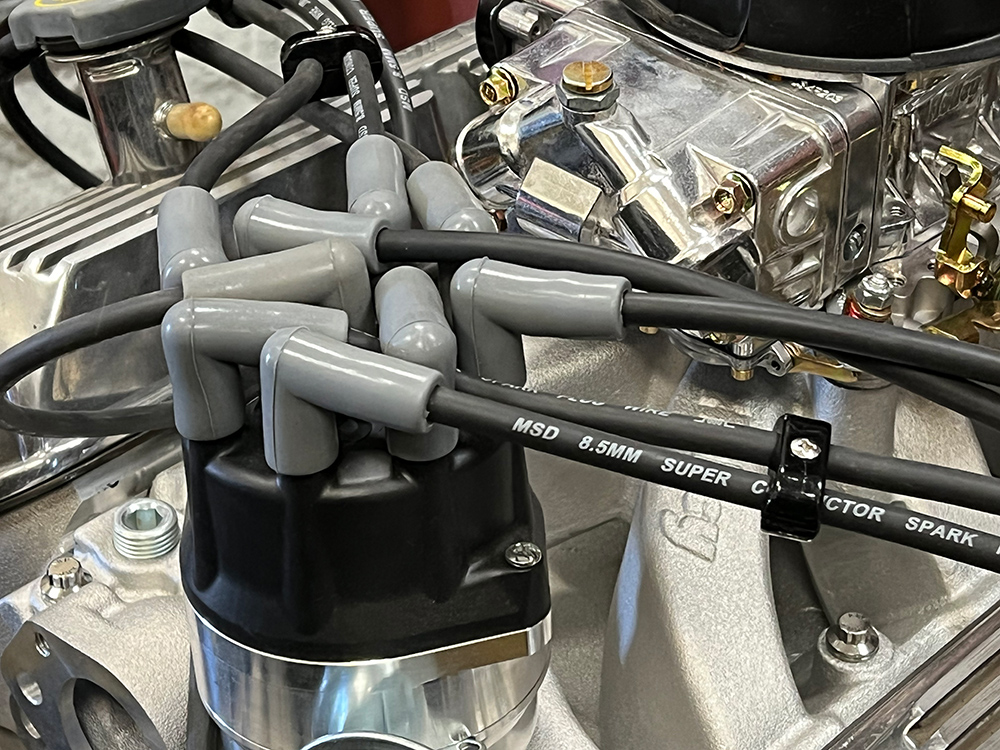
Setting The Ignition Timing

Once the crate engine was primed the distributor can be installed. Following FPP’s instructions simplifies the process. Before removing the distributor cap, mark the number one post location on the distributor. With the cap removed, rotate the distributor shaft so the blade on the rotor is to the left of the mark, but as close to the mark as possible. As the distributor gear engages the teeth on the camshaft, the rotor will turn clockwise. It may be necessary to slightly rotate the rotor/shaft assembly, until the drive gear “drops” into position. Sometimes rotation of the oil pump driveshaft is required to allow the distributor to drop all the way. Verify the rotor blade is pointing at the #1 mark on the distributor base, loosely install the distributor hold-down clamp and bolt, then install the cap and spark plug wires in order. Once the engine is started timing should be set at 14 to 16 degrees initially, with 36 to 38 total mechanical advance (with the vacuum advance disconnected).

12 The trick is to install the Holley intake manifold without moving it
The trick is to install the Holley intake manifold without moving it fore and aft, disturbing the integrity of the silicone on the block.

Should You Buy A Crate Engine Or Build One?

A Ford Performance Parts crate engine makes sense for a variety of reasons. There are a variety of engine types and performance options to choose from, and all the components are the best current factory parts available. The cost of machining a used block, replacing all the internal components, and rebuilding heads gets expensive, and there is the time involved to make it all happen. In terms of convenience, cost, and performance, an FPP crate engine is a bargain, and they come with a warranty. Who would have thought hot rodding would be this easy? MR

13 Following FPPΓCOs suggested sequence the intake manifold bolts are tightened in increments
Following FPP’s suggested sequence, the intake manifold bolts are tightened in increments, first 5-10 lb-ft, then 15-18 lb-ft several times until the torque stabilizes, then re-torqued after 10 engine heat and cool cycles.
14 Before installing the distributor the engine is turned by hand to get the number one piston on the compression stroke
Before installing the distributor, the engine is turned by hand to get the number one piston on the compression stroke. Wray verified that by plugging the spark plug hole with his thumb and feeling for compression pressure.
15 With the number one piston coming up on compression the timing marks are aligned at 0 or top dead center
With the number one piston coming up on compression the timing marks are aligned at 0, or top dead center.
16 This is a Summit Racing harmonic balancer
This is a Summit Racing harmonic balancer; it has both the three- and four-bolt pulley bolt patterns.
17 To make the front of the engine as compact as possible a three bolt crankshaft pulley was used
To make the front of the engine as compact as possible, a three-bolt crankshaft pulley was used.
18 To prevent oil seepage past the MSD distributor housing MSD provides an O ring
To prevent oil seepage past the MSD distributor housing, MSD provides an O-ring that seals the distributor to the block.
19 Before the MSD distributor is installed the oil pump was spun with a drill
Before the MSD distributor is installed the oil pump was spun with a drill using this priming tool from Summit.
20 By pointing a finger at the vacuum advance the rotation of the MSD distributor can be determined
By pointing a finger at the vacuum advance the rotation of the MSD distributor can be determined. As the canister is right of center, this one turns counterclockwise.
21 The MSD distributor was dropped in place with the rotor pointing at the number one spark plug terminal position marked on the housing
The MSD distributor was dropped in place with the rotor pointing at the number one spark plug terminal position marked on the housing, then the cap was installed.
22 With the number one spark plug wire in place the remaining wires are installed counterclockwise in the firing order sequence
With the number one spark plug wire in place, the remaining wires are installed counterclockwise in the firing order sequence.
23 When connecting the vacuum advance it should go to the ported connection on the carburetor
When connecting the vacuum advance, it should go to the ported connection on the carburetor (it will be the lowest port on the carburetor base).
24 This shiny aluminum model 4160 Holley carburetor features vacuum secondaries
This shiny aluminum model 4160 Holley carburetor features vacuum secondaries. A Lokar throttle cable, bracket, and return spring were used.
25 The Holley carburetorΓCOs electric choke requires a keyed 12V source connected to the terminal on the right to operate
The Holley carburetor’s electric choke requires a keyed 12V source connected to the terminal on the right to operate. Note the ground wire is already attached to the carburetor body.
26 This Edelbrock water pump PN 8843 has a driver side inlet
Due to the variations in front covers and drive systems a water pump was not included with our small-block Ford. This Edelbrock water pump (PN 8843) has a driver side inlet.
27 EdelbrockΓCOs PN 8841 has the inlet on the passenger side both Edelbrock pumps are standard rotation
Edelbrock’s PN 8841 has the inlet on the passenger side, both Edelbrock pumps are standard rotation (not for serpentine use).
28 shims if your water pump requires shimming on your 302 engine
In some cases, the water pump pulley may require shims for proper belt alignment. This assortment came from Summit.

Sources

Ford Performance Parts
performance.ford.com

Holley
(877) 712-0002
holley.com

Hot Rods by Dean
(800) 362-9709
hotrodsbydean.com

Lokar Performance Products
(877)-469-7440
lokar.com

MSD
(915) 857-5200
msdperformance.com

Powermaster Performance
(630) 957-4019
powermastermotorsports.com

Speedway Motors
(800) 979-0122
speedwaymotors.com

Summit Racing Equipment
(800) 230-3030
summitracing.com

- Advertisement -

Related Articles

Search Our Site

More Modern Rodding

Rodding Around – Automotive Racing Products& South City Rod & Custom Receive Accolades

Automotive Racing Products Named HRIA Business of the Year...

Purple Reign: Custom Pinstriped Merc Coupe

Brian Omatsu's 1951 Mercury Coupe: Blending Styles from Classic...

Parting Shot: Isky’s Tribute Ford Roadster

Dennis Taylor’s Modern-Day Representation Of Isky’s Ford Roadster At...

2024 Detroit Autorama Ridler Winning ’53 Corvette

Owned by Dave & Tracey Maxwell & Built By...

First Look 2024 Detroit Autorama Great 8

The 71st Annual Detroit Autorama & The Competition For...

A New Suspension on Jason Scudellari’s Brookville Model A

By Ron Ceridono   -   Photography By Jason Scudellari Over the...
More Modern Rodding

2024 Barrett-Jackson Cup Top Five Finalist Revealed – 1968 Ford Mustang

From the Shop of East Bay Muscle Cars Comes...

David’s Dream 1938 Ford Coupe Build

David Burgard’s Good-Looking Hot Rod Ford Coupe By Dale Moreau ...

2024 Barrett-Jackson Cup First Look At Competitors

Country’s Best-Looking Hot Rods, Trucks, and More Compete For...

How To Fix Quarter Panel Rust

Patch Panel Install For Rust Repair on Your Vintage...

Hemi Swapped 1932 Ford Roadster

Dave Gray’s Deuce Roadster Built In only 5 Months By...

Under The 1965 Buick Riviera Detroit Speed Chassis

Unmatched Street Performance & Sixties Style By Gerry Burger   -  ...