


By Gerry Burger – Photography by the Author
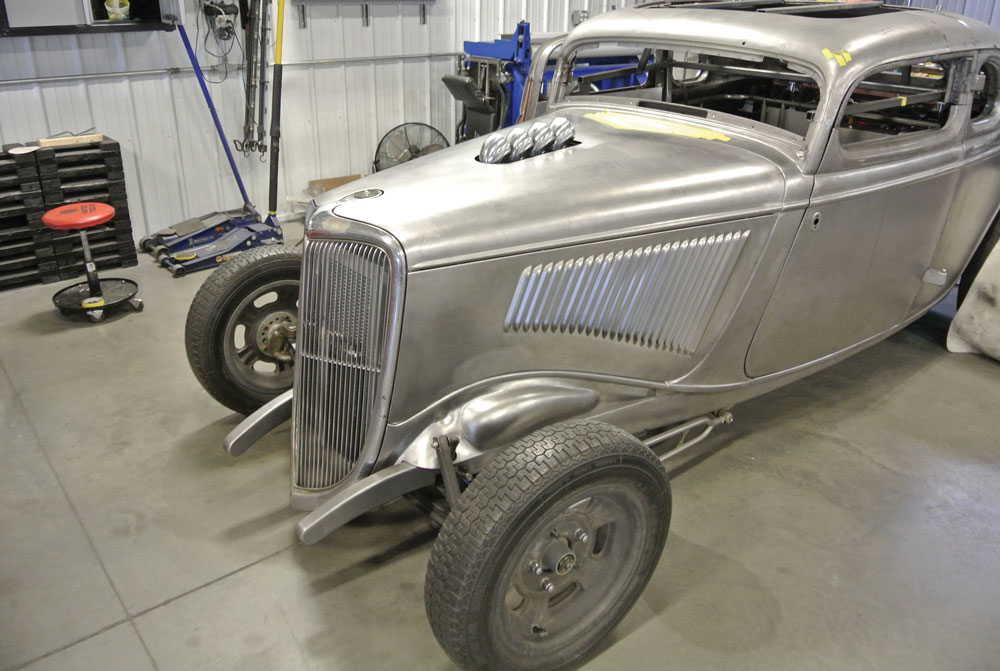
Bill Sather has been around hot rods for a long time. Living in the Austin, Texas, area you just know he has an eye for traditional hot rods. Sather acquired this coupe a few years back as part of a trade. It was just an old 1934 ford 5 window coupe body with typical battle scars but well worth saving.
Check Out: CHOP CHOP: Chopping a Previously Chopped Coupe
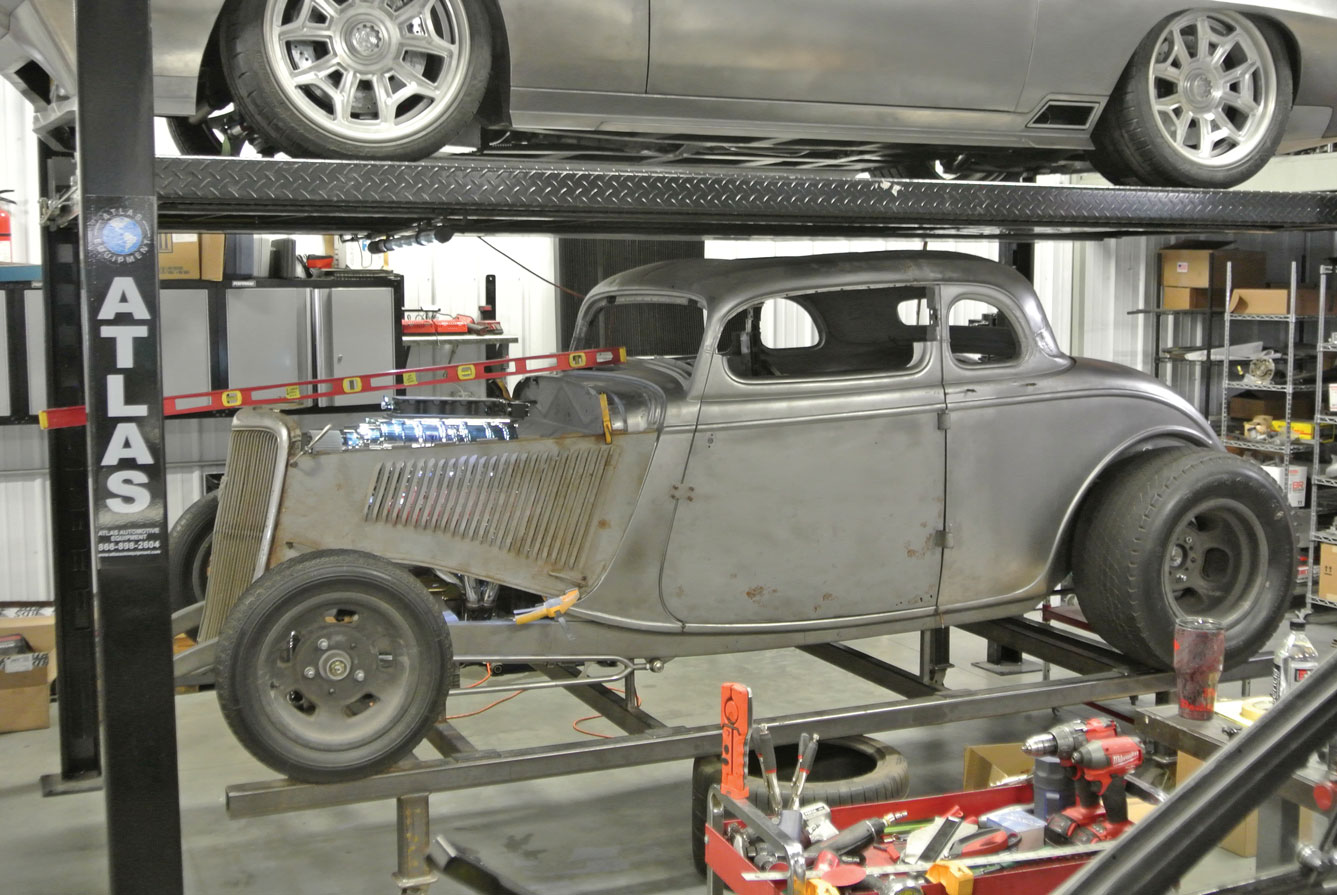
Sather purchased the chassis from a fellow in California, part of a stalled project, but Sather liked the magnesium Halibrand wheels, quick-change rearend, and the dropped front axle with hairpins. So, the 1934 ford coupe was mounted to a vintage hot rod chassis and with the top chopped it became the classic image of a bad-boy hot rod coupe.

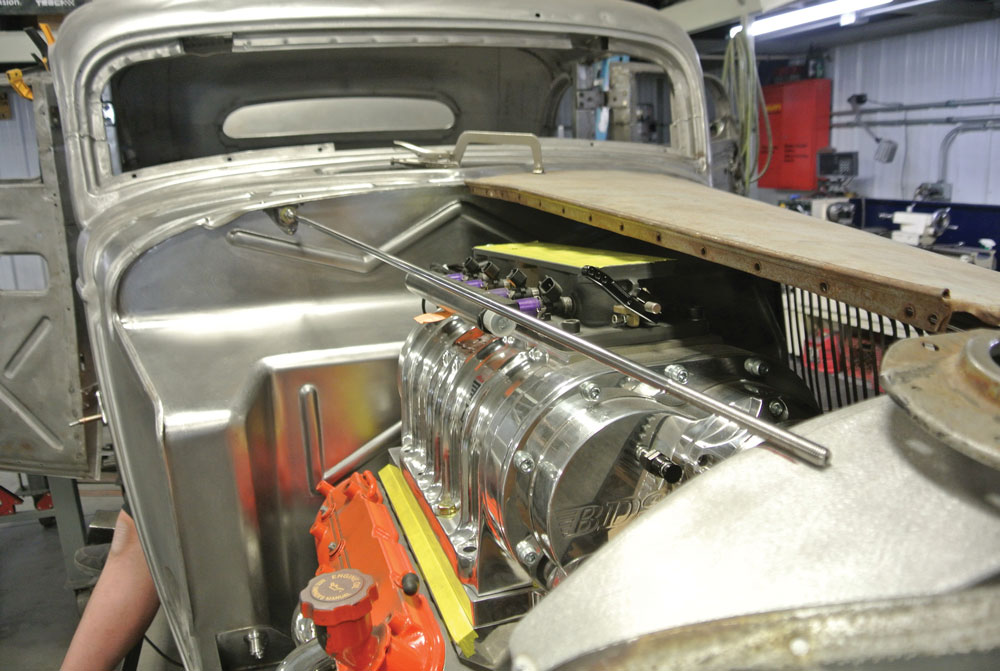
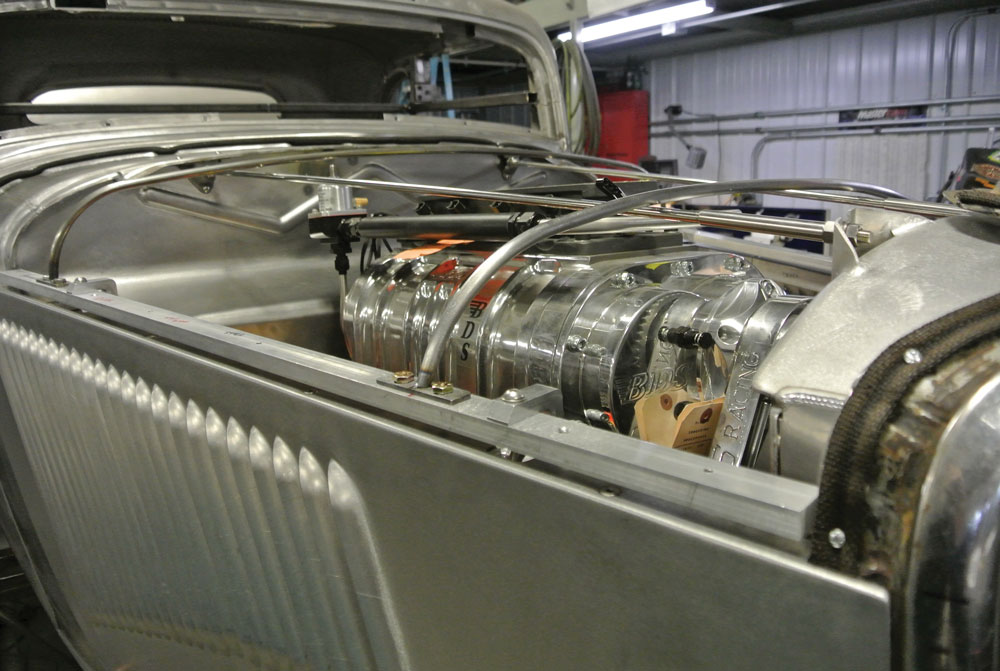
Oh, and did we mention Sather has a thing for blowers? Adding a BDS 6-71 blown small-block to the profile completed the hot rod packaging. There was just one problem, while the profile was there, the craftsmanship was not up to contemporary standards. A call to BBT Fabrications in Mahomet, Illinois, would take care of that problem. After talking with Troy Gudgel, Sather was certain he could come up with the perfect blend of old-school hot rod attitude and world class craftsmanship.

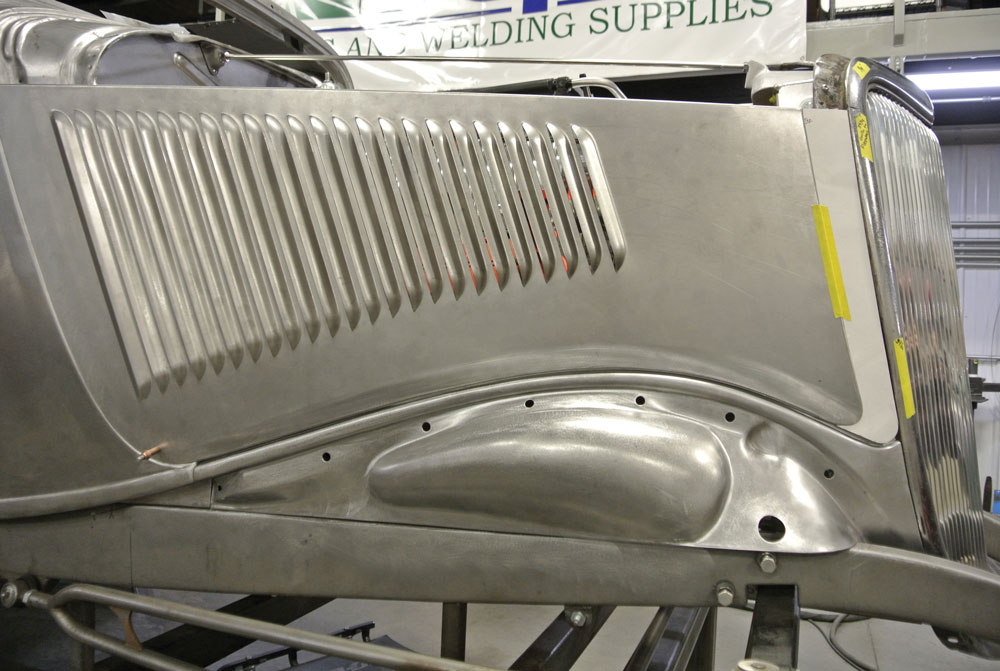
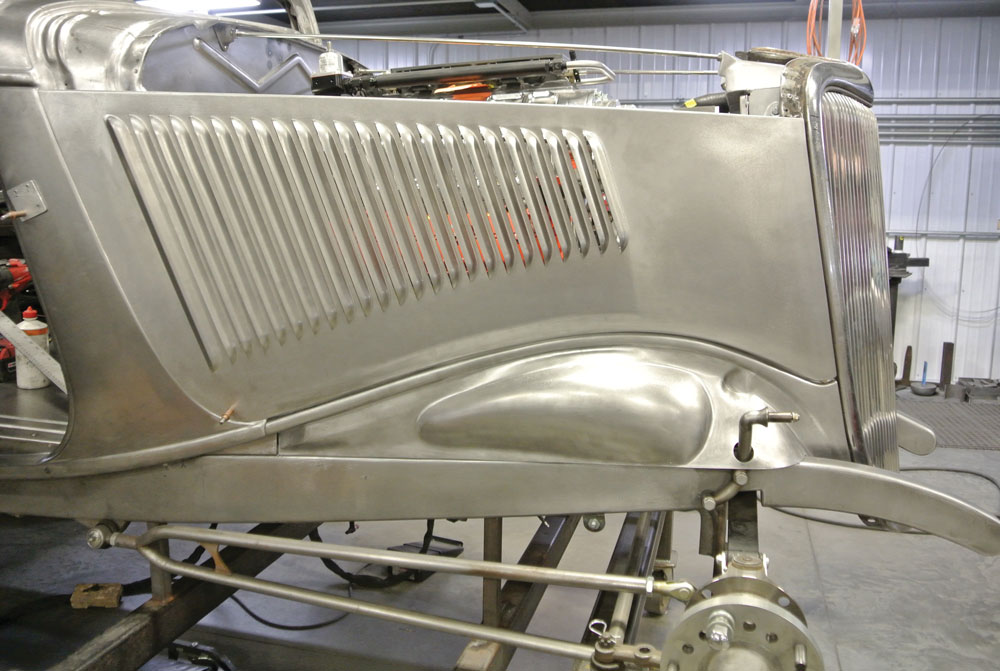
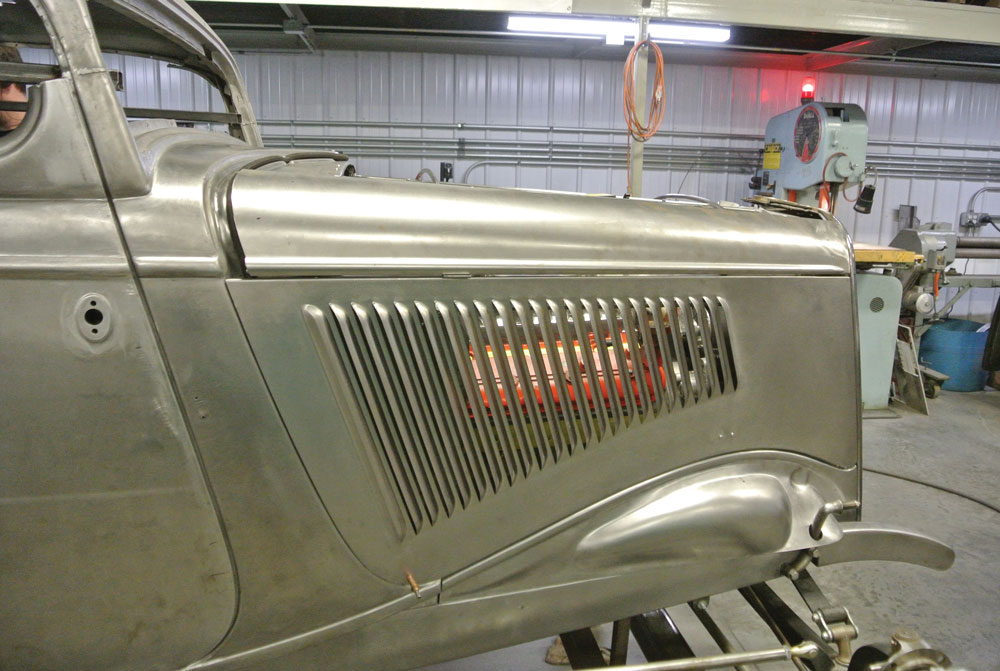
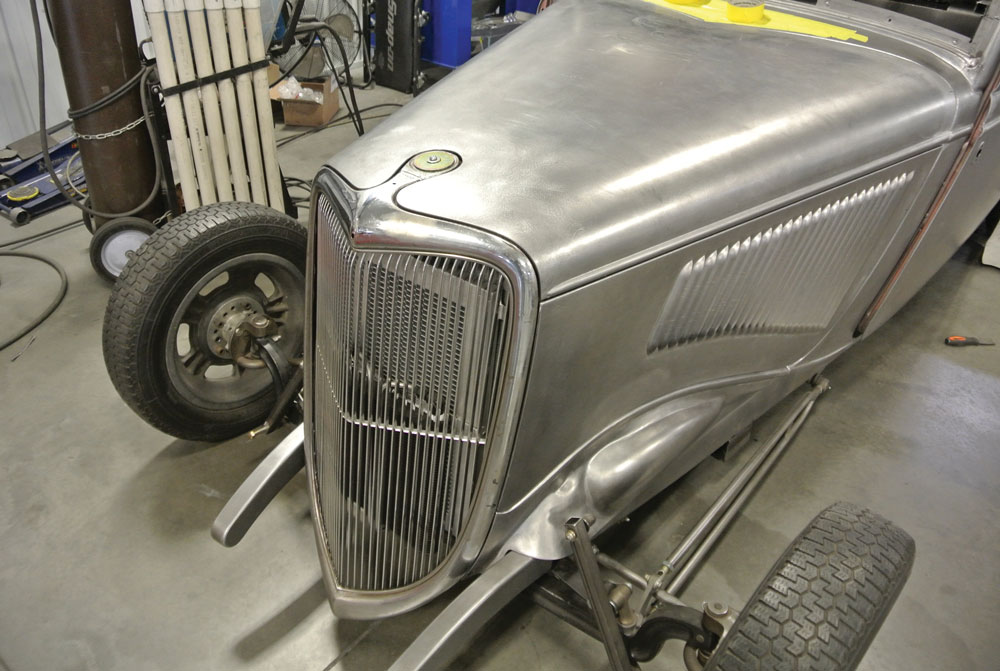
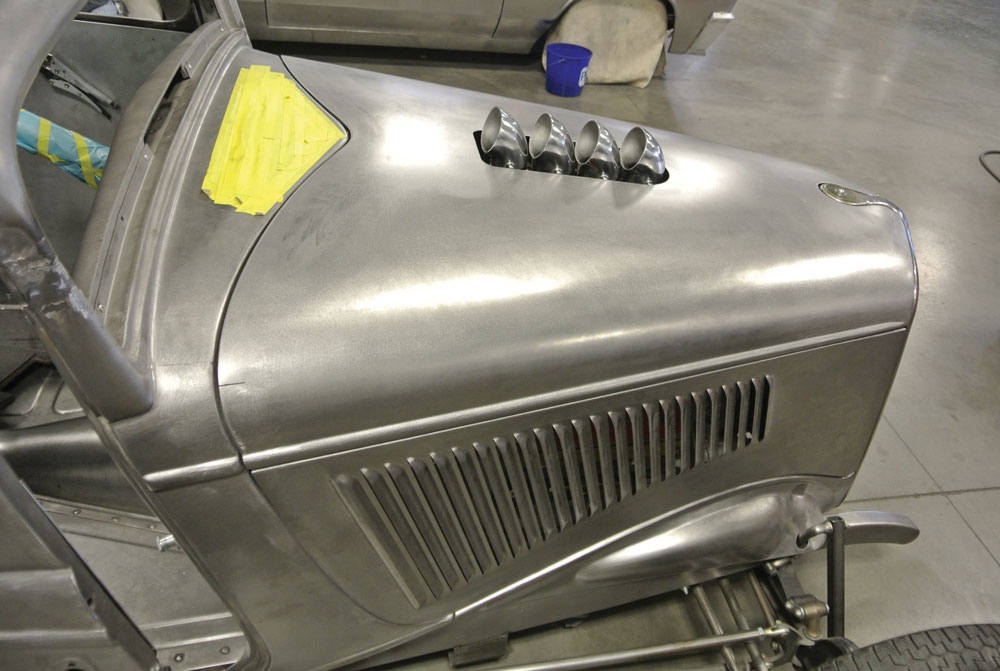
The 1934 ford coupe was shipped up to BBT Fabrications and work began. The metalwork was extensive and so we decided to follow along, starting with fitting the hood. The 1934 ford coupe came with an original four-piece hood but that was set aside in favor of a new three-piece Rootlieb hood. This three-piece configuration would allow for four vintage-style breathers to protrude through the hood. The hood sides carry stock louvers but without the lower body reveal and the two holes for the hood latch handles.
Check Out: Traditional Lighting/Modern Techniques
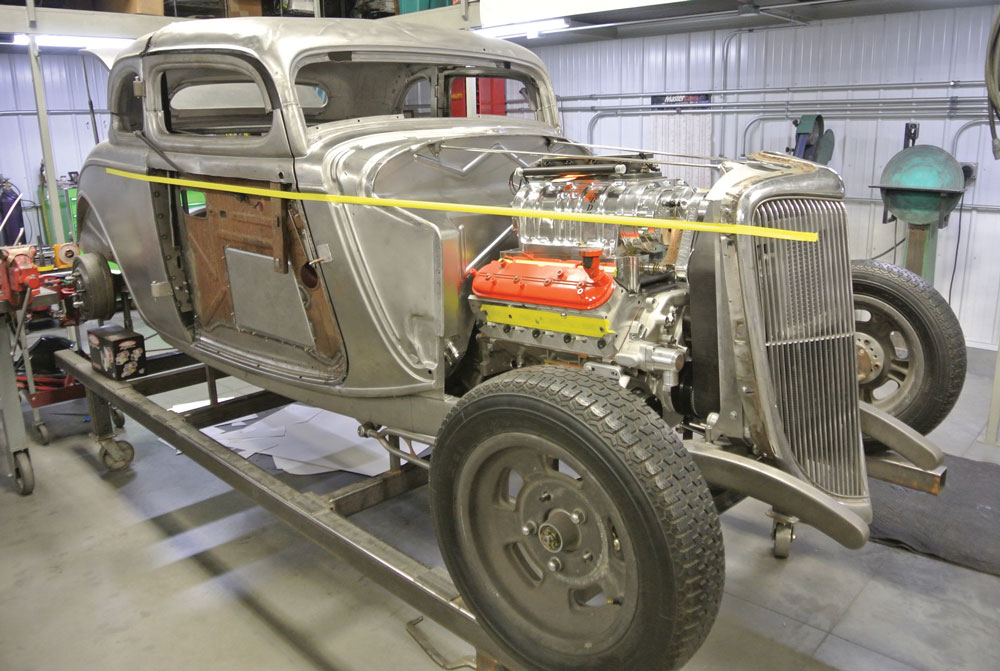
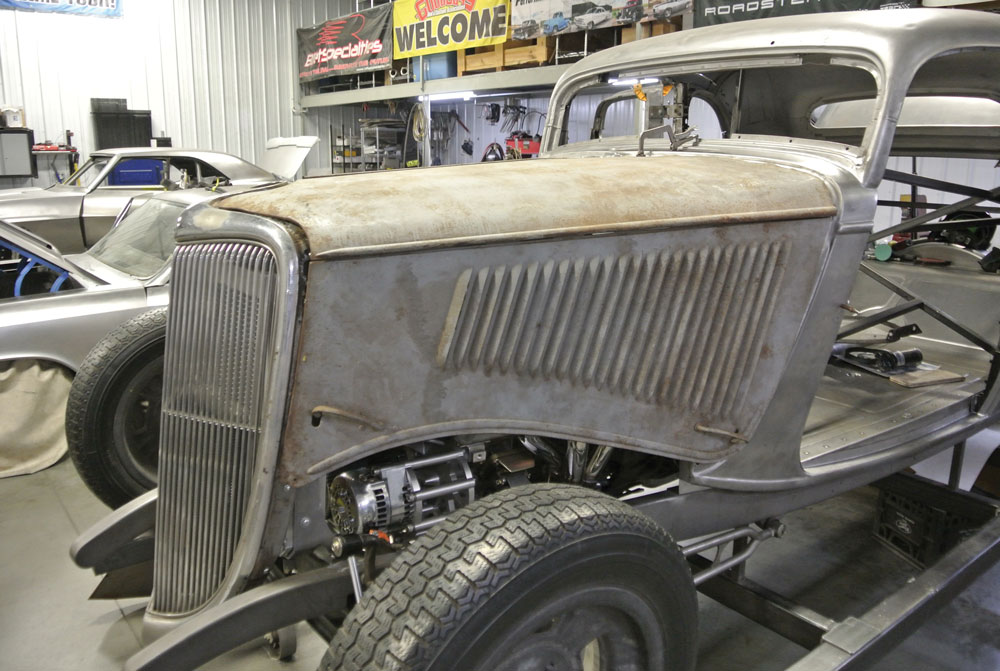
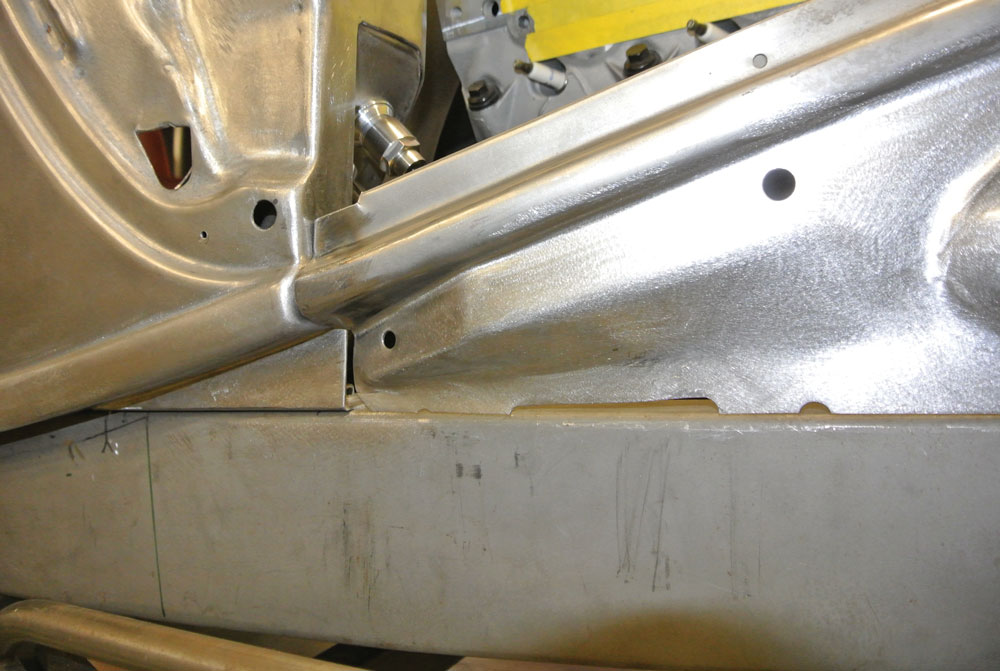
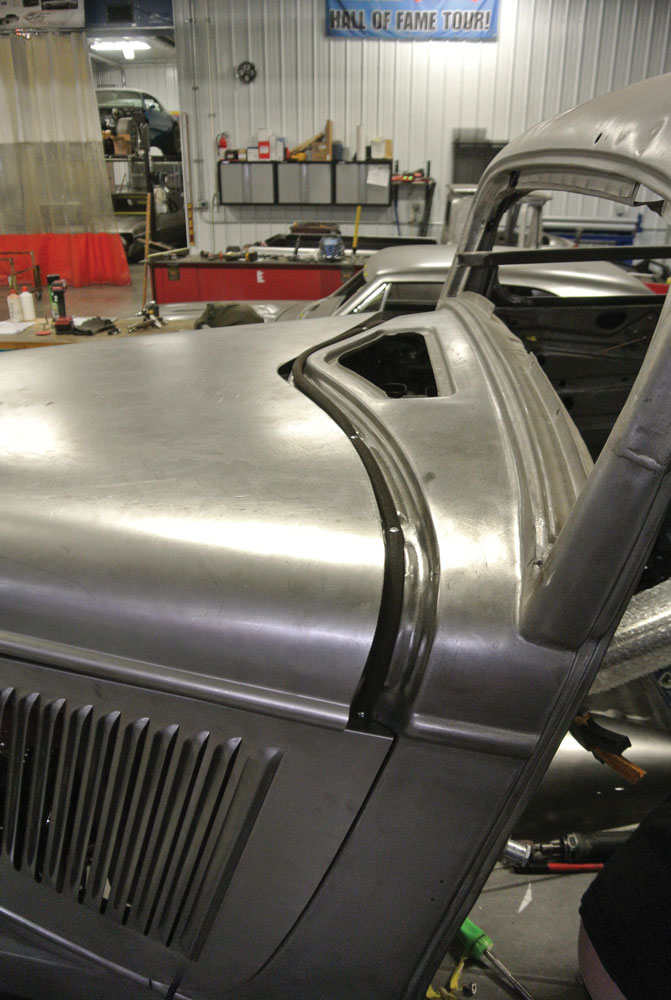
To properly fit a hot rod hood you must first establish the opening that it will cover, and that entails a lot of work. On a 1934 highboy you must first establish the location of the grille shell and the angle of the grille shell. In this case the radiator was moved forward to clear the 3-inch belt drive on the BDS blower. Since this was going to a non-stock, stretched hood, the angle of the grille shell did not have to conform to the stock hood sides.
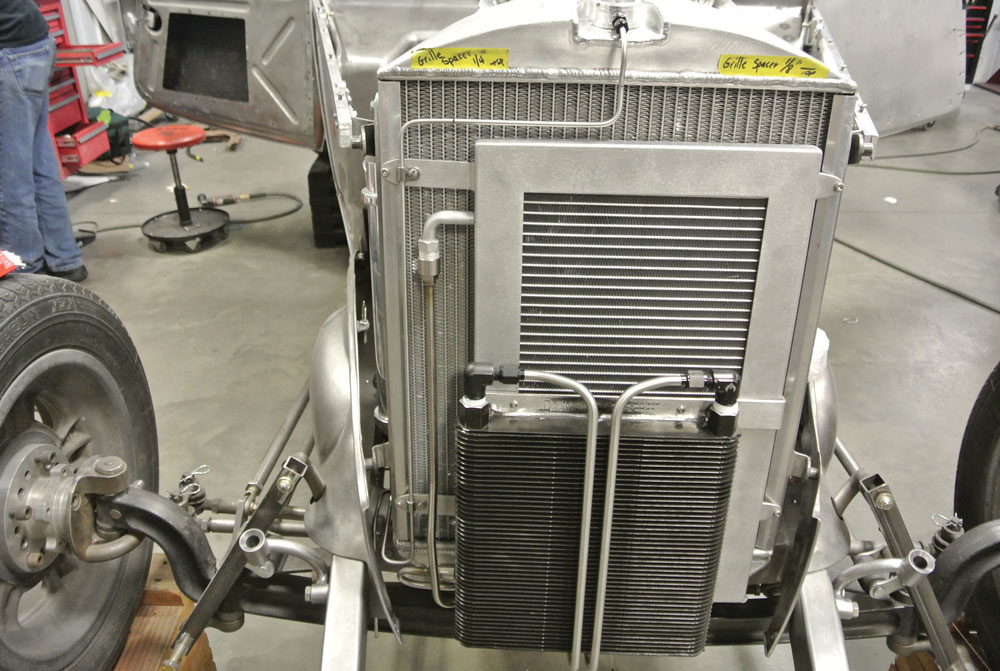
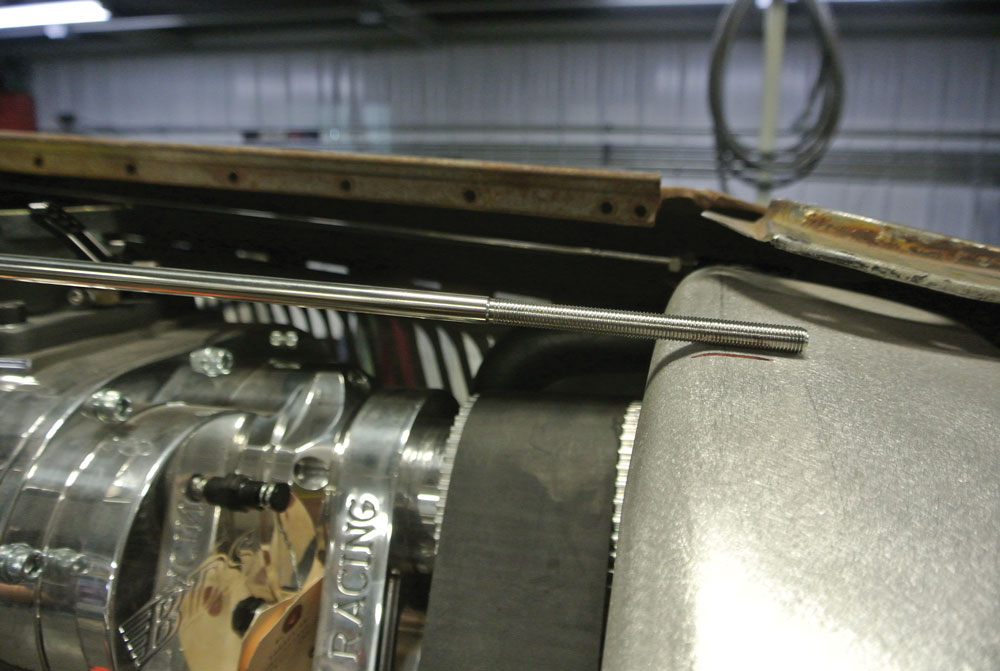
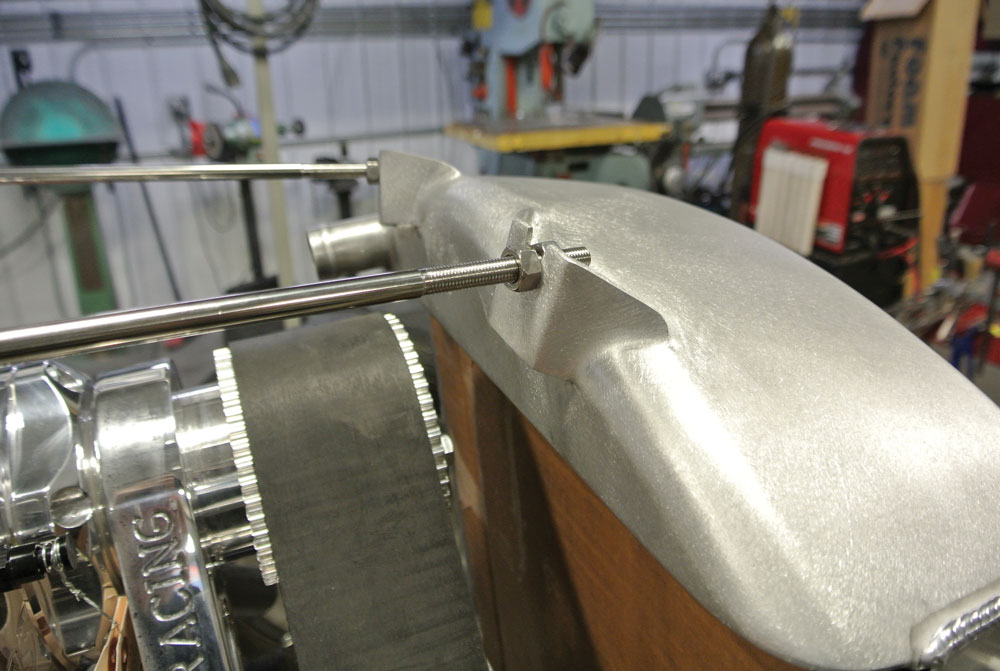
The angle of the grille shell was largely done “by eye” and it is close to the angle of the windshield. With the angle and radiator established, new radiator rods were fabricated and mounts were welded to the aluminum radiator. This established the fore/aft location of the front of the hood.
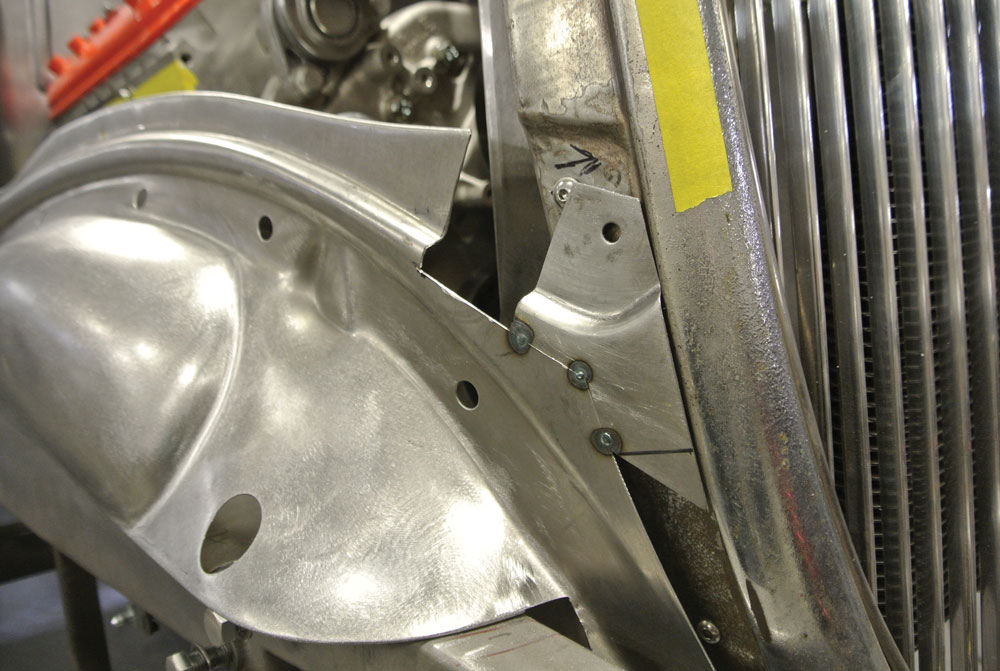
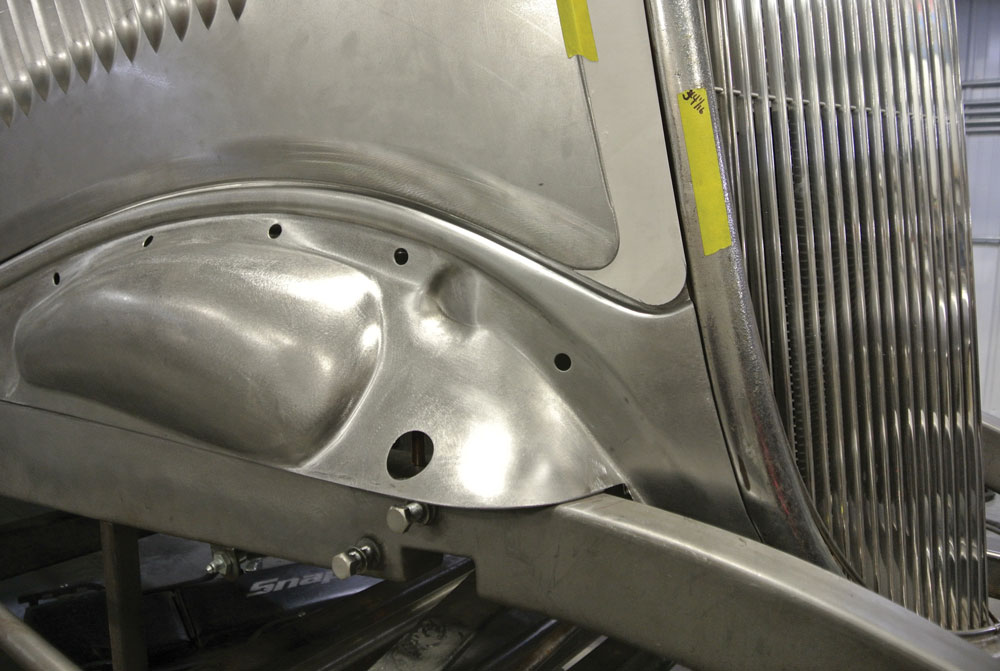
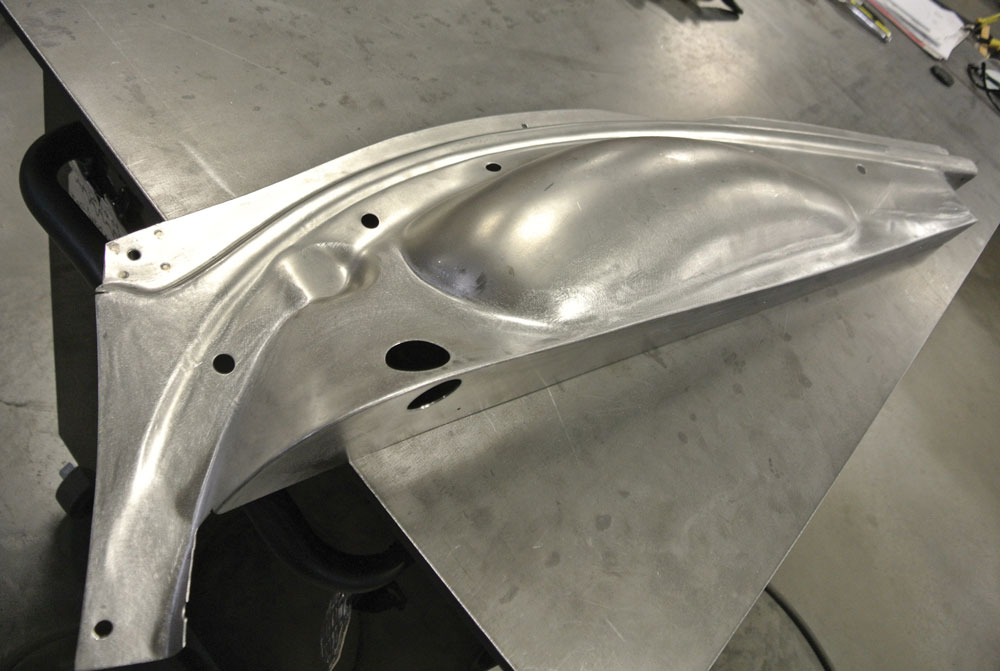
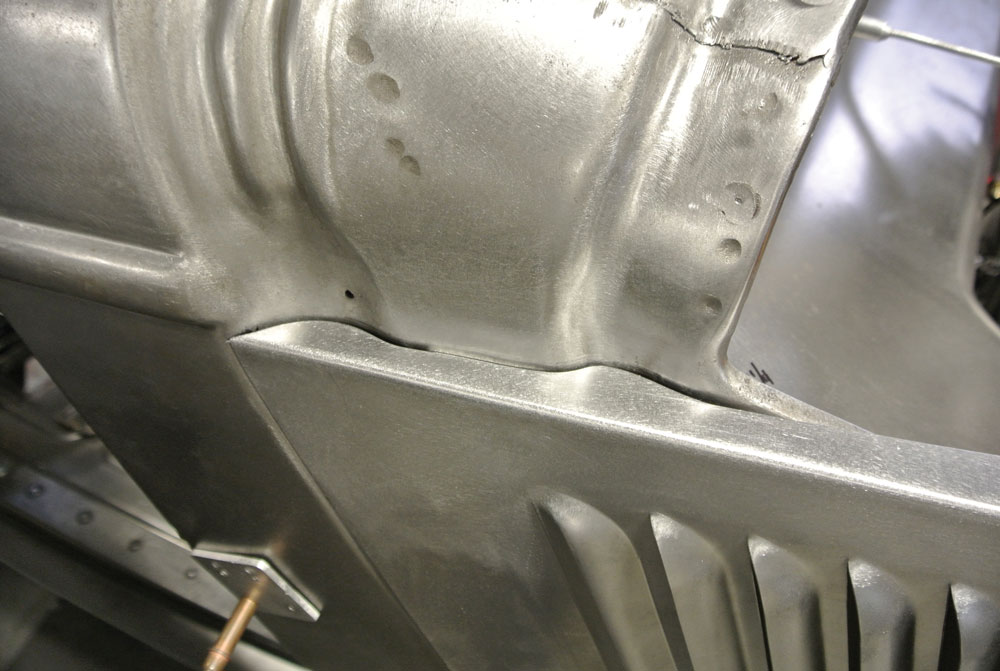
Before the Rootlieb hood sides could be mounted the inner splash aprons must be mounted. Gudgel began with a set of reproduction splash aprons, knowing they would have to be modified for this application. The aprons would also require a bit of slicing, dicing, and extending to make the lower body reveal align perfectly. Remember, these aprons were built to be mostly under the fender, so Ford didn’t worry about perfect fit. After the splash aprons were shaped the basic opening for the hood sides had been established.
Again, starting with a Rootlieb hood, the hood side was fitted to the cowl first and held in place with a couple Cleco fasteners. This established the proper gap at the firewall and the splash aprons. A template was made and the front of the hood was extended. This is a gross oversimplification of the process, so follow along with the photos to see the work involved.
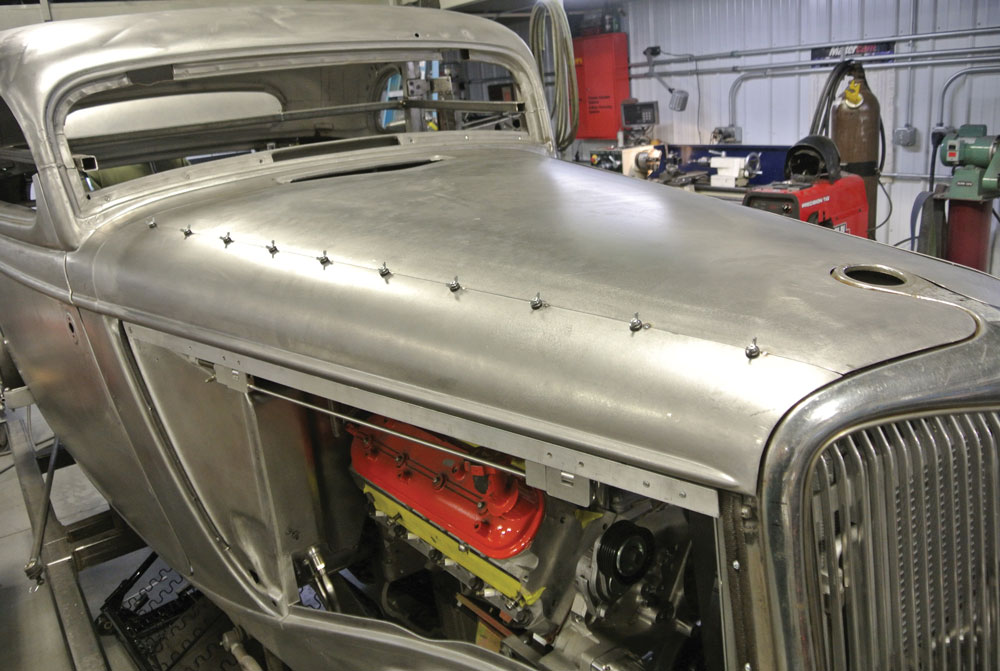
With both hood sides properly located, the hidden hood latch system was installed and a pair of hood top braces were also installed.


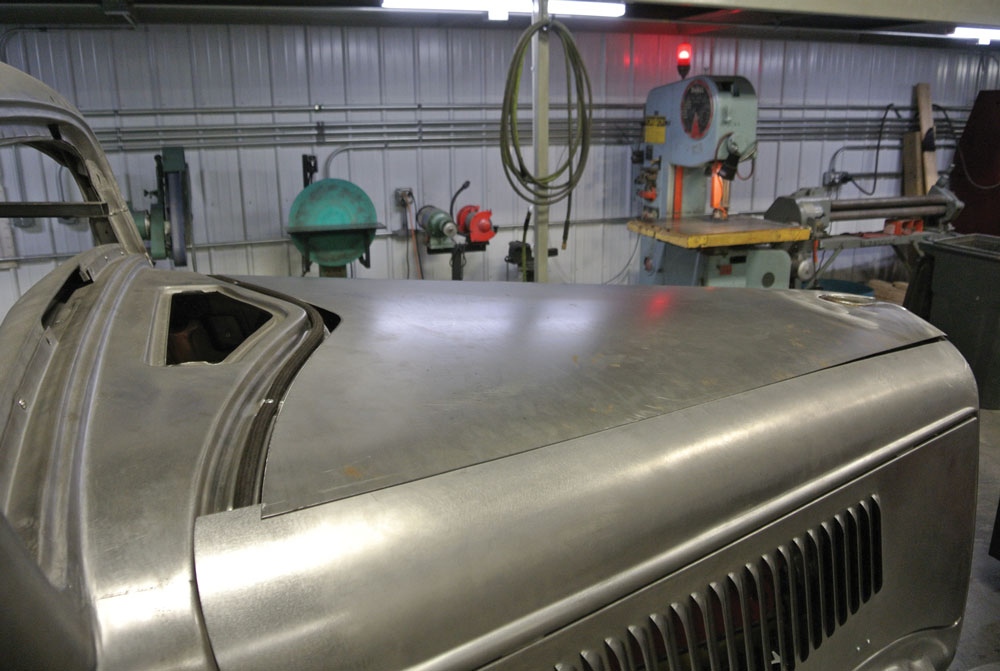
The top of the Rootlieb hood was fitted to the front around the radiator cap and grille shell. The original radiator cap was retained to carry on the traditional theme of the car. While the hood sides only required straight forward extension, the hood top was much more complicated.
Check Out: 1961 Chevy Impala Good Looks & Better Performance

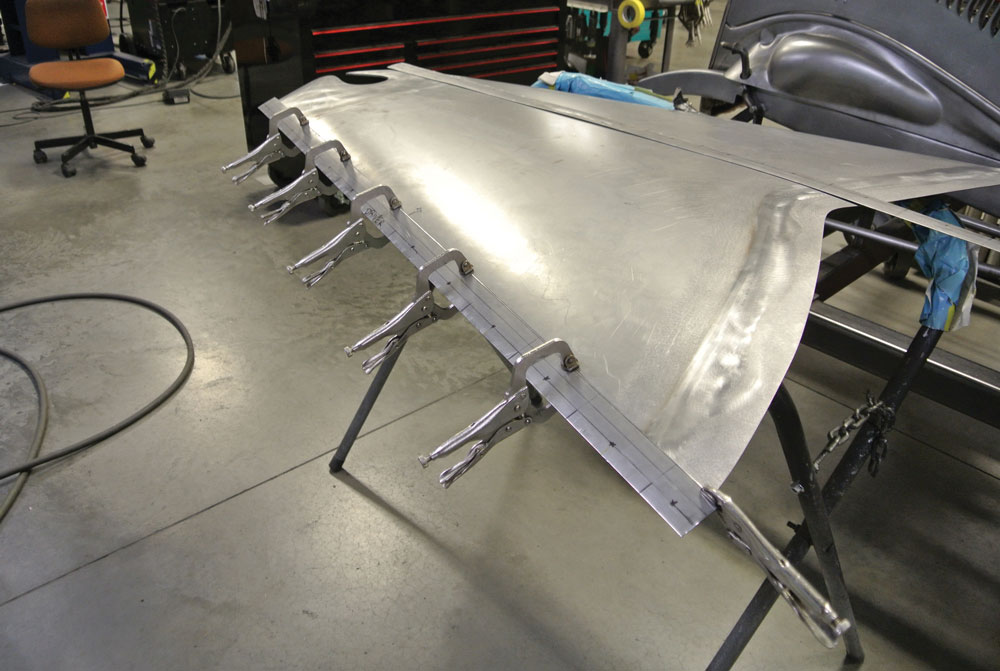
While the front and the rear of the Rootlieb hood would both fit the grille shell and the cowl respectively, because the distance between the cowl and the grille shell had been extended, the gradual taper of the hood from cowl to grille was changed. The hood top was cut into three pieces, with two sides pieces being fit to the opening.

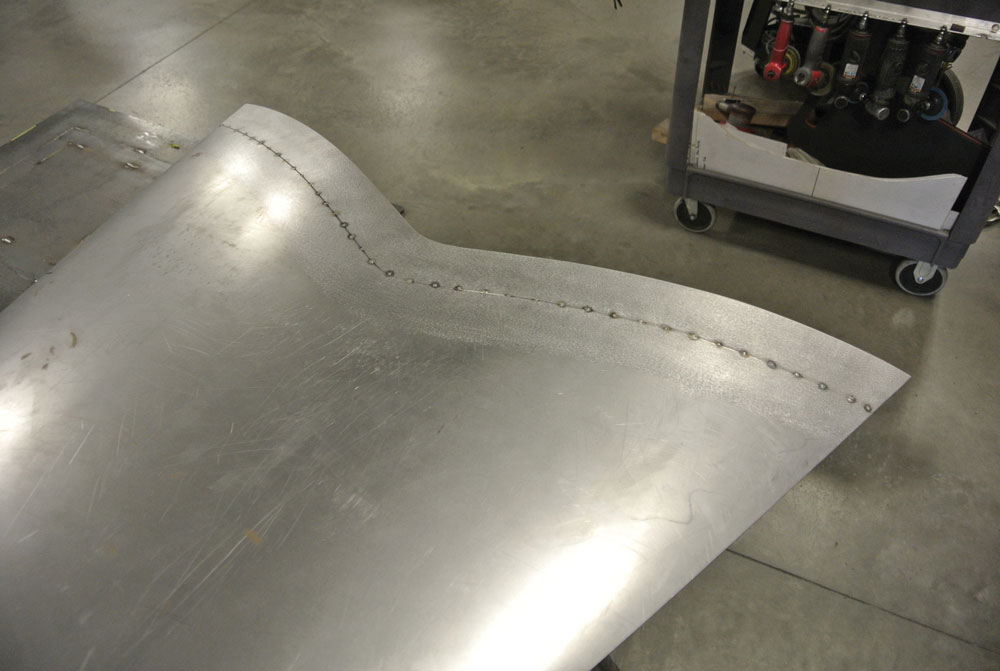
Then the remaining hood skin was wedge cuts to adjust the taper (see photos). The wedge cuts served to establish the shape of the centerskin, a metal strip was added to each side of the skin, and then it was cut to fit the opening. The metalwork and metal finishing exhibited here is extraordinary.

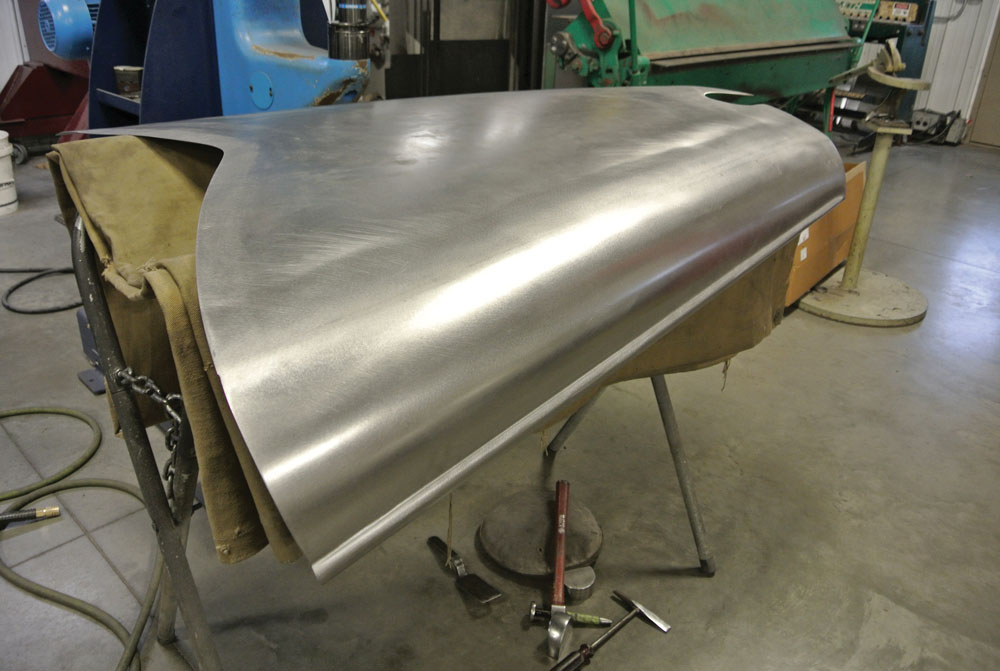
Now the modified centerskin was rejoined to the two other hood top pieces with panel clamps and after many, many tack welds the finish welding and metal finished was completed before the hole was cut in the center of the hood for those vintage-style breathers. In the end Gudgel had fabricated a custom three-piece hood with great fit and finish that combined modern craftsmanship with vintage style. MR


Sources
BBT Fabrications
(217) 586-5699
bbtfabrications.com
Rootlieb
(209) 632-2203
rootlieb.com


