As a fitting addendum to Ron Ceridono’s in-depth look into today’s fuel-injection options for your classic truck we thought it would be great to show all the readers with ’67-72 Chevy trucks (because we know there are a few of you out there!) just how easy it is to equip your C10 with the proper EFI fuel pump and tank setup.
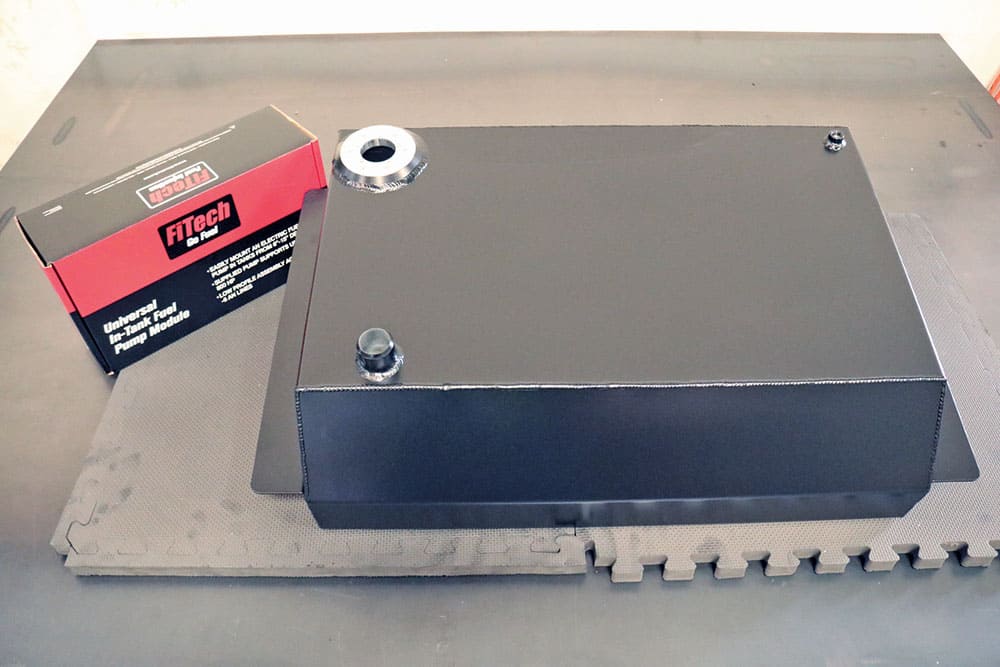
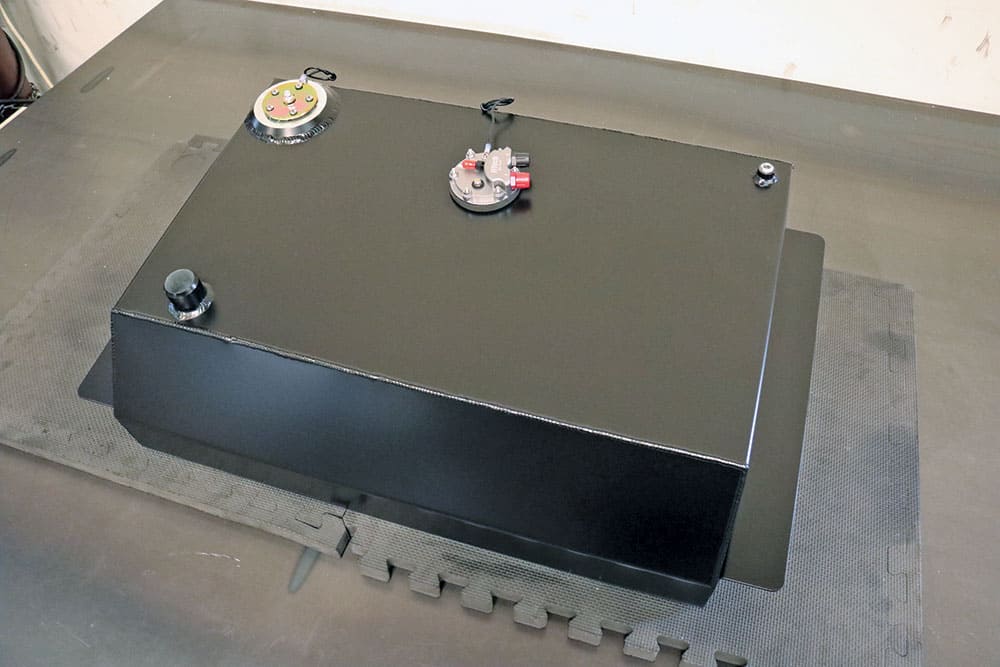
A perfect pair: Performance Online’s AGT6372-B 19-gallon aluminum gas tank for ’63-72 Chevy/GMC and FiTech’s 50015 Go Fuel in-tank retrofit kit. This combo will supply the fuel for the FiTech Ultra Ram–equipped 454 big-block in our ’69 C10 project … once we complete the tank setup and installation, that is. Follow along!
A visit to see our friend Mike at FiTech Fuel Injection in Corona, California, provided us with a few laughs, as well as their new Go Fuel (PN 50015) in-tank retrofit EFI fuel pump kit to feed their Ultra Ram EFI we’ll be using on the 454 big-block powering the ’69 C10 currently under construction at Jimenez Bros. Air Ride and Rod Shop in Riverside, California. We still needed an actual tank to fulfill FiTech’s “in tank” aspect, so down the road a little further we traveled to see another friend, Randy, at Performance Online for a direct-fit, 19-gallon aluminum fuel tank—a powdercoated black one, no less (available at an additional charge)—for the C10.
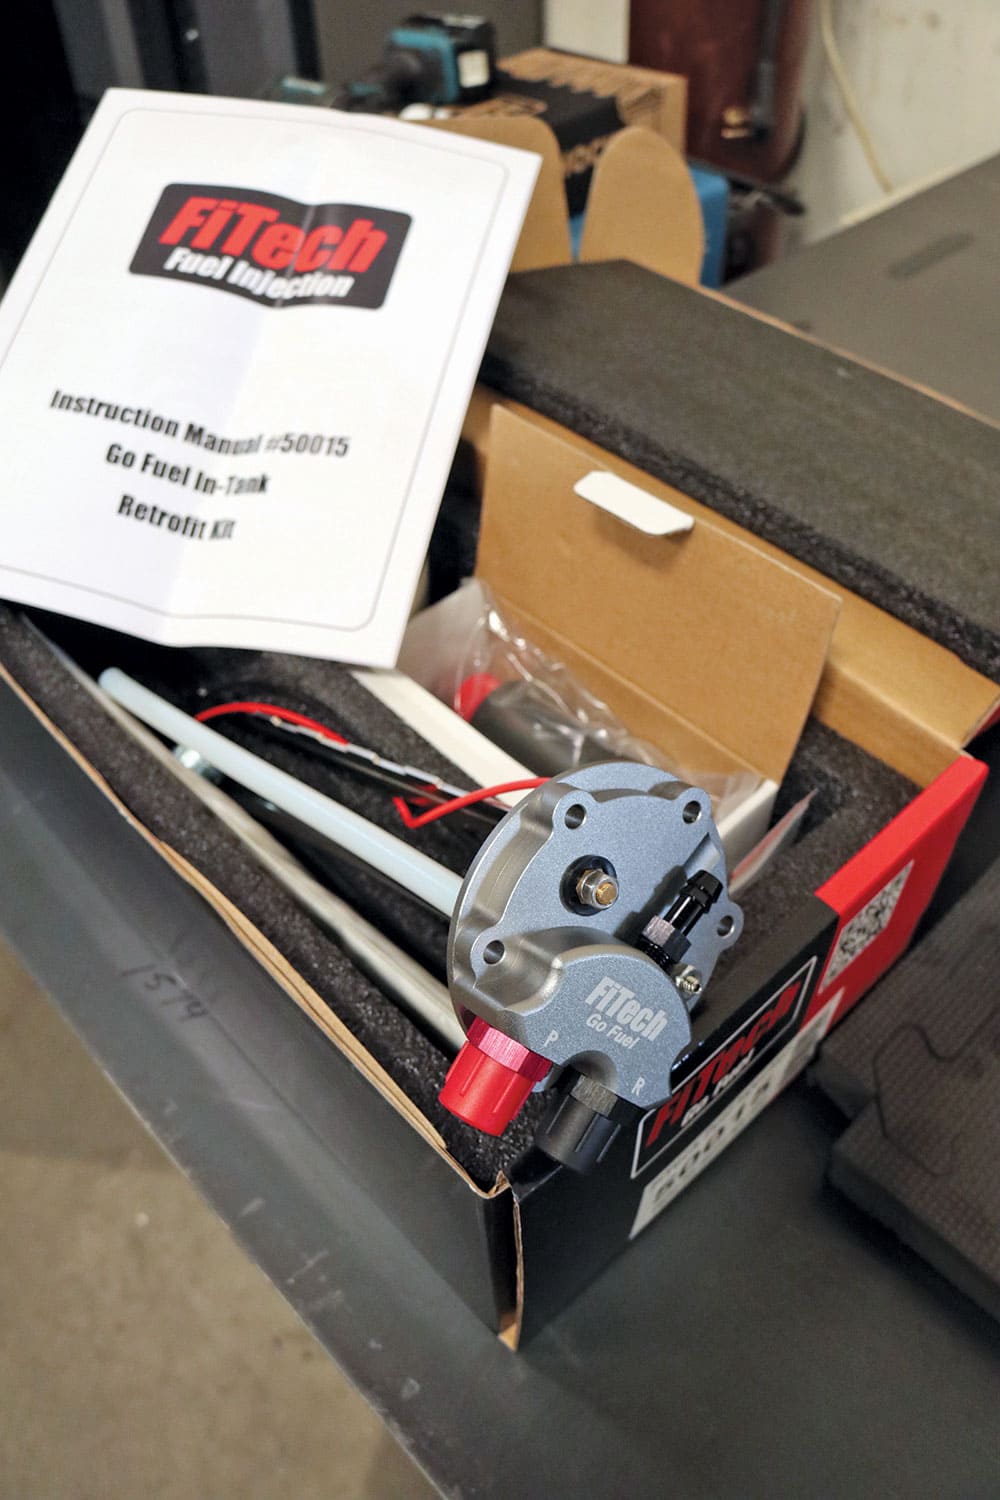
FiTech’s 340-LPH, in-tank EFI fuel pump kit is not only one of the best fuel supply systems for applications in upwards of 800 hp, it comes with the most comprehensive set of instructions we’ve ever had the pleasure of using!
While at Performance Online, Randy obliged us with a Go Fuel pump kit installation to show you readers—and potential customers—just how easy it is to retrofit your existing or brand-new fuel tank with one of the best high-performance (up to 800 hp) EFI fuel pumps on the market. (For 800-1,000hp applications, use FiTech’s 440-LPH 50016 Go Fuel kit.) (As a side note, FiTech’s Go Fuel retrofit kits can be used in any tank—steel or aluminum—ranging from 6 to 15 inches in depth. Their extremely low-profile in-tank module allows for installations where the tank is close in proximity to the bed floor, thus clearance is at a minimum.)
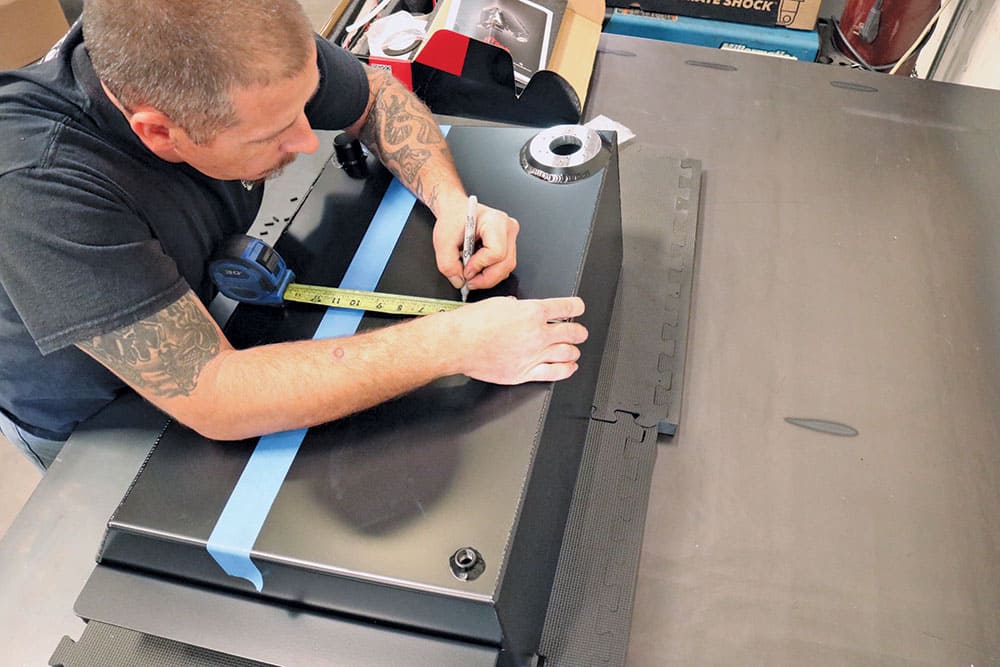
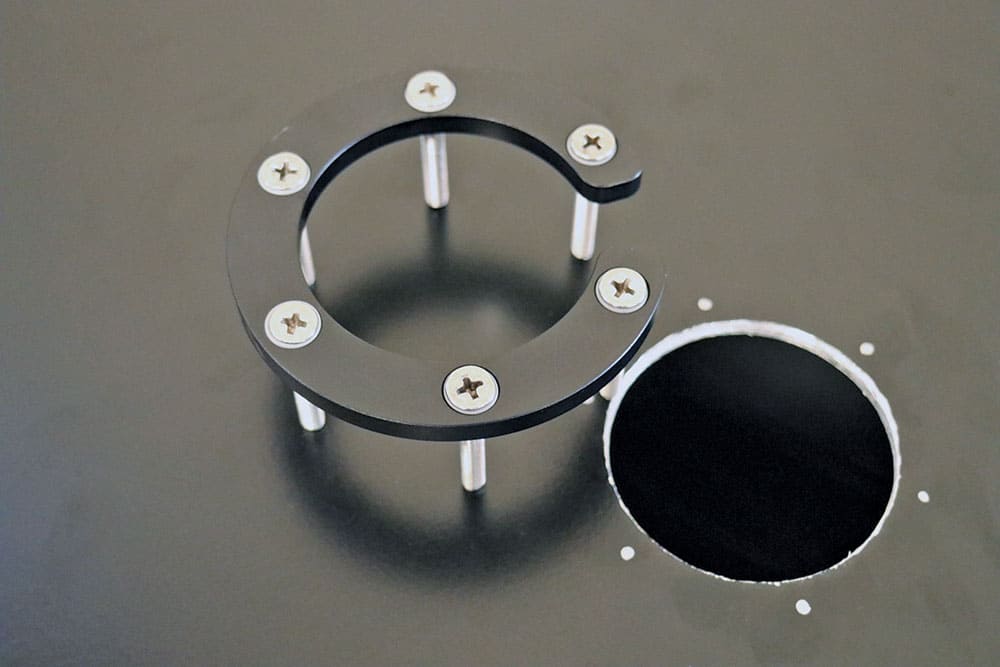
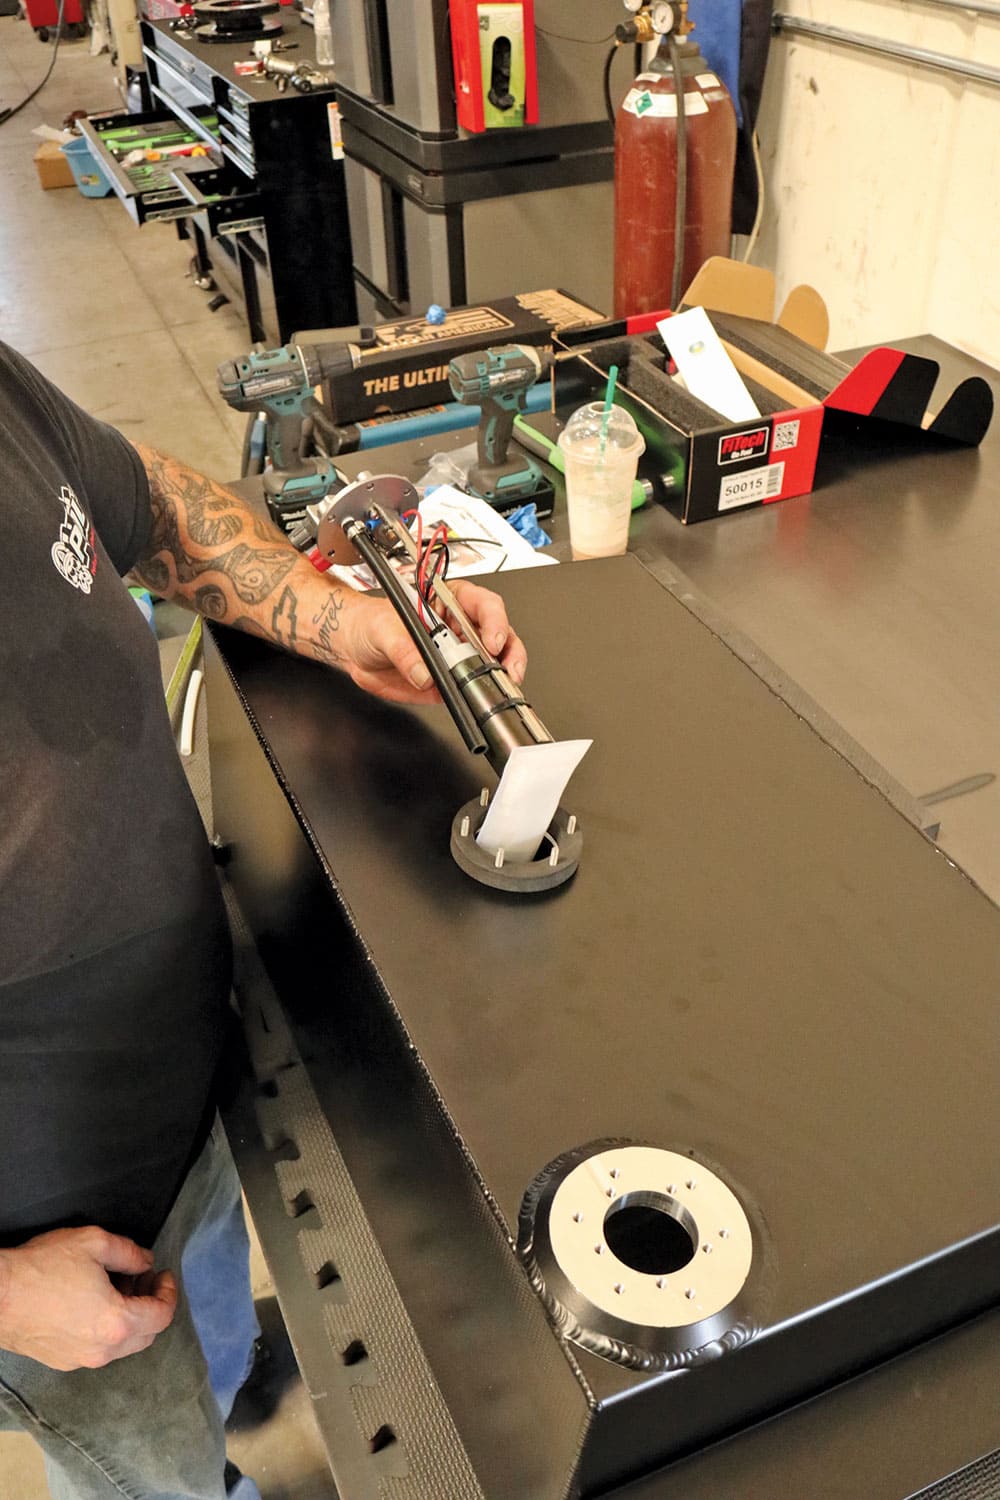
Whether you’re using a new aluminum fuel tank as we are or retrofitting an existing one (OE-stamped steel or aluminum), the location of the new pump needs to be toward the top end. Use the supplied C-ring mounting collar to help plot your location.
With a freshly equipped tank, we headed back to Jimenez Bros. for a quick install. Next on the fuel system itinerary: after we complete the American Autowire Highway 22+ harness installation with our old pal Ryan Manson, we’ll head over to FiTech once again to have Mike and Jeremy dial in the Ultra Ram using their newly developed, LS-based control system for Small Block & Big Block Chevy applications!
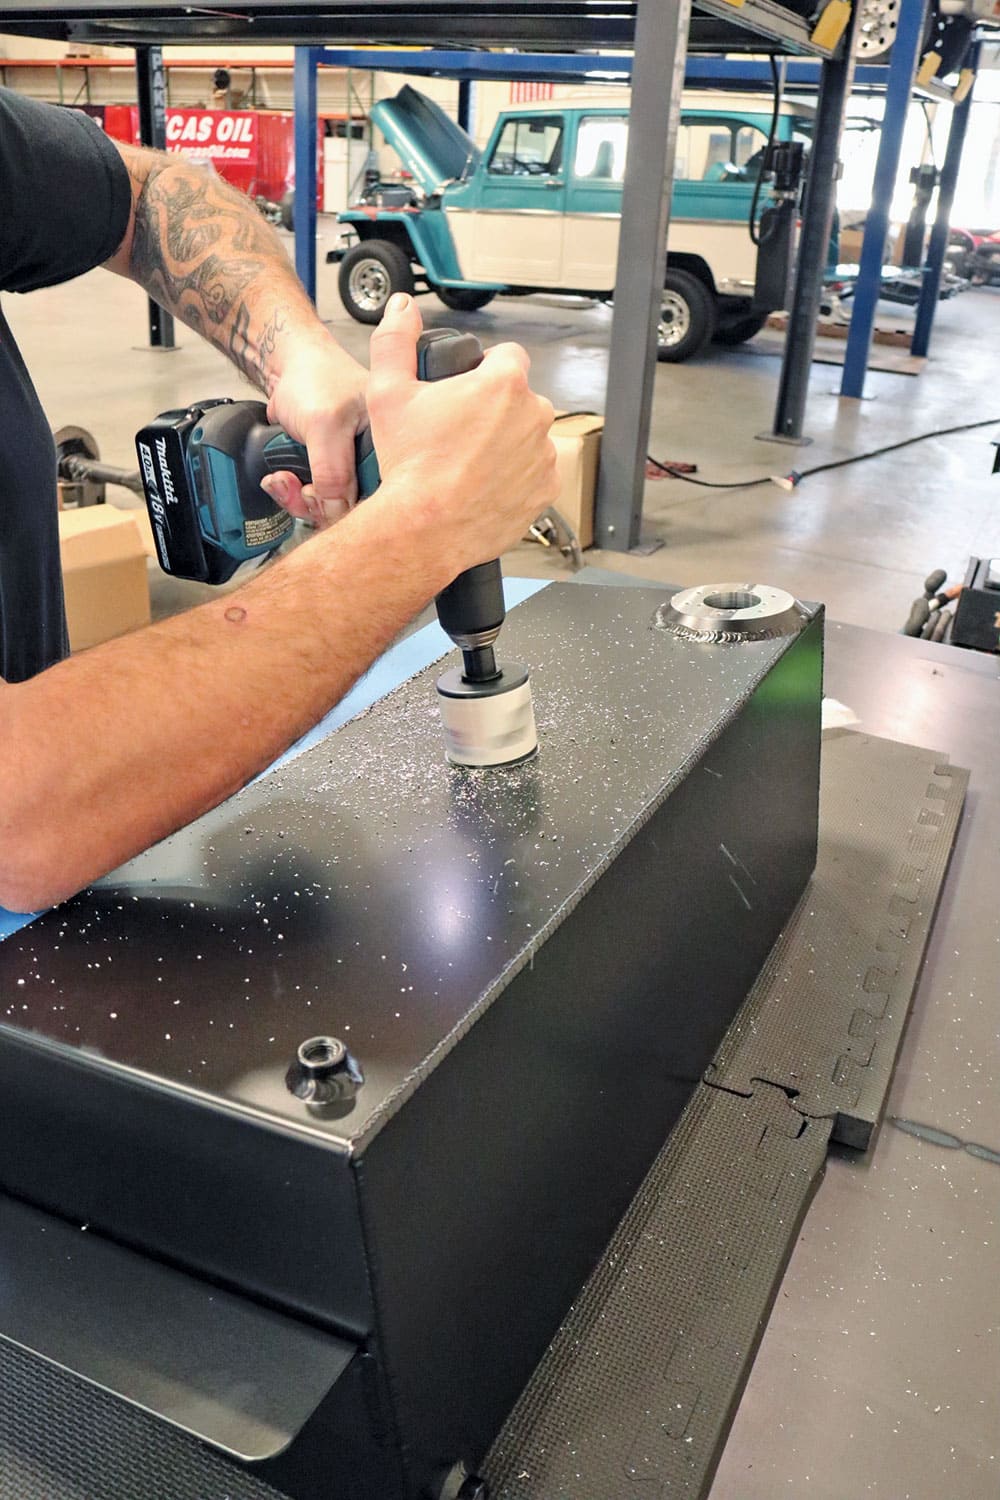
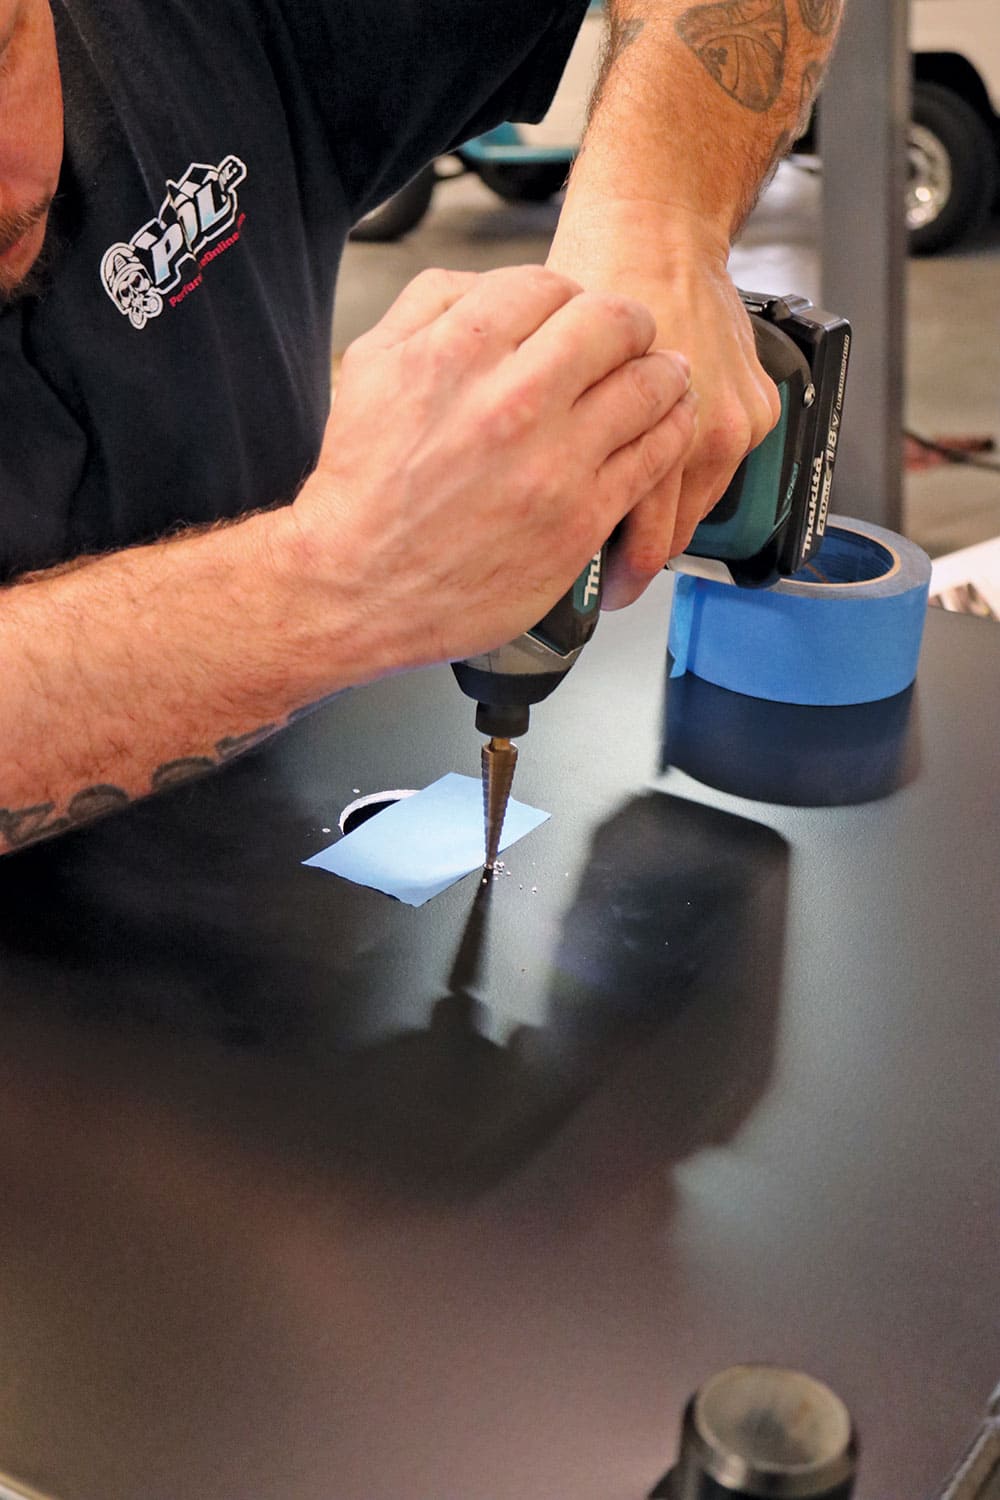
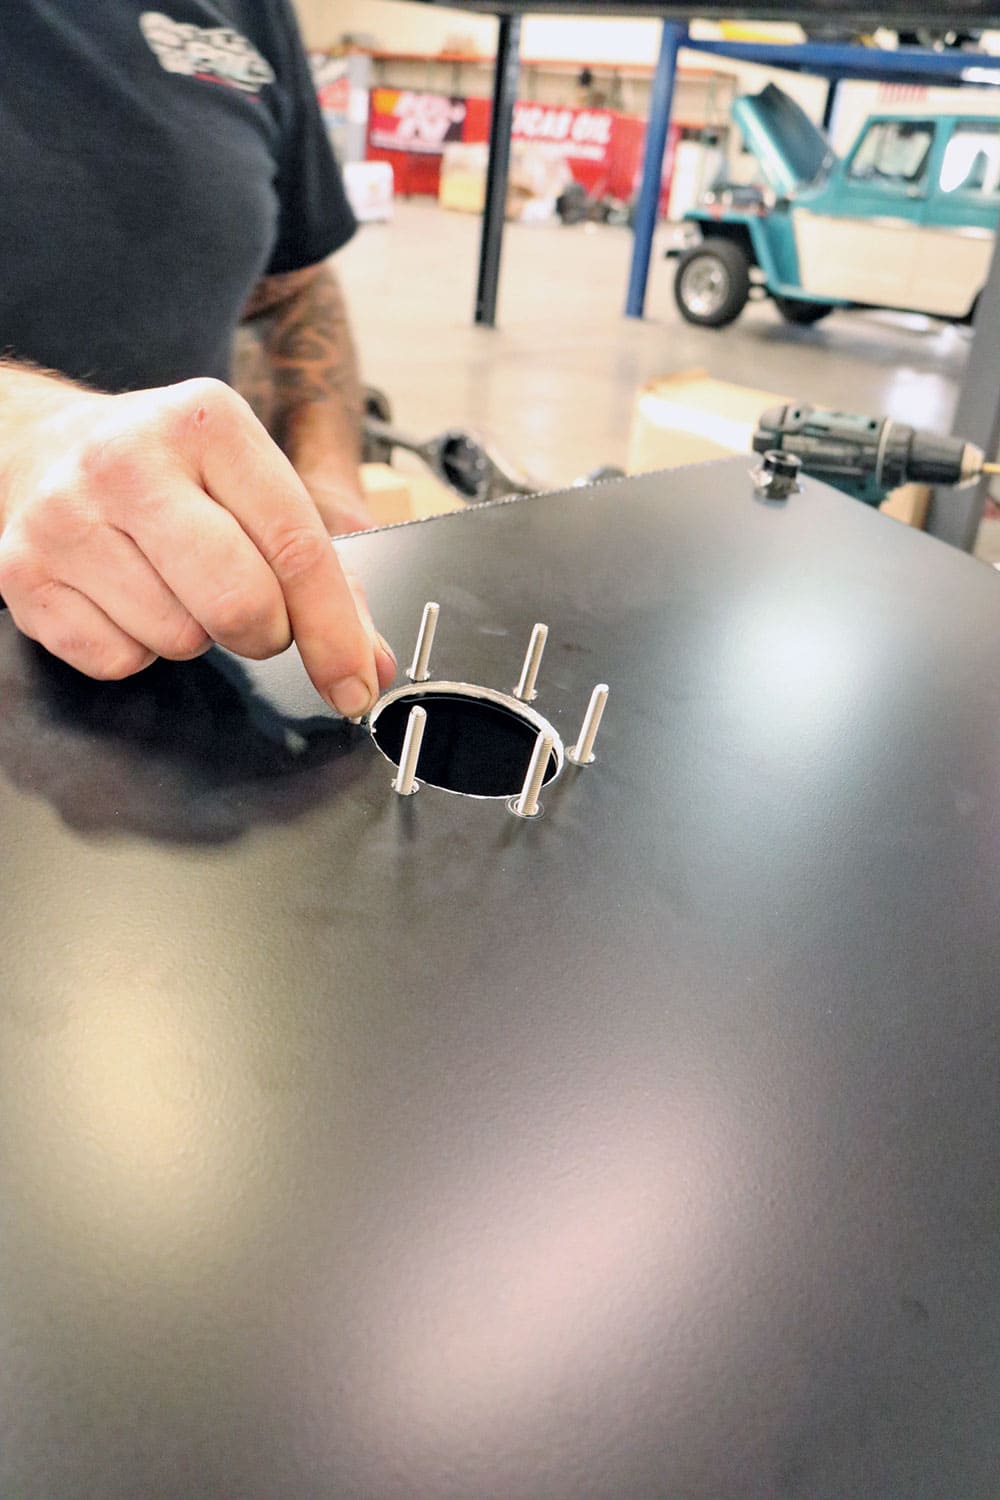
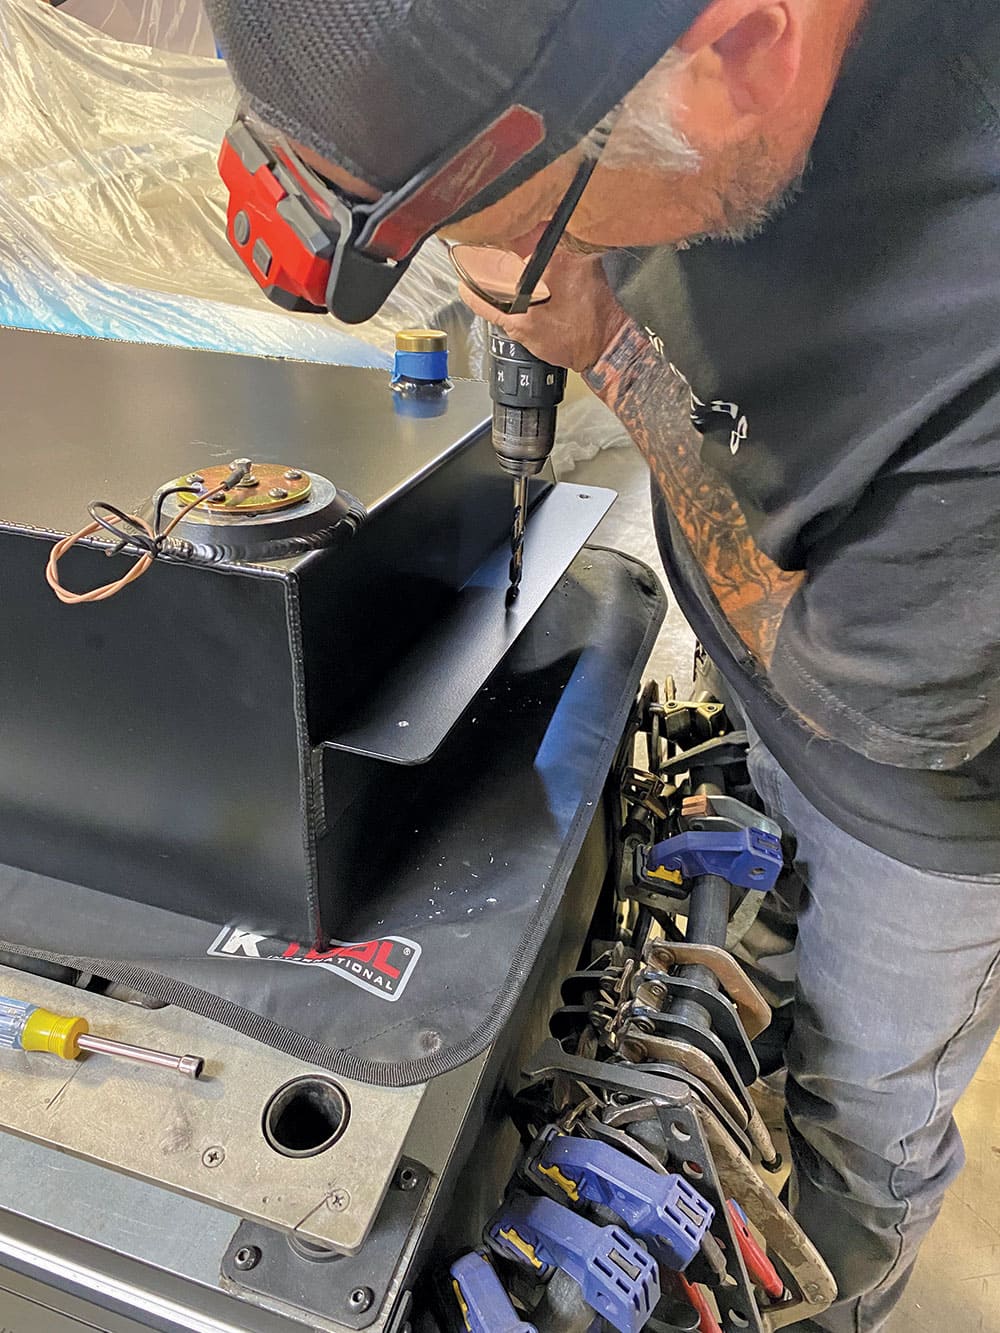
After center-punching and drilling a 1/4-inch pilot hole, you’ll need a 2-1/8-inch hole saw (preferably a new one, if possible). Thoroughly clean out ALL resulting debris afterward … your EFI fuel system’s life depends on it!
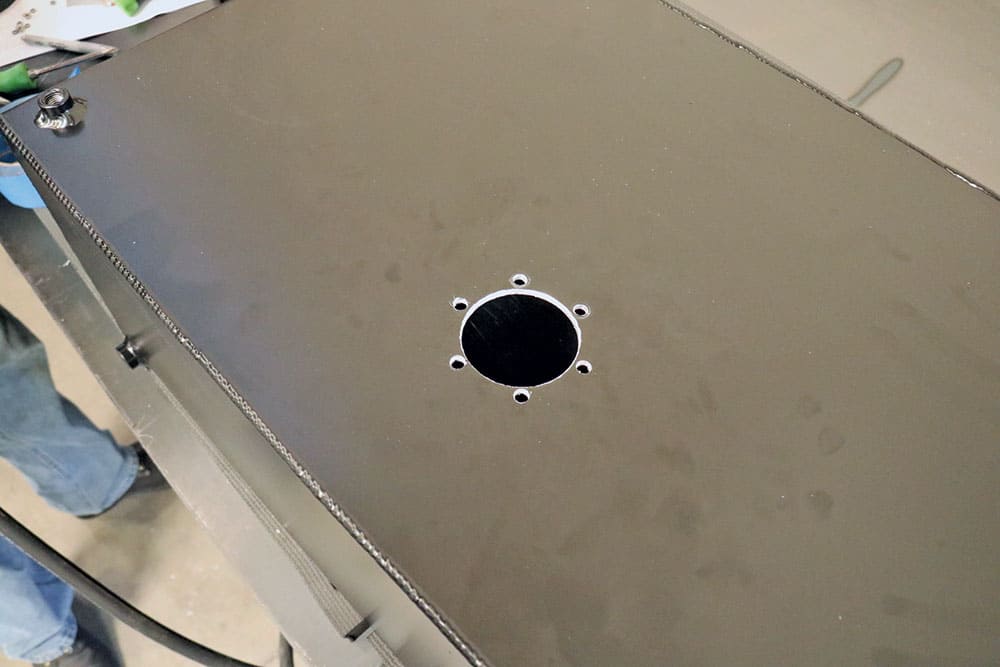
Use the C-ring as a template to mark and subsequently drill the six 1/4-inch mounting holes for the pump. Keep in mind the orientation of the pump head (more specifically, the fuel inlet/outlet ports) when marking the holes.
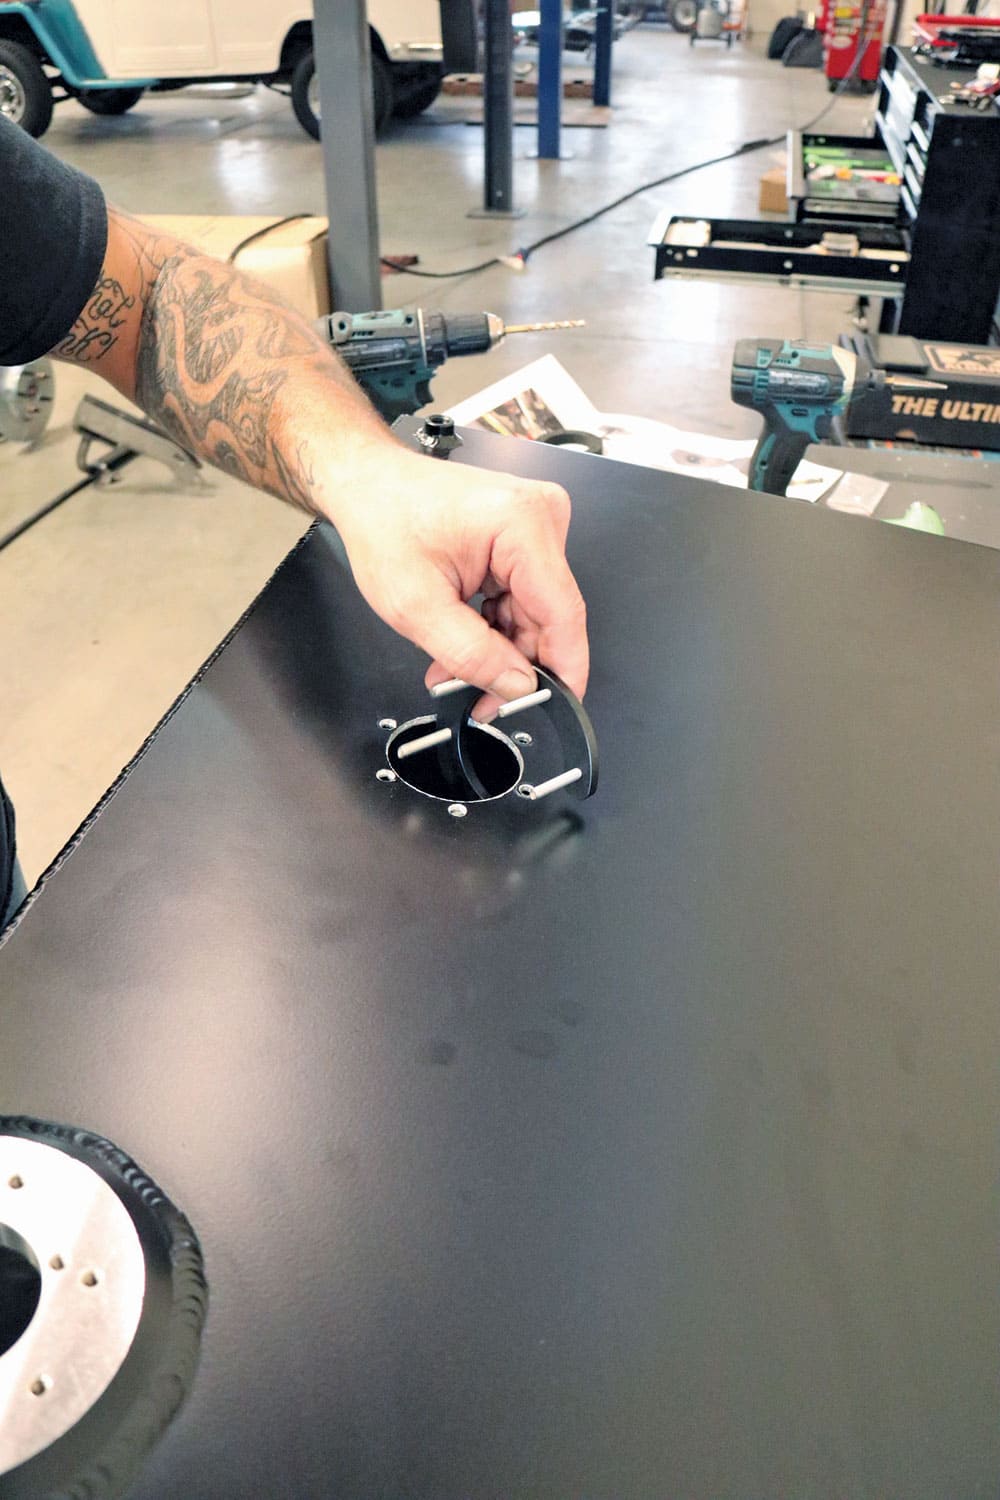
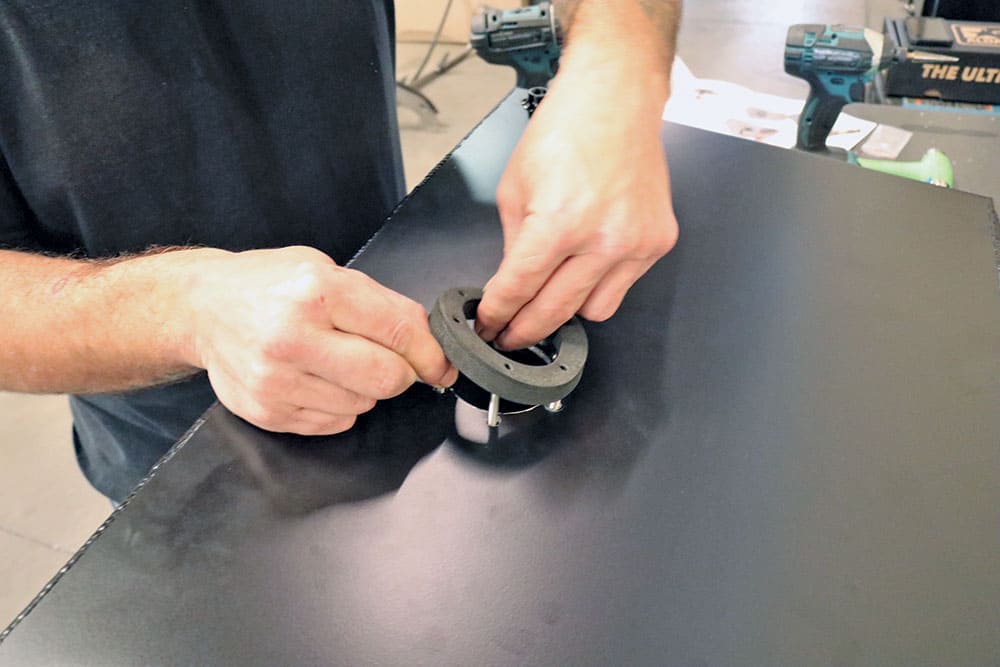
Once again, clean the inside of the tank thoroughly after deburring the holes (inside and out).Install the six Metric machine screws (with a dab of blue Loctite) into the C-ring and securely tighten before manipulating the collar into the tank (that’s what the C design is for, if you hadn’t already figured that out). Insert the screws from the underside, as shown.
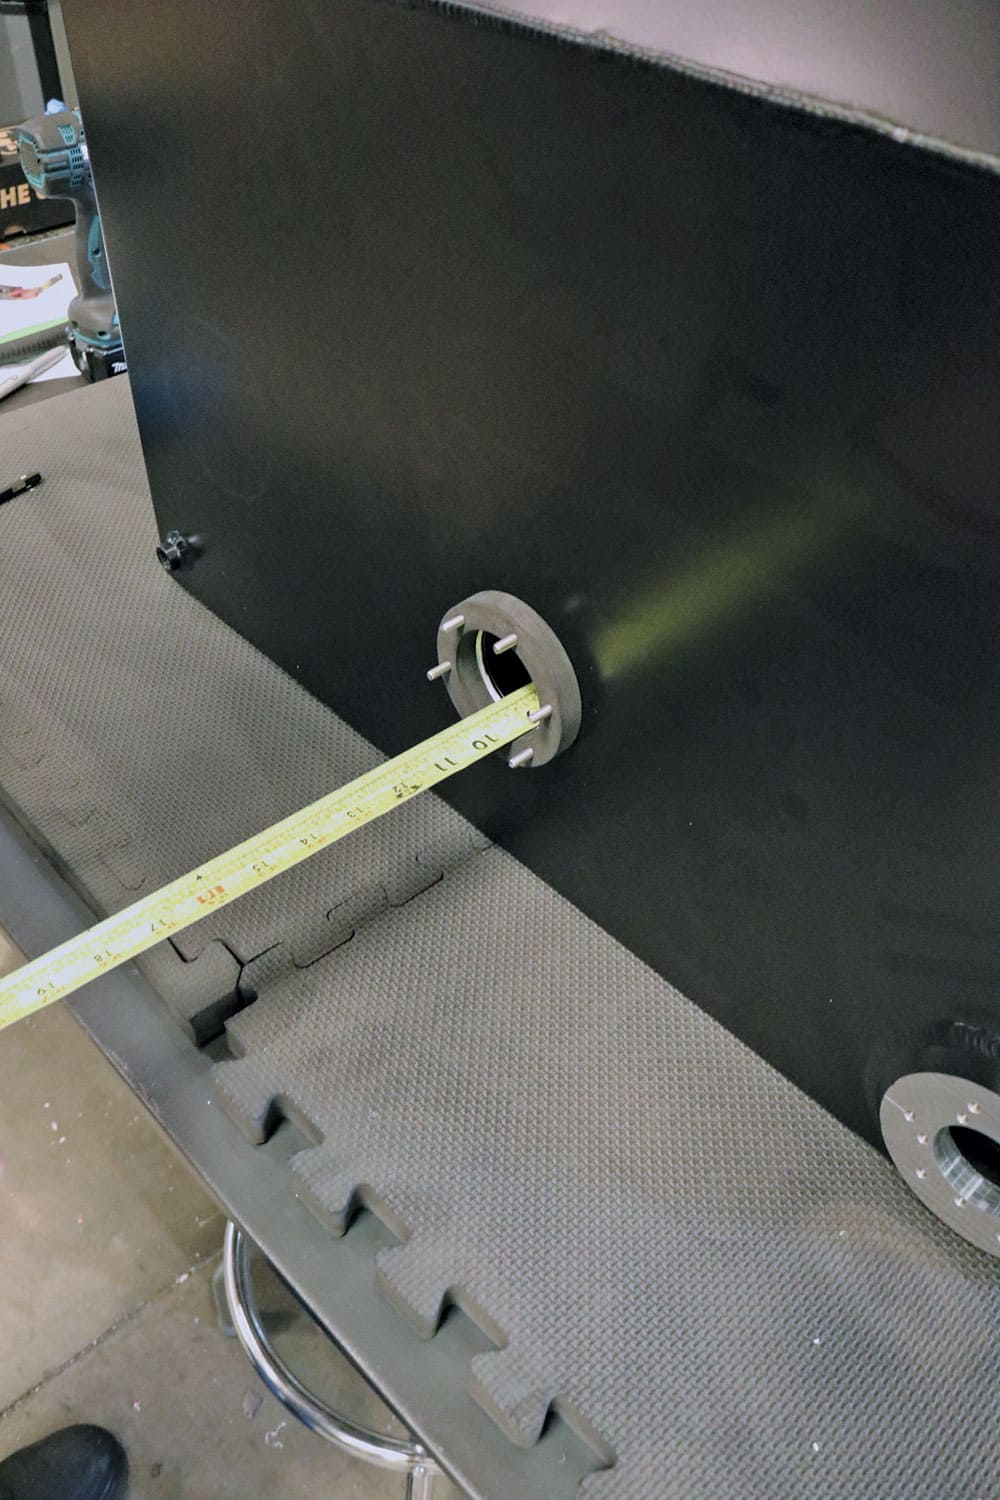
Slide the foam gasket onto the protruding screws—this will also hold the C-ring in place until you’re ready to install the pump.Next, measure the depth of the tank to determine the overall length of the pump assembly—you want the filter (sock) to be approximately 1/8 inch off the floor of the tank.With your height determined, trim the white (fuel supply) and black (return) lines as well as the metal support bracket. (We preinstalled the fuel lines before cutting; you will need to soften the pump side of the supply line with a heat gun before sliding it onto the pump inlet nipple, otherwise you’ll end up having to force it on and potentially damaging/breaking the nipple).
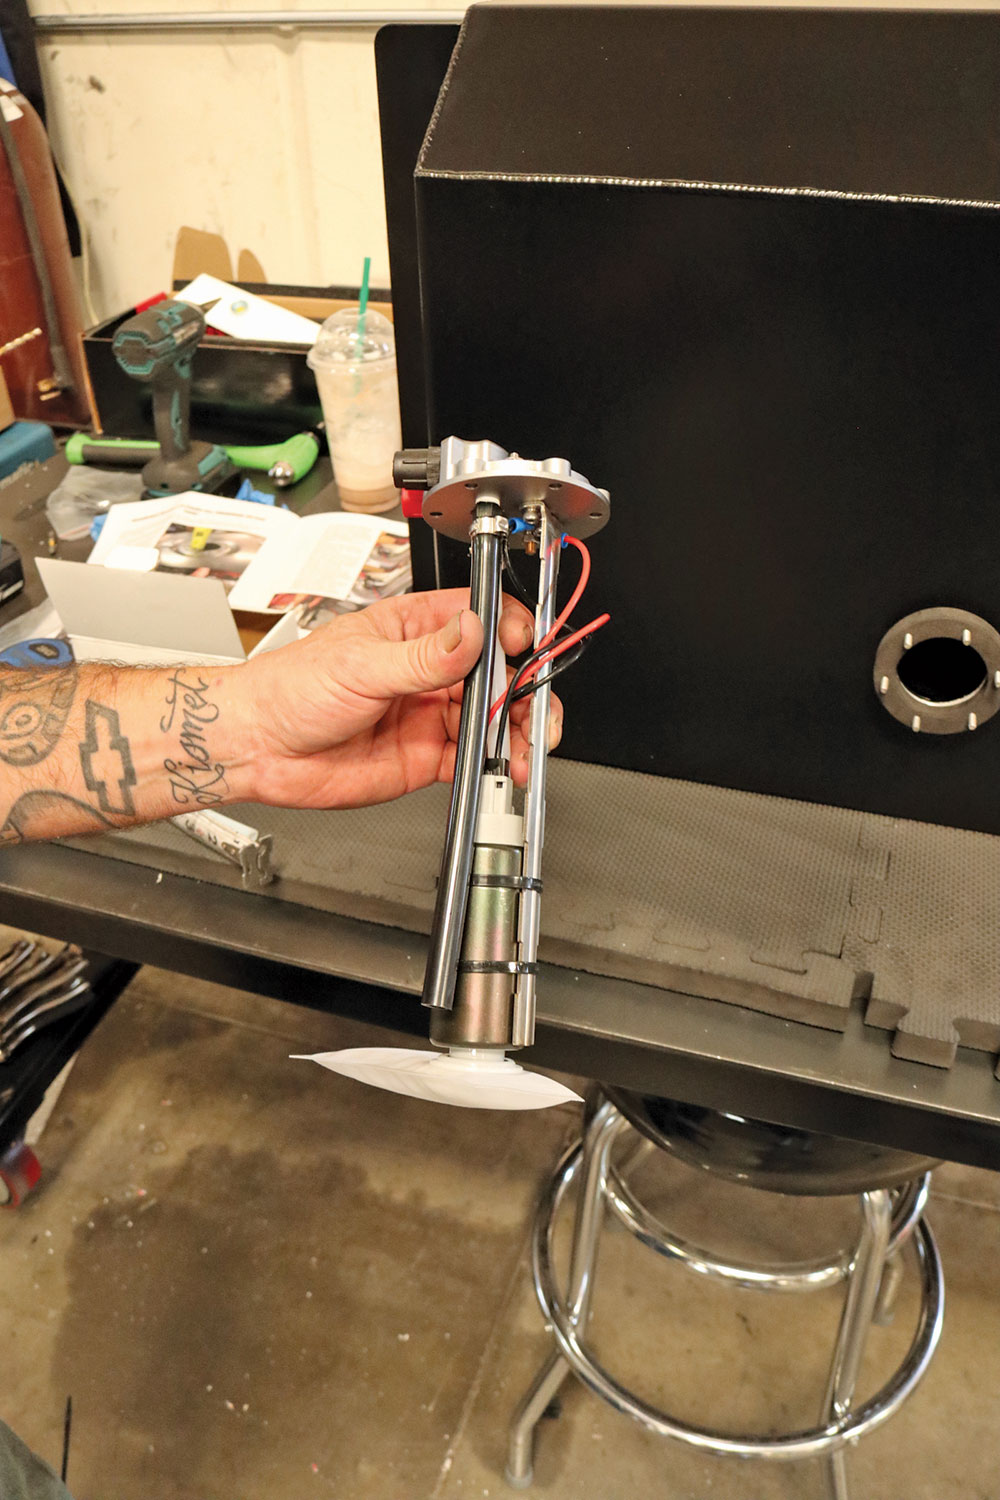
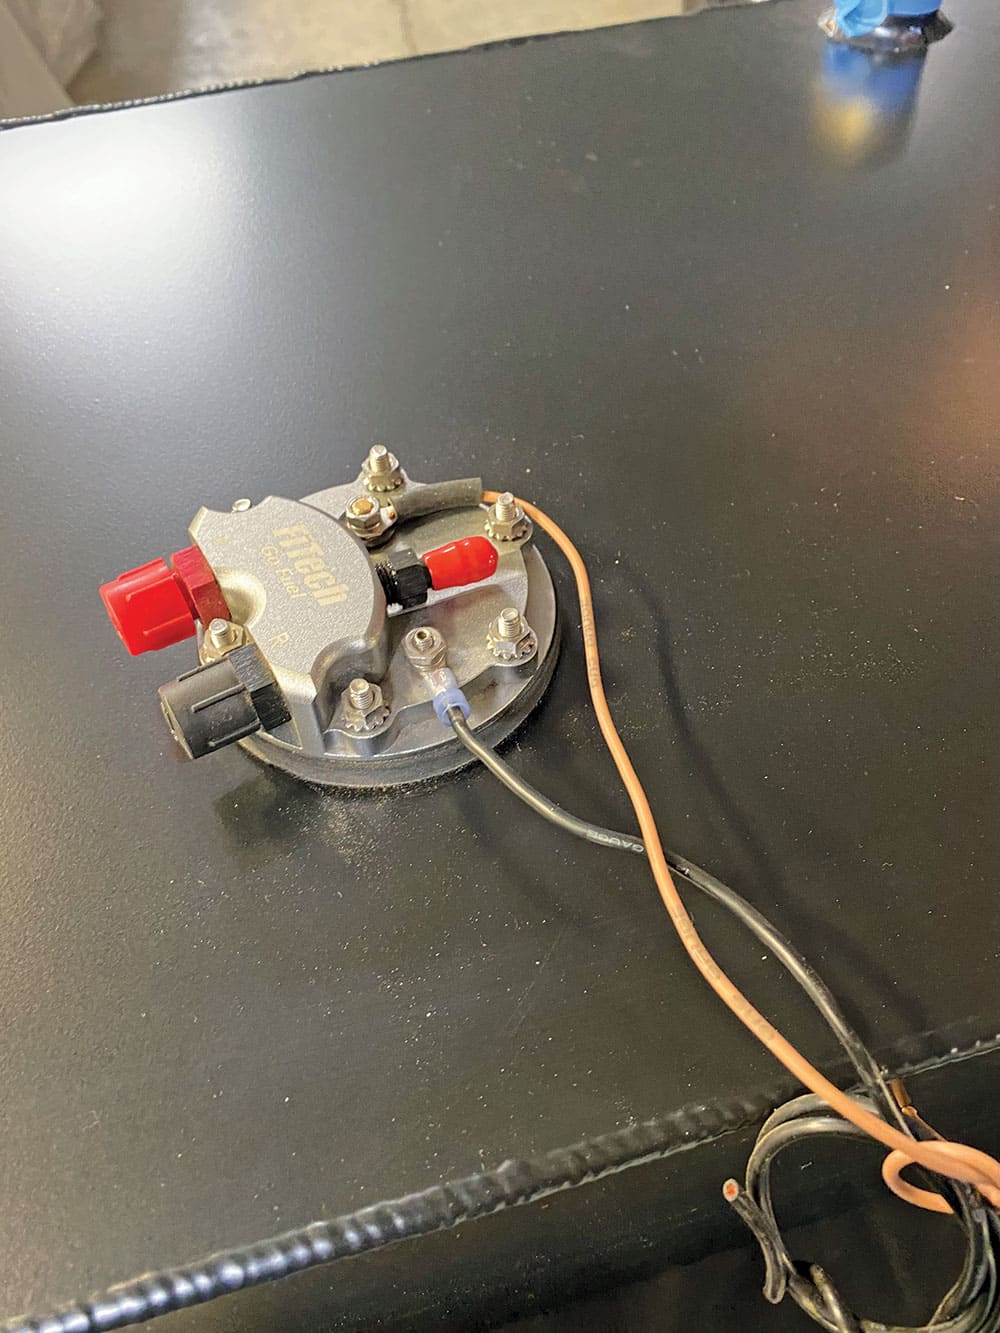
Install the filter onto the bottom of the fuel pump, then secure the pump to the supply line and support bracket with the supplied nylon zip ties. Ensure the electrical is connected properly.Carefully insert the pump into the tank and onto the protruding hardware; secure with the supplied O-rings and Keep-Nuts. That concludes the FiTech portion of the job …
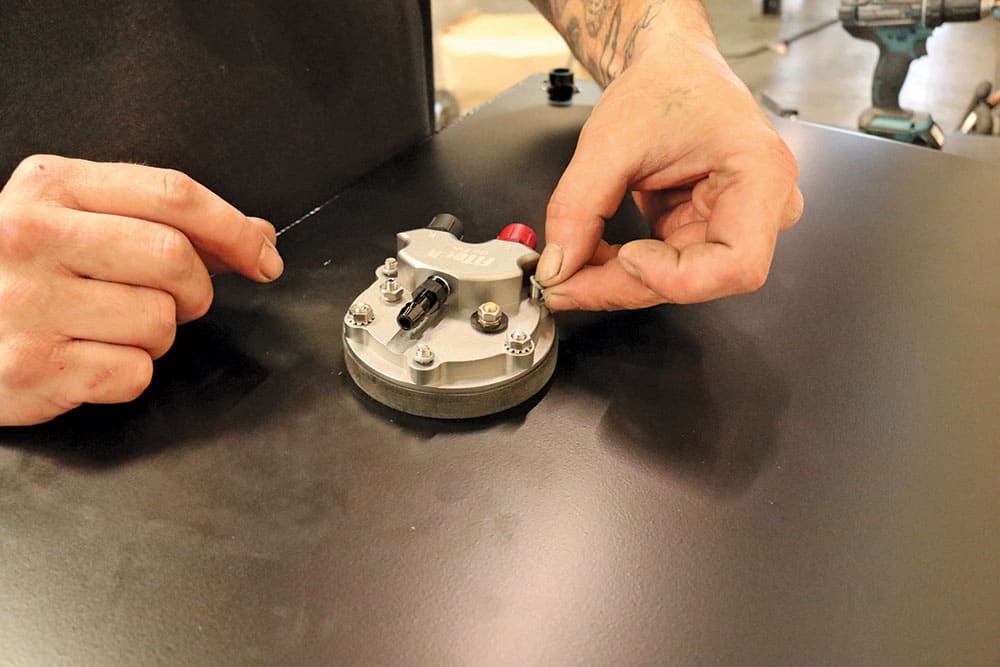
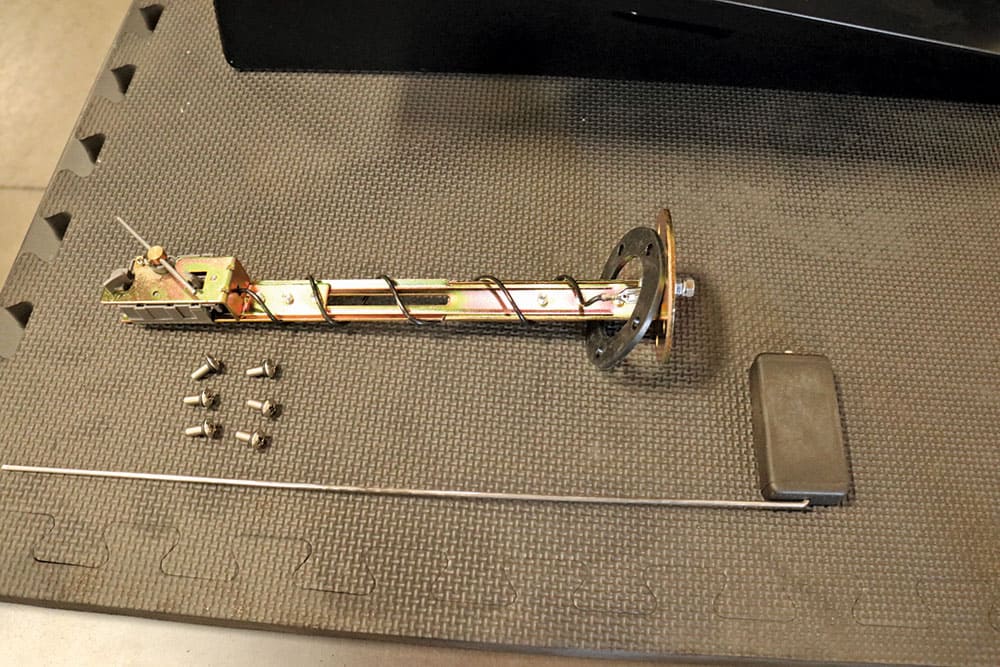
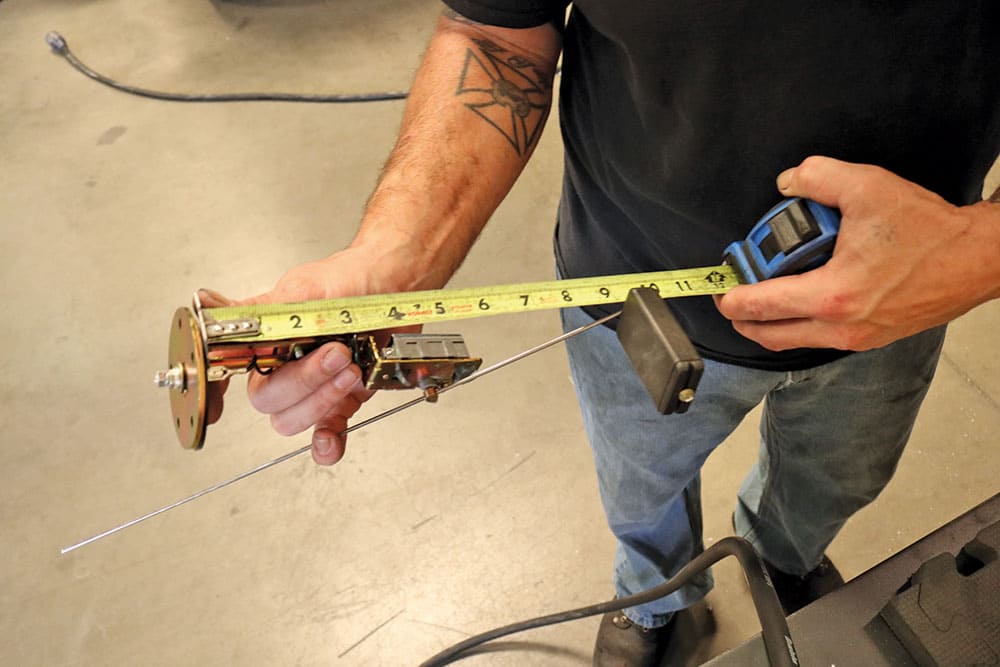
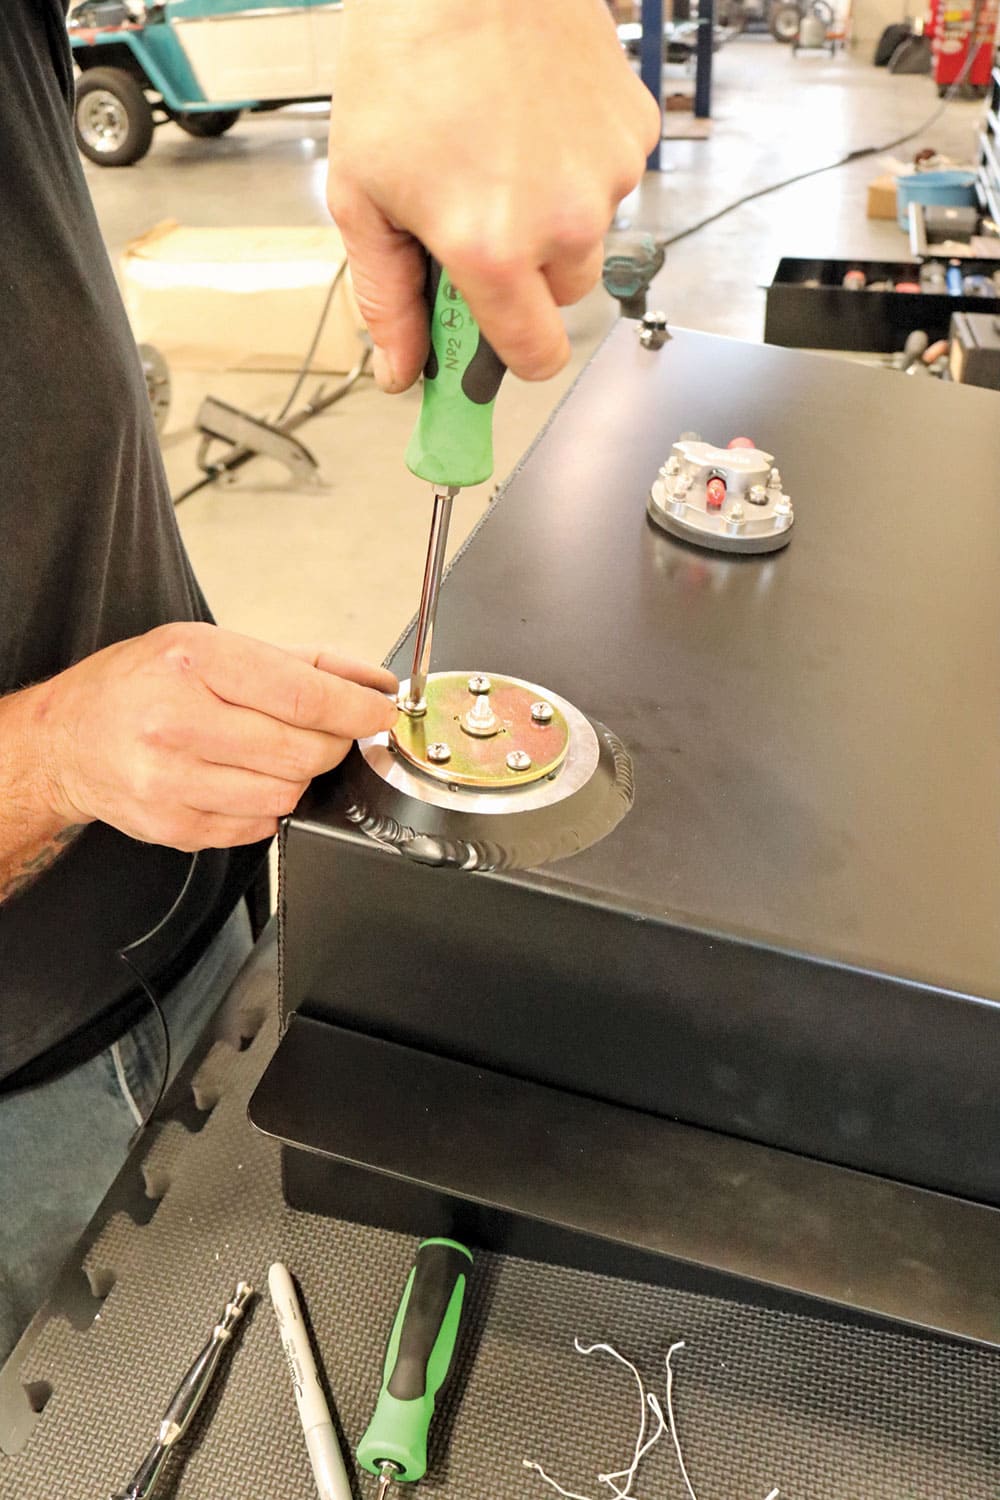
Last order of business at Performance Online was tending to the supplied fuel sending unit assembly.As we did with the pump, we measured the depth of the tank at the mounting flange; that determines the overall height of the sending unit with the float fully extended (empty).With the float arm trimmed, adjusted, and installed, sending unit shortened, wiring secured, and gasket slid onto the assembly, the sending unit is set into the tank with the float articulated transversely with the tank (lengthwise) and provided Phillips screws tightened accordingly.
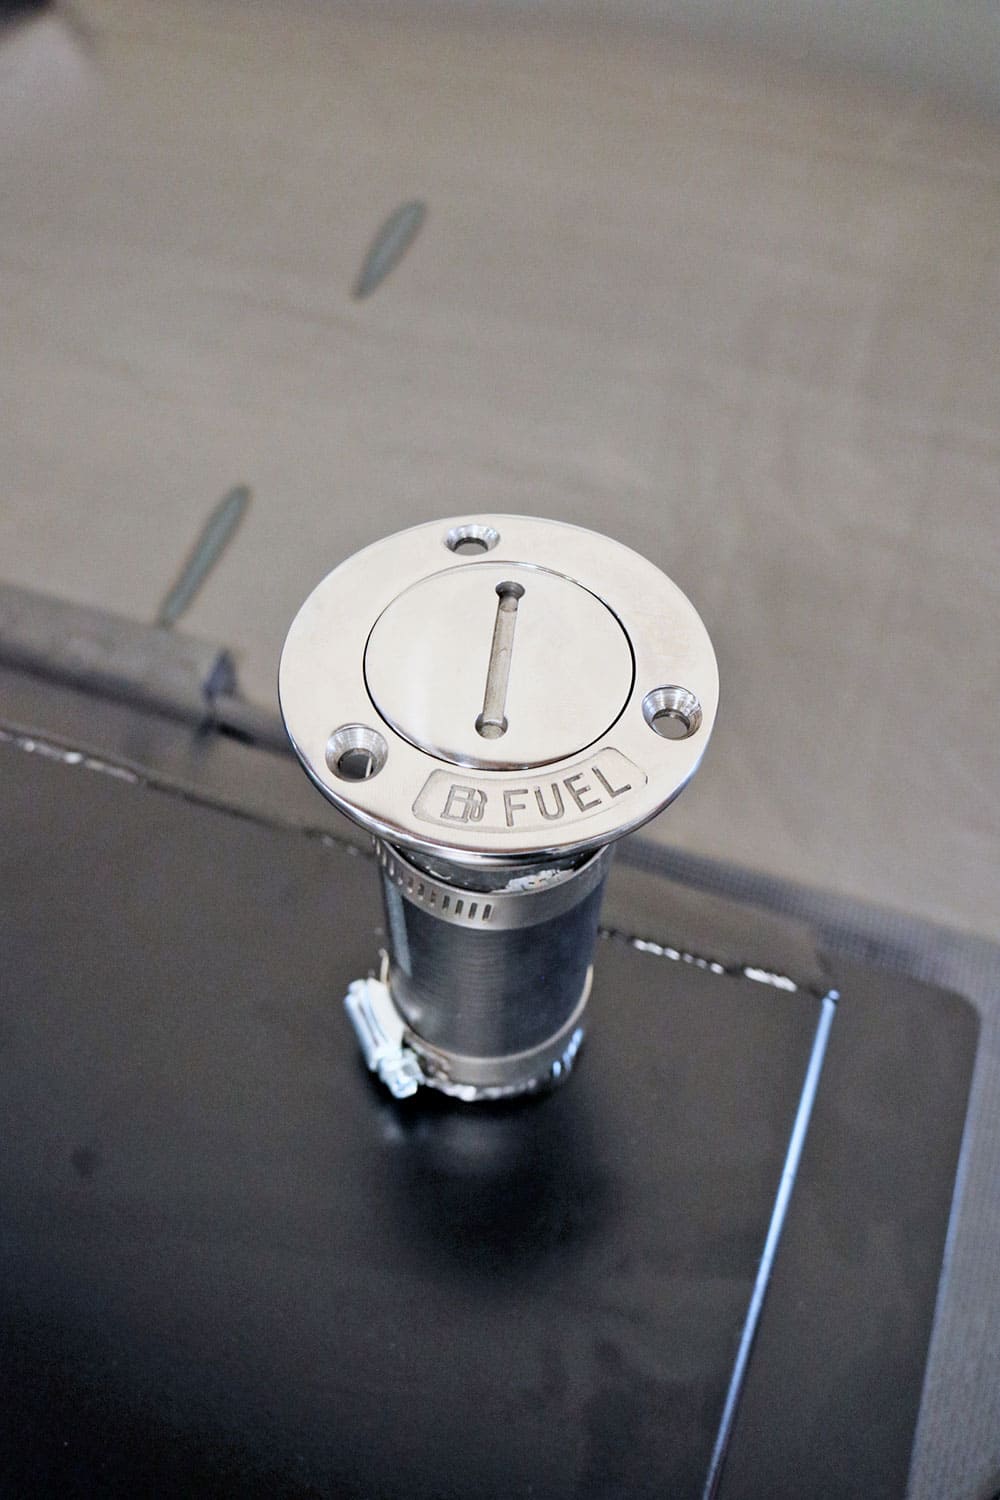
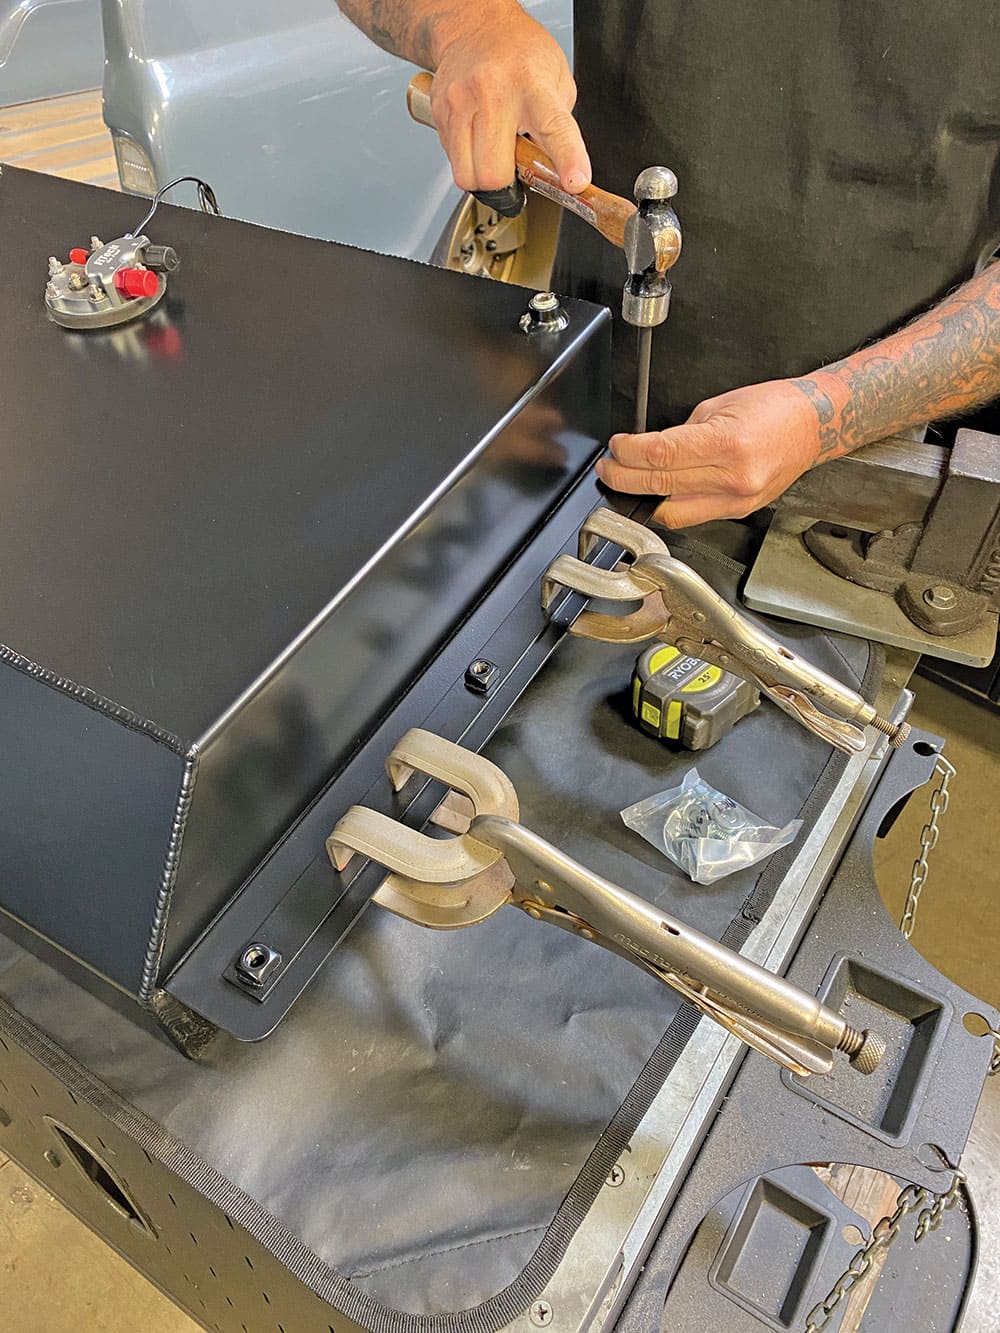
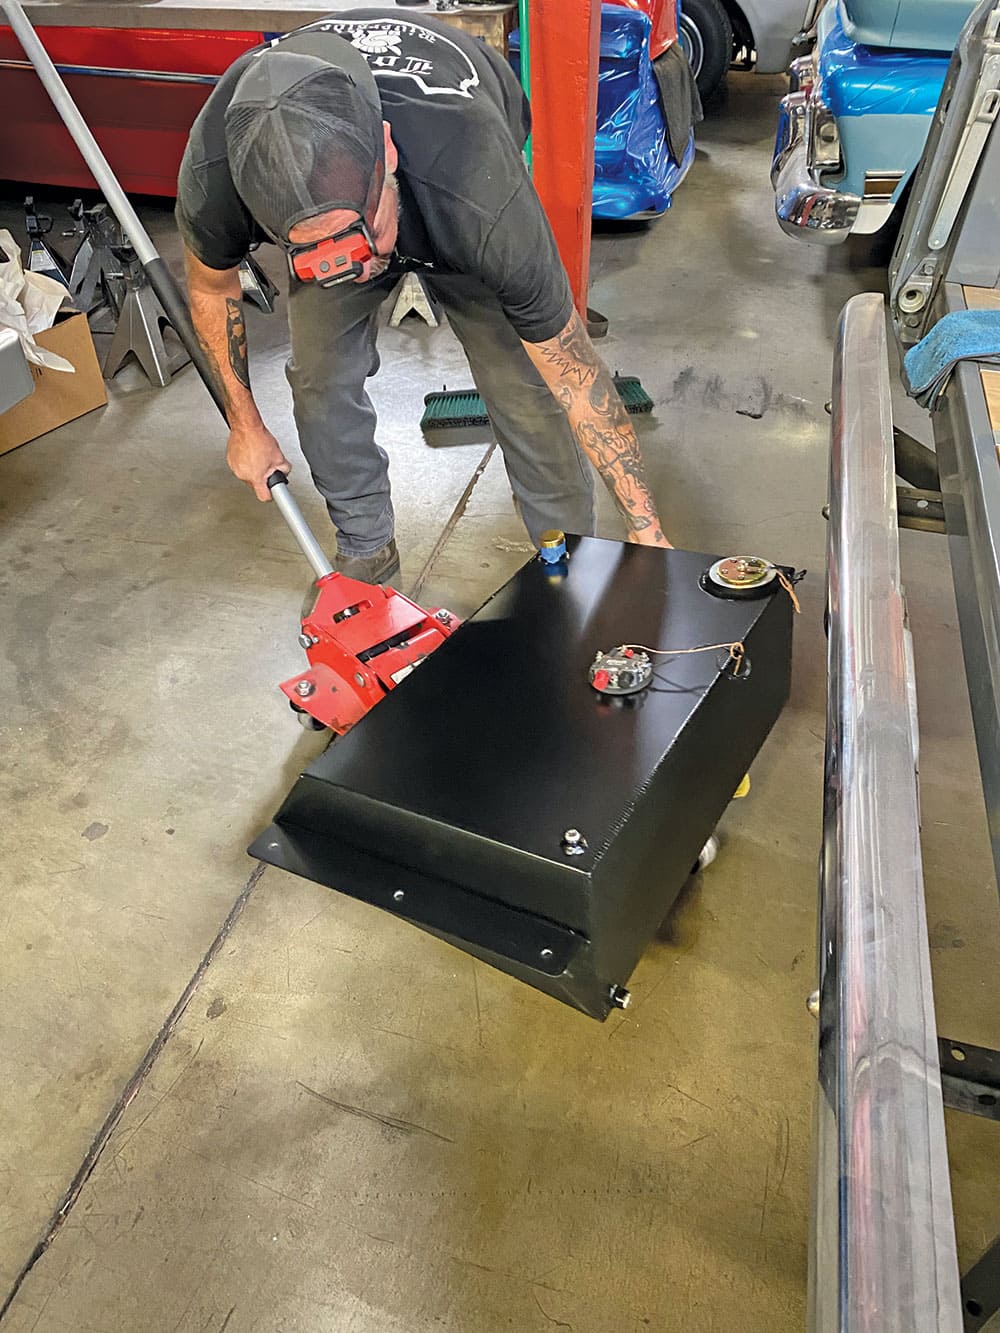
Now our tank is (almost) ready for installation in the truck.Performance Online offers these “boat-style” filler necks as an option for a simple solution for direct filling via the bed floor, which we may just end up using.Back at Jimenez Bros. Air Ride & Rod Shop, our prepped Performance Online tank receives the final step before being installed: transferring and drilling the captured-nut bracket holes onto the flanges. (The brackets allow you to easily mount the tank from the underside without having to fiddle around with nuts and washers inside the frame rail, where there’s practically no access to begin with.)
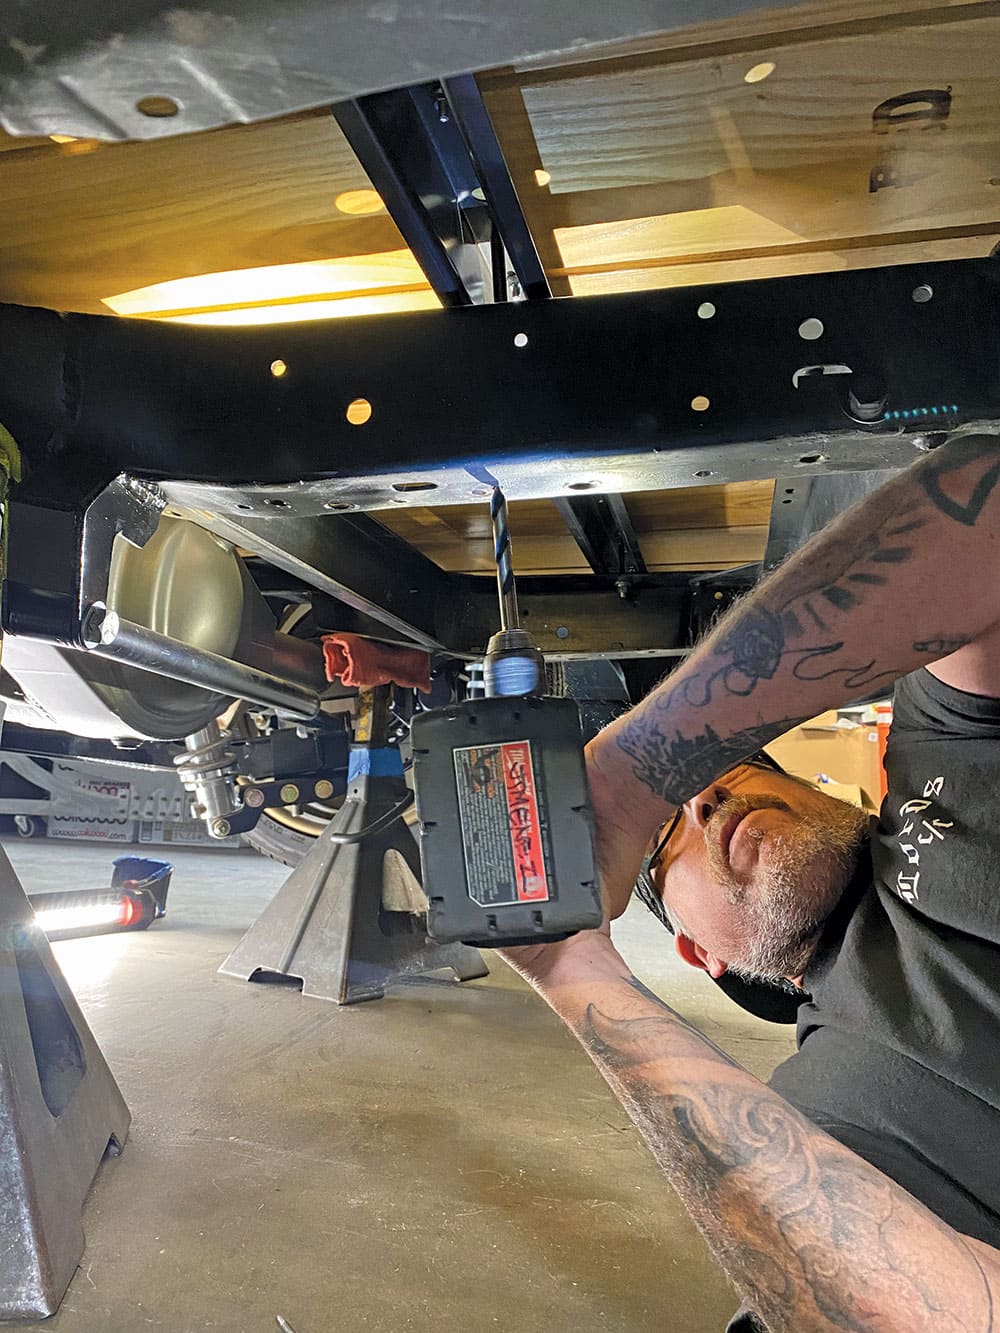
Power leads for the pump and the sending unit were made to prevent the tank from having to be dropped down when it comes to wiring the truck (you’re welcome, Ryan!).Using a padded floor jack, the tank was set in position so that we could mark and drill the necessary mounting holes in the frame.
And with that, our Performance Online/FiTech EFI tank setup AND installation is complete!
We use cookies to ensure that we give you the best experience on our website. If you continue to use this site we will assume that you are happy with it.