If there’s one thing that the majority of DIY hobbyists will admittedly shy away from, it’s wiring. As simple as the average 12V system technically is, it might as well be calculus. But it also goes beyond the application aspect in that physically wiring a full vehicle properly is just as important as understanding what all the wires do in the first place.
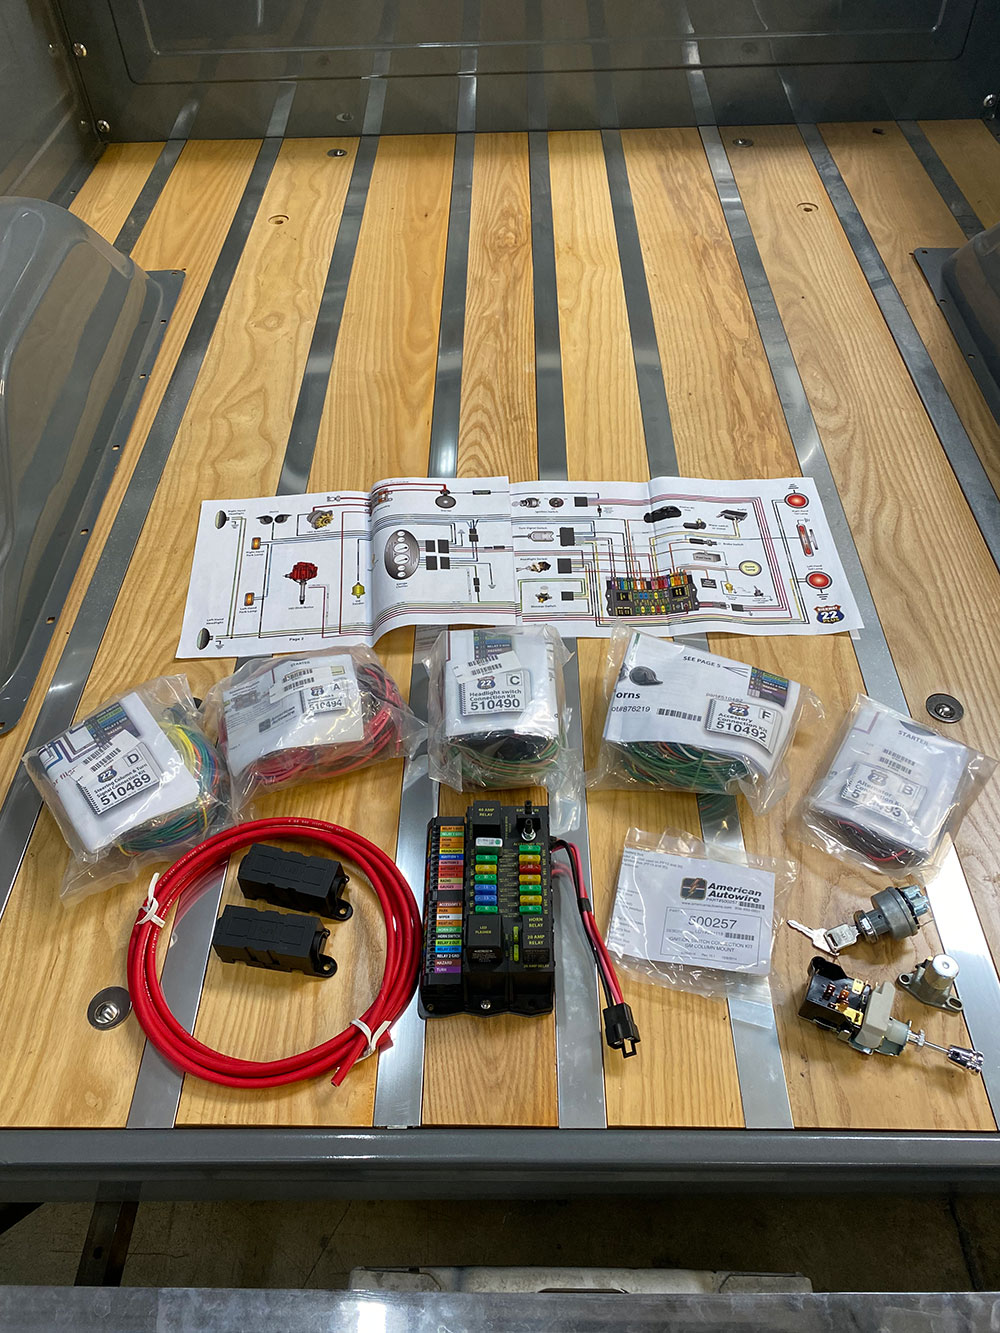
Even though it’s but one of many various wiring harness kits they offer, American Autowire’s latest and greatest, the Highway 22 Plus universal wiring system, is the next level of advanced wiring harnesses—perfect for older vehicles packed with modern electronics, like the 1969 C10 we’ll be installing it in.
For me, I enjoy the form of automotive electrical wiring, but when it comes to non-basic functions of modern components, well, let’s just say I heavily rely on instructions and online tutorials! There’s a lot more to it than simply red = hot, black = ground! Fortunately for me, as well as the shops that do this kind of work on a regular basis, American Autowire has simplified the art of rewiring with their Highway series harnesses.
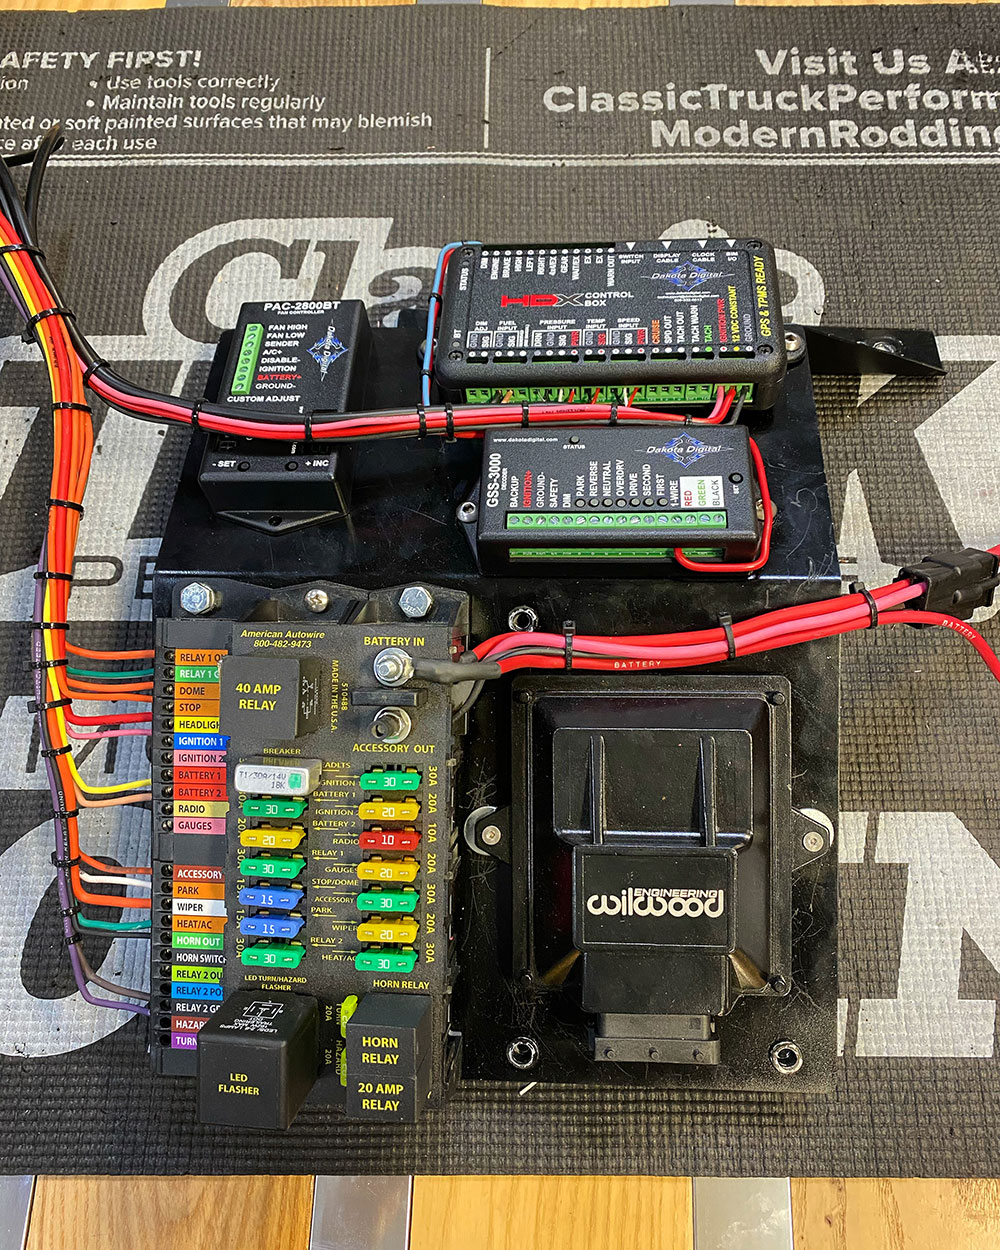
The “function” of any wiring job is to successfully get power to all the destinations where it’s needed; the “form” of this wiring job, at least under the dash, is to create the most user-friendly environment possible with a centralized mounting bracket that logistically locates all the various controllers neatly alongside the 22-circuit fuse panel. More on that later.
For years, American Autowire set the industry standard with the install-friendly convenience of labeling every single wire—that’s in addition to now providing a full-color, full-vehicle schematic, aka the blueprint for installing their Highway 22 Universal Wiring System. I’ve personally had the original version of this kit in my last few vehicles, and having installed the first one in my ’39 Chevy can without bias attest to the aforementioned installer-friendly aspects. As good as that kit still is, recently, American Autowire made some improvements to the kit and released the Highway 22 Plus.
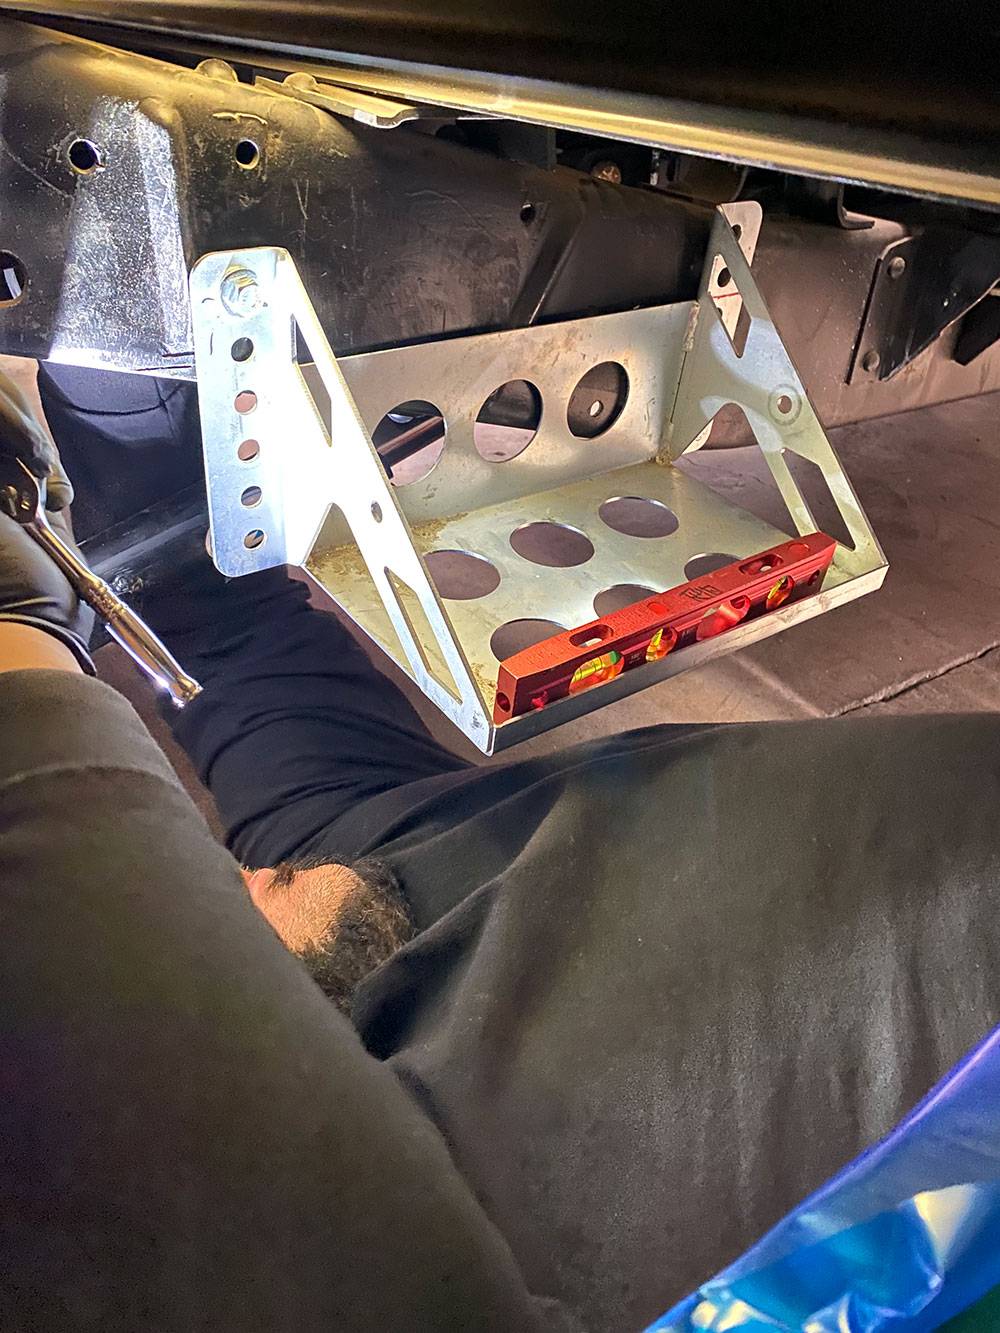
First order of business was to provide power—and for that we went with XS Power’s V3400 Group 34 AGM battery (1,150 cranking amps). With no place to put it in the engine bay, and no desire to mount it in the bed, we went with the usual side-of-the-frame location.
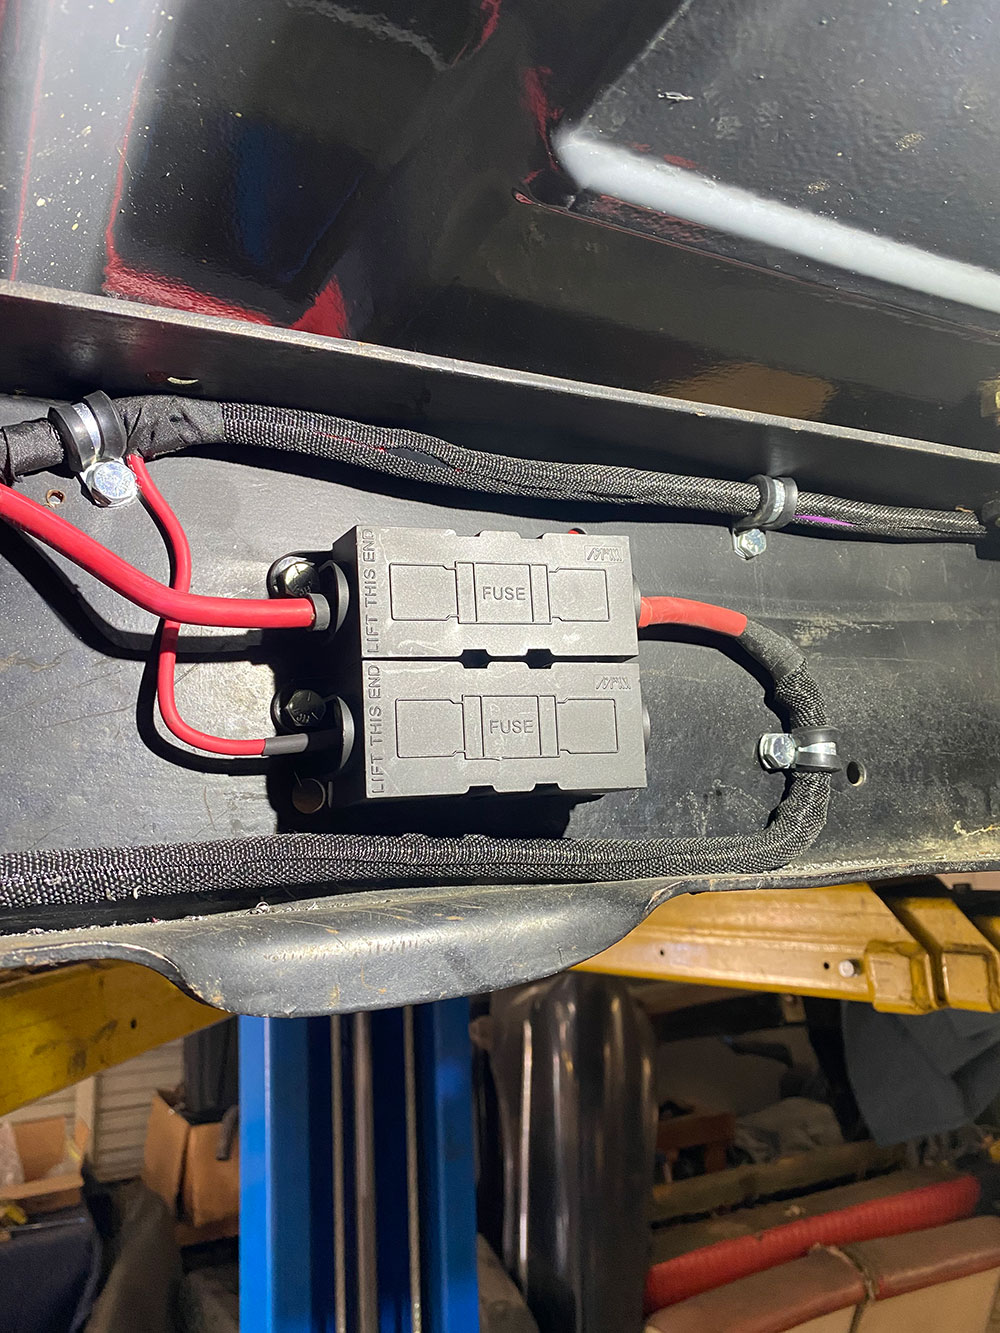
With the same 22-circuit capabilities as the standard kit, including their signature gauge cluster quick disconnect, the Highway 22 Plus features an array of additional features to make wiring an old truck (or car, if you have one of those!) with today’s technology that much easier—and without having to add on additional individual component kits. For instance, they now include a built-in flasher for LED turn signals as well as high-amp alternator and battery/main power connection kits (with dual 175-amp Megafuses). Upgrade the wiper circuit to accommodate higher-draw aftermarket windshield wiper kits and they even updated their already-comprehensive and easy-to-follow instructions. For my ’69 C10, which will be utilizing a number of electronic-controlled features (against my old-school, “manual everything” nature), the expanded capabilities of the 22 Plus made it the perfect harness to use.
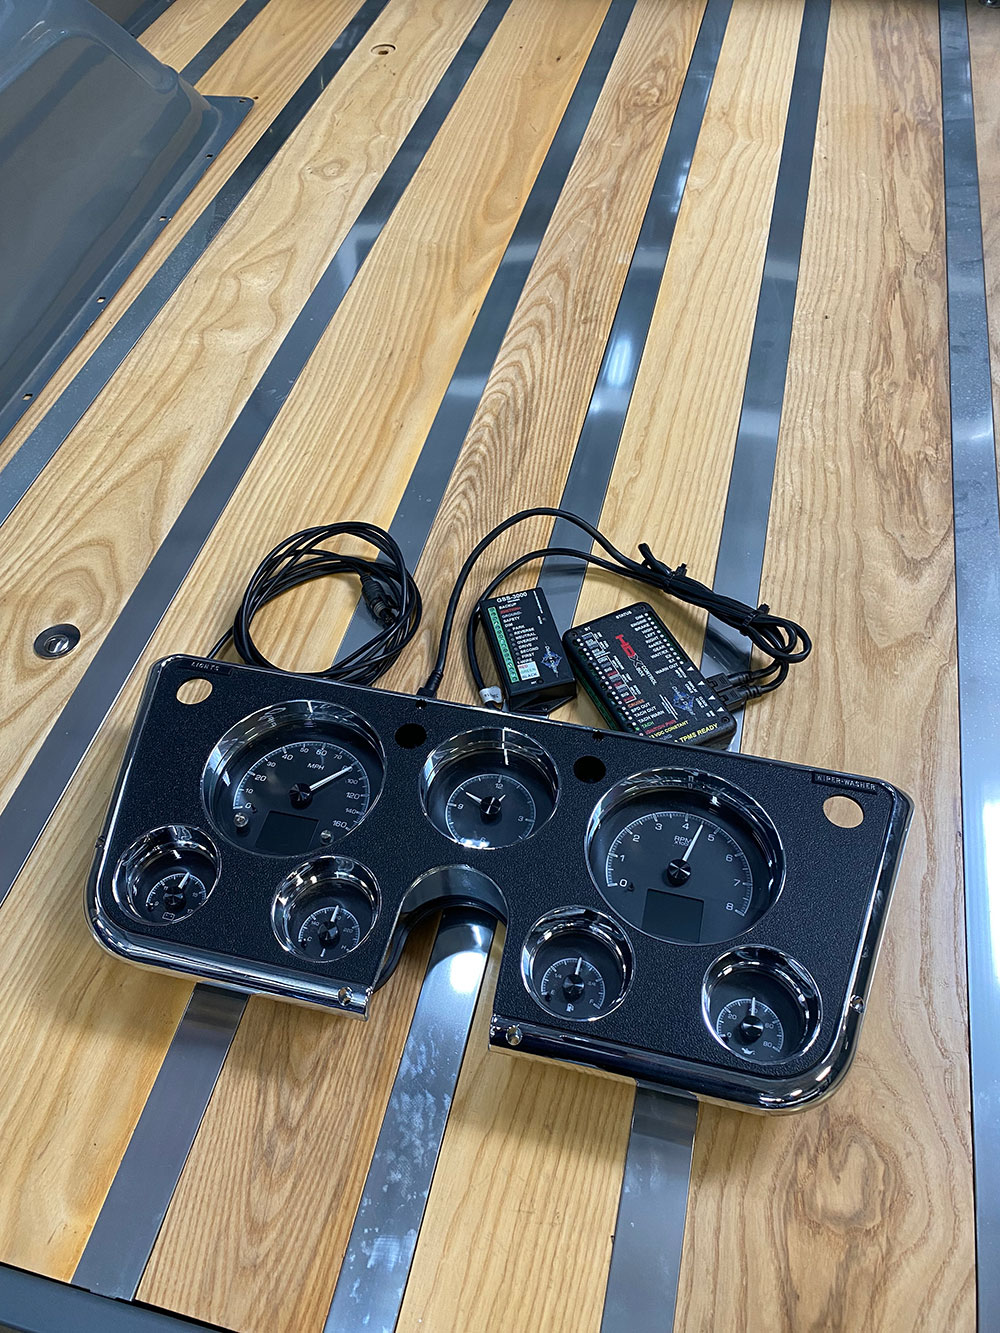
Jobe Jimenez, the owner of Jimenez Bros. Air Ride and Rod Shop where my C10 currently resides, decided to educate his young, aspiring wiring pro in the making, Rio, by giving him this project to tackle after hours and weekends. His goal was to get him familiar with the form and function of full vehicle harness installations—every aspect—which made the 22 Plus an even better choice as opposed to a more basic/less circuit system. Along with the American Autowire harness kit, Rio was also tasked with configuring their remote master disconnect switch kit (a theft deterrent option), Wilwood’s electronic parking brake harness, the Dakota Digital HDX system (as well as their adjustable dual fan controller), and adapting the Eddie Motorsports’ LED tail lights conversion (the RetroBright LED headlights from Holley are a direct plug-in).
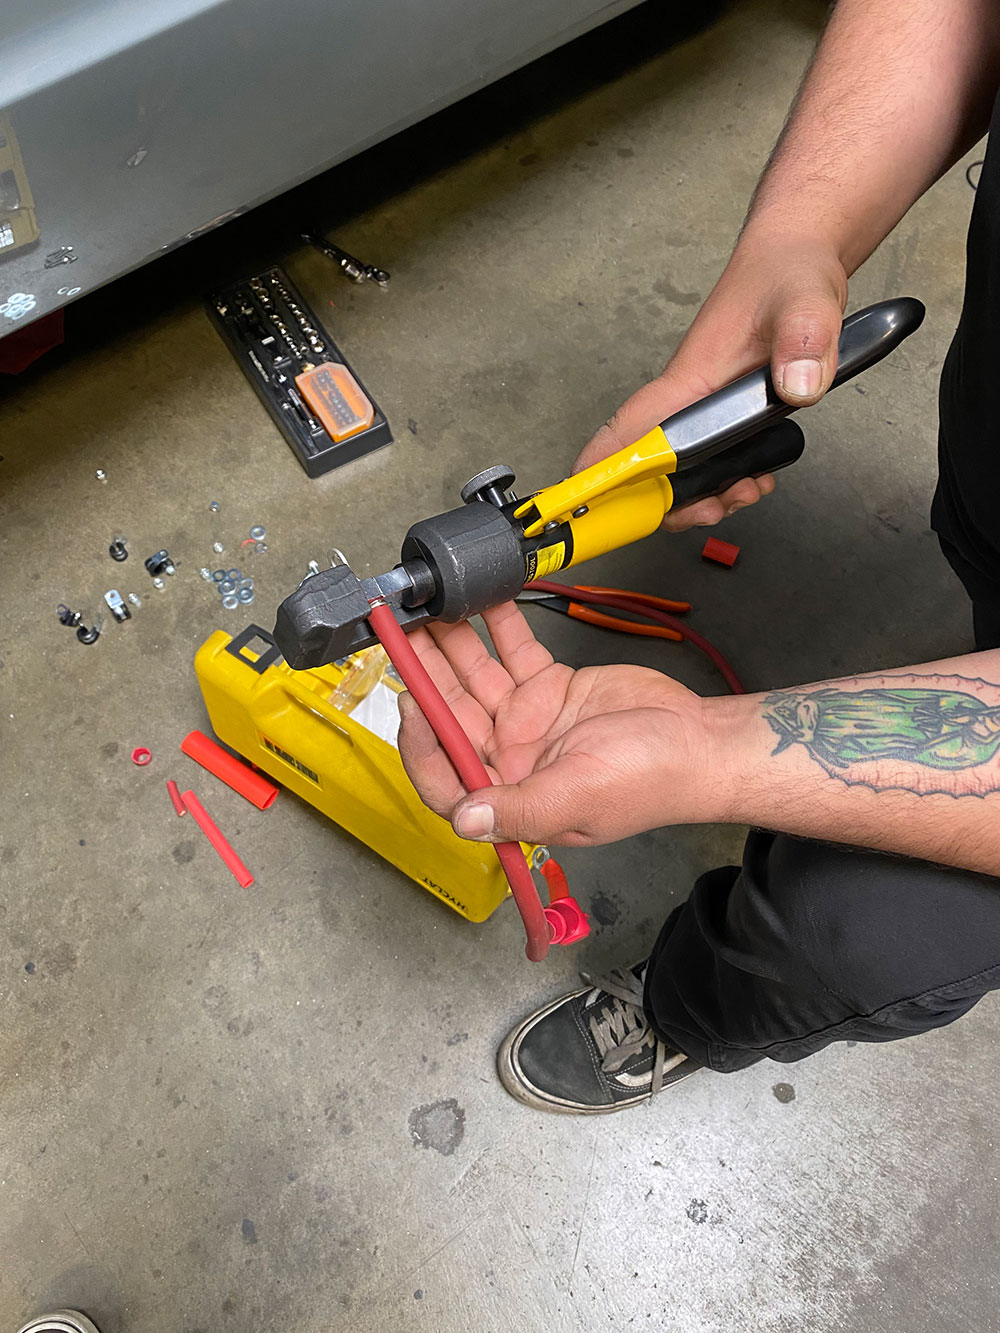
No matter where the battery goes, the location obviously determines the length and routing of your power supply, so that’s where we continued by configuring the battery cable kit acquired along with the harness.
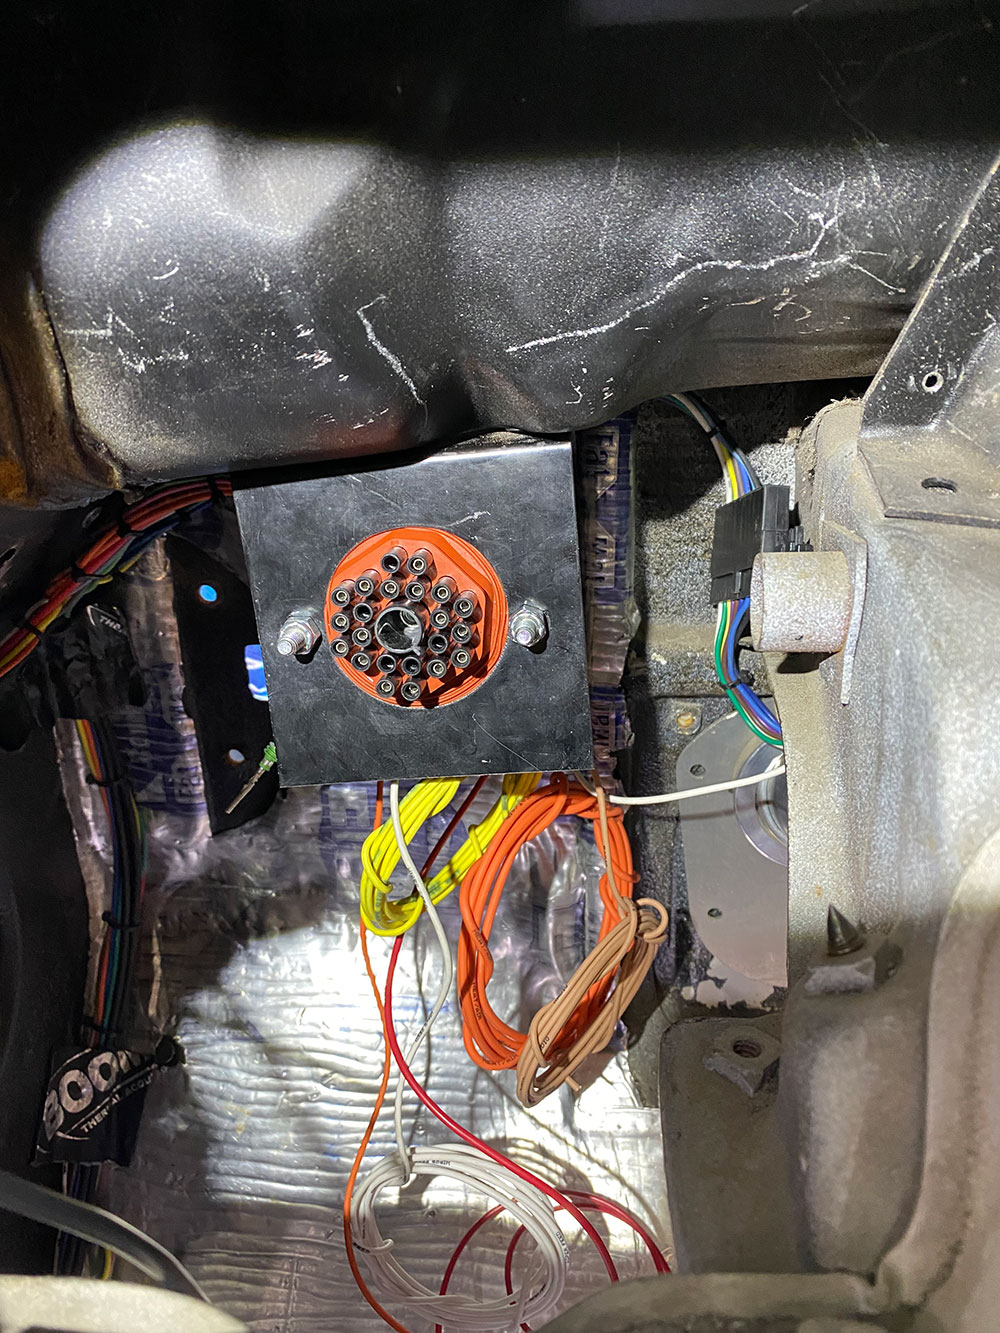
With the number of “underdash” components we were dealing with, we decided to make a dedicated and serviceable (removable) panel in which to mount the fuse panel and Dakota/Wilwood controllers. For the servicing aspect, we obtained American Autowire’s 22-port weatherproof bulkhead connector kit—a master disconnect plug if you will, that will allow the complete panel to be removed quickly and easily. And as part of Rio’s grooming, as it were, he was tasked with “combing” each grouping of wires (tail light harness, engine bay, and so on), which may be tedious and time-consuming, but in the long run benefits both form and function by providing a cleaner layout and helps prevent any kinks or shorts by having the wires run evenly rather than haphazardly (messy).
With (very) high aspirations, we started off early one Saturday morning, with one of us (not me) envisioning the entire job being completed the following evening. Well, it was finished on a Sunday, but that was after a number of afterhours sessions during the week as well as a couple Saturdays to follow!
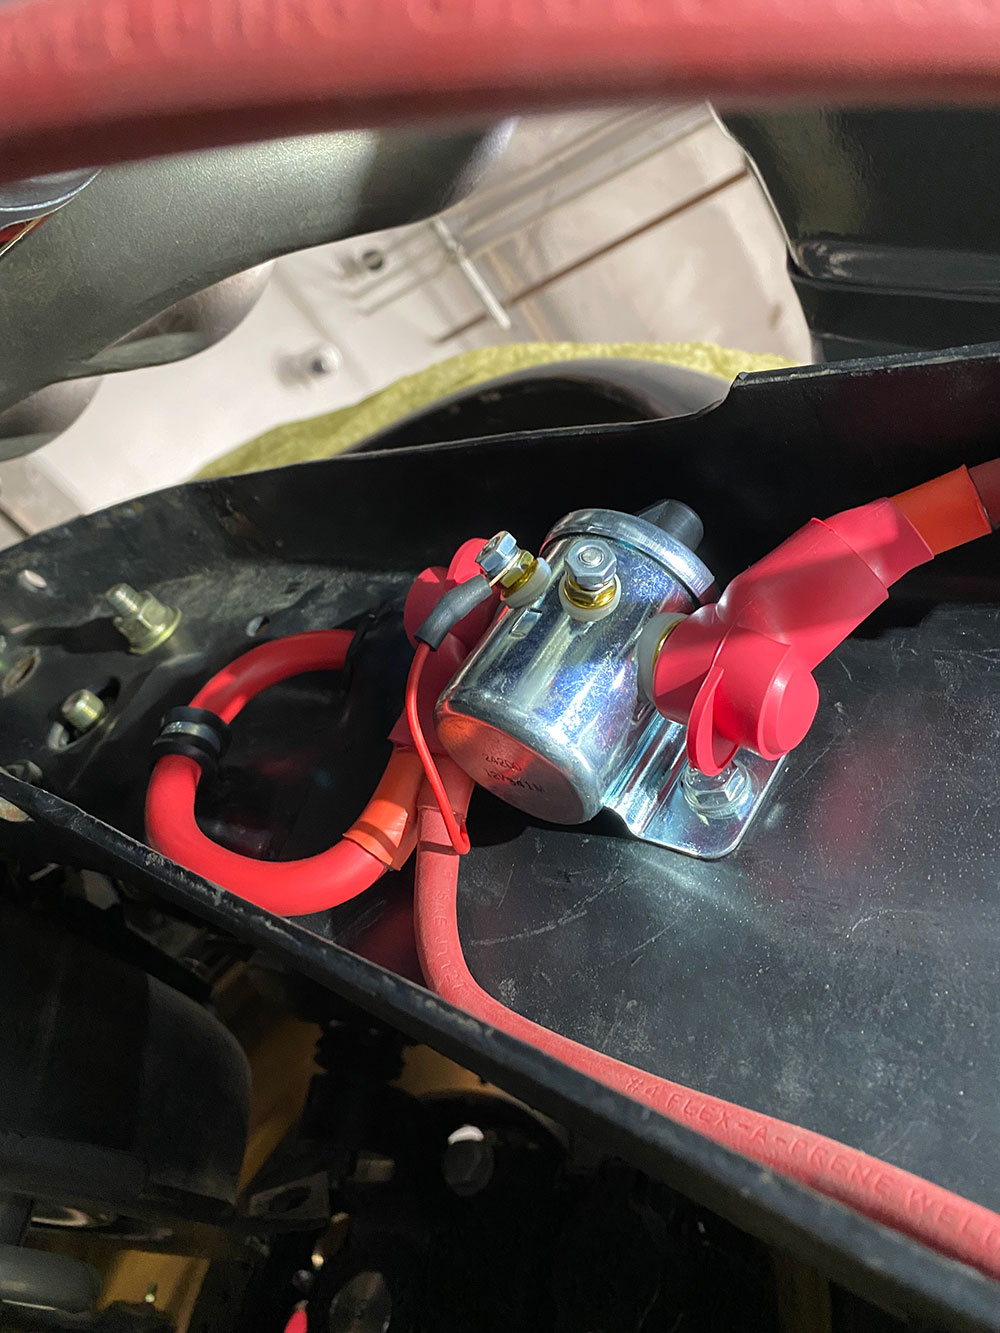
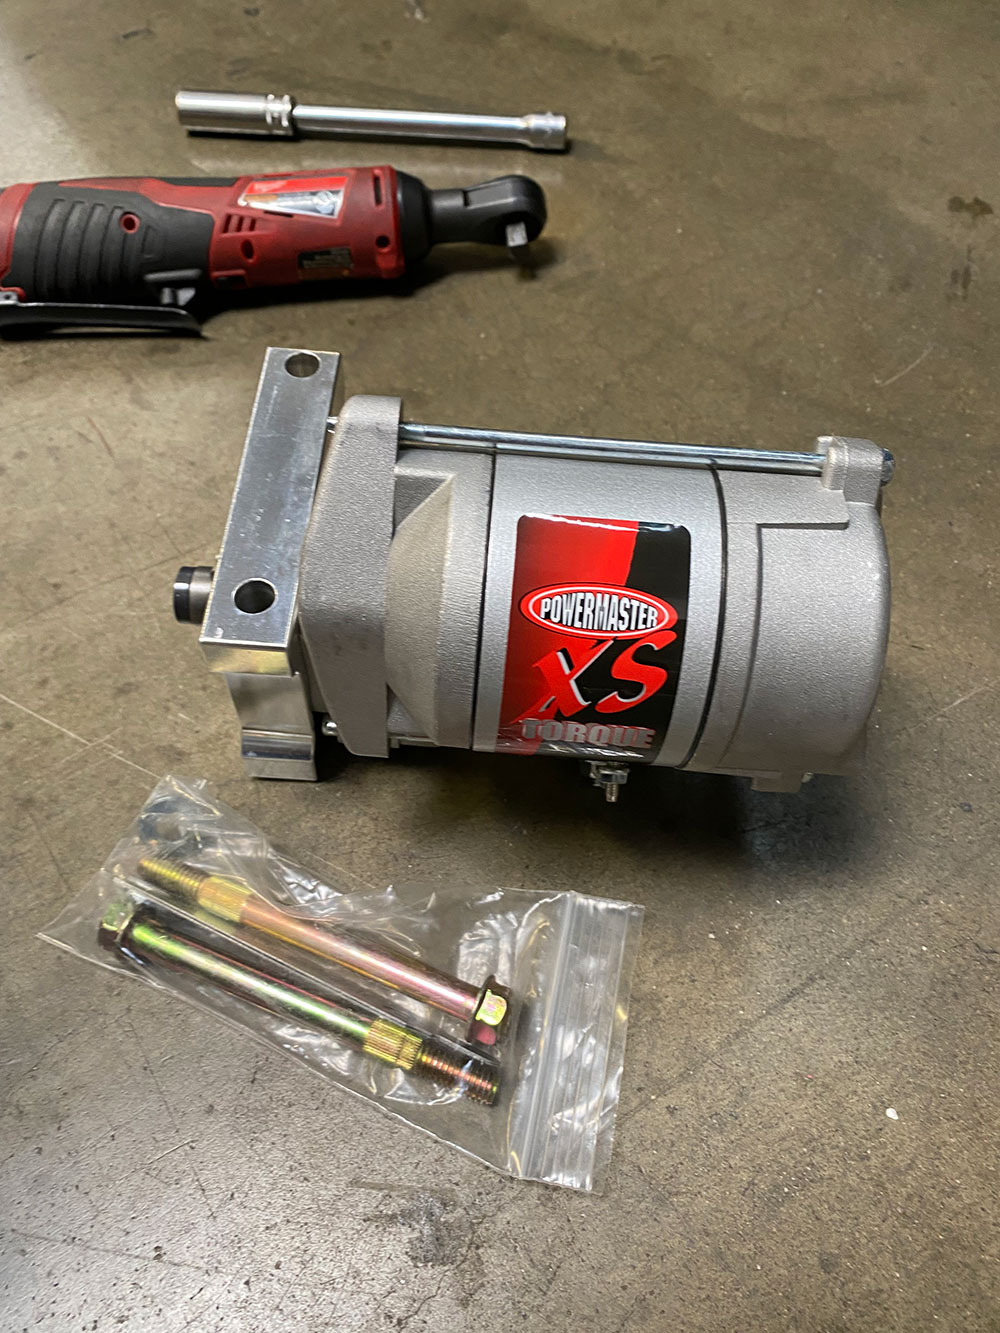
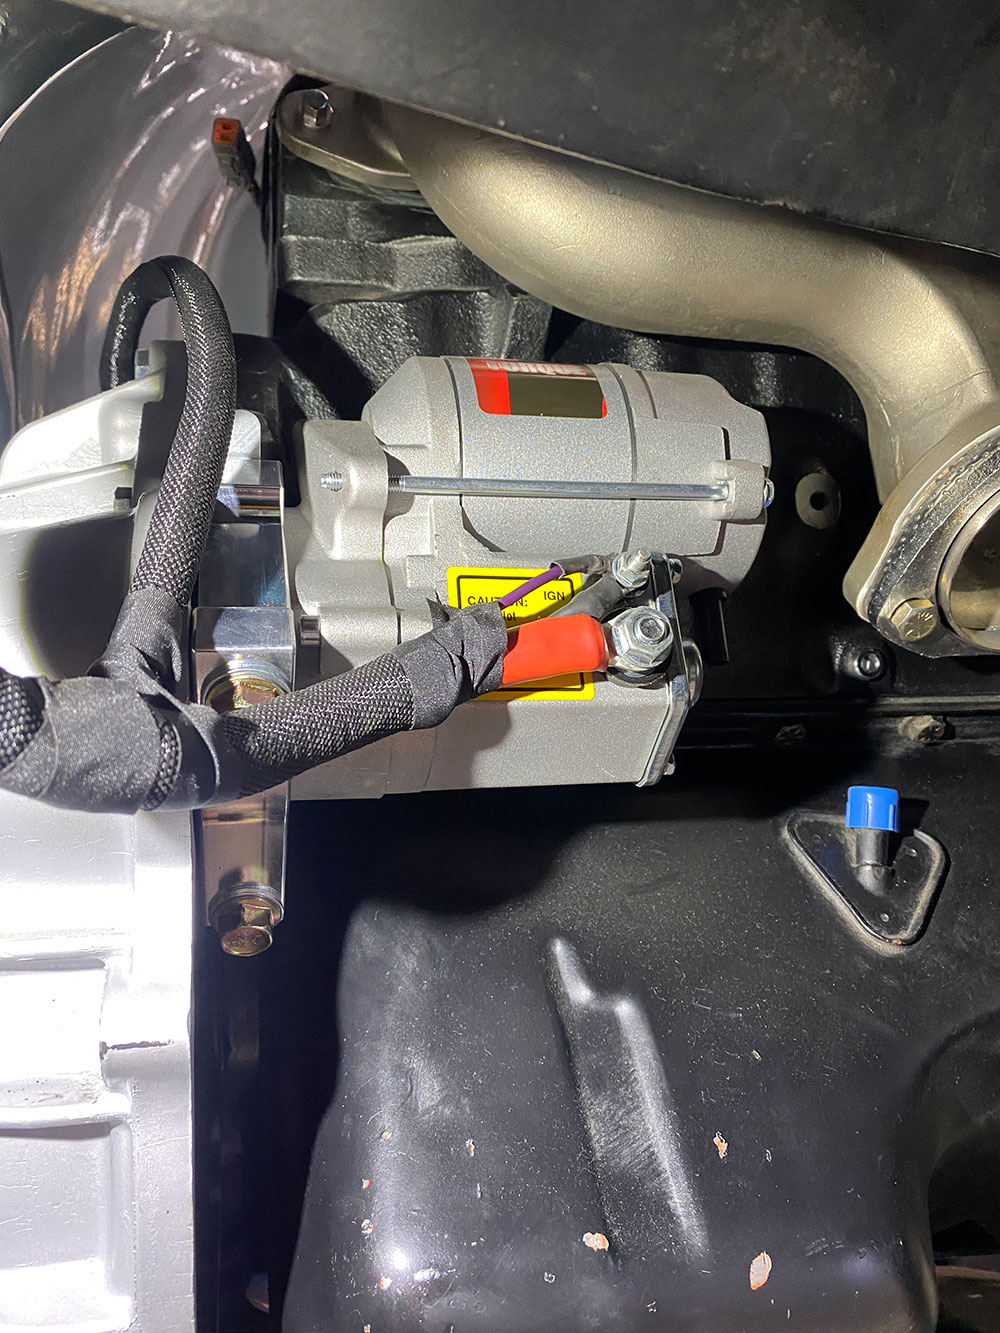
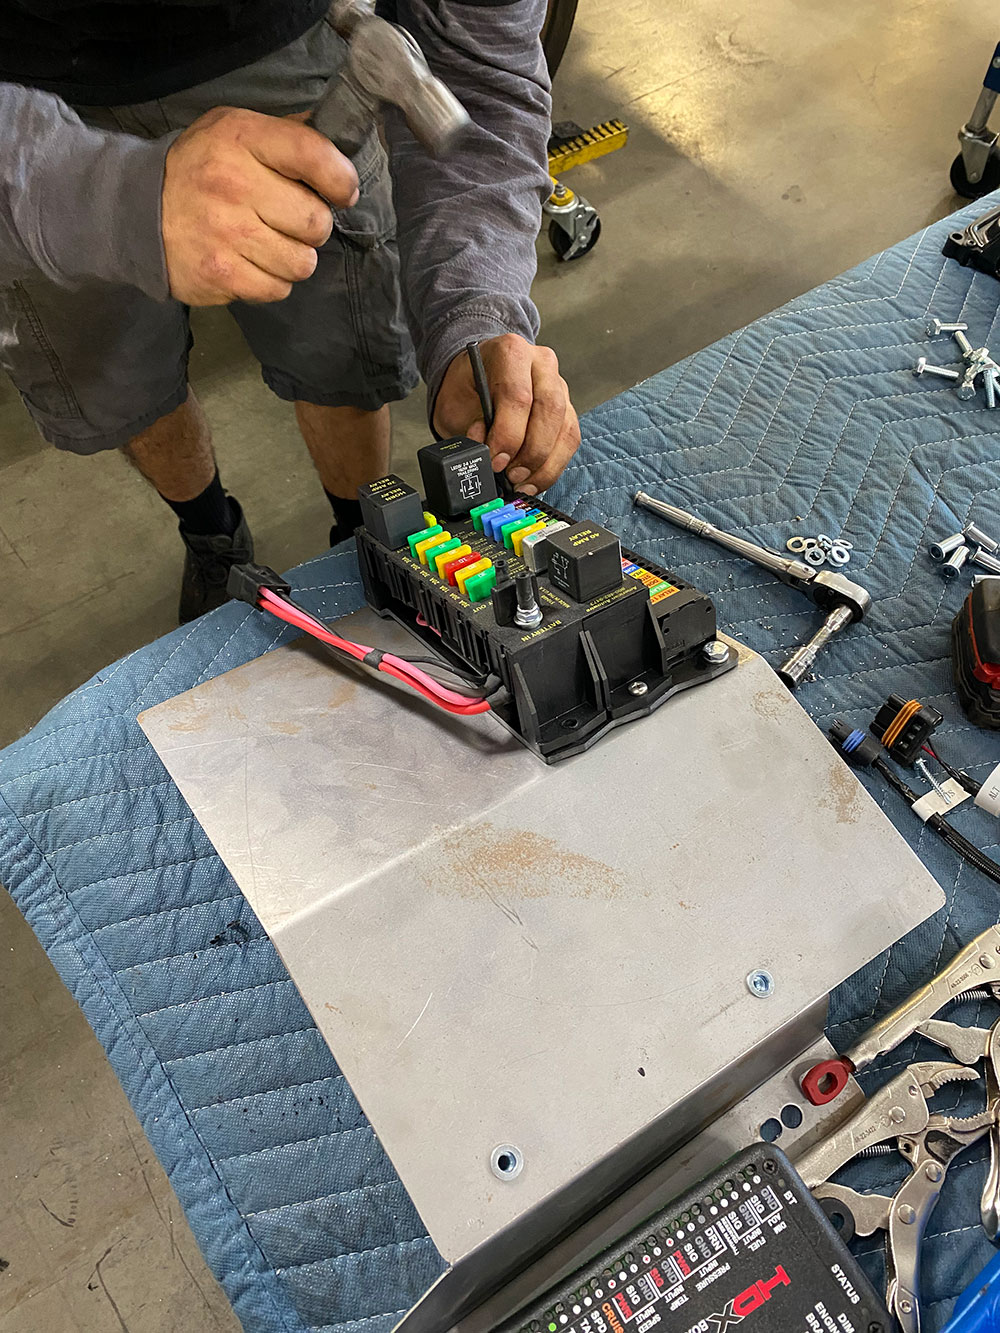
One of the additions included with the 22 Plus system is a dual 175-amp Mega Fuse as part of their high-amp alternator and main power connection kit.Another additional feature we included is American Autowire’s remote master disconnect switch, the 110-amp solenoid as mounted inside the passenger framerail, just forward of the Mega Fuse. The control switch will be mounted under the dash.To complete our power supply component install, a fresh Powermaster XS Torque gear reduction starter was mated up to the 427 big block in the C10. Compact yet powerful, it’s the lightest 200 lb-ft starter available!
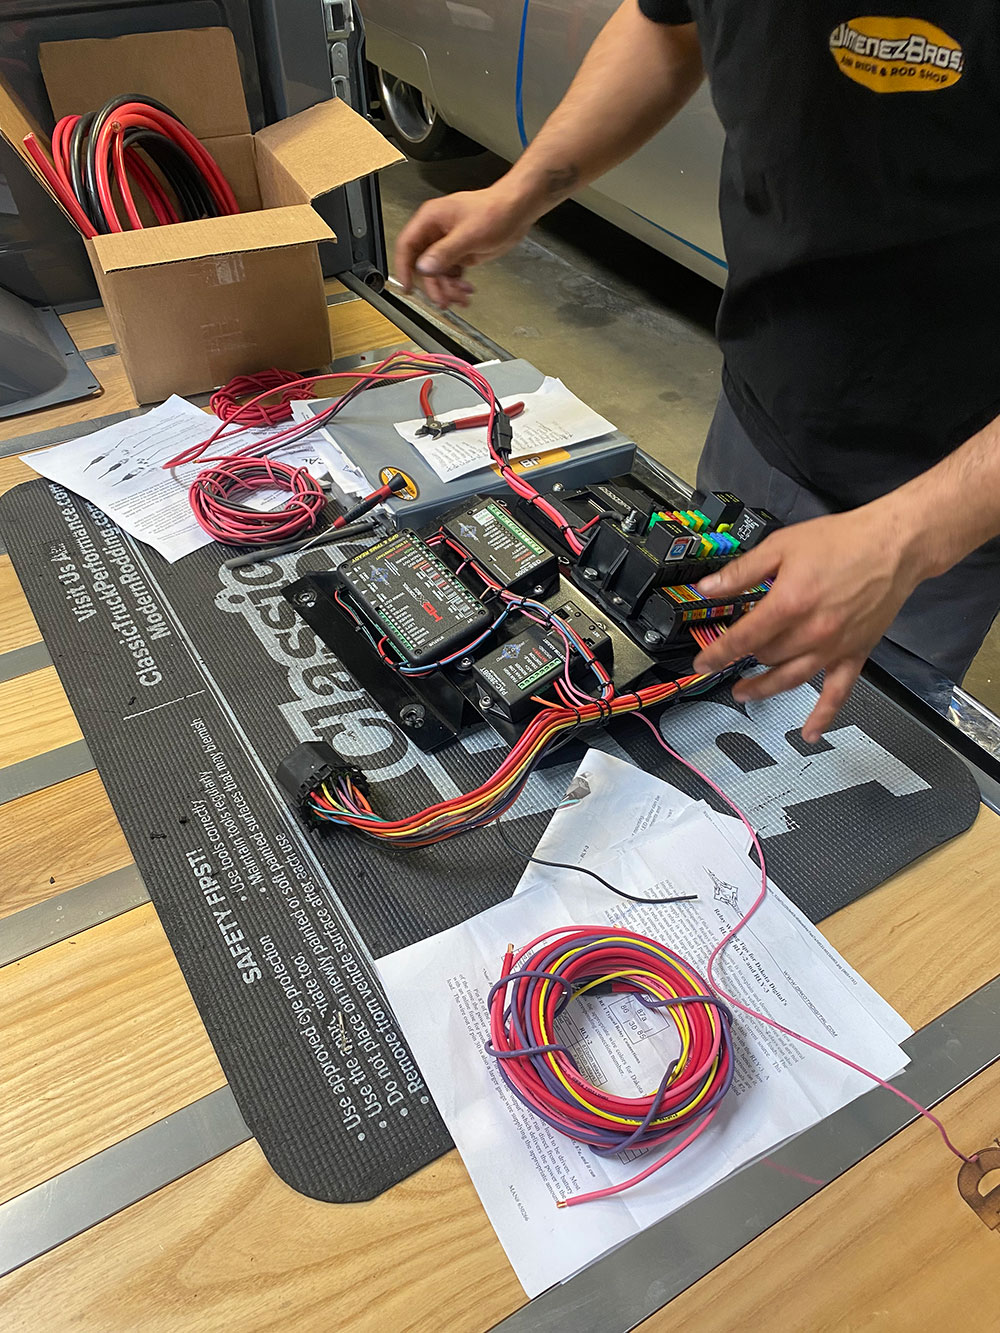
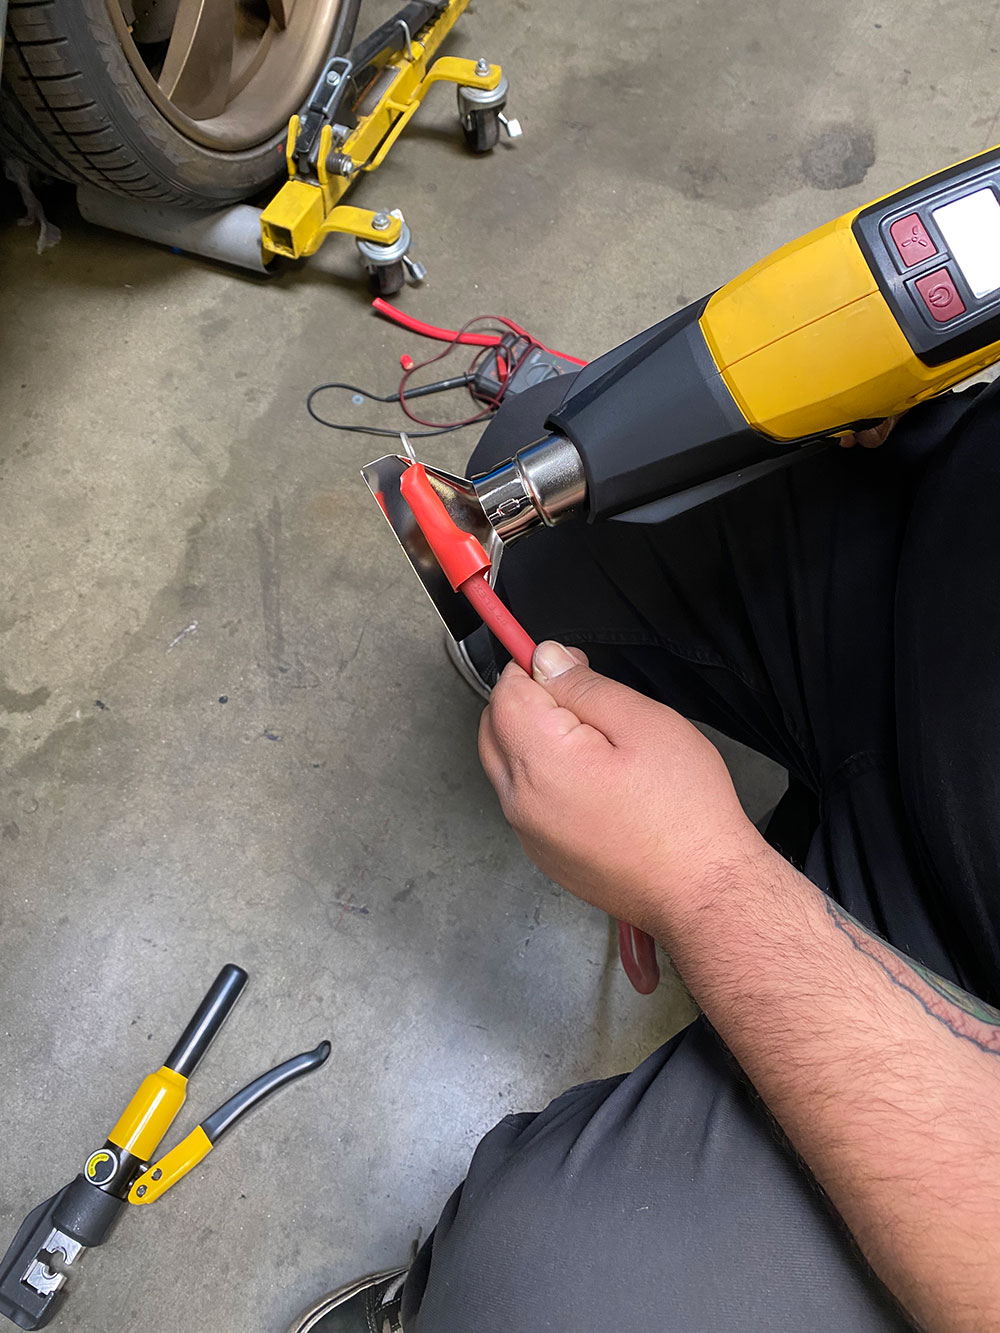
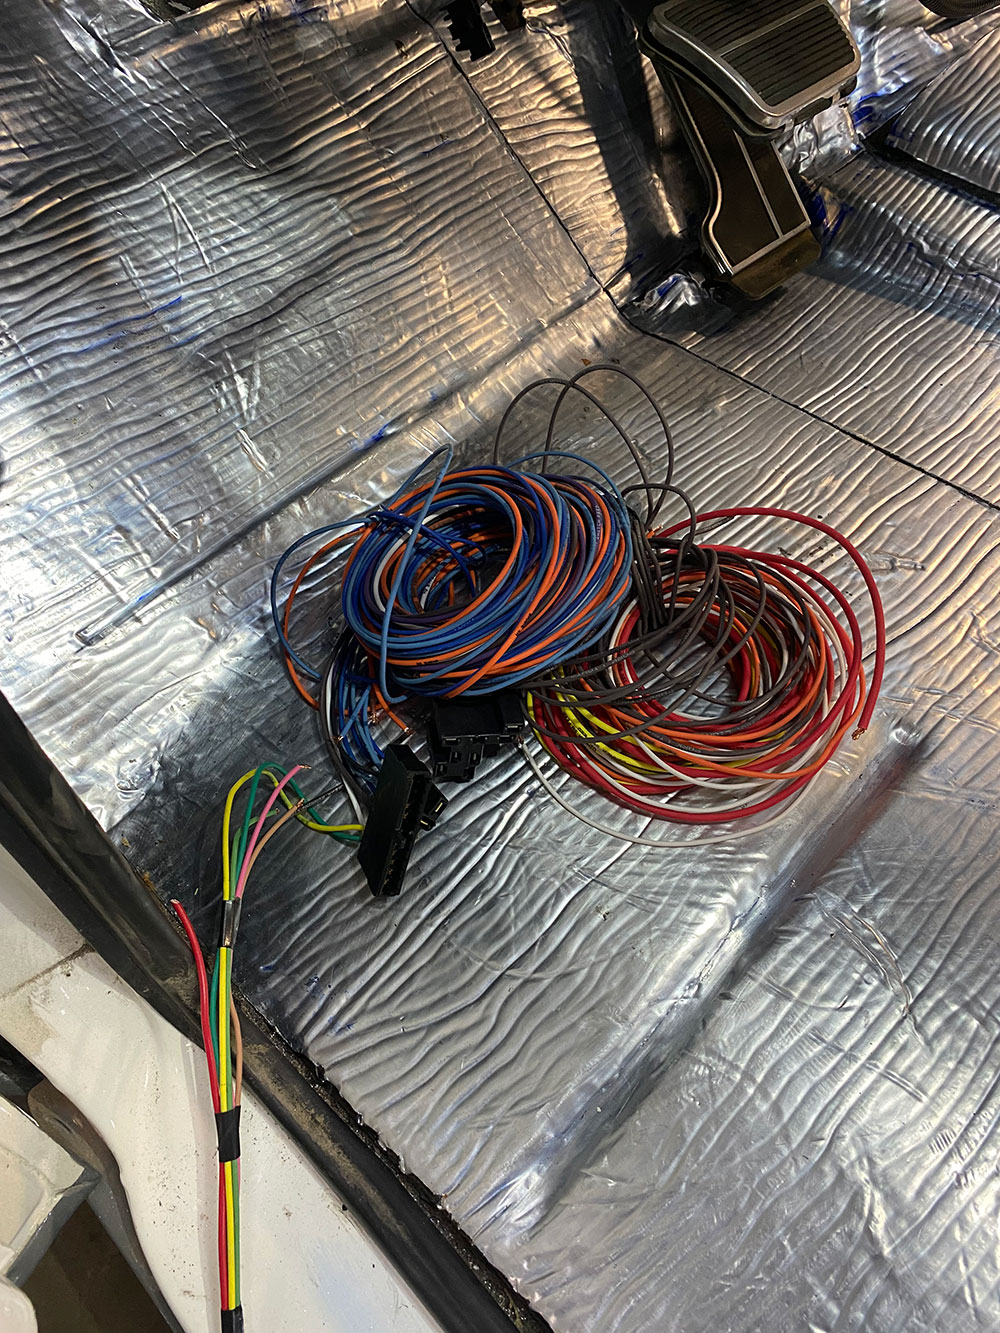
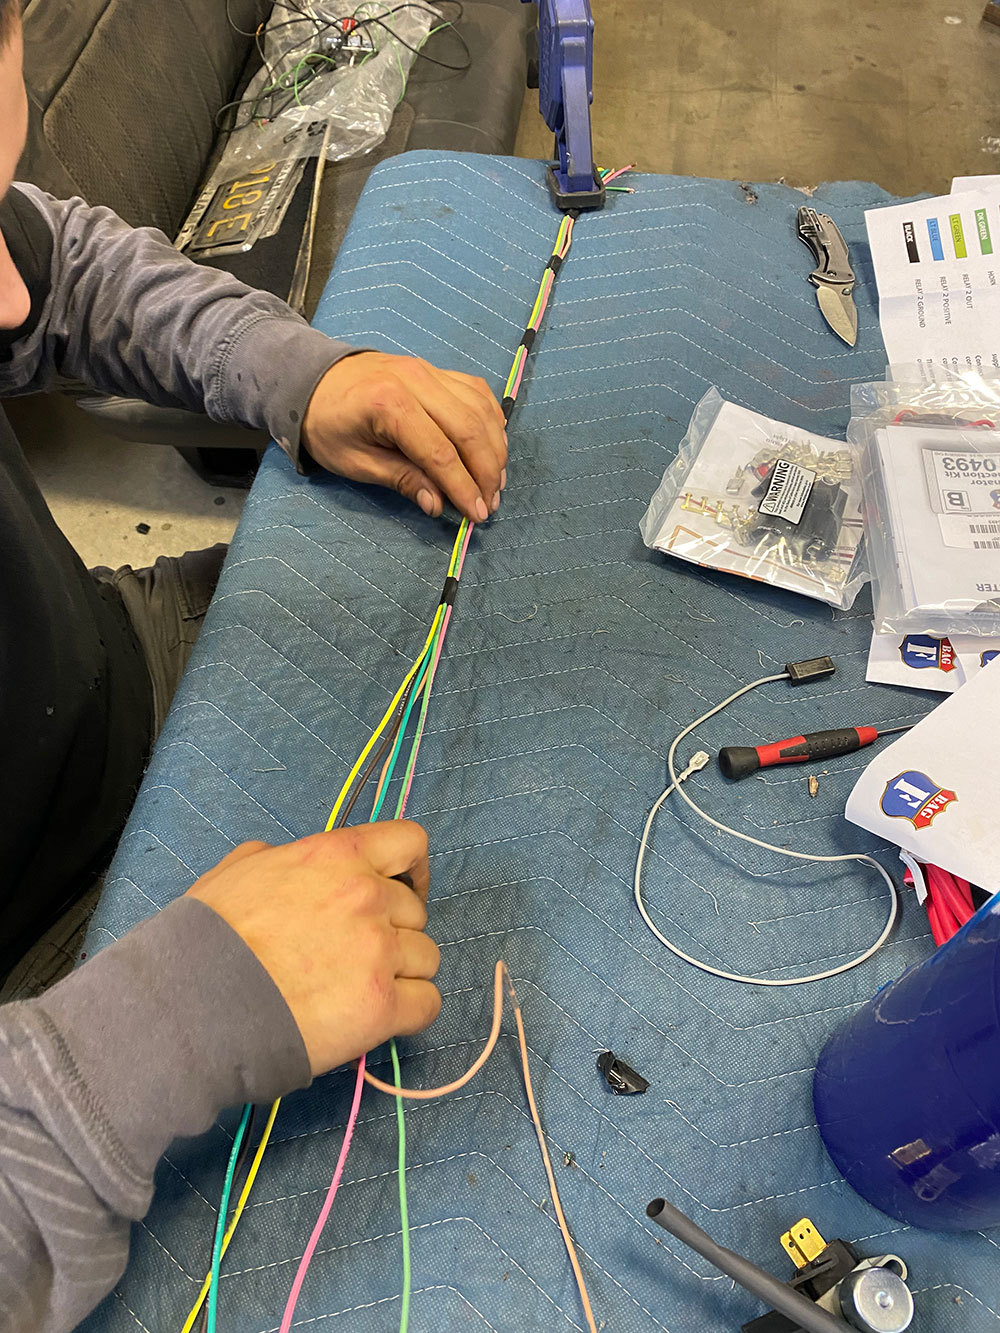
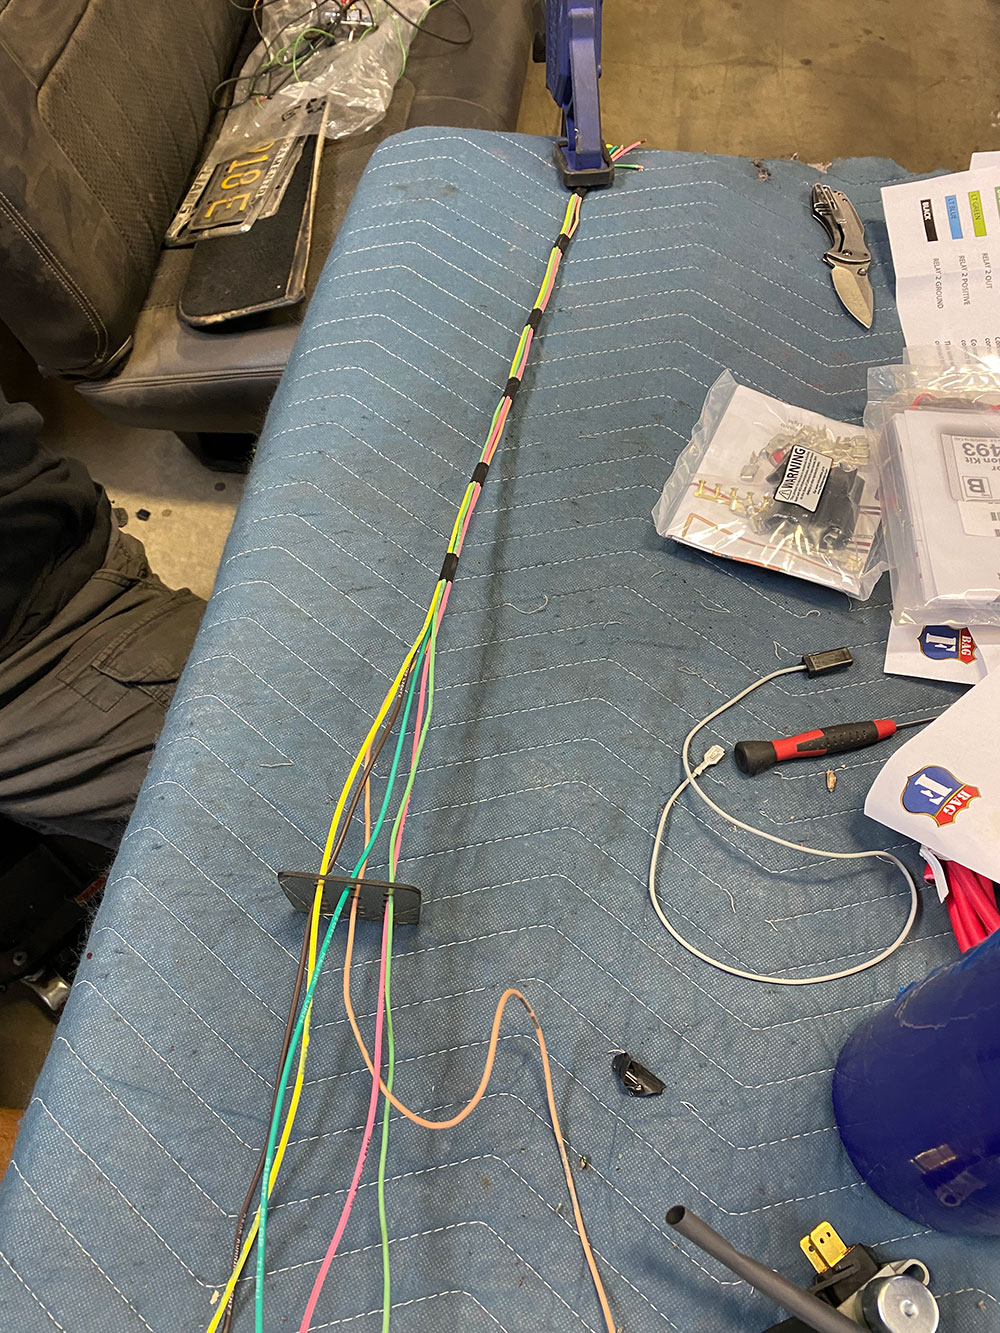
OK, with the power supply portion all wrapped up, it was time to educate our young installer on how to make a pile of wires (above) ready to be routed from the powered components to the fuse panel (or wherever their direction of current takes them!).Rio got a crash course on the art of “combing” lengths of grouped wiring using nothing more than a thin piece of plastic as a guide, a clamp, a 6-foot table, and a roll of electrical tape. Doing this before routing in the vehicle makes for a much cleaner install, and it also helps safeguard against kinks/shorts caused by pinched wires.
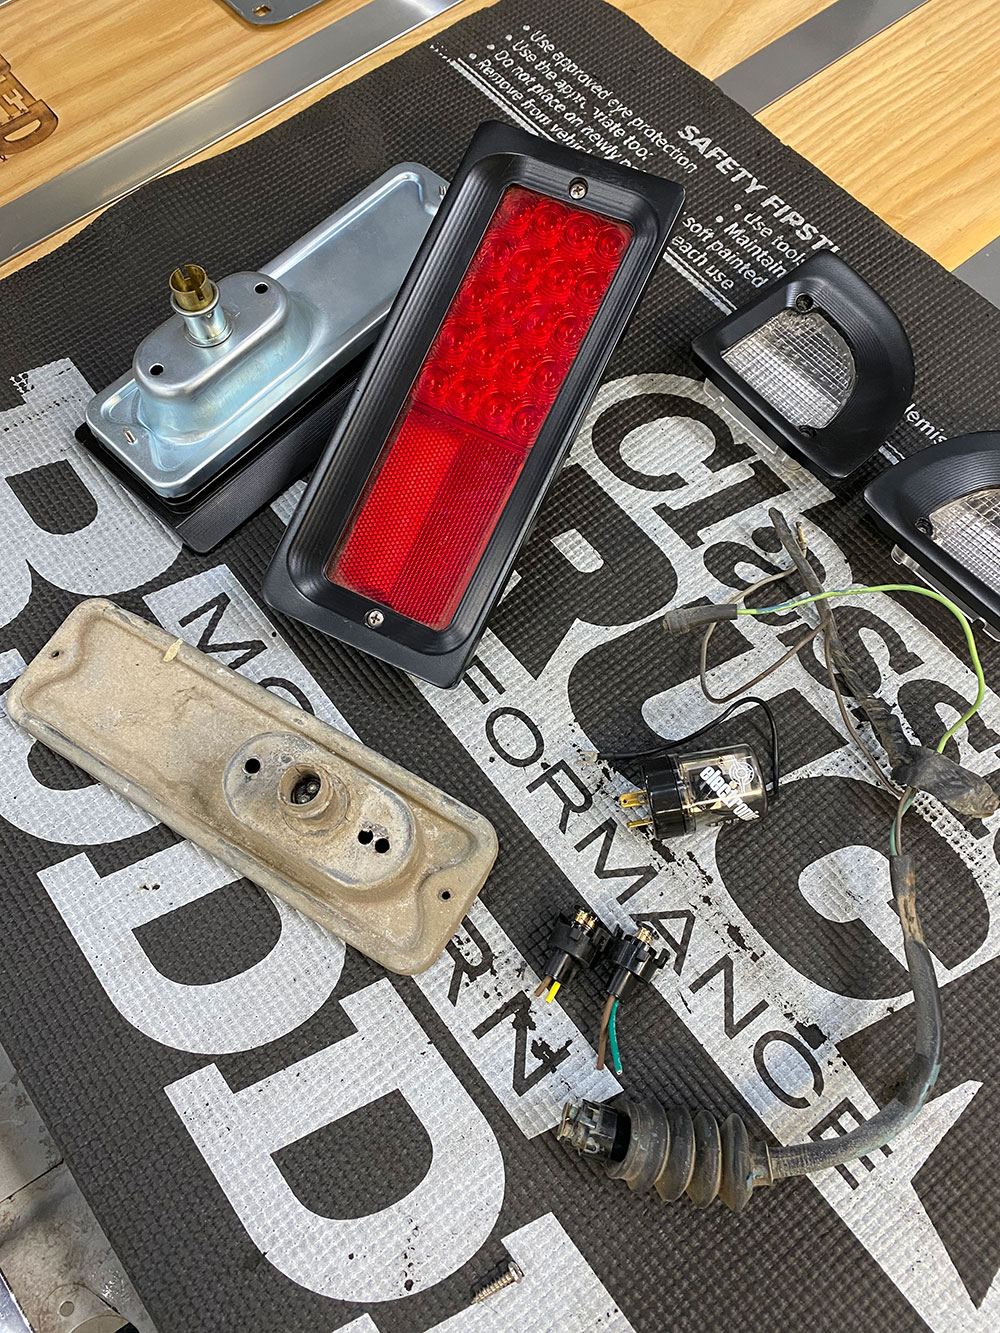
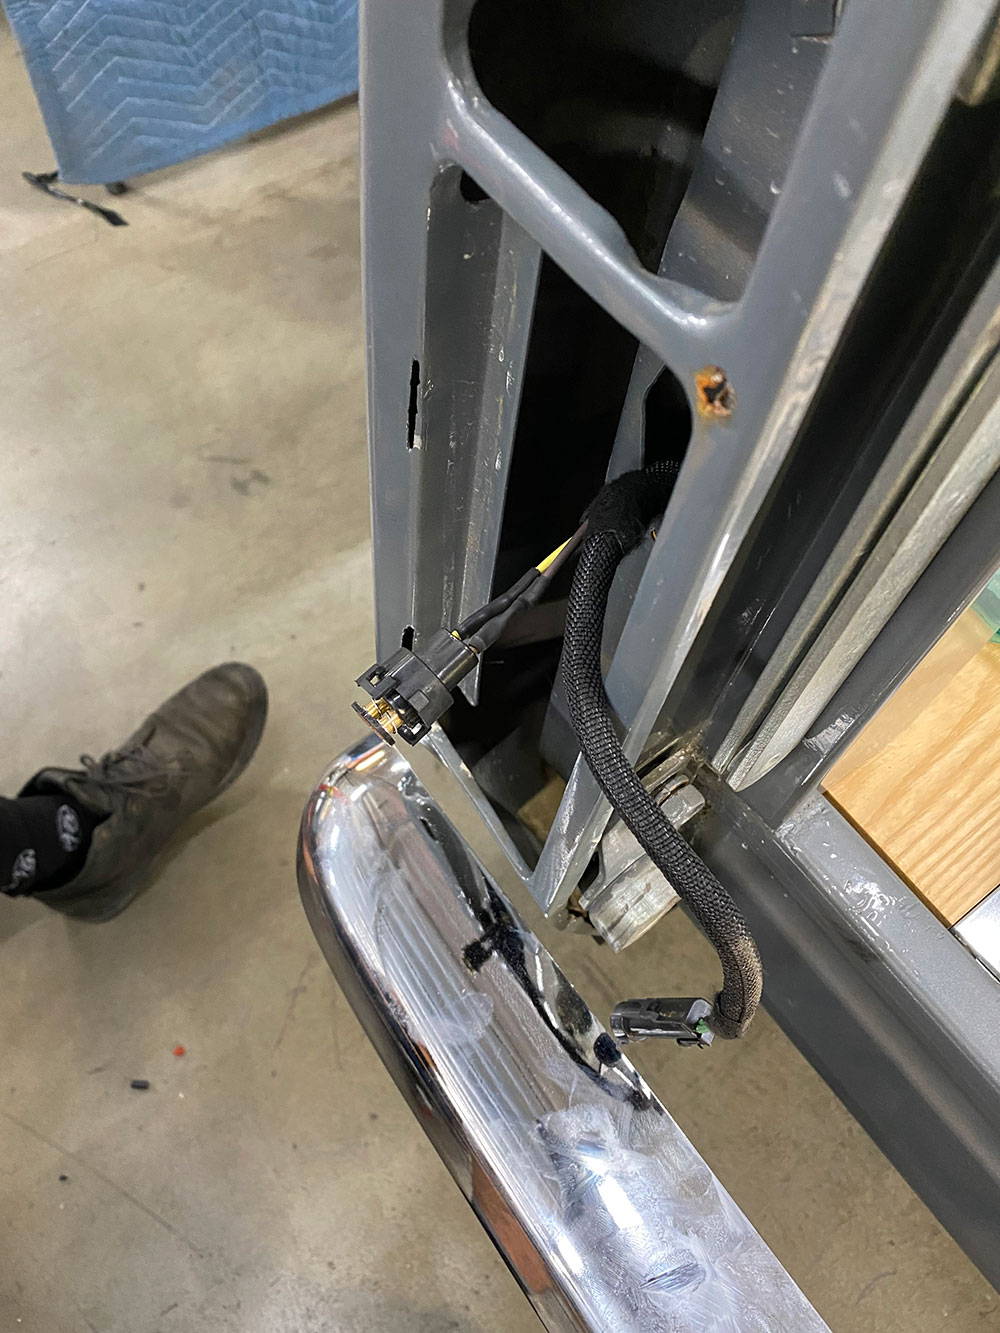
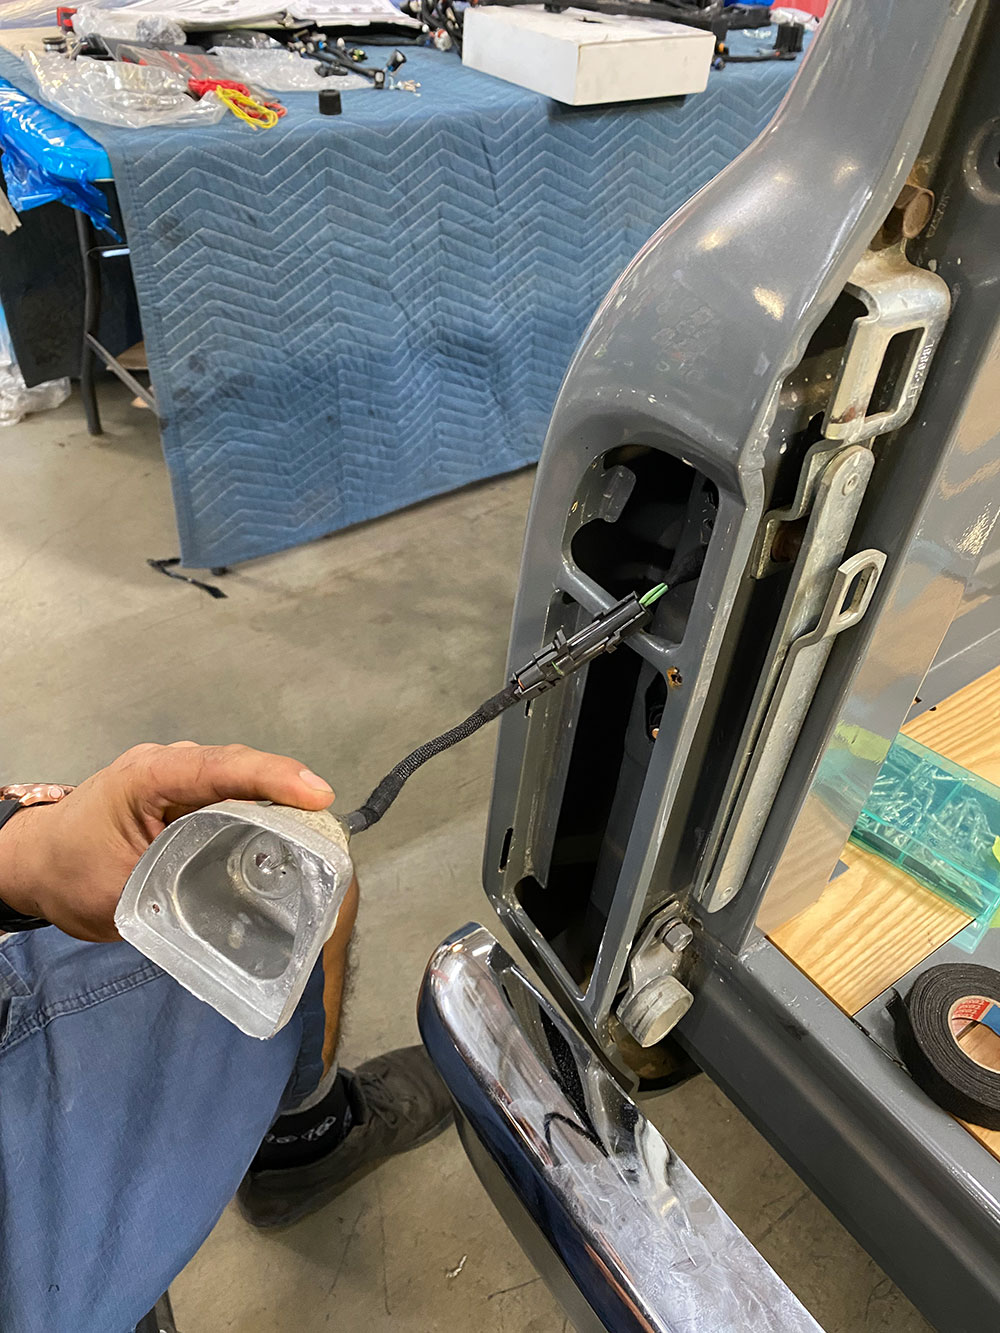
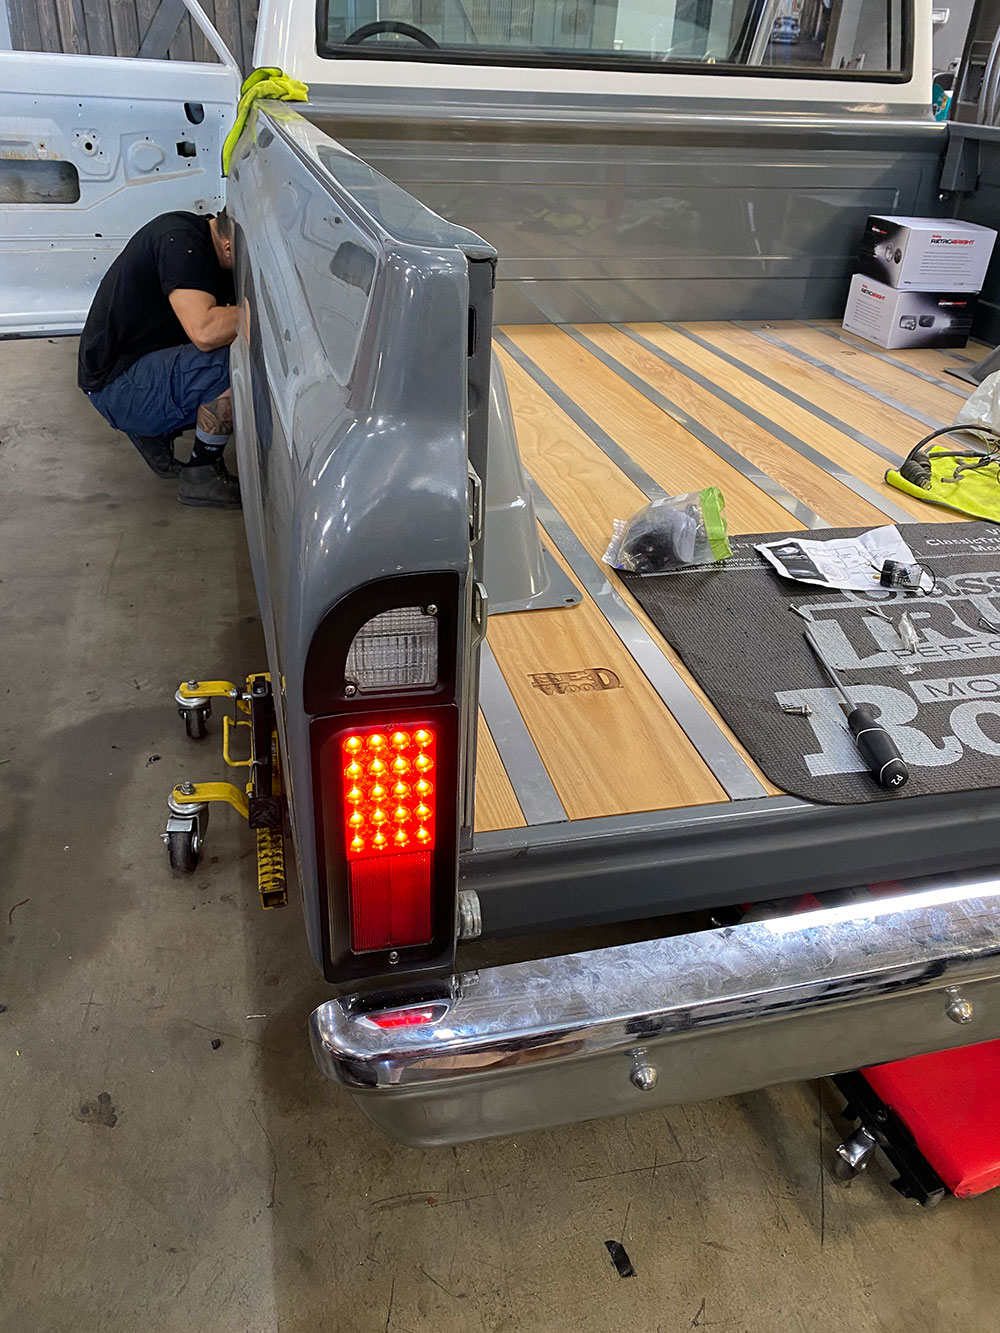
Figure we’d start from the back and work our way forward. The C10’s original tail lights were a mixture of old and cheap aftermarket new, so we opted for all new in the form of Eddie Motorsports billet/LED light kit using a new set of bulb housings from Brothers.The Eddie Motorsports LED kit adapts directly into the OE tail light plug; the reverse light, which is still a standard bulb, was wired into the harness with a Weather Pack connector to allow servicing the assembly.
In a normal situation, the Eddie Motorsports light kit is easily installed without having to remove anything besides the stock bezels and lenses. You do want to make certain that your socket/bulb receptacle is new, or at the very least, has clean, non-corroded brass pins for the LED panel to work properly.The other benefit of installing the battery and power supply first is you have the ability to test every circuit before moving onto the next!
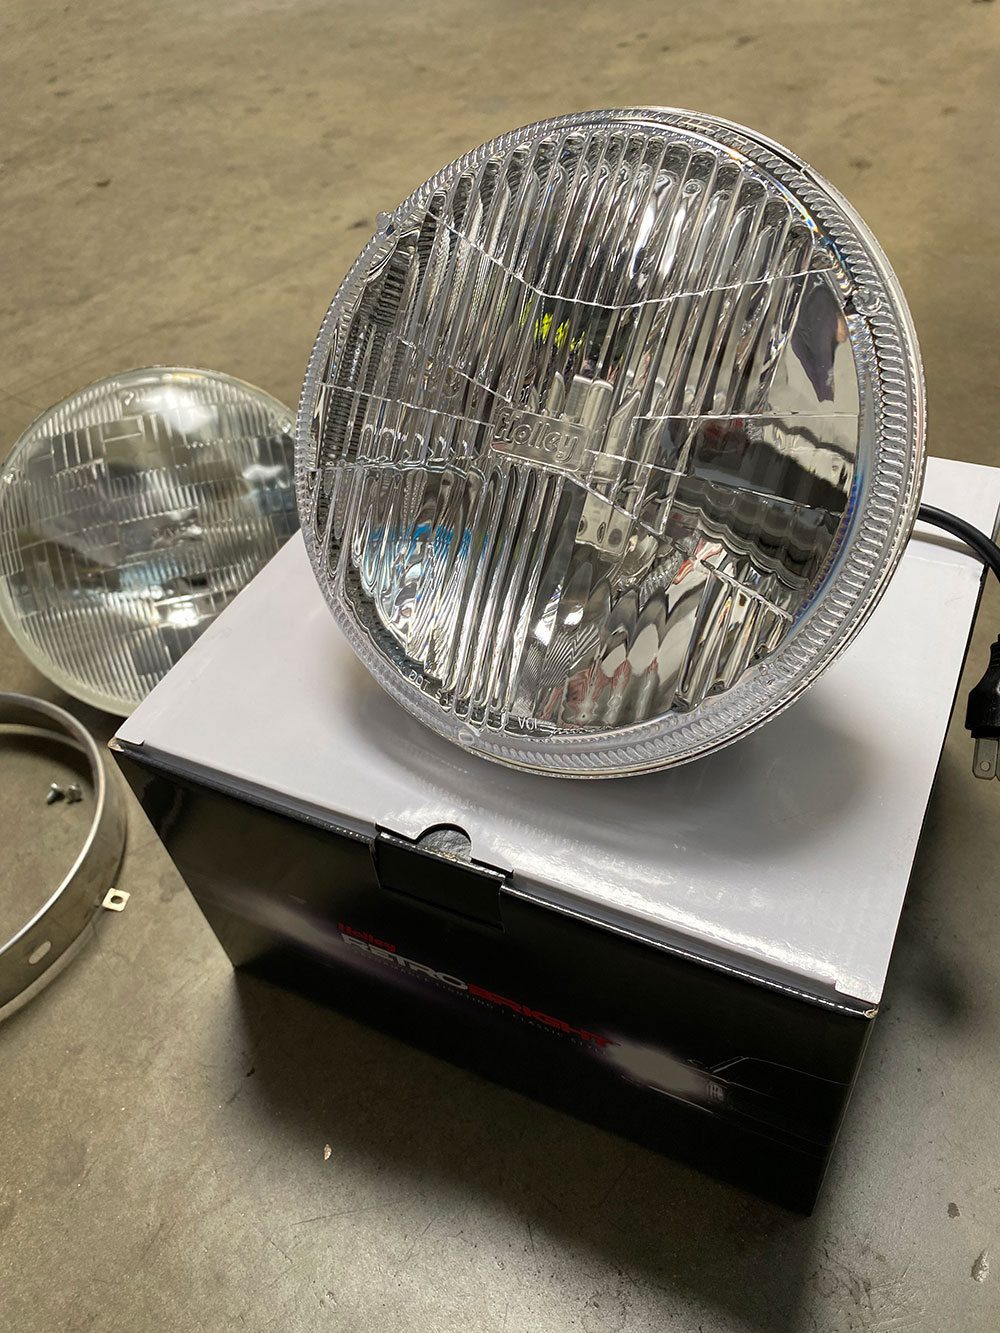
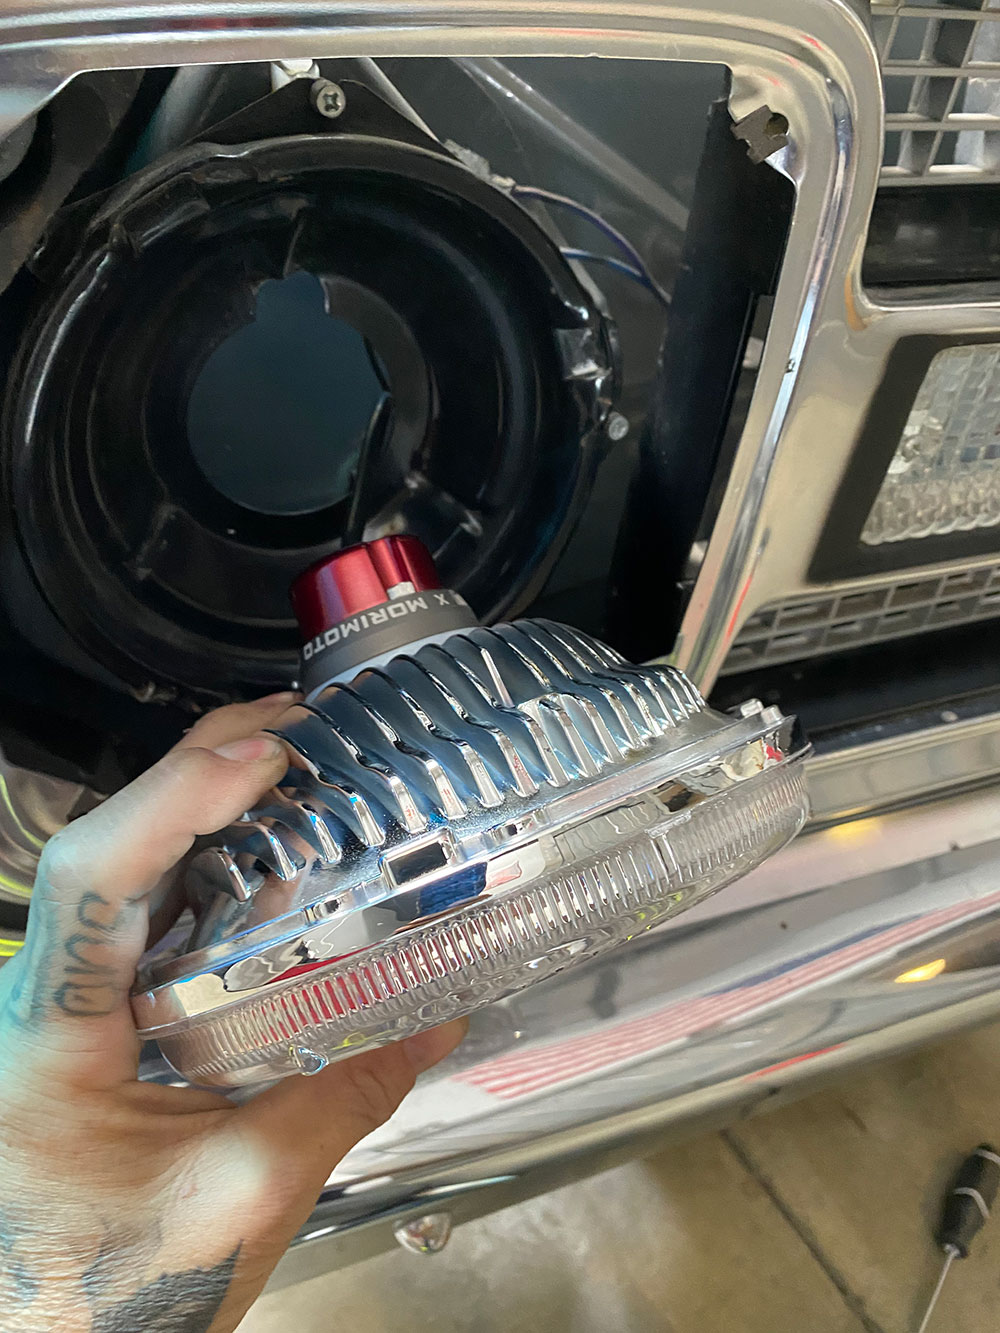
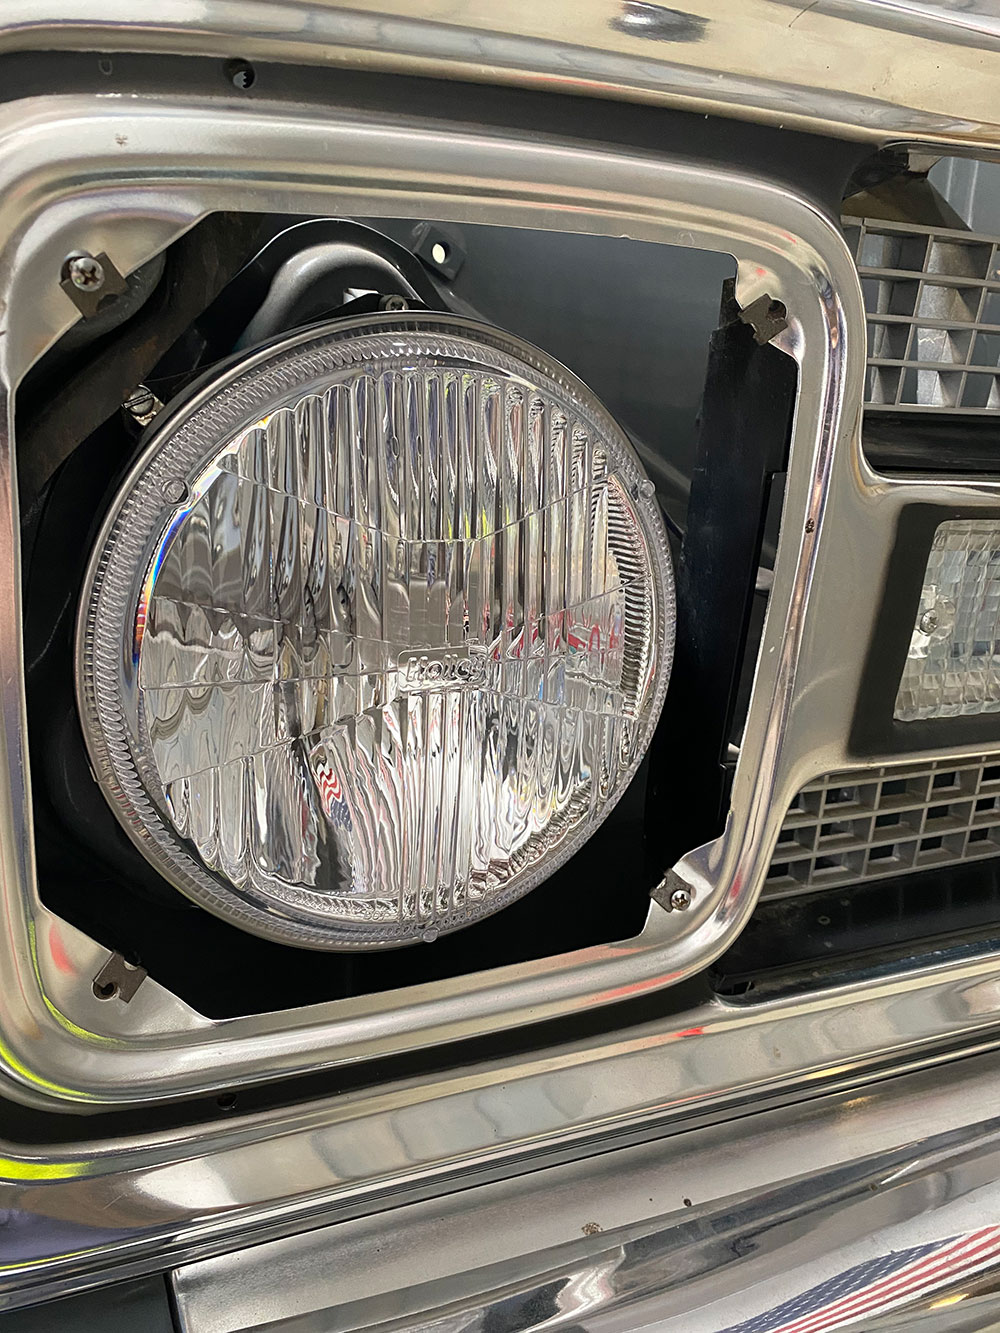
For headlights, in lieu of using a popular LED-style 7-inch bulb, we took full advantage of Holley’s RetroBright “sealed beam” LEDs in the Classic White (3000K) illumination (a brighter 5700K Modern White is also available).No modification is necessary—the 7-inch lamps fit directly in the stock headlight buckets and plug straight into the factory three-prong plug, so there’s no harness alterations or additional electrical components required.
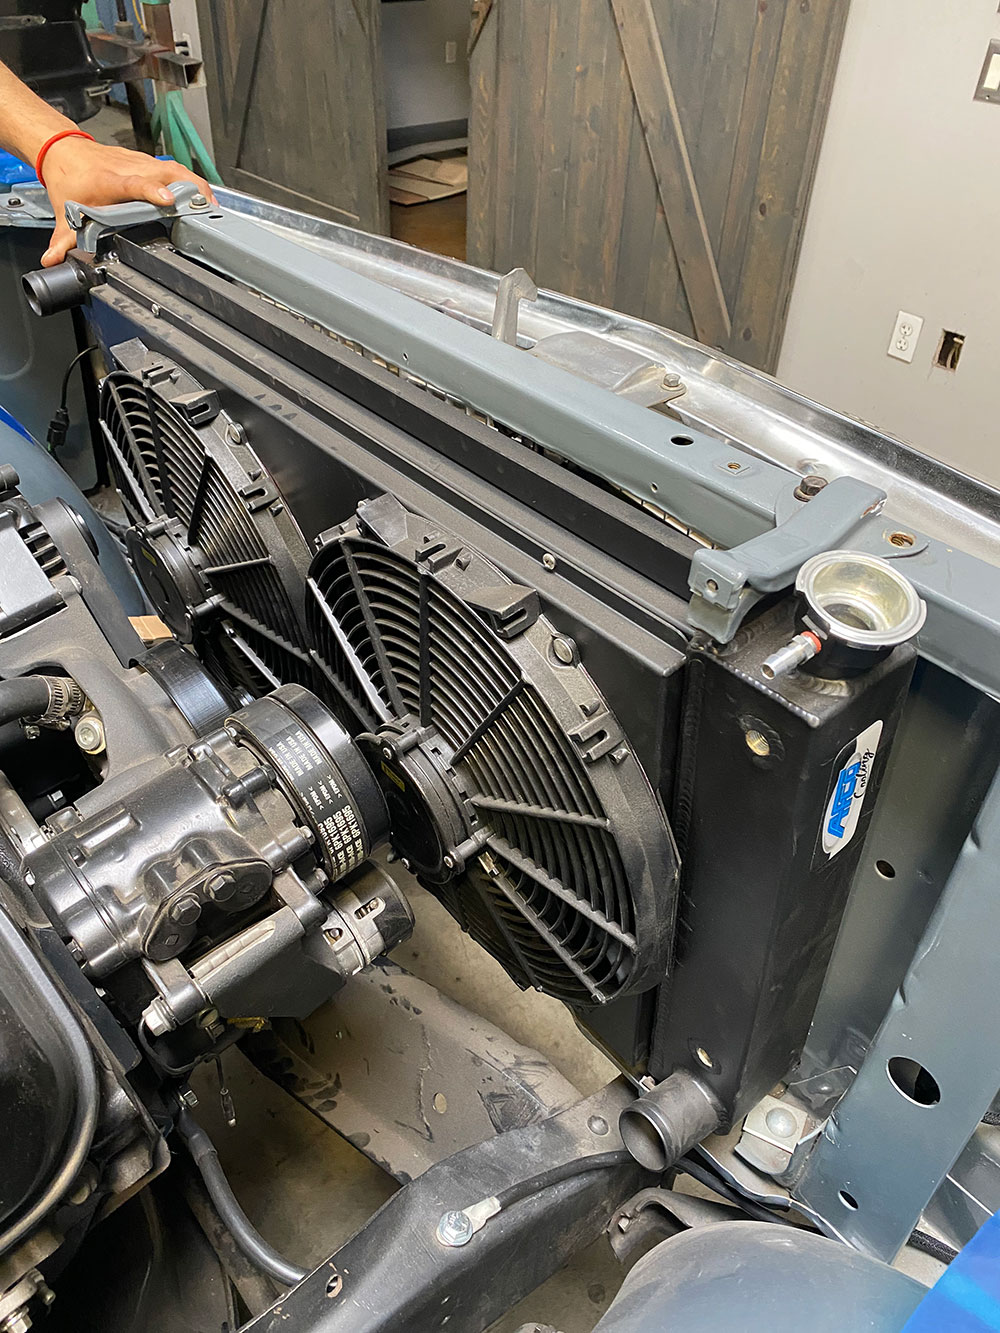
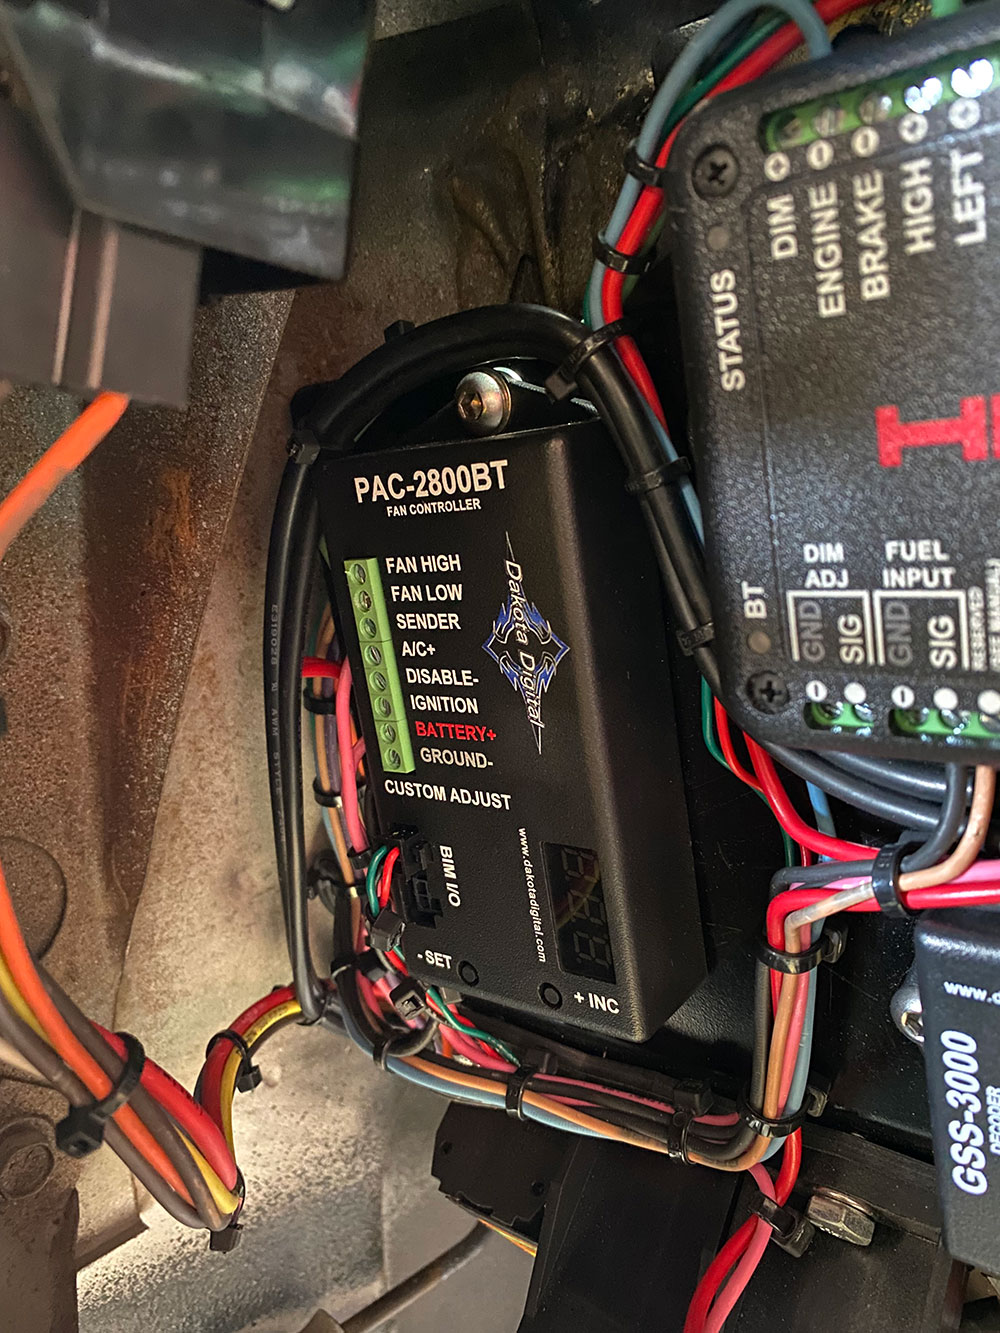
Once we (Rio) had strung the majority of chassis and engine compartment harness sections, we needed to establish the destination inside the cab for all those wires to connect. For that, we fashioned up a removable mounting bracket to centrally locate the fuse panel and related controllers.After a few different configurations, this is ultimately what we ended up with. Notice that the Highway 22 Plus panel has been wired. In order to facilitate that “serviceability” aspect, we’ll be splicing in a 22-port bulkhead connector.One last area worth mentioning in the engine bay: our Afco dual-fan aluminum radiator was originally going to be wired according to American Autowire’s schematic. However, we decided to integrate Dakota Digital’s PAC-2800BT digital fan controller.
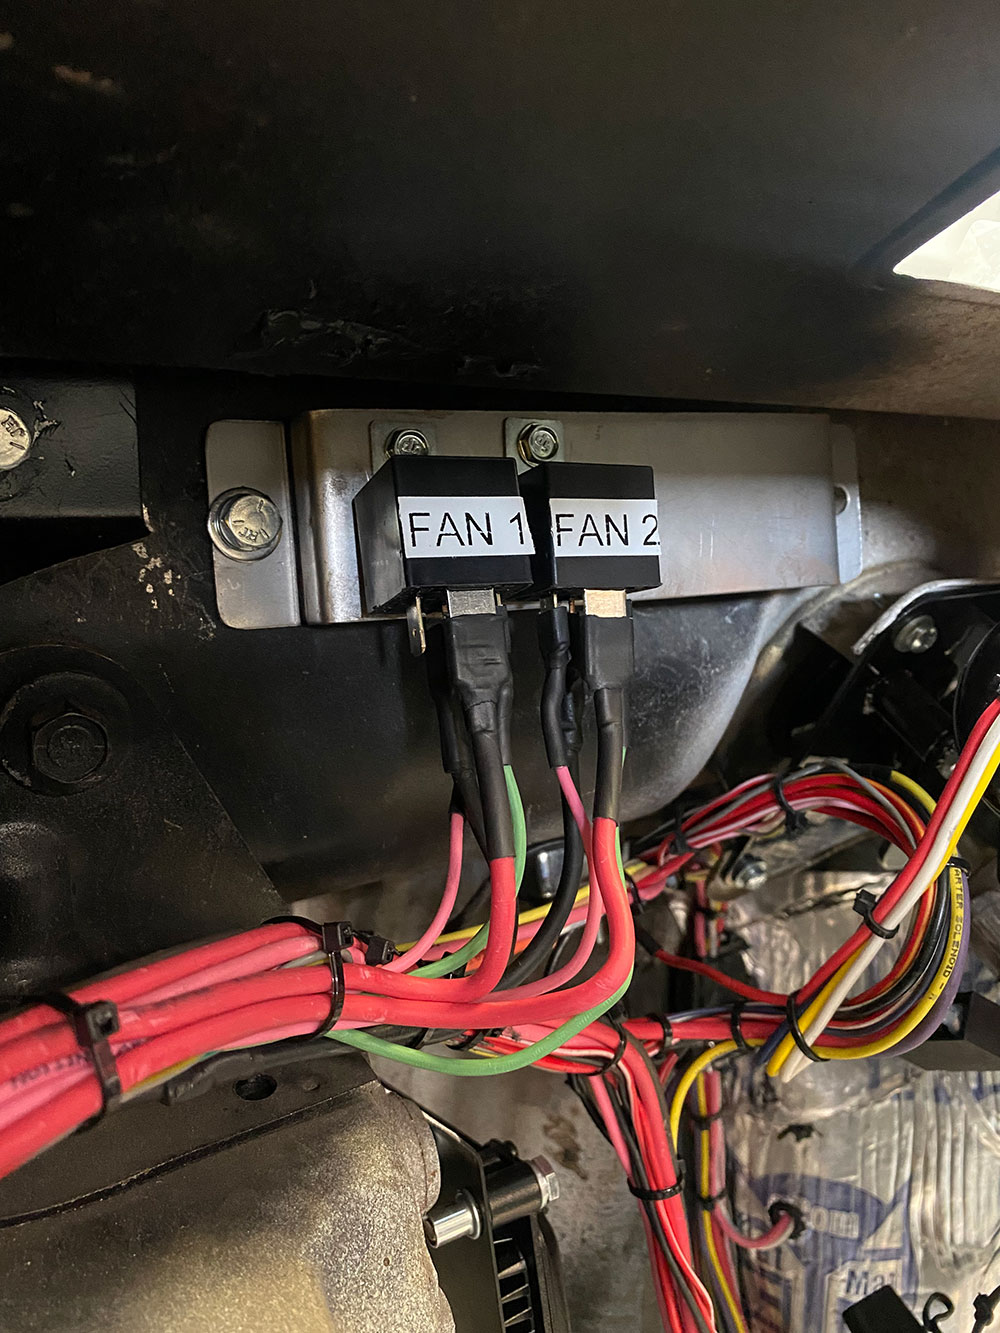
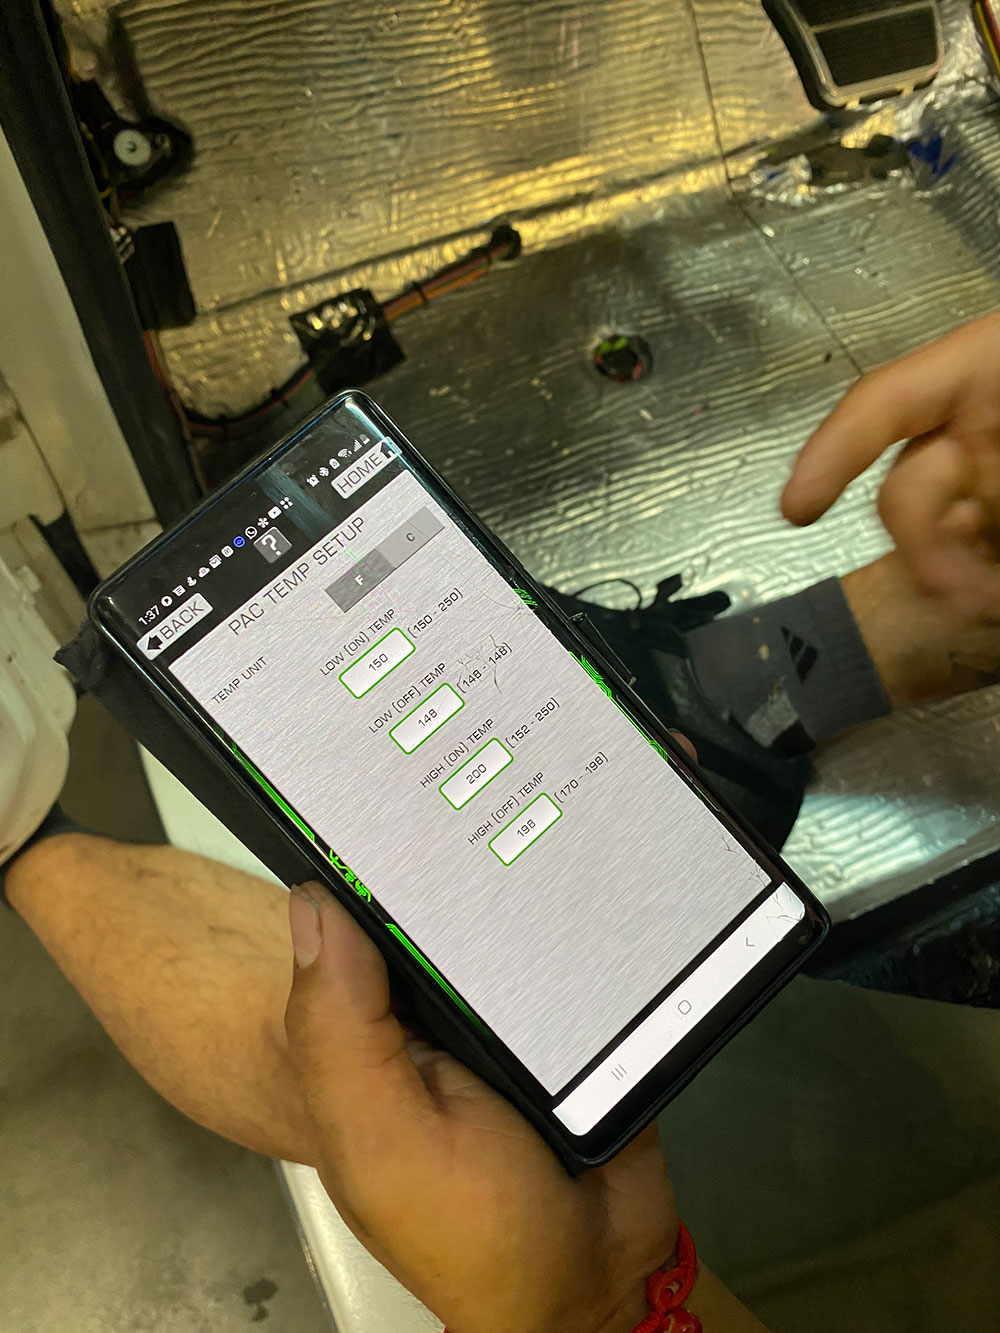
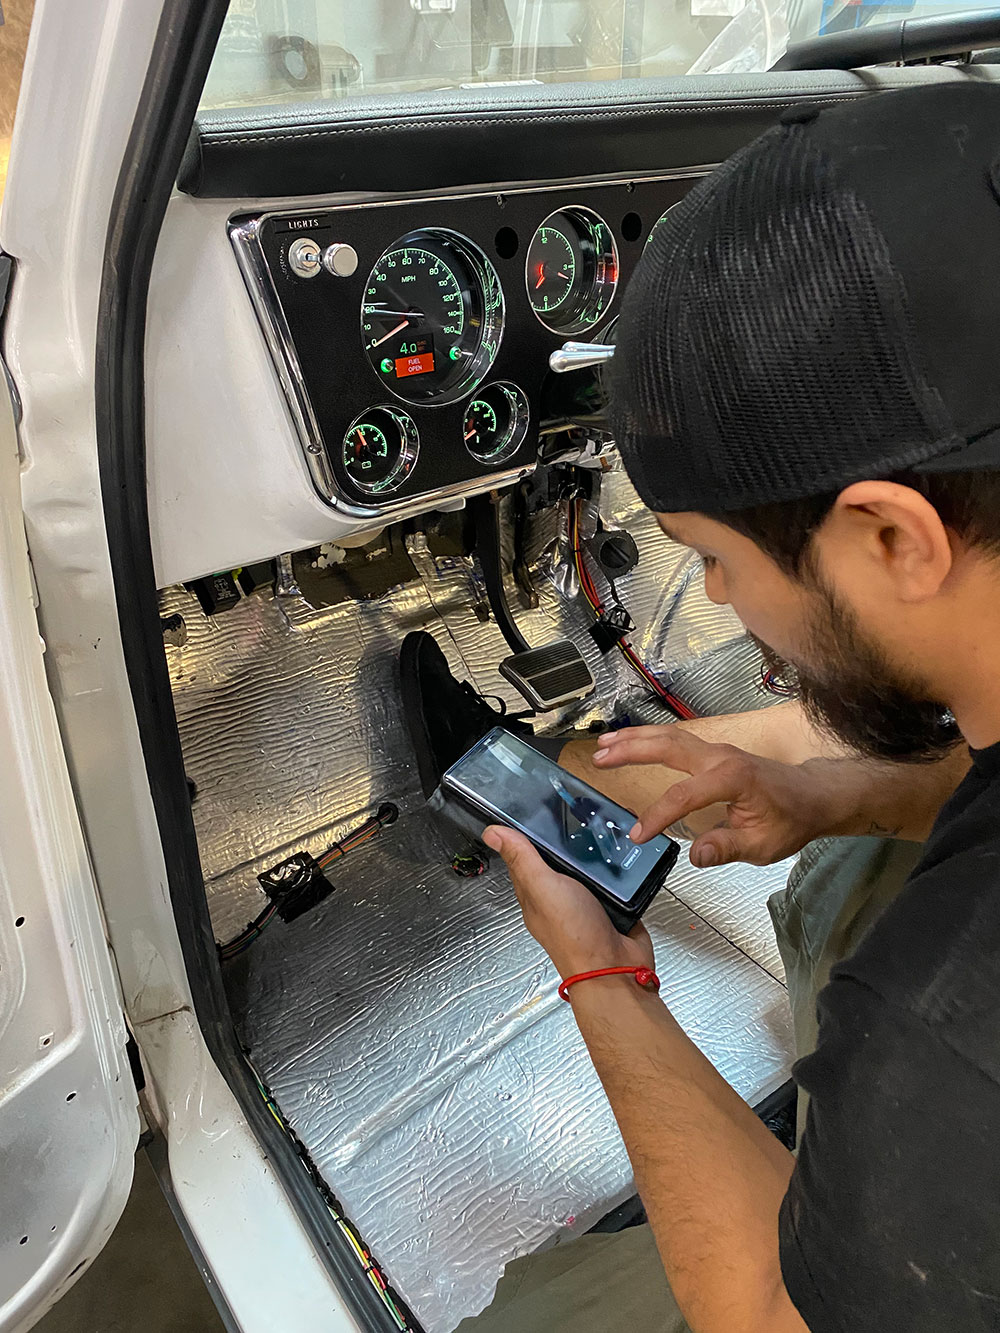
A separate mini bracket was made to mount the fan relays under the dash next to the main panel.The BT in the part number refers to the fan controller’s Bluetooth capabilities. Once the unit is powered up, you can program and control your electric fans from any Apple or Android device!Speaking of wireless programmability, our previously installed Dakota Digital HDX instrument cluster can also be managed remotely once the unit is powered and connected to the control box.Though intended as a pass-through plug from the engine compartment (hence the weatherproof grommets), American Autowire’s 22-port bulkhead connector was the perfect solution for making our underdash panel removable.The most difficult part for Rio was just making sure he got all 22 wires in the right ports—on both sides!
We use cookies to ensure that we give you the best experience on our website. If you continue to use this site we will assume that you are happy with it.